Last updated on
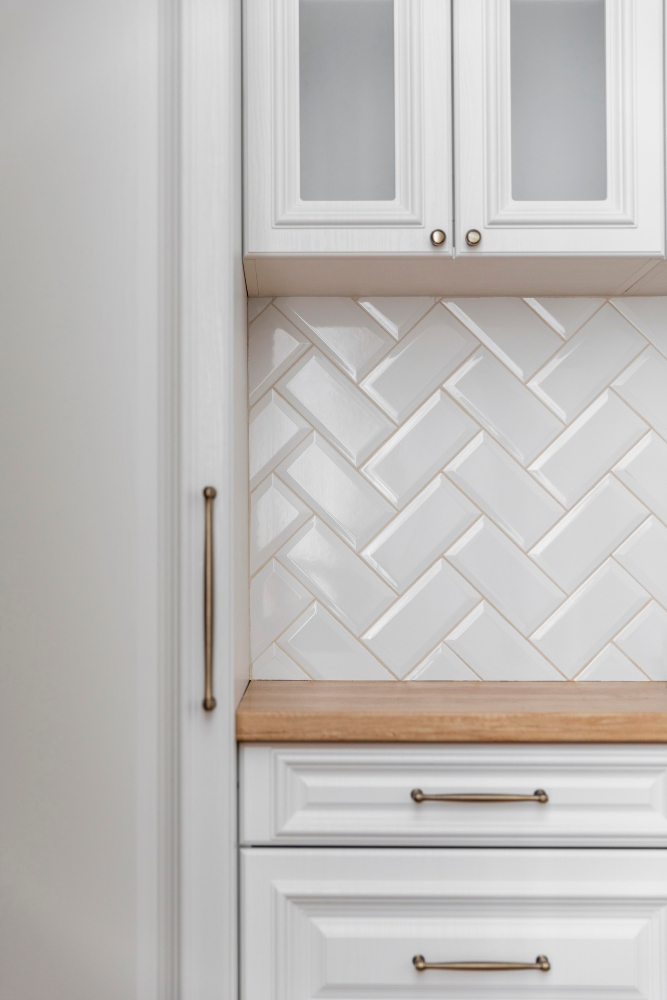
Discover the simple steps to effectively grout a backsplash and elevate your kitchen’s appearance in no time.
Grouting a backsplash might seem like a daunting task, but with the right tools and techniques, it can be a satisfying DIY project that adds value to your home. A well-done grout job not only enhances the look of your kitchen or bathroom but also protects against water damage and stains.
In this article, we will guide you through the steps of grouting a backsplash, from choosing the right grout to applying it like a pro. So roll up your sleeves and let’s get started!
What's Inside
Tools and Materials Required
Here are some of the items you’ll need:
1. Grout: Choose a high-quality grout that is suitable for your backsplash material.
2. Grout float: This tool helps spread the grout evenly over the surface.
3. Bucket and sponge: You’ll need a bucket of water to clean up excess grout, and a sponge to wipe down surfaces.
4. Gloves: Protect your hands from chemicals in cleaning agents or irritation from handling rough tiles by wearing gloves while working with them.
5. Tape measure/ruler: Measure out how much space needs coverage so that you can purchase enough supplies without running short midway through installation.
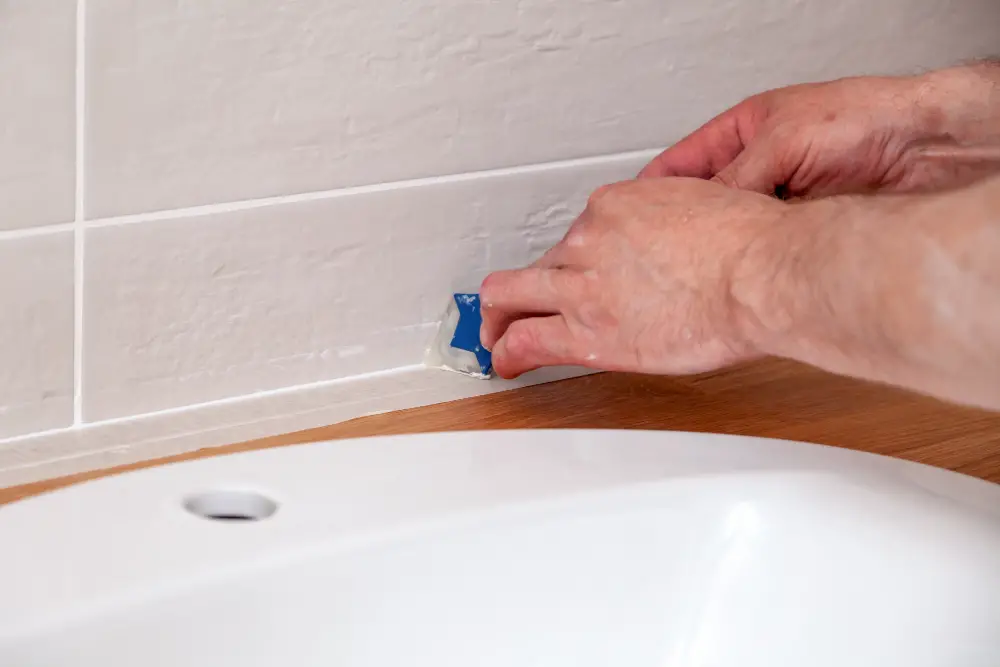
6. Caulk gun (optional): If there are gaps between tiles or where they meet other surfaces like countertops, use caulk instead of more expensive tile pieces as filler material.
Preparing the Backsplash Surface
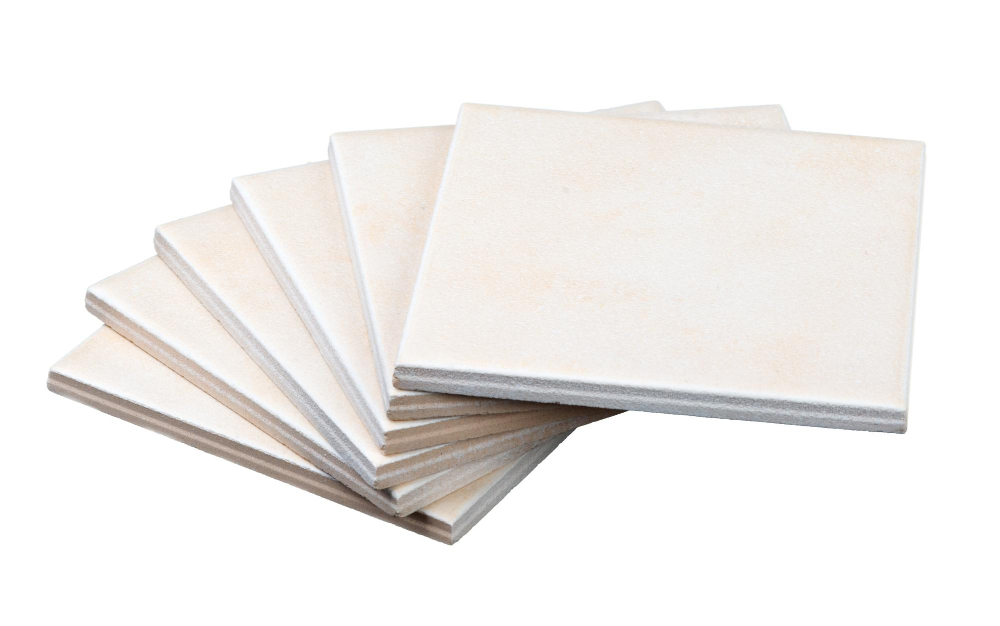
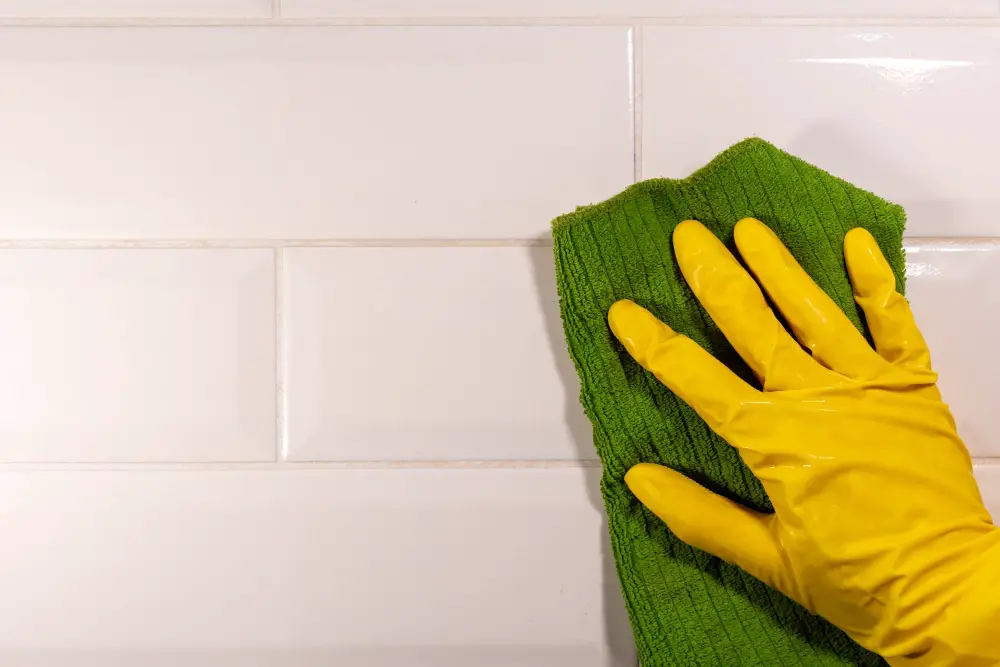
The first step is to clean the tiles thoroughly with a mild detergent and warm water. This will remove any dirt, grease or debris that may interfere with adhesion.
Next, inspect the tiles for cracks or chips and repair them before proceeding. If there are any loose tiles on your backsplash, reattach them using tile adhesive.
Once you’ve cleaned and repaired your backsplash surface, allow it to dry completely before applying grout. A damp surface can cause issues during application such as uneven drying of grout leading to discoloration or cracking over time.
Choosing the Right Grout

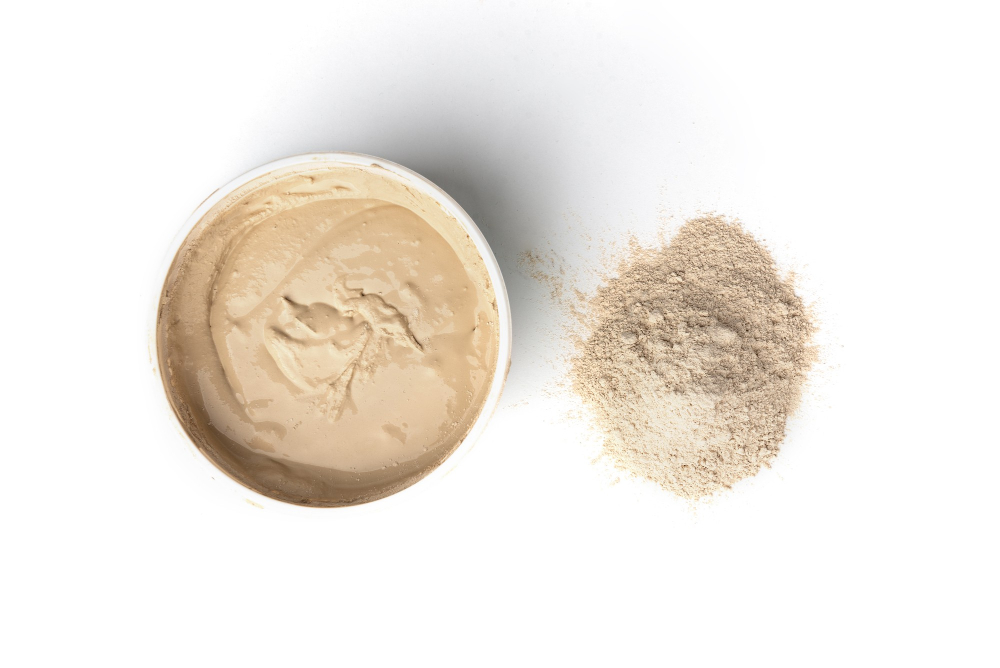
The first thing you need to decide is whether you want sanded or unsanded grout. Sanded grout is best for wider joints (1/8 inch or more) and provides better bonding strength, while unsanded grout is ideal for smaller joints (less than 1/8 inch) and gives a smoother finish.
Another important consideration when selecting the right type of grout is its water resistance level. If your backsplash will be exposed to moisture frequently, such as in a kitchen or bathroom area, then opt for epoxy-based or urethane-based sealers that offer superior water resistance compared with cementitious ones.
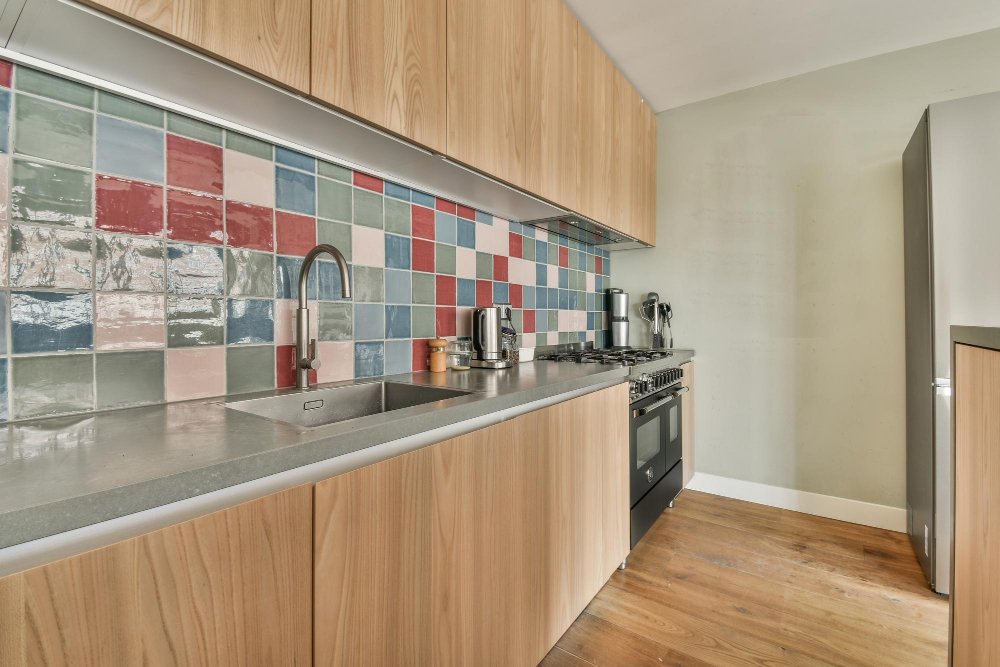
Lastly, choose the color of your grout carefully as it can significantly impact the overall look of your backsplash design. You can either match it with tile color if you want seamless integration between tiles and lines; alternatively contrast colors create an eye-catching effect that highlights each individual tile’s shape and texture.
Types of Grout
The type of grout you choose will depend on your preference and the specific needs of your project. Some common types include sanded, unsanded, epoxy-based, and furan-based.
Sanded Grout: This is a popular choice for most backsplashes as it is durable and can withstand heavy traffic areas. It contains sand particles that make it stronger than other options but may not be suitable for narrow gaps or delicate tiles.
Unsanded Grout: This type does not contain sand particles making it ideal for small spaces between tiles or delicate surfaces like glass or marble. However, unsanded grouts are less durable than sanded ones.
Epoxy-Based Grouts: These offer superior durability compared to traditional cementitious options as they resist stains and water damage better while also being more resistant to cracking over time.
Furan-Based Grouts: These are highly chemical-resistant making them ideal for industrial settings such as commercial kitchens where harsh chemicals may come into contact with the surface regularly.
Best Grout for Kitchen and Bathroom Backsplash
The type of tile you have installed and the size of the grout lines will determine which type of grout is best suited for your project.
For small tiles with narrow gaps between them, unsanded grout is recommended as it can easily fill in tight spaces without cracking. On the other hand, larger tiles with wider gaps require sanded grouts that provide better stability and durability.
Another important factor to consider when selecting a suitable backing material is its resistance against moisture and stains. Epoxy-based or urethane-based sealants are ideal choices for areas prone to water exposure such as bathrooms or kitchens since they offer superior protection against mold growth and discoloration.
Ultimately, choosing the right kind of backing material depends on personal preference along with practical considerations like maintenance requirements and budget constraints.
Grout Color Choices
It can either blend in with the tiles or create a striking contrast that highlights their pattern and texture. When choosing grout color, consider your personal style, kitchen decor, and tile material.
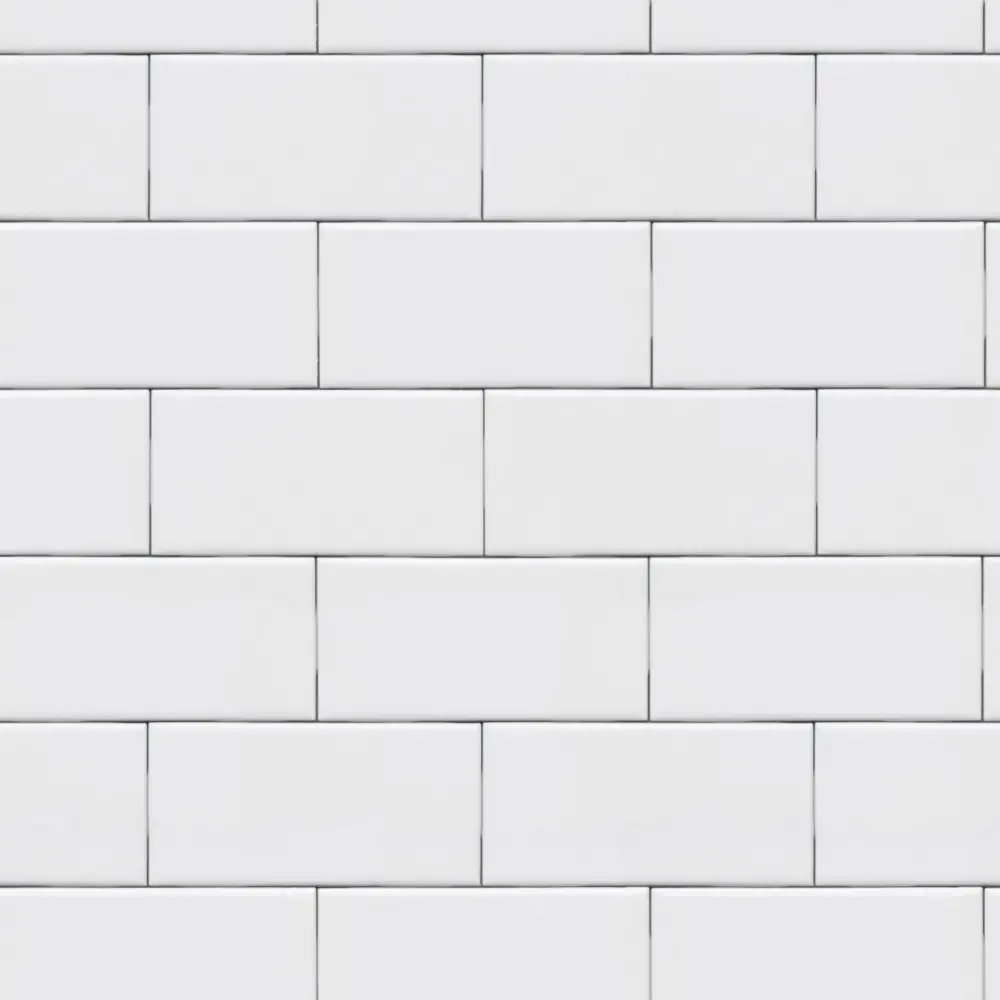
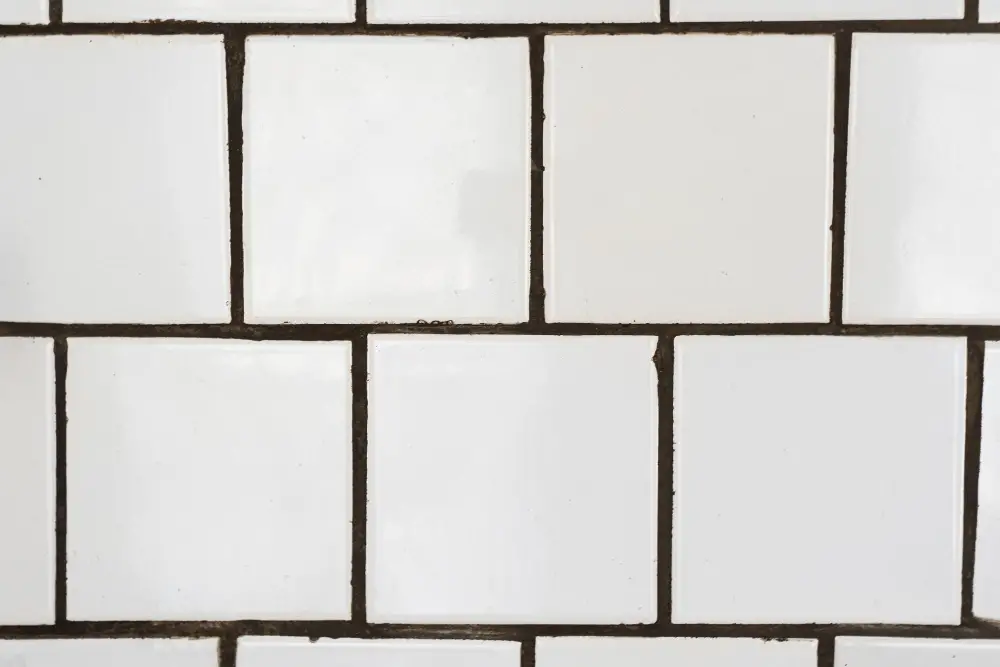
For instance, if you have white subway tiles on your backsplash and want to achieve a classic look, go for gray or black grout that will make each tile pop out. On the other hand, if you prefer a seamless appearance without visible lines between tiles opt for white or light-colored grouts.
Another factor to keep in mind when selecting grout colors is maintenance requirements. Lighter shades tend to show dirt more easily than darker ones; hence they require frequent cleaning to maintain their pristine look.
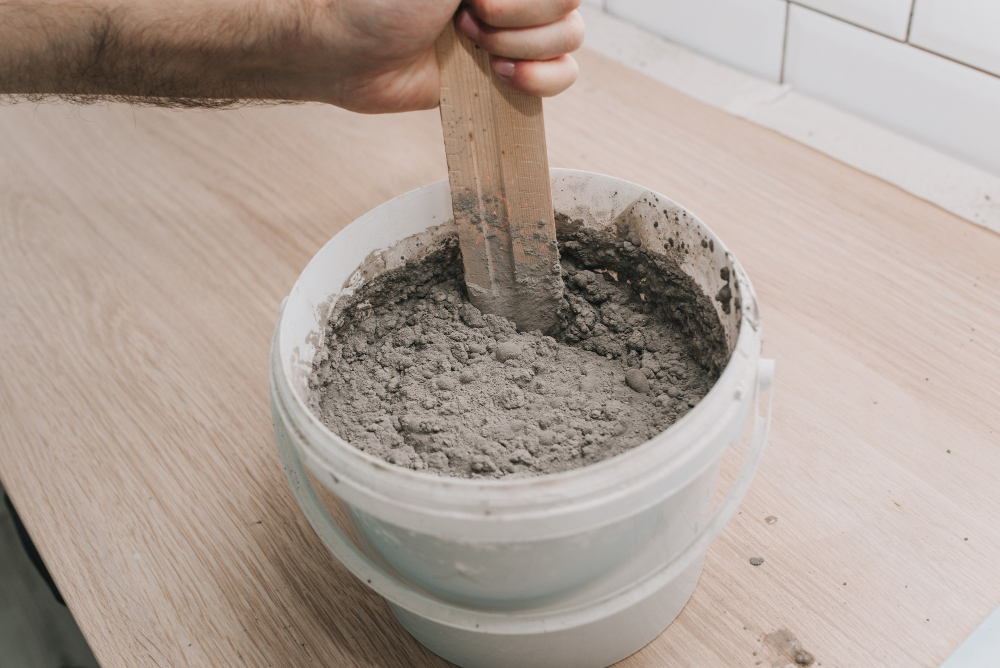
Mixing Grout
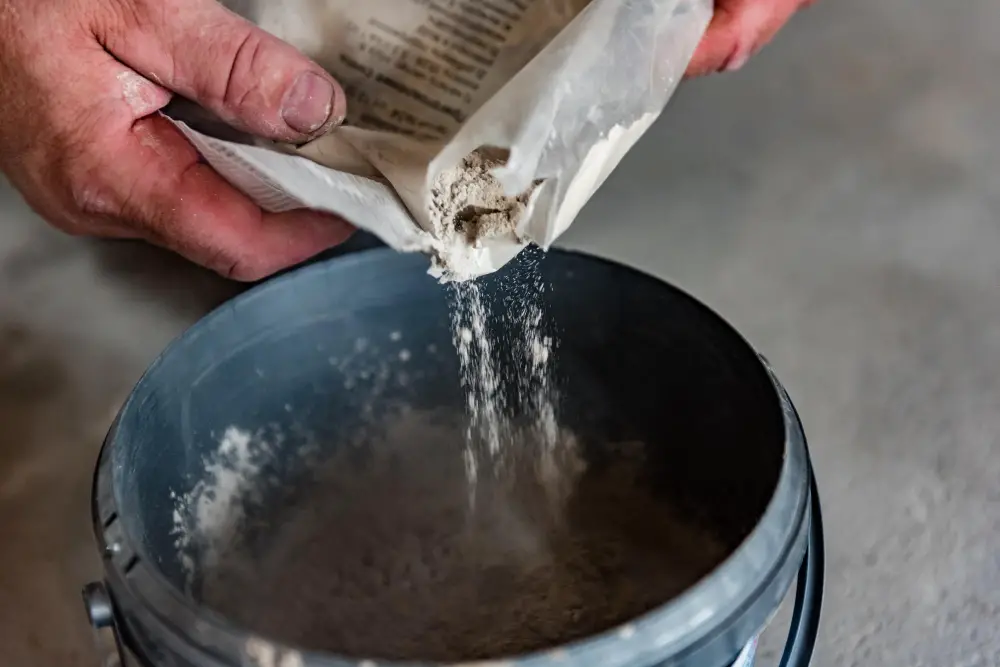
Mixing grout is a simple process that requires attention to detail and patience. The goal is to achieve a smooth, consistent texture without any lumps or dry spots.
To begin mixing the grout, pour some of the powder into a clean bucket or container. Add water gradually while stirring with a margin trowel until you reach the desired consistency – not too thick nor too runny.
It’s essential to follow manufacturer instructions regarding water-to-grout ratio and mixing time as they may vary depending on different types of grouts used in various applications.
Remember that once mixed, you should use up all your prepared batch within 30 minutes before it starts drying out and hardening; otherwise, this will affect its bonding strength when applied on tiles’ surface.
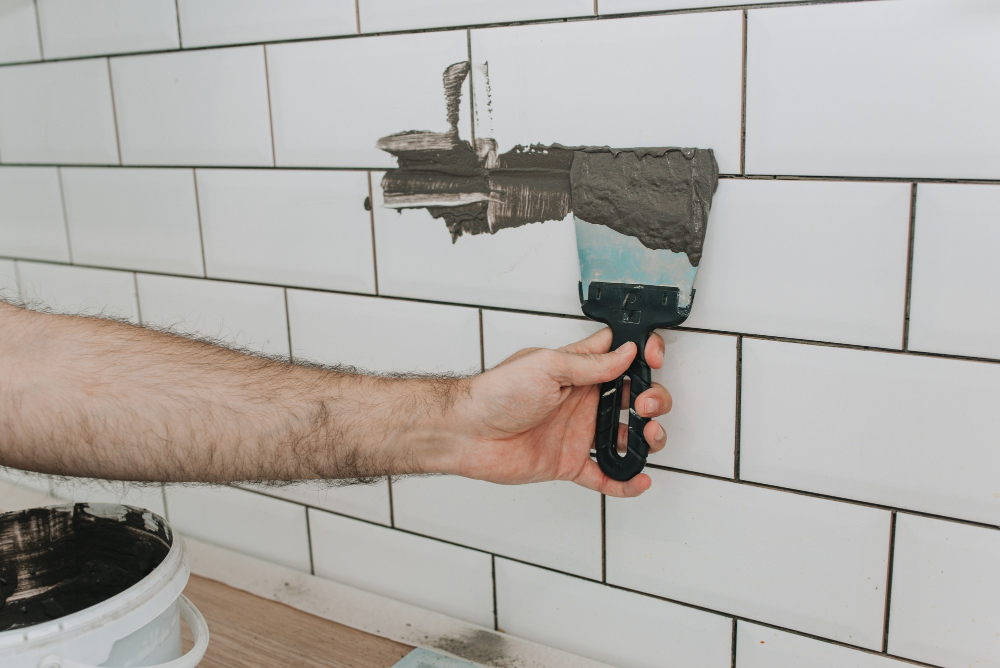
Applying Grout to Backsplash

Start by using a rubber float or squeegee and spread the grout diagonally across the tiles, making sure that all joints are filled with an even layer of grout. Work in small sections at a time so that you can wipe away excess before it dries.
Hold your float at an angle of 45 degrees and use firm pressure as you move along each joint. Make sure not to leave any gaps or air pockets between tiles as this will weaken the bond between them.
As soon as one section is complete, use a damp sponge or cloth to wipe away any excess grout from both tile surfaces and joints before moving on to another area. This will prevent dried-on residue which can be difficult (if not impossible)to remove later on.
Using Grout Float Technique
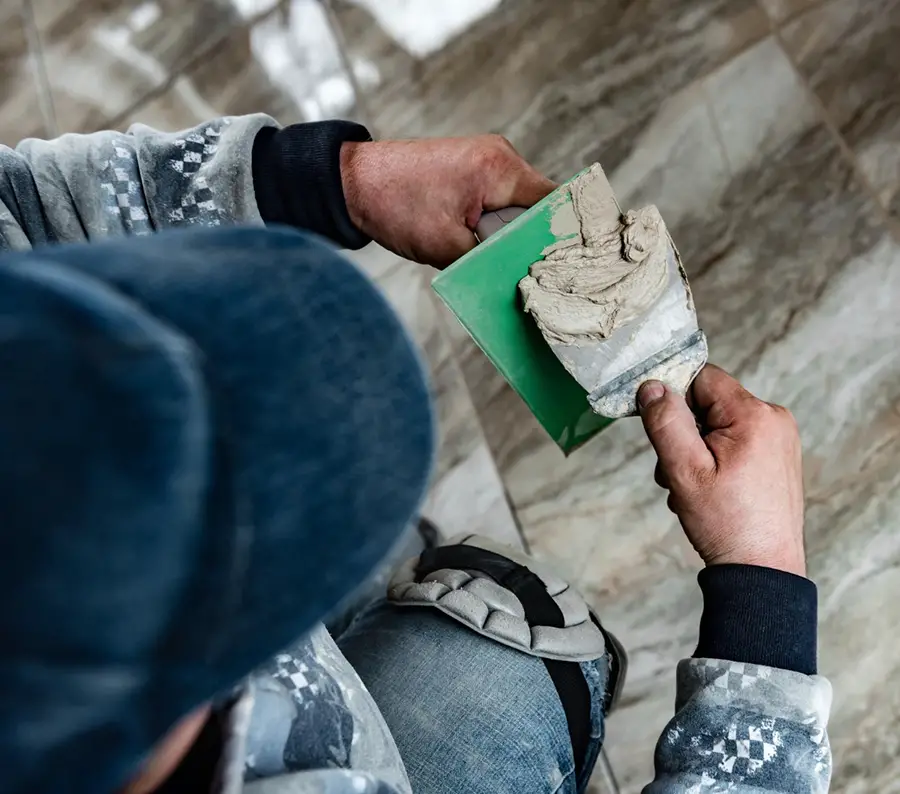
A grout float is a rubber tool with a flat surface that helps spread the mixture evenly over your backsplash tiles.
To use this technique, scoop some of the mixed grouts onto your float and hold it at an angle of 45 degrees. Then press down firmly on the tile surface and drag diagonally across each joint until they are filled with enough material.
Make sure you work in small sections so that you can wipe away any excess before moving on to another area. Keep cleaning off any excess from both sides of your float as well as wiping up spills or drips immediately after they occur.
Wiping Excess Grout
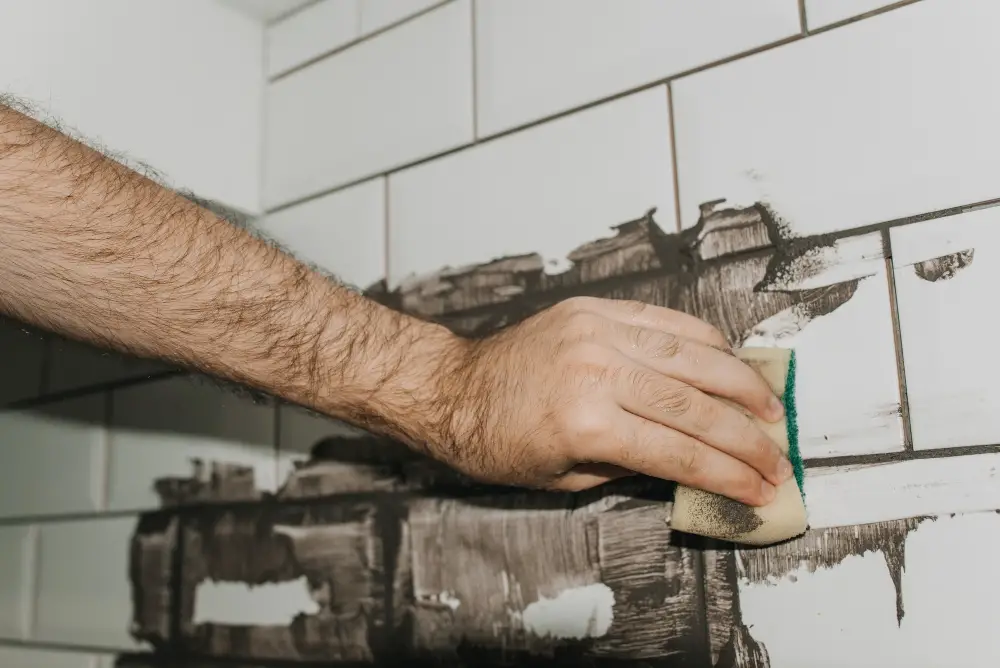
This step is crucial in achieving a clean and polished look for your backsplash. You can use a damp sponge or cloth to gently wipe away the excess grout from the surface of each tile.
Be sure not to press too hard as this may remove too much grout from between tiles.
It’s important that you work quickly during this process, wiping off only small sections at a time before moving on to another area. If you wait too long before wiping away excess grout, it will become harder and more difficult to remove.
After wiping down all areas of your backsplash with a damp sponge or cloth, allow it some time (usually 10-15 minutes) for the remaining haze on tiles’ surfaces caused by dried-up residue of wiped-off-grouts settle down completely.
Next up is cleaning up any remaining haze left behind by dried-up residue using cheesecloth or microfiber towel dipped in water; wring out well so that they are just slightly moistened but not dripping wet then proceed with gentle circular motions over each tile until no more hazy film remains visible.
Cleaning Excess Grout
Cleaning excess grout is an essential step in achieving a professional-looking finish. Leaving dried-up grout on the surface can be challenging and may require harsh chemicals or even re-grouting.
To clean off excess grout, use a damp sponge or cloth and gently wipe over the tiles at a 45-degree angle. Be careful not to press too hard as this could remove some of the fresh grouts from between tiles.
Rinse out your sponge frequently with warm water and wring out any extra moisture before wiping again. Repeat until all visible traces of wet residue are gone but avoid scrubbing too hard as this might scratch delicate surfaces like glass tile backsplashes.
Grout Curing Time

Curing time refers to the period that is required for the grout to dry and harden completely. The curing time varies depending on factors such as humidity, temperature, and type of grout used.
Typically, most types of cement-based grouts require 24-48 hours for complete curing. However, some epoxy-based or modified polymer-based grouts may take longer than this duration.
It’s essential not to rush through this step since improper drying can lead to cracks in your newly installed backsplash tiles or discoloration of the cured surface over time. Therefore ensure that you follow manufacturer instructions regarding recommended drying times before using water near a freshly-grouted area.
Sealing Grout
Sealing helps protect the grout from moisture and stains, making it last longer. It also makes cleaning easier by preventing dirt and debris from penetrating into the porous surface of unsealed grout.
To seal your newly-grouted backsplash, wait for at least 24 hours after applying the final coat of grout before sealing. This allows enough time for curing so that any excess moisture can evaporate.
There are two types of sealer: topical and penetrating. Topical sealer sits on top of the surface while a penetrating sealer penetrates deep into pores to create a protective barrier against water damage or staining.
When choosing a sealer, consider factors such as color enhancement (if desired), durability, ease-of-application (spray-on vs brush-on), drying time and odor level. Apply an even layer using either spray or brush method depending on what works best with your chosen product’s instructions; ensure complete coverage over all areas where there is exposed tile or stone surfaces including corners where tiles meet walls etc., then allow sufficient drying time before exposing sealed area again – usually around 24-48 hours depending upon manufacturer recommendations.
Grout Sealant Options
Grout sealant helps protect against moisture and stains, ensuring that your backsplash looks great for years to come. There are two main types of grout sealants: penetrating and topical.
Penetrating Sealers These types of sealers penetrate the pores of the grout, forming a protective barrier that repels water and oil-based liquids. Penetrating sealer does not change the appearance or texture of your tiles or grouts but can darken them slightly.
Topical Sealers Topical sealer forms a layer on top of the surface rather than penetrating into it like a penetrating sealer would do. Topical seals provide more protection from spills as they create an impenetrable barrier between dirt and liquid spills with tile surfaces.
Cleaning Grouted Backsplash
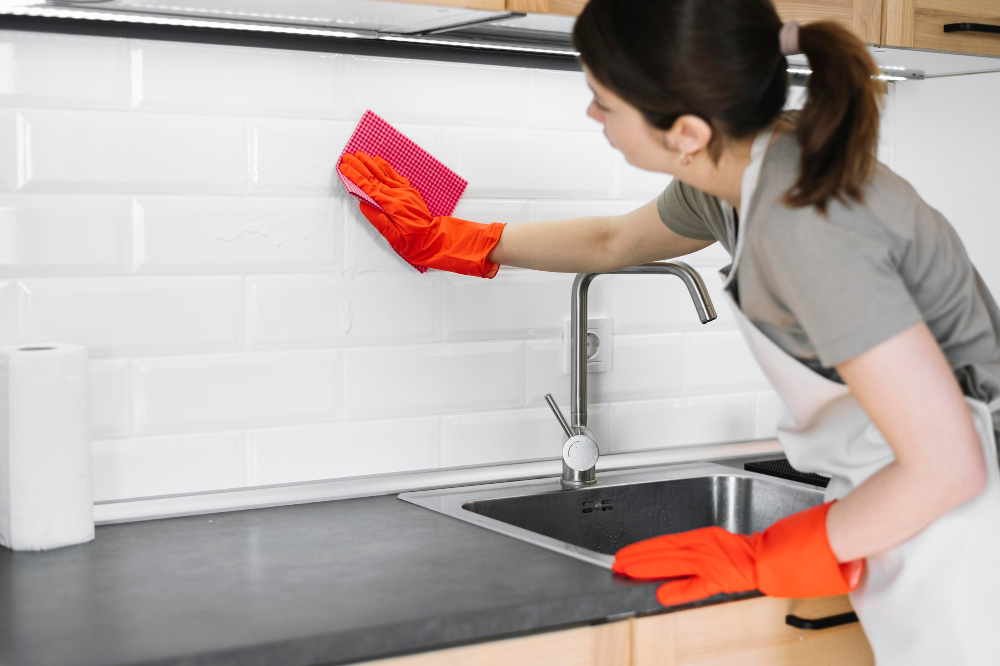
Use a damp sponge and gently wipe the surface of the tiles in a circular motion. Rinse your sponge frequently and change out water as needed to avoid spreading grime around.
For tougher stains, you can use vinegar mixed with water (1: 1 ratio) or specialized tile cleaners available at hardware stores. Avoid using abrasive cleaners that could scratch your tiles.
After cleaning, let dry for 24 hours before sealing if necessary.
Maintaining a clean backsplash is essential for keeping it looking new over time. Regularly wiping down with warm soapy water will help prevent buildup of dirt and grease on both tiles and grout lines.
Troubleshooting Grout Issues
Here are some common problems you may encounter while grouting a backsplash and how to troubleshoot them:
1. Uneven Grout Lines: If your grout lines appear uneven or inconsistent in width, it could be due to improper mixing of the grout or using too much water during application.
To fix this issue, remove any excess or unevenly applied grout with a utility knife before it dries completely.
2. Cracked Grout: Cracks in your newly applied grouted backsplash can occur if there is movement between tiles after installation or if the mixture was not properly mixed before applying it on the surface area.
Remove any cracked areas by scraping out old material from between tiles using a sharp tool like an awl then reapply fresh new mixtures.
3. Stained Grouts: Stains on freshly installed tile surfaces are often caused by excessive moisture exposure during curing time which causes discoloration over time as well as mold growth underneath porous materials such as natural stone surfaces that absorb liquids easily without proper sealing protection beforehand.
Troubleshooting Common Problems
Here are some common problems you might encounter and how to fix them:
1. Uneven Grout Lines: If your grout lines are uneven or inconsistent in width, it could be due to improper mixing of the grout or using too much water when wiping off excess grout.
To fix this issue, mix more grout and apply it evenly over the affected areas.
2. Cracked Grout: Cracks in your newly applied grouted backsplash can occur if there is movement between tiles or if the mixture was not mixed correctly with enough water content for flexibility during curing time.
Remove any loose pieces of cracked-grouted area before reapplying new fresh layer.
3. Stained Grouts: Stains on your freshly installed back-splashed tile may appear due to poor sealing techniques that allow moisture penetration into porous surfaces such as natural stone tiles which will cause discoloration over time; use an appropriate sealant product recommended by manufacturer instructions after cleaning thoroughly with mild soap solution followed by rinsing well then drying completely before applying sealer coat(s).
Grout Maintenance Tips
Over time, grout can become discolored or stained due to exposure to moisture, dirt, and grease. To maintain the appearance of your backsplash, it’s important to clean the grout regularly.
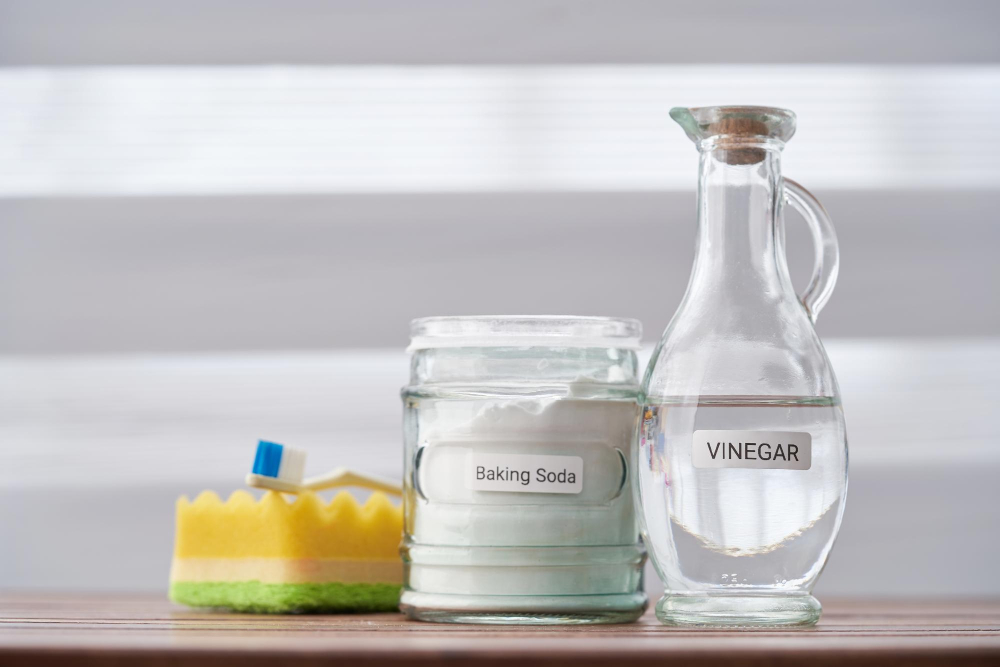
One simple way of cleaning grouted surfaces is by using a mixture of baking soda and water. Apply this paste onto the affected areas with a soft-bristled brush or sponge and let it sit for 10-15 minutes before rinsing off with warm water.
Another effective method is using vinegar mixed with warm water in equal parts as an all-purpose cleaner for tiles including those on your backsplash area. Spray this solution onto the surface then scrub gently before wiping away any residue left behind.
To prevent future staining or discoloration from occurring on your newly-grouted surface consider applying a sealant after allowing enough curing time (usually 24 hours). This will help protect against spills while also making cleaning easier in case anything does happen!
Finishing Touches
First, allow the grout to dry completely according to the manufacturer’s instructions. Once it has cured, use a soft cloth or sponge and warm water to clean any remaining haze from the tiles’ surface.
If you want an extra layer of protection for your newly-grouted backsplash, consider applying a sealant over the dried grout. A sealer will help prevent stains and make cleaning easier in future.
Step back and admire your work! Your freshly-grouted backsplash is sure to impress anyone who sees it – not only does it look great but also provides practical benefits such as protecting against moisture damage.
With these simple steps on how-to grout a backsplash coupled with some finishing touches like cleaning excess haze off tiles’ surfaces and sealing them up for added protection; you can transform any kitchen or bathroom into something beautiful that will last for years!
FAQ
How long do you leave grout before wiping off?
Ideally, you should leave grout for no more than 30 minutes before gently wiping off the excess using a wet grout sponge.
What kind of grout do you use for kitchen backsplash?
For a kitchen backsplash, unsanded grout is most often used due to its suitability on vertical surfaces and narrow grout lines which reduces the chances of cracking.
What are the essential tools needed for grouting a kitchen backsplash?
Essential tools needed for grouting a kitchen backsplash include a grout float, grout sponge, bucket, utility knife, and a clean cloth.
How can you prevent grout from staining natural stone backsplash tiles?
To prevent grout from staining natural stone backsplash tiles, you should apply a sealer to the tiles before grouting them.
What is the process for fixing grout mistakes or repairing damaged grout on a backsplash?
To fix grout mistakes or repair damaged grout on a backsplash, one must remove the old grout, clean the area, mix new grout, apply it to the joints, and allow it to dry properly.


