Last updated on
Discover the simple steps to construct a durable and budget-friendly outdoor kitchen using cinder blocks, transforming your backyard into the ultimate entertainment space.
Are you tired of constantly running back and forth between your indoor kitchen and your outdoor grill during summer cookouts? An outdoor kitchen might be just what you need to take your backyard entertaining to the next level. And the best part? You don’t have to break the bank to make it happen.
In fact, with a few cinder blocks and some DIY know-how, you can create a functional and stylish outdoor cooking space that will impress all of your guests. So roll up your sleeves and get ready to learn how to build an outdoor kitchen with cinder blocks!
Key takeaways:
- Building an outdoor kitchen with cinder blocks is a cost-effective option.
- Consider the layout, climate, and utilities when planning your outdoor kitchen.
- Prepare the site and construct a stable foundation with gravel and crushed stone.
- Build the cinder block base and frame, ensuring level and secure layers.
- Customize your outdoor kitchen with countertops, appliances, lighting, and shelving.
What's Inside
Benefits of Outdoor Kitchens
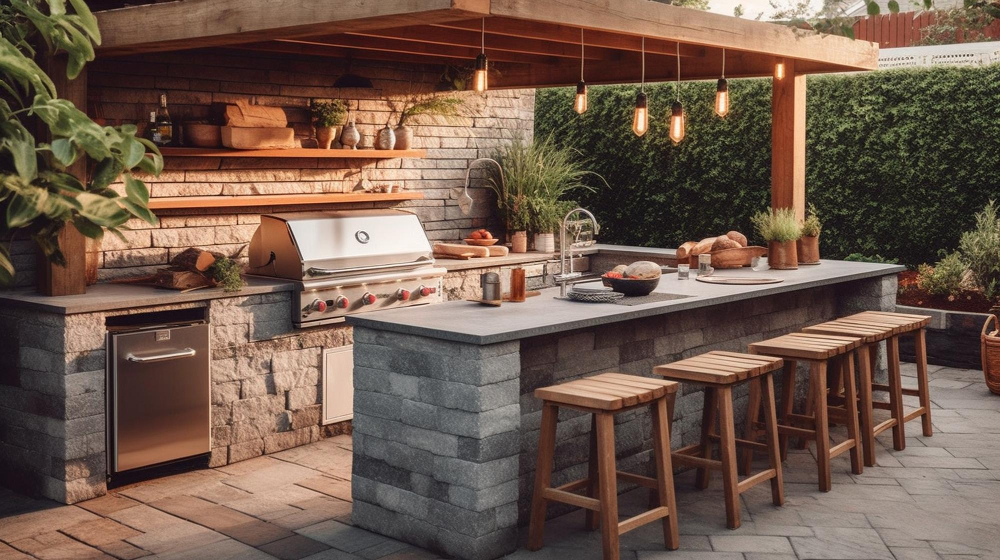
It’s an extension of your home, providing additional living space for you and your family to enjoy. One of the biggest benefits of having an outdoor kitchen is that it allows you to entertain guests without being stuck inside while everyone else enjoys the beautiful weather outside.
With a fully equipped cooking area, you can prepare meals right alongside your guests, making it easy to socialize while still keeping an eye on what’s cooking.
Another advantage of having an outdoor kitchen is that it adds value to your home. Outdoor kitchens are becoming increasingly popular among homeowners who want to create their own backyard oasis or increase their property value before selling their homes.
With proper planning and design, building an outdoor kitchen can be cost-effective compared with indoor renovations or additions. Cinder blocks are affordable materials that offer durability against harsh weather conditions such as rainstorms or snowfall.
Planning Your Outdoor Kitchen
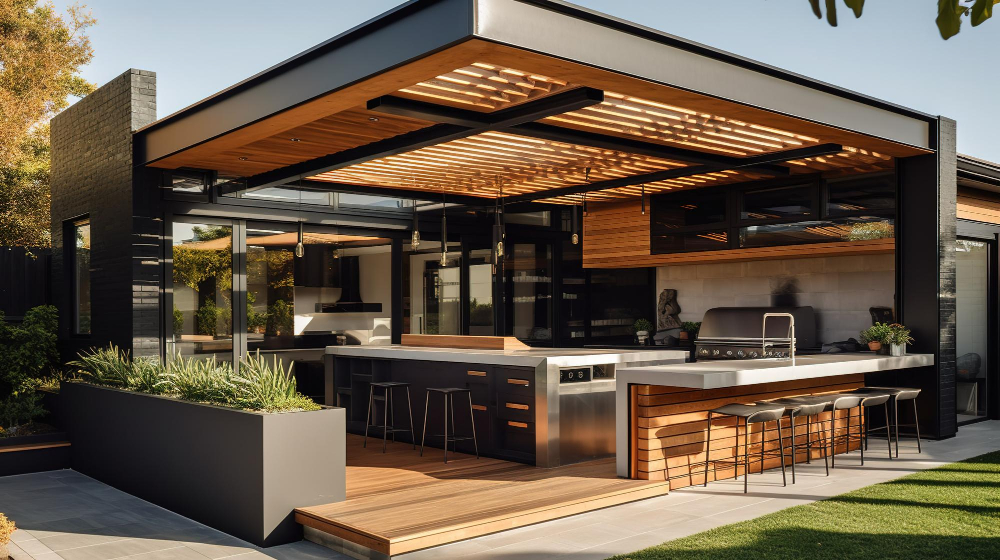
Think about how you will use the area and what features are essential for your cooking style. Will you be hosting large gatherings or just cooking for a small family? Do you need ample counter space or is storage more important? These questions will help guide your design choices.
Another crucial factor to consider when planning an outdoor kitchen is its proximity to indoor plumbing, gas lines, and electrical outlets. You’ll want to make sure that these utilities are easily accessible so that installation costs don’t skyrocket.
Think about the climate in which you live as this can impact both design choices and materials used in construction. For example, if heavy rainfalls are common in your area then waterproofing should be a top priority.
Choosing the Right Location
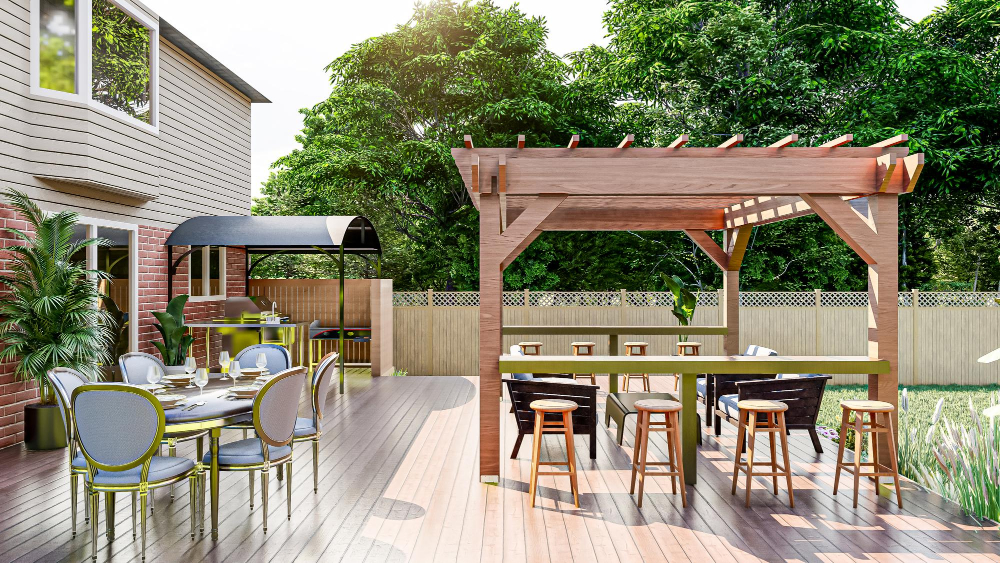
You want to make sure that your kitchen is easily accessible from your indoor living space and has enough room for all of the features you want to include. Consider factors such as wind direction, sun exposure, and proximity to utilities like water and electricity.
If you plan on using your outdoor kitchen primarily for entertaining guests, consider placing it near a seating area or patio where people can gather comfortably. On the other hand, if you’re more interested in using it as a personal cooking space or grilling station, place it closer to any existing garden beds or vegetable patches.
Think about how much privacy you want when cooking outdoors. If neighbors are close by or there’s heavy foot traffic in your backyard during certain times of day (like when kids are coming home from school), choose a spot that’s shielded from view with fencing or landscaping.
Necessary Tools and Materials
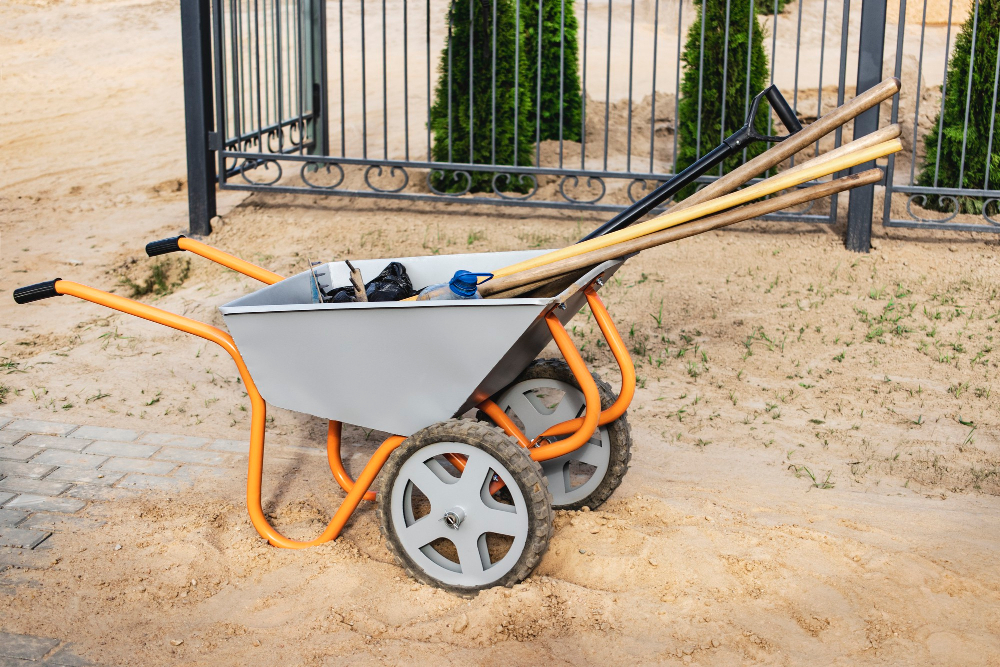
Here are some of the essential items you’ll need:.
Tools:
- Measuring tape
- Level
- Shovel
- Wheelbarrow or mixing tub for concrete
- Trowel
- Rubber mallet
- Circular saw with a diamond blade (for cutting cinder blocks)
- Materials:
- Cinder blocks (estimate based on your design)
- Concrete mix or mortar mix
- Rebar (if needed)
- Gravel
- Countertop material such as granite, tile, or concrete
- Keep in mind that depending on the size and complexity of your project, there may be additional tools and materials required. It’s always best to plan ahead and make sure you have everything before starting construction. With these basic supplies at hand, let’s move onto sourcing cinder blocks!
Sourcing Cinder Blocks
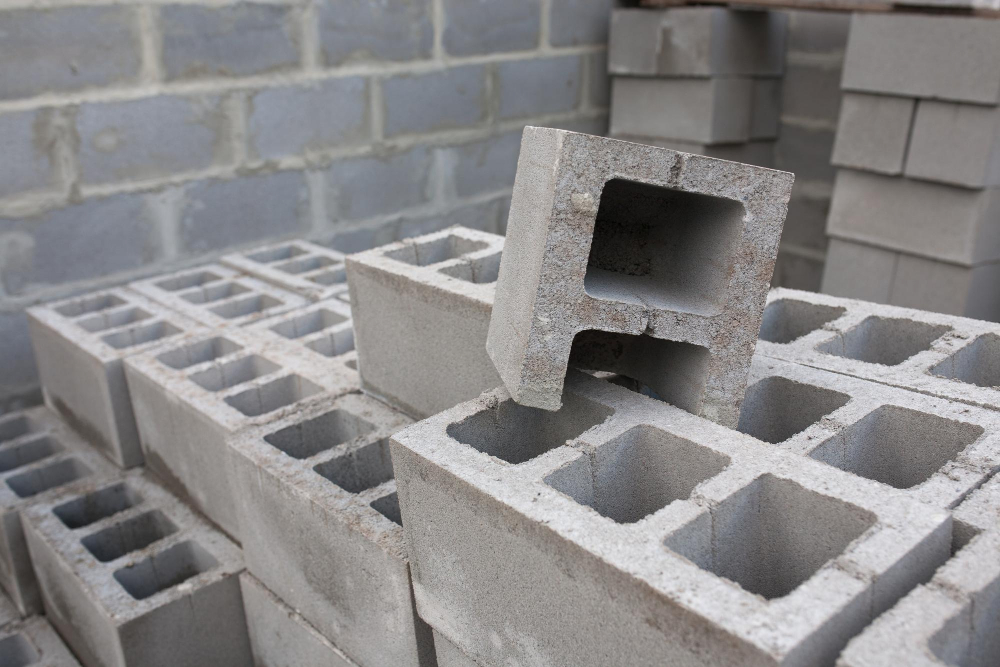
One of the most important components is cinder blocks. These versatile building blocks are affordable, durable and easy to work with.
You can find cinder blocks at most home improvement stores or online retailers such as Amazon or Home Depot. Make sure to purchase enough for your project plus some extra in case of mistakes or miscalculations.
When selecting cinder blocks, inspect them carefully for any cracks or chips that could compromise their structural integrity. It’s also essential to choose high-quality mortar mix and rebar reinforcement if needed.
Site Preparation and Design
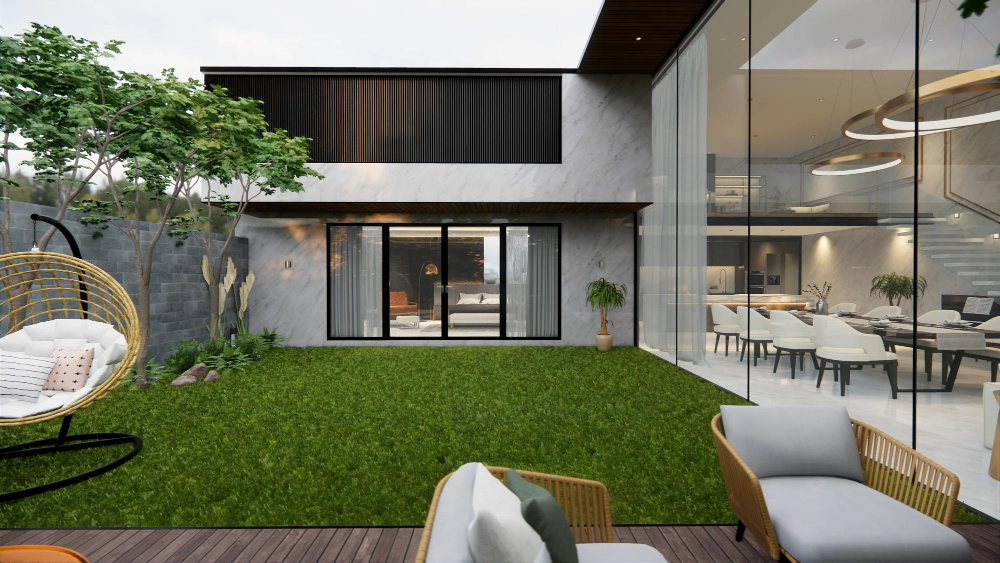
The first step is to choose a location that is easily accessible from your indoor kitchen and has enough space for all of the features you want in your outdoor cooking area. Consider factors such as wind direction, sun exposure, privacy, and views when selecting a spot.
Once you’ve chosen a location for your cinder block kitchen, it’s time to prepare the site. Start by clearing away any debris or vegetation from the area where you plan to build.
Next, level out the ground using sand or gravel so that there are no bumps or uneven spots.
After preparing your site properly comes designing an efficient layout for maximum functionality of appliances like grills and sinks while ensuring adequate counter space around them. Take into account how many people will be using this space at once; if hosting large gatherings frequently then consider adding more seating areas with ample room between each one.
Foundation and Floor Base
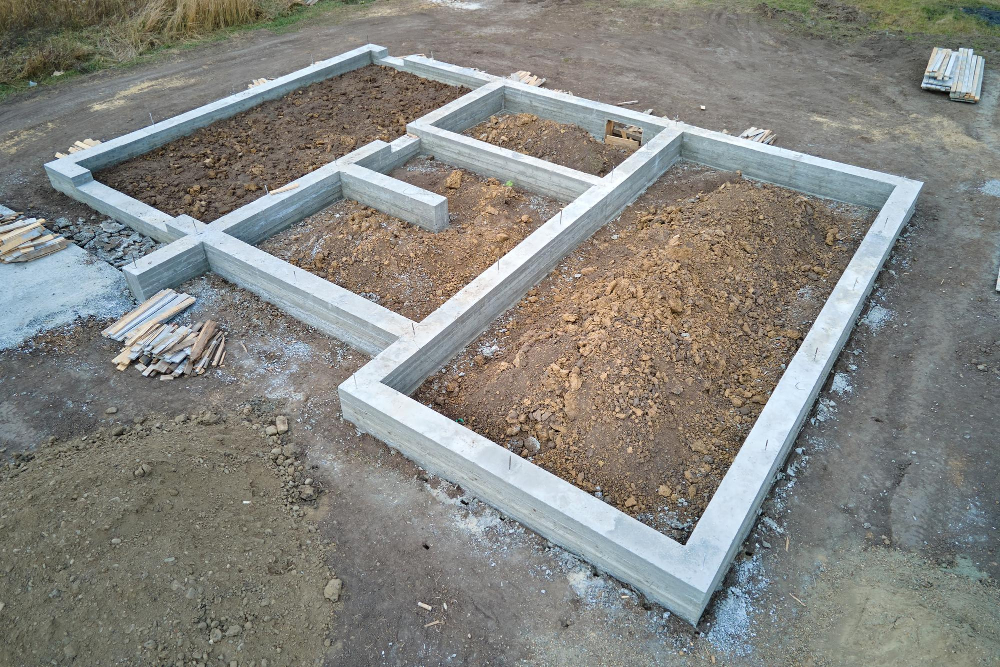
This will ensure that your kitchen is level and stable, preventing any potential accidents or damage in the future.
Firstly, clear out any debris from the area where you plan to build your outdoor kitchen. Then use a shovel to dig down about 6 inches deep into the soil.
Next, fill this space with gravel or crushed stone until it reaches about 4 inches high.
Using a tamper tool or plate compactor machine (which can be rented at most hardware stores), compact down on top of the gravel layer until it’s firm and levelled out evenly across all areas.
Once this is done, add another layer of crushed stone on top – around 2-3 inches thick should suffice – before using another tamper tool/plate compactor machine over again for an even finish.
Building the Cinder Block Base
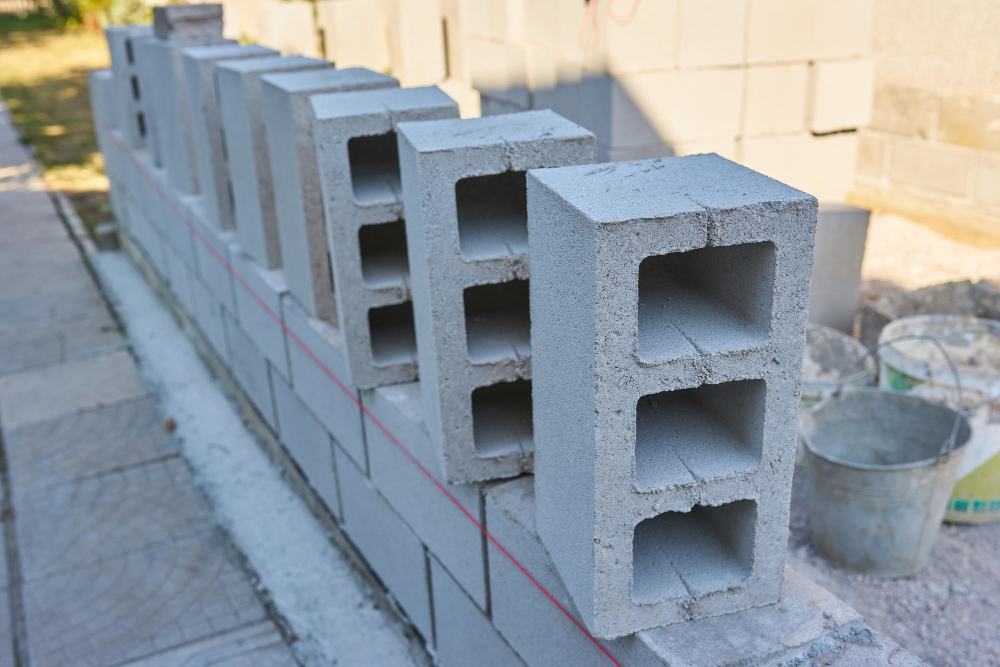
This is where those cinder blocks come into play! Begin by laying out a row of cinder blocks along the perimeter of your kitchen area, making sure they are level and evenly spaced. Then, add another layer on top using construction adhesive to secure them together.
Continue adding layers until you reach the desired height for your base. It’s important to make sure each layer is level before moving on to the next one.
You can use a spirit level or laser level for this step.
To create openings for appliances such as refrigerators or drawers, leave gaps between certain sections of cinder block walls while building up each layer according to plan.
Constructing the Frame
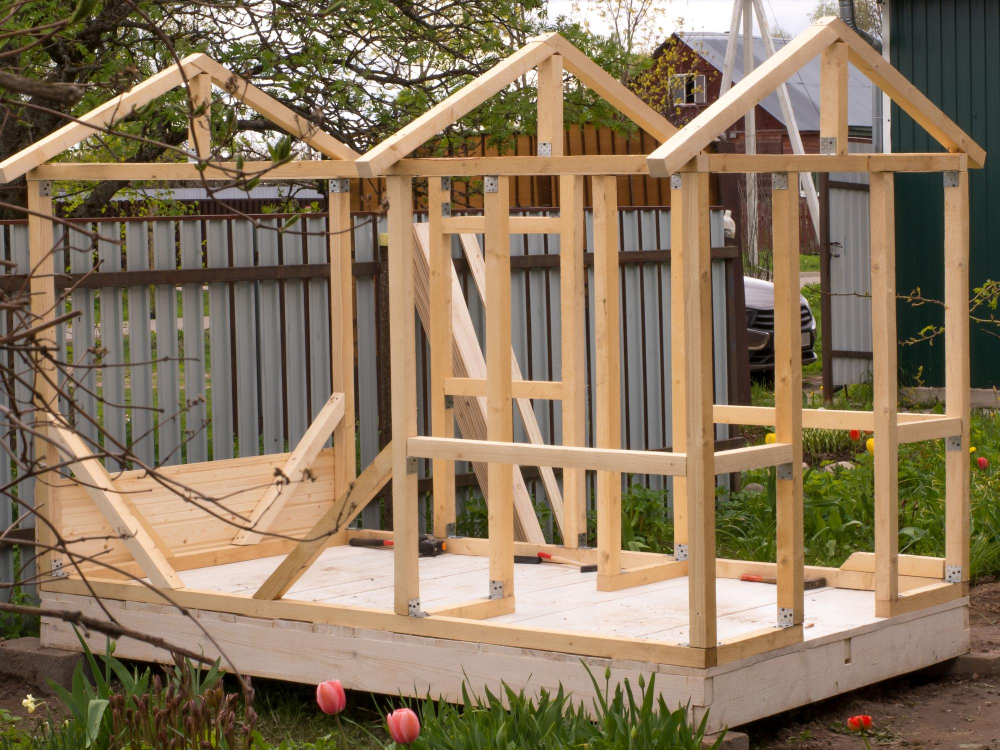
This is where things really start to take shape! Begin by laying out your cinder blocks in a square or rectangular shape, leaving an opening for any appliances that will be built-in. Use construction adhesive between each block layer to ensure stability.
Next, add vertical rebar rods every few feet along the inside corners of your cinder block structure. These rods will provide additional support and help prevent cracking over time.
After adding rebar, fill each cinder block with concrete mix using a trowel or scoop until they are completely filled. Smooth out any excess concrete on top with a trowel and let dry overnight before moving on to framing the countertop.
When framing your countertop area, use pressure-treated lumber as it can withstand exposure to moisture better than untreated wood. Cut pieces of lumber according to measurements taken during planning stages and attach them securely onto metal brackets attached at intervals around perimeter walls using screws or nails.
Framing the Countertop
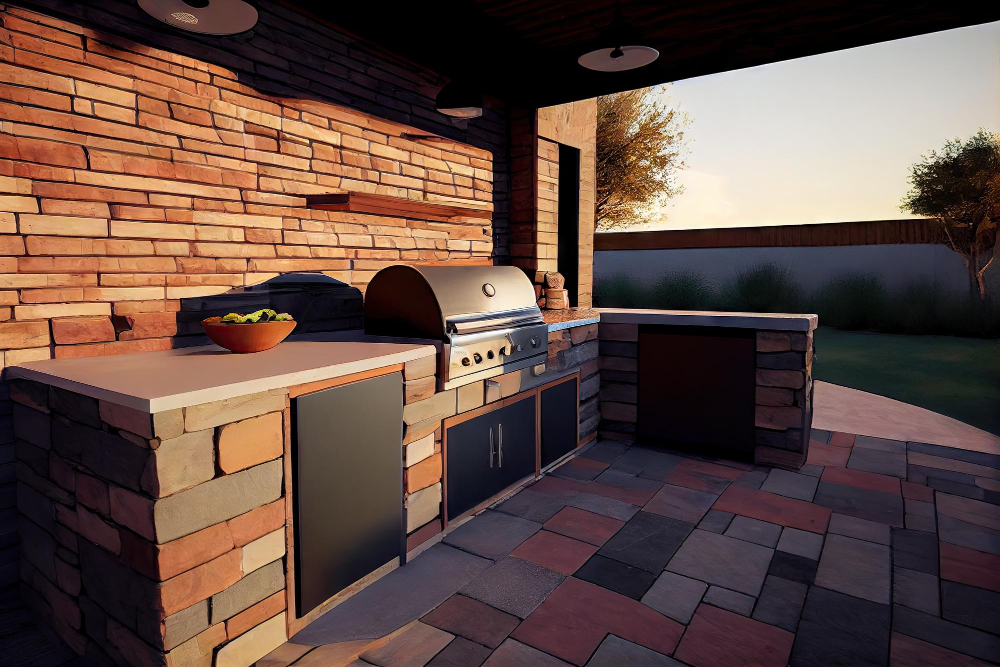
This step is crucial as it will determine how sturdy and level your cooking surface will be. To begin, measure and cut a piece of plywood to fit on top of the cinder block base.
Then, attach 2x4s around the perimeter of the plywood using wood screws.
Next, add additional support by attaching more 2x4s perpendicular to those already in place. These should be spaced evenly across the length of your countertop frame.
Use a level to ensure that everything is even before securing all pieces together with wood screws or nails.
Installing the Grill and Appliances
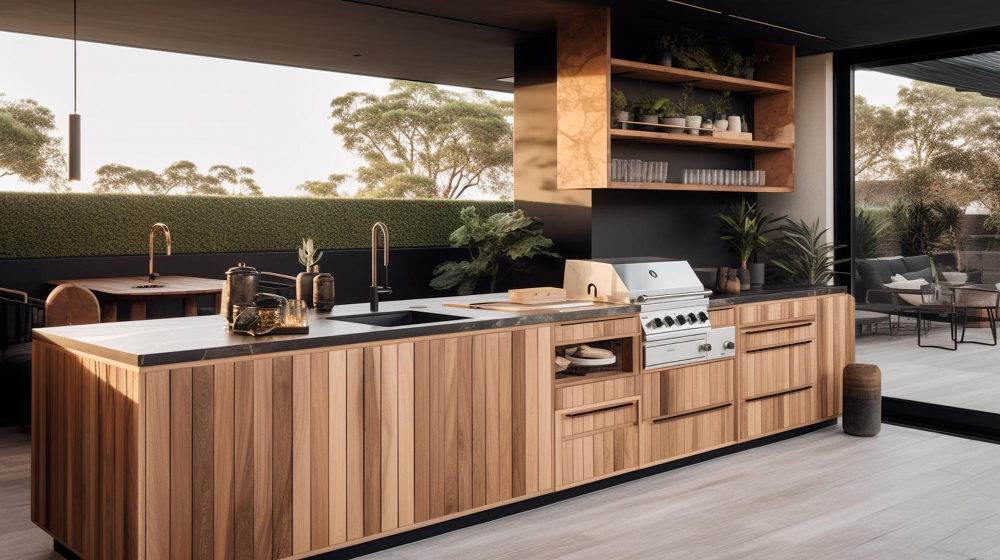
The first step is to measure the dimensions of each appliance carefully, ensuring that they fit snugly into their designated spaces. When installing a gas grill or any other gas-powered appliance, make sure that you have a licensed professional handle all connections to ensure safety.
When positioning your appliances in place, be mindful of how they will be used during cooking. For example, if you plan on using an outdoor refrigerator frequently while grilling or prepping food items on nearby countertops for easy access.
It’s also important to consider ventilation when installing appliances such as grills and smokers. Make sure there is enough space around them for proper airflow so that smoke can escape easily without causing damage or discomfort.
Adding Countertops and Shelving
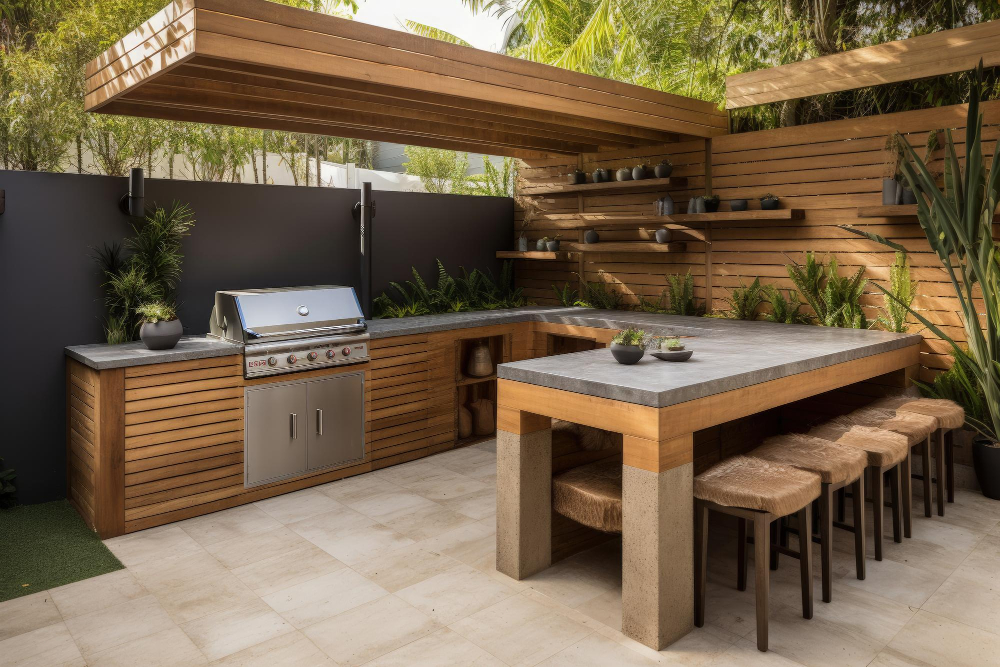
This is where you can really get creative with your design, choosing materials that complement the style of your home and backyard. Granite or concrete are popular choices for countertops as they are durable and weather-resistant.
You can also opt for wood if you prefer a more rustic look but be sure to treat it regularly with a waterproof sealant.
When it comes to shelving, cinder blocks make great supports for wooden planks or metal shelves. You could even repurpose old pallets into shelves by sanding them down and staining them in a color that matches your outdoor kitchen decor.
Remember to keep functionality in mind when adding countertops and shelving – ensure there is enough space for food preparation, cooking utensils storage, plates/bowls/cups storage etc., so everything has its place within easy reach while cooking outdoors.
Installing a Sink and Plumbing
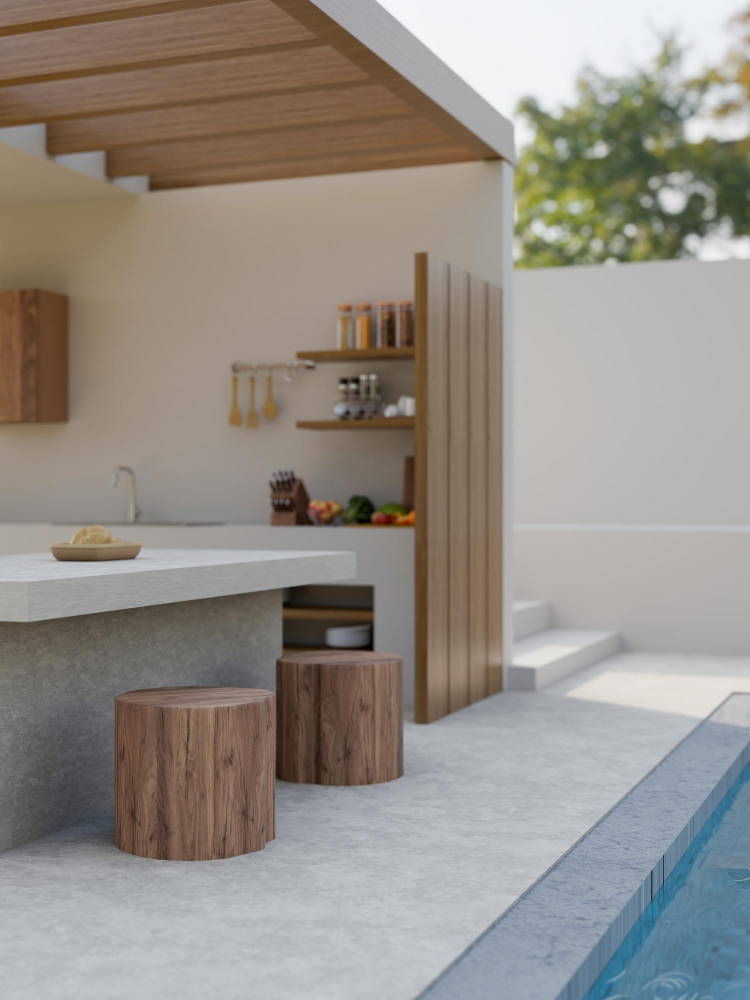
Installing a sink is an essential component of any outdoor kitchen, as it allows for easy cleanup and food preparation. To get started, you’ll need to run water lines from your home’s main supply line to the location of your outdoor sink.
This can be done using PVC pipes or flexible tubing.
Next, install a drainpipe that connects the sink basin with the sewer system or septic tank on your property. Make sure that all connections are secure and watertight by using plumber’s tape or sealant.
When choosing a sink for your outdoor kitchen, consider one made from durable materials such as stainless steel or ceramic that can withstand exposure to harsh weather conditions without rusting or cracking.
Electrical Setup
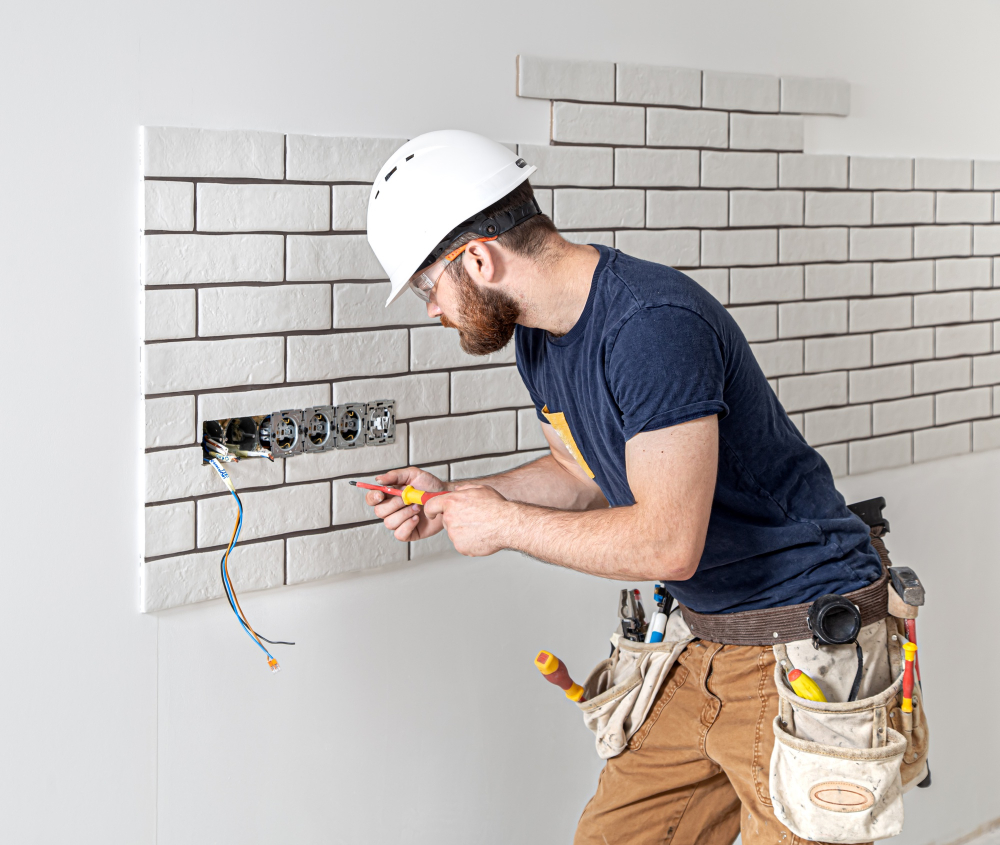
You’ll need to ensure that there is a safe and reliable power source for all of your appliances and lighting fixtures. It’s important to hire a licensed electrician who can help you with this step, as they will know how to properly install wiring and outlets in an outdoor environment.
When planning the electrical layout for your cinder block kitchen, consider where each appliance will be located so that you can determine the best placement for outlets. You may also want to add additional circuits or upgrade existing ones if necessary.
It’s crucial that all wiring is protected from moisture by using weatherproof conduit or enclosures. GFCI (ground fault circuit interrupter) outlets should also be installed near any water sources such as sinks or refrigerators.
Make sure all switches are easily accessible but out of reach of children playing nearby.
Lighting and Ventilation
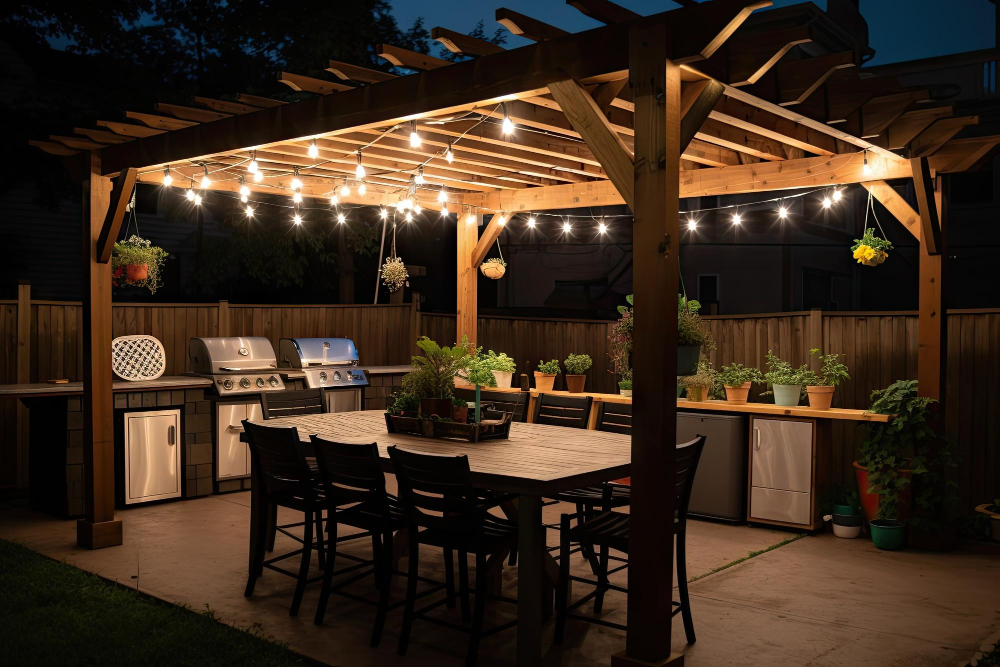
Proper lighting will not only enhance the ambiance but also ensure safety during nighttime cooking sessions. Consider installing overhead lights, task lighting under cabinets, and even accent lights to highlight specific features of your kitchen.
Ventilation is equally important as it helps to remove smoke, steam, and other fumes from the cooking area. A range hood with a fan is an excellent option for proper ventilation in an outdoor kitchen setup.
When planning for both lighting and ventilation in your cinder block outdoor kitchen design, be sure to consult with a professional electrician who can help you determine what type of wiring or electrical work may be necessary based on local codes.
Customizing Your Cinder Block Kitchen
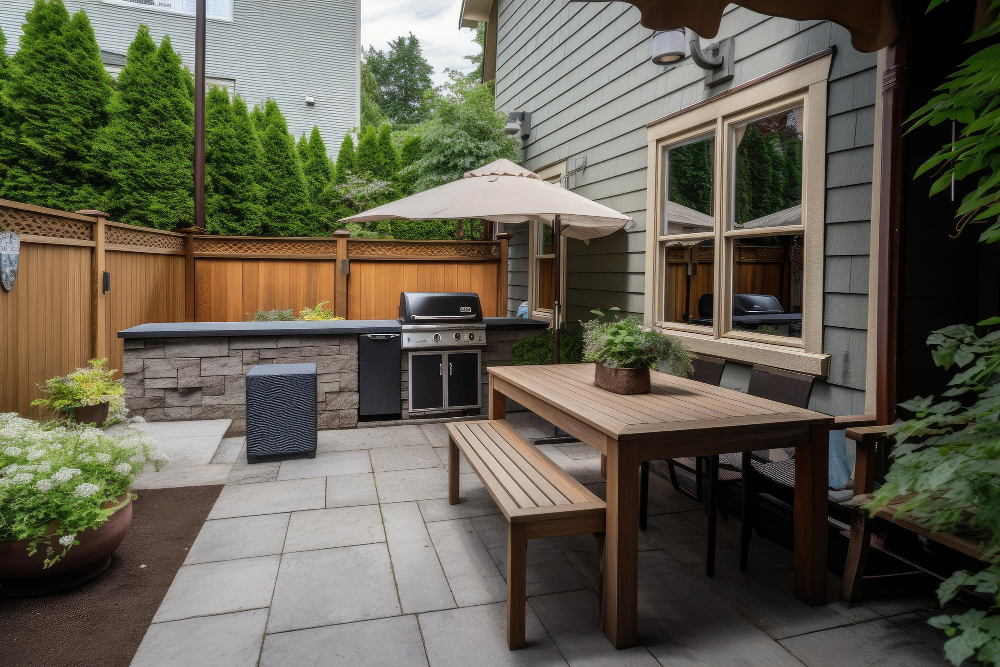
Customizing your outdoor kitchen can be as simple or complex as you want it to be, depending on your budget and design preferences.
One way to customize is by adding a backsplash behind the countertop. This not only adds visual interest but also protects the wall from splatters and stains while cooking.
You can use tiles, stone veneer or even paint for this purpose.
Another option is installing an outdoor refrigerator or wine cooler for easy access to cold drinks during hot summer days. A built-in ice maker will also come in handy when entertaining guests.
If you love grilling pizzas, consider building a pizza oven into one side of your cinder block base instead of using a traditional grill setup. It will give an authentic taste that everyone loves!
Don’t forget about lighting! Adding string lights above the seating area creates ambiance while task lighting under cabinets makes food prep easier after dark.
Maintenance and Outdoor Kitchen Safety Tips
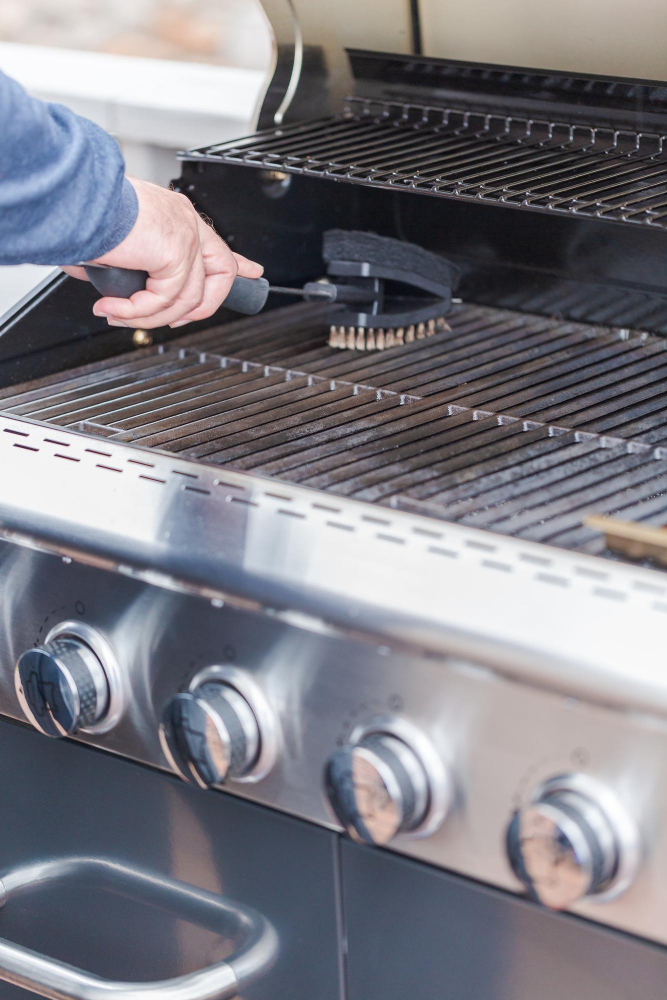
Regular cleaning is essential to prevent the buildup of grease and other debris that can pose a fire hazard. Be sure to clean your grill after each use, as well as any countertops or surfaces that come into contact with food.
In addition to regular cleaning, there are a few safety tips you should keep in mind when using your outdoor kitchen. First and foremost, always follow the manufacturer’s instructions for all appliances and equipment used in your outdoor kitchen.
This includes proper installation procedures as well as recommended usage guidelines.
It’s also important to be mindful of where you place flammable materials such as paper towels or napkins while cooking on the grill. Keep them away from open flames or hot surfaces whenever possible.
Make sure that all electrical components are properly grounded and protected from moisture exposure during inclement weather conditions.
Weatherproofing Your Kitchen
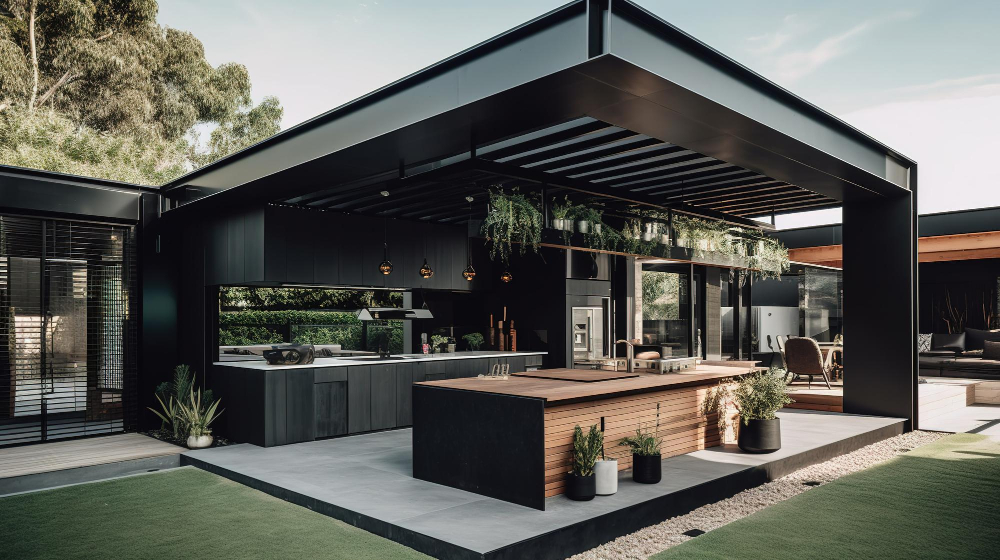
Weatherproofing your kitchen will not only help extend its lifespan but also ensure that you can use it year-round, no matter what Mother Nature throws at you.
One of the most critical aspects of weatherproofing is ensuring that all electrical components are properly installed and protected. Make sure all outlets and switches have waterproof covers, and consider installing a ground fault circuit interrupter (GFCI) outlet for added safety.
Another key factor in weatherproofing is choosing materials that can withstand exposure to moisture and extreme temperatures. Opt for stainless steel appliances or those specifically designed for outdoor use, as they are less likely to rust or corrode over time.
Invest in high-quality covers or tarps designed specifically for outdoor kitchens when not in use. This will help protect against rainwater damage while keeping dust and debris out of your cooking area.
FAQ
What is the cheapest way to build an outdoor kitchen?
The cheapest way to build an outdoor kitchen is by using salvaged materials such as reclaimed wood or recycled stone and brick, as they are more affordable and eco-friendly.
What is the best block for an outdoor kitchen?
The best block for an outdoor kitchen is cinder block, as it is affordable, weather and fire resistant, and easy to work with.
How do you properly plan and design an outdoor kitchen using cinder blocks?
To properly plan and design an outdoor kitchen using cinder blocks, carefully measure the area, create a layout, choose the right cinder block size and type, ensure proper ventilation and utilities, and adhere to local building codes.
What are the necessary tools and materials needed to construct a cinder block outdoor kitchen?
To construct a cinder block outdoor kitchen, one needs cinder blocks, mortar, rebar, concrete mix, concrete board, work gloves, masonry tools, a level, a circular saw, and a carpentry square.
What safety precautions should be considered when building an outdoor kitchen with cinder blocks?
When building an outdoor kitchen with cinder blocks, ensure proper ventilation, use heat-resistant materials, and adhere to local building codes and regulations.


