Last updated on
Learn how to construct a durable and stylish outdoor kitchen using wood frame plans, a project that can elevate your backyard entertaining.
Key takeaways:
- Choose rot-resistant hardwoods like teak, cypress, and cedar.
- Consider the layout and size of your appliances when designing the wood frame plans.
- Start the construction process with a solid foundation and secure vertical supports with horizontal beams.
- Measure carefully and choose durable countertop materials like granite or stainless steel.
- Prioritize safety by using treated lumber, ensuring proper ventilation, and maintaining the structure regularly.
What's Inside
Assessing Wood Suitability for Outdoor Kitchens
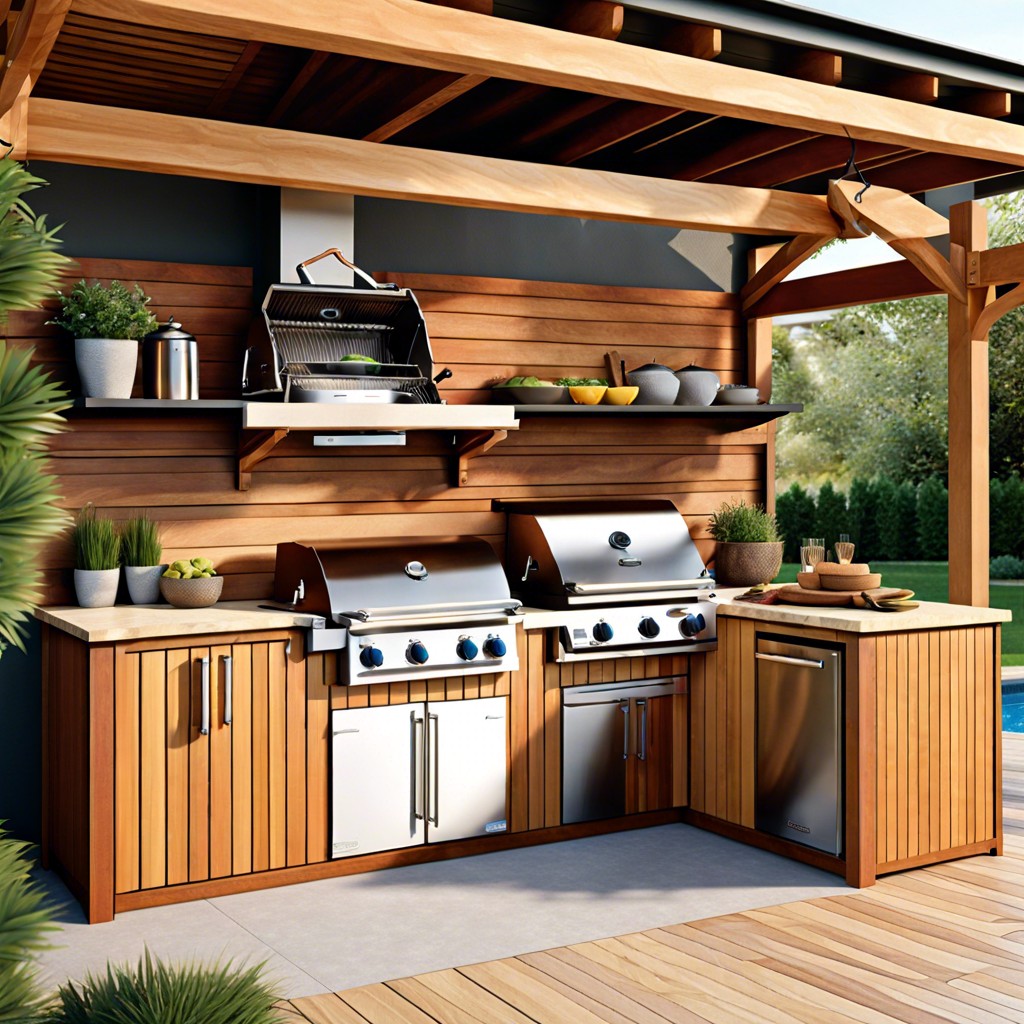
Selecting the right kind of wood for an outdoor kitchen is critical due to exposure to the elements. Hardwoods like teak, cypress, and cedar are top choices because of their ability to resist rot, decay, and insect infestation. Teak, known for its durability and strength, can withstand the constant assault of changing weather conditions, making it an excellent investment for longevity.
However, maintenance is key no matter the wood type. Regular staining or sealing helps to maintain wood’s natural defenses against moisture and sun damage. The climate should also guide your choice. In humid areas, woods with natural moisture resistance are preferable, while in drier climates, a broader range of woods could be considered viable.
It’s important to note that pressure-treated wood, while resistant to rot and pests, contains chemicals that some might consider unsafe for food surfaces. For a more natural approach, consider wood alternatives like bamboo, known for sustainability and strength, or look into using reclaimed wood, which not only adds character but also offers environmental benefits through recycling.
In all cases, ensure that the chosen wood complies with local building codes and is suitable for structural use, especially when it’s forming the backbone of your outdoor cooking area. This choice impacts not only the kitchen’s aesthetics but also its functional lifespan.
Designing the Wood Frame Plans
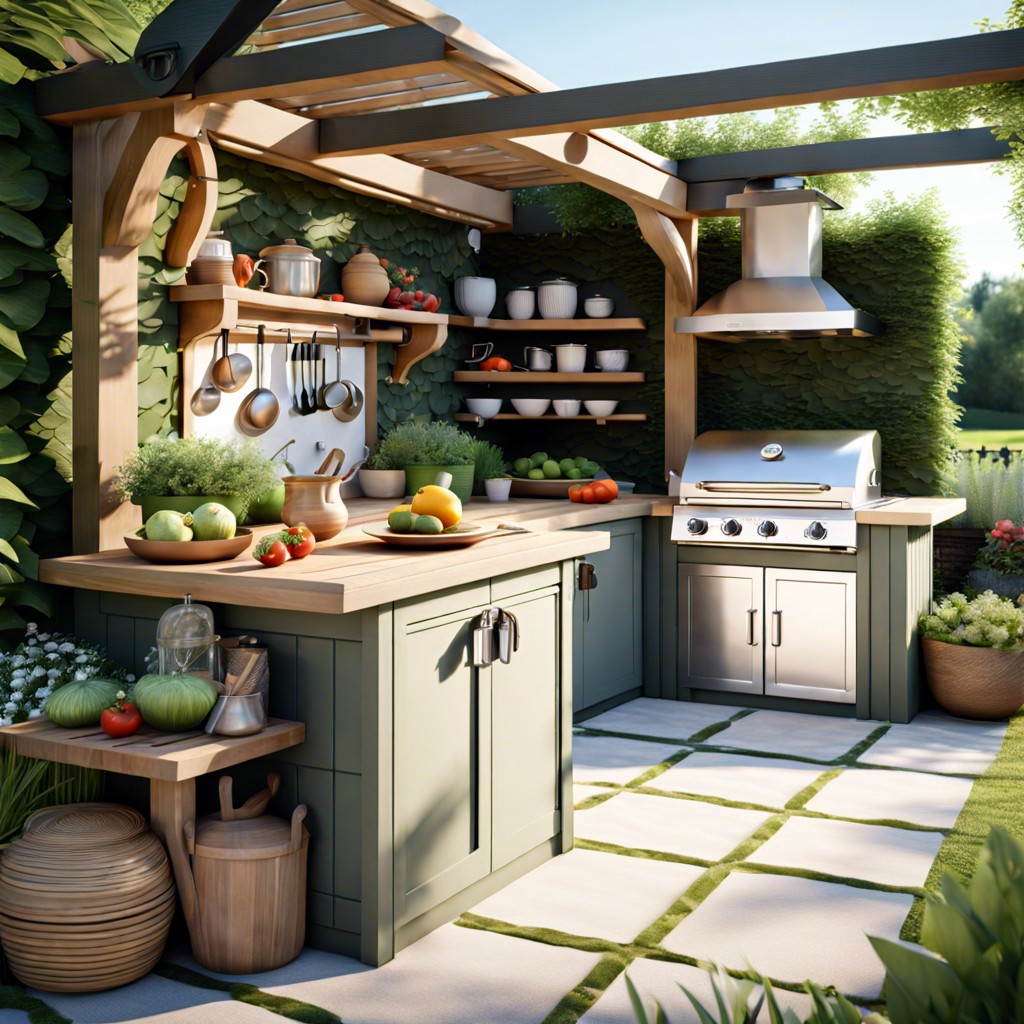
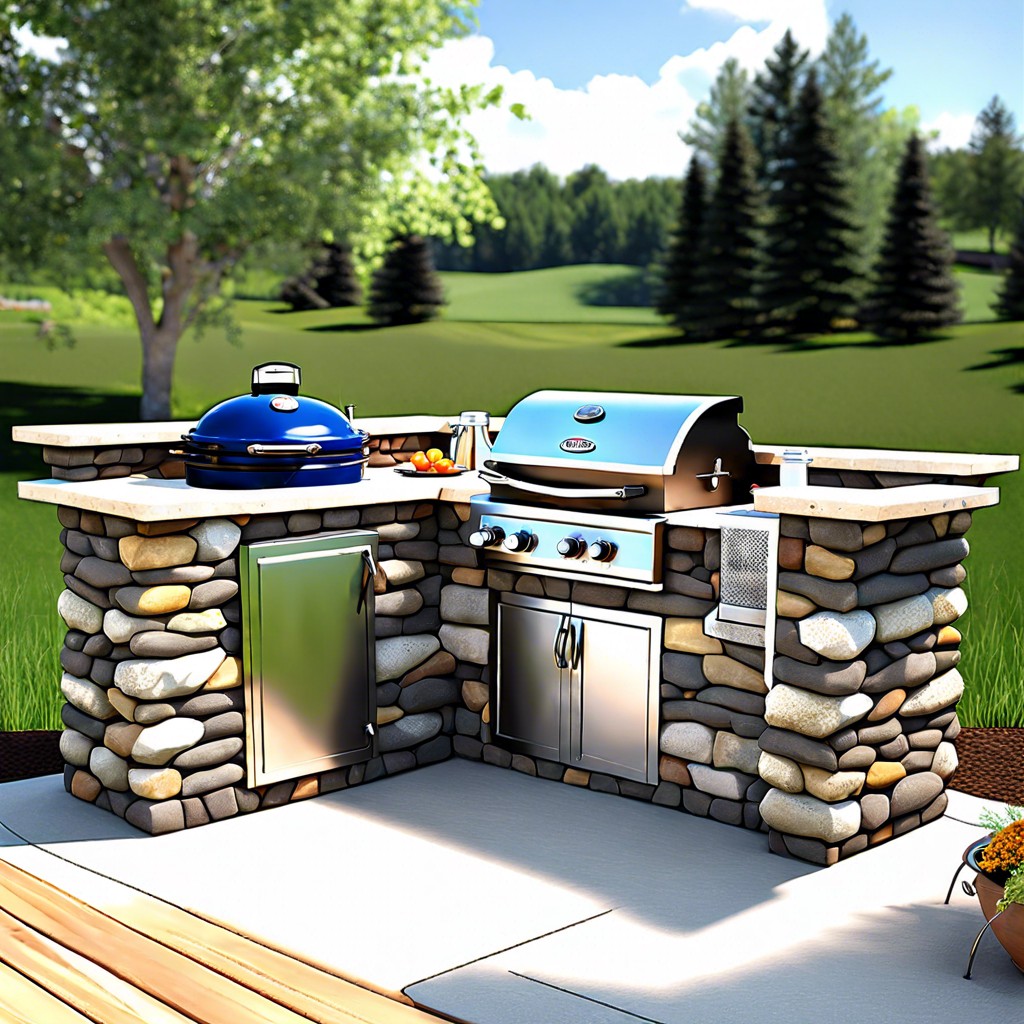
When crafting your wood frame plans, consider the layout that best suits your space and needs. A U-shaped layout offers ample counter space and creates an efficient work triangle. L-shaped layouts are ideal for corner spaces, providing an open area for guest interaction.
Factor in the size of your appliances; leave adequate space for a grill, sink, and refrigerator. Account for additional features like pizza ovens or smokers if you desire. Ensure your design includes plenty of prep and serving areas for a functional flow.
For durability and stability, select weather-resistant wood like cedar or redwood and ensure that all wooden elements are appropriately treated and sealed against moisture and insects. Incorporate a cross-bracing support system in your design for added structural integrity, especially with heavier appliances.
Remember, every inch counts, so optimize your design for storage with cabinets or shelving. You’ll want enough room to store utensils, pots, and other outdoor cooking essentials within arm’s reach but out of the way of your work zones.
Integration of electrical and plumbing lines should be considered early in the design phase. Plan for safe and convenient locations for outlets and water lines, compliant with local building codes.
Good planning details not only the aesthetic but the durability and functionality of your outdoor kitchen for season after season of enjoyable cooking and entertaining.
Constructing the Wood Frame Base
Diving into the construction of the wood frame base involves a detailed approach to ensure durability and function.
Start by laying a solid foundation, crucial for the integrity of your outdoor kitchen. Use concrete footings or a full slab, providing a level and sturdy platform for your wood frame.
Assemble the vertical supports, creating the skeleton of your outdoor kitchen. Treated lumber is essential, as it resists decay and insect infestation. Secure them to the foundation, evenly spaced to support the weight of countertops and appliances.
Connect the vertical supports with horizontal beams. This creates a grid-like structure, adding stability and outlining the kitchen layout. Double-check for squareness at every stage to maintain a true alignment.
Incorporate areas for utilities early on. Plan for plumbing and electrical by leaving appropriate openings within the frame. Professional consultation can be critical here for safety and compliance with local codes.
Reinforce the frame at corners and stress points. Use brackets or additional lumber to provide extra strength where countertops and heavy appliances will sit.
Quality counts, so even seemingly small details like using exterior-grade screws can make a big difference in the longevity of your outdoor kitchen.
Remember to keep your design flexible. As you progress, you might need to make slight adjustments based on the materials and appliances you’ve chosen. A measure-twice-cut-once approach is always prudent.
Installing Countertops and Work Surfaces
Once the wood frame of your outdoor kitchen is securely in place, the next exciting phase is the countertop installation. This is where the kitchen starts to really take shape and your design choices become apparent. A seamless countertop installation enhances durability and aesthetics, but it also requires precision.
Firstly, measure the surface area meticulously to ensure your countertop material will fit perfectly. Any errors in measurement could lead to costly adjustments or the need for a complete do-over.
Select a durable material that can withstand the elements. Granite, concrete, and stainless steel are popular options for their resilience against weather and heat. Consider the weight of the material; reinforce the frame if necessary to support heavier countertops.
Before installing the countertops, protect your wood frame by applying a sealant. This will act as a barrier against moisture and potential wood rot, especially important in outdoor settings.
Align the countertops accurately with the frame, leaving space for appliances. Ensure level placement because an uneven countertop can lead to instability and pooling of water in unwanted areas. Securing the countertop with adhesive or fasteners ensures it won’t shift with time or use.
Finally, for work surfaces, opt for materials that are easy to clean and maintain. The convenience of wiping down surfaces quickly will make outdoor cooking and entertaining a breeze. Stainless steel, tiles, or sealed wood are all viable choices that marry functionality with visual appeal.
By paying attention to these details, your outdoor kitchen’s countertops and work surfaces will not only look superb but also provide a practical, long-lasting space for culinary creations.
Safety Measures for Wood-Framed Outdoor Kitchens
Ensuring the safety of your wood-framed outdoor kitchen begins with material choice. Opt for treated lumber that’s resistant to moisture and decay, crucial in warding off mold and weakening of the structure. Remember, flame resistance is not inherent in wood, so applying a flame retardant is a savvy move.
Ventilation is another key player in a secure setup. Positioning your kitchen to allow for adequate airflow will diffuse smoke and prevent buildup of combustible gases. Also, keep a safe distance between the wood frame and any heat sources such as grills or pizza ovens.
When it comes to electrical components, waterproof outlets and direct lines prevent electric shocks and short circuits—a must when blending electricity with outdoor elements. Similarly, non-slip flooring isn’t just about comfort; it reduces accident risks, especially in a space where spills are a given.
Regular maintenance might not sound thrilling, but it’s essential—check for structural integrity, signs of wear, damage or infestation regularly. Tackling these early dismisses a bigger headache later on.
Integrating these safeguards ensures your wood-framed outdoor kitchen remains a delight for culinary adventures rather than a recipe for disaster. Keep these points in mind and consult professionals when necessary to guarantee a balance between form, function, and safety.
