Last updated on
In this hands-on guide, you’ll learn the practical steps to craft your own kitchen cabinets, enabling you to add a personal touch to your culinary space.
Key takeaways:
- Base cabinet size: 24 inches deep, 36 inches tall.
- Wall cabinet measurements: 54 inches from floor, 12-24 inches deep.
- Use plywood, MDF, or solid wood for cabinets.
- Make precise cuts with a tablesaw for a no-fuss case.
- Carefully assemble cabinet parts, reinforce corners, and add shelves.
What's Inside
Begin With the Right Cabinet Dimensions
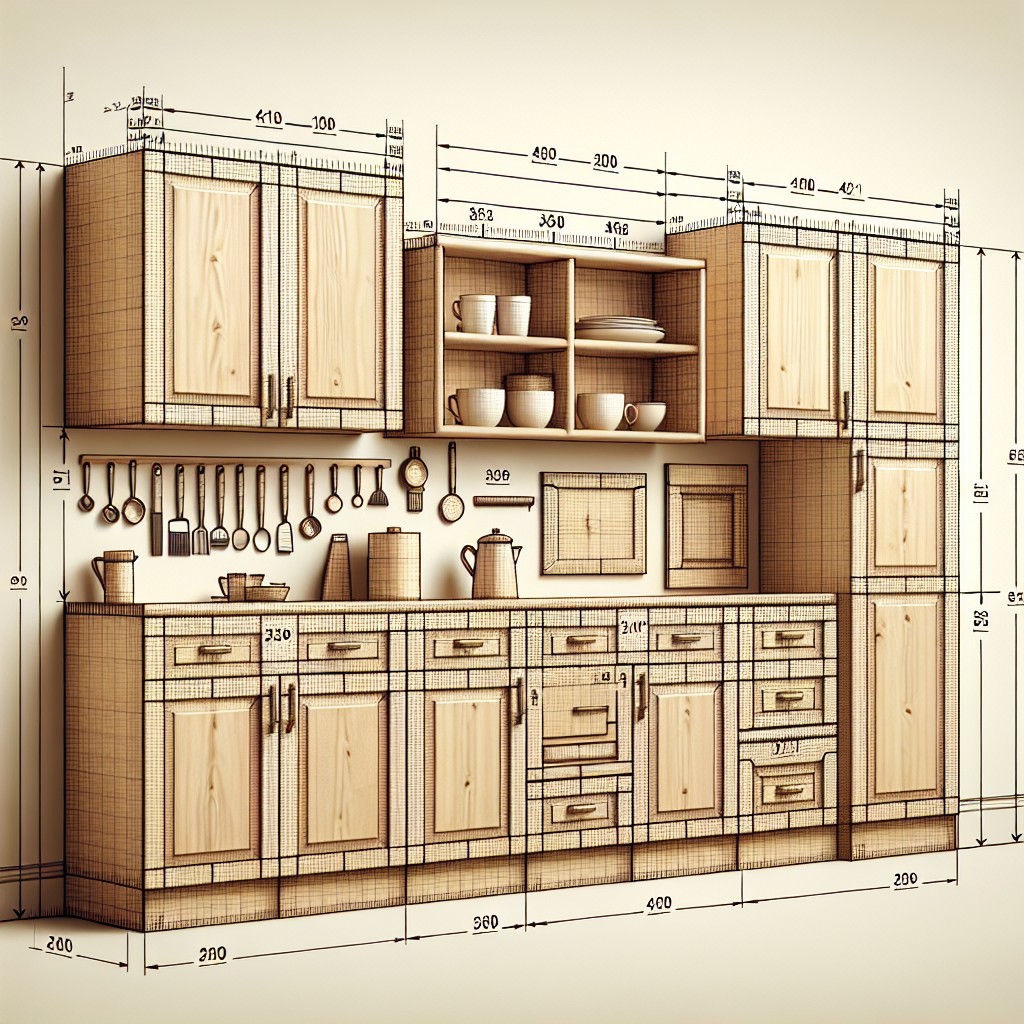
To ensure your kitchen cabinets serve their purpose and fit the designated space perfectly, start by getting precise measurements. Here’s what to consider:
- Base Cabinet Size: Typically, base cabinets are 24 inches deep and 36 inches tall. When accounting for countertop thickness, add an extra 1 to 1.5 inches.
- Wall Cabinet Measurements: Wall cabinets usually start at a height of 54 inches from the floor to the bottom of the cabinet, with a standard depth between 12 to 24 inches.
- Width Standards: Cabinets vary in width, but standards range from 9 to 48 inches, in 3-inch increments. This allows for flexibility to fit specific kitchen layouts.
- Spacing for Appliances: Remember to incorporate space for appliances—leave gaps that align with the dimensions of your fridge, stove, or dishwasher.
- Door Clearance: Mind the swing of cabinet doors, especially in corners. Account for hardware and ensure clearance from walls or other obstacles.
- Toe Kicks: These recesses at the bottom of cabinets provide foot space. Most toe kicks measure 4 inches in height and 3 inches in depth.
Balancing functionality with aesthetics is key. Use these points as a foundation, and you’re on track to creating well-proportioned cabinetry.
A Word About Materials
Choosing the proper materials is crucial for durability and aesthetics. Plywood offers stable and sturdy construction for cases; a thickness of 3/4-inch is standard.
For a high-end look, consider furniture-grade plywood with hardwood veneer. Medium density fiberboard (MDF) works well for painted cabinets and is cost-effective.
For door fronts and visible faces, solid wood is the go-to for its natural beauty and strength, with maple and oak being popular choices.
Melamine or laminate sheets can add a low-maintenance and prefinished surface to the cabinet interiors.
Remember to select the right screws and hardware – quality matters for longevity and function. Lastly, adhesives should not be overlooked: a good wood glue ensures a durable bond.
Make material decisions early; they influence both construction methods and final appearance.
Make a No-fuss Case Using Your Tablesaw
Crafting the cabinet case can be simplified significantly with a tablesaw, which allows for precision and uniformity. Position your tablesaw fence accurately for repeatable cuts, ensuring that all your components are of identical size, which is crucial for a square and stable cabinet.
Use a high-quality blade to achieve clean cuts without splintering, which is especially important when working with plywood or particleboard. Featherboards will be your best friend here, gently holding the workpiece against the fence for a steady feed. Always keep in mind the safety procedures while operating the saw—use push sticks to maintain a safe distance between your hands and the blade.
Remember to cut the pieces for the top and bottom, sides, and back of your cabinet according to the dimensions you have planned. This ensures everything will assemble neatly. Dado cuts can be employed to fit the cabinet bottom securely into the sides, adding to the overall sturdiness of the assembled cabinet.
Cut rabbets in the cabinet’s back edges to accommodate the back panel. This not only reinforces the structure but also aligns it perfectly without excessive measuring. Finally, cut notches for the toe-kick if required, doing so will greatly aid in fitting the cabinet at installation.
In short, precise, consistent cuts are the linchpin of a no-fuss cabinet case, and a tablesaw, deftly handled, is your ticket there.
Putting It All Together
With your case parts cut to size and the pocket holes drilled, assembly can commence. Lay out the bottom, sides, back, and front pieces to ensure everything aligns properly.
Here’s how to bring your cabinet to life:
- Start by attaching the sides to the bottom panel using glue and screws. A straightforward butt joint will suffice here; make sure it’s square by measuring diagonally from corner to corner.
- Slide the back panel into the groove if you’ve cut one, or attach it directly to the frame with screws for a simple build. Ensure it’s flush with the edges to lend rigidity to the structure.
- With the carcass assembled, install the face frame, aligning it carefully with the cabinet’s edges. If precision is your concern, use clamps to hold the frame in place before securing it with more screws.
- Reinforce the cabinet’s corners with corner brackets or blocks, which will add strength and help maintain squareness.
- Add the shelf standards, if you’re making adjustable shelves, ensuring they are level and parallel. This eliminates a wobbly shelf and guarantees a stable perch for your kitchenware.
Remember, consistent measurements are the difference between a custom look and a botched job. After the main body is complete, turn your attention to the doors and hardware—an equally important part of the cabinet’s form and function.
How to Take the Horrors Out of Drawers
Creating smooth-gliding drawers can seem intimidating, but a step-by-step approach simplifies the process. First, consider the type of slide mechanism—side mount, undermount, or center mount—based on your cabinet’s design and usage.
Measure the cabinet opening meticulously to determine the maximum size of your drawers, keeping in mind that slide hardware may require specific clearances. Subtract these clearances from the opening’s width to get the accurate drawer width.
When building the drawer box, opt for durable joinery such as dovetails or dowels; these will support the weight of contents and ensure a long life for your drawers.
Always pre-drill holes for screws when assembling and installing the drawer slides to prevent wood splitting. This small step can save time and materials.
Lastly, before fixing the drawer front, check the drawer box is perfectly square, and the slides are aligned. This prevents binding and ensures smooth operation. A drawer that moves effortlessly is not just convenient, but also a testament to quality craftsmanship.


