Last updated on
Discover the simple and effective steps to clean greasy kitchen light fixtures, ensuring a bright and welcoming space in no time.

The kitchen is the heart of every home, and keeping it clean and tidy is essential for a healthy living. However, cleaning greasy kitchen light fixtures can be a challenging task for many homeowners.
Over time, grease and grime build up on the surface of light fixtures, making them look dull and unattractive. Not only does this affect the aesthetic appeal of your kitchen but also reduces the amount of light emitted by your bulbs.
In this article, we’ll provide you with some easy-to-follow tips on how to clean greasy kitchen light fixtures effectively so that they shine bright like new again!
What's Inside
Identifying Greasy Kitchen Light Fixtures
The first step in cleaning greasy kitchen light fixtures is to identify which ones need attention. It’s easy to overlook the buildup of grease on your light fixtures, especially if you’re used to seeing them every day.
However, it’s important not to ignore this issue as it can lead to a dull and unattractive kitchen space.
To identify greasy kitchen light fixtures, take a closer look at each one individually. You may notice that some have visible grease stains or discoloration while others appear cloudy or dimmer than usual.
These are all signs that your fixture needs cleaning.
Another way of identifying greasy kitchen light fixtures is by touching them with clean hands; if they feel sticky or oily, then they likely have accumulated grease over time.
Safety Precautions
First and foremost, make sure that the power supply to the fixture is turned off before you begin cleaning. This will prevent any electrical accidents from occurring while handling wet surfaces.
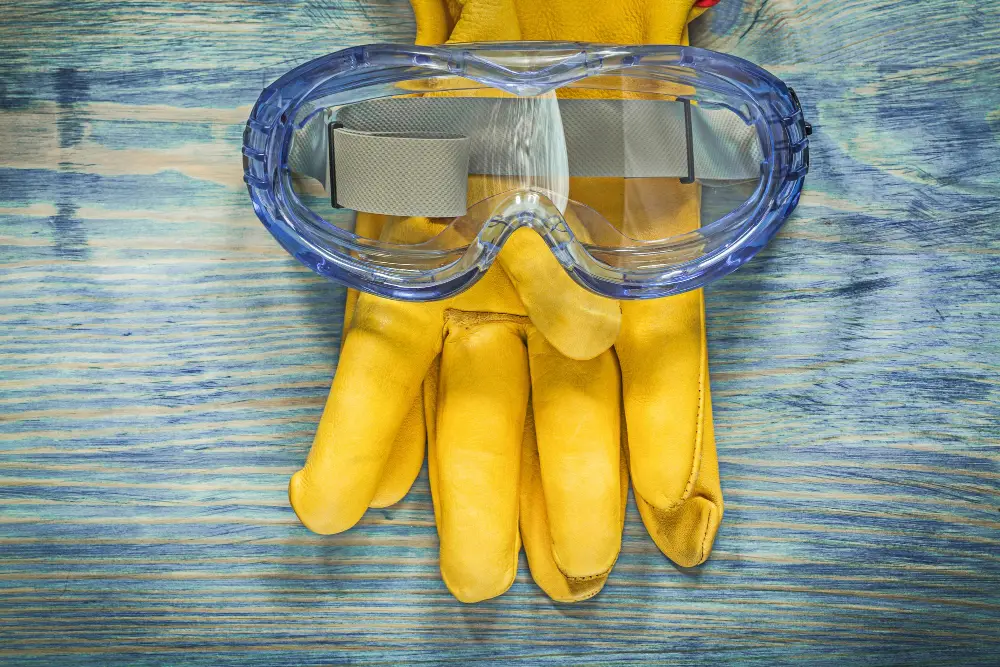
Wear protective gloves and goggles to avoid getting any chemicals or debris in your eyes or on your skin. If possible, use a sturdy ladder with slip-resistant feet when working on high fixtures.
It’s also important to note that different types of light fixtures require different methods of cleaning; therefore, it’s crucial always to read manufacturer instructions before attempting any DIY solutions.
Precautions and Safety Measures
First of all, make sure that the power supply to the fixture is turned off before you begin cleaning. This will prevent any electrical accidents from occurring while handling wet surfaces.
It’s also important to wear protective gloves and goggles when working with chemicals or hot water. Grease buildup can be stubborn, so using a degreaser may require extra care.
If your light fixture is mounted on a high ceiling or in an awkward position, use a sturdy ladder or step stool for easy access but ensure that it’s stable enough not to tip over during use.
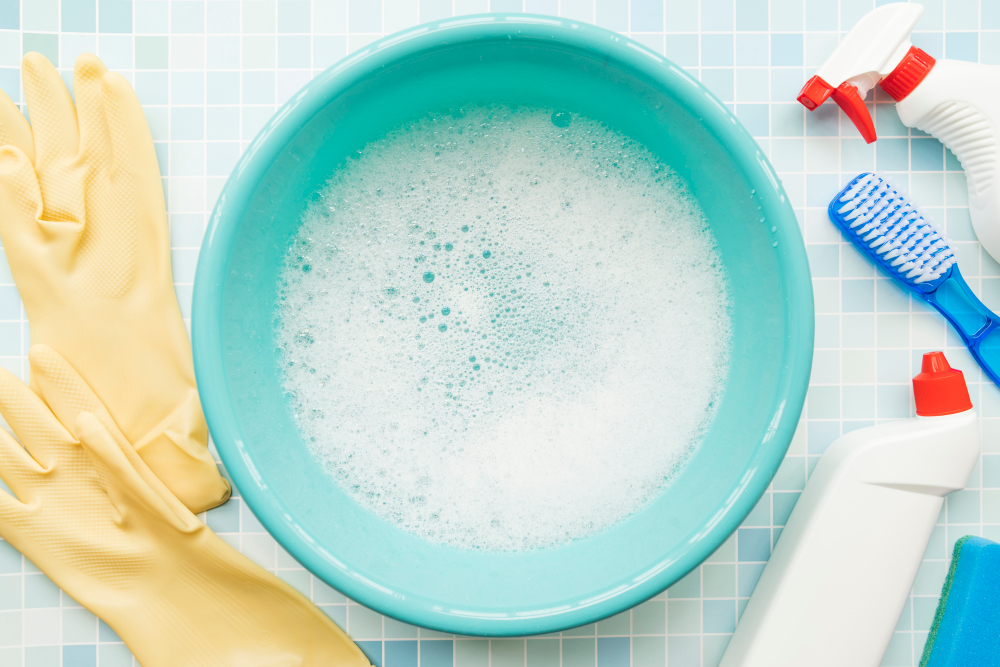
Gather Cleaning Supplies

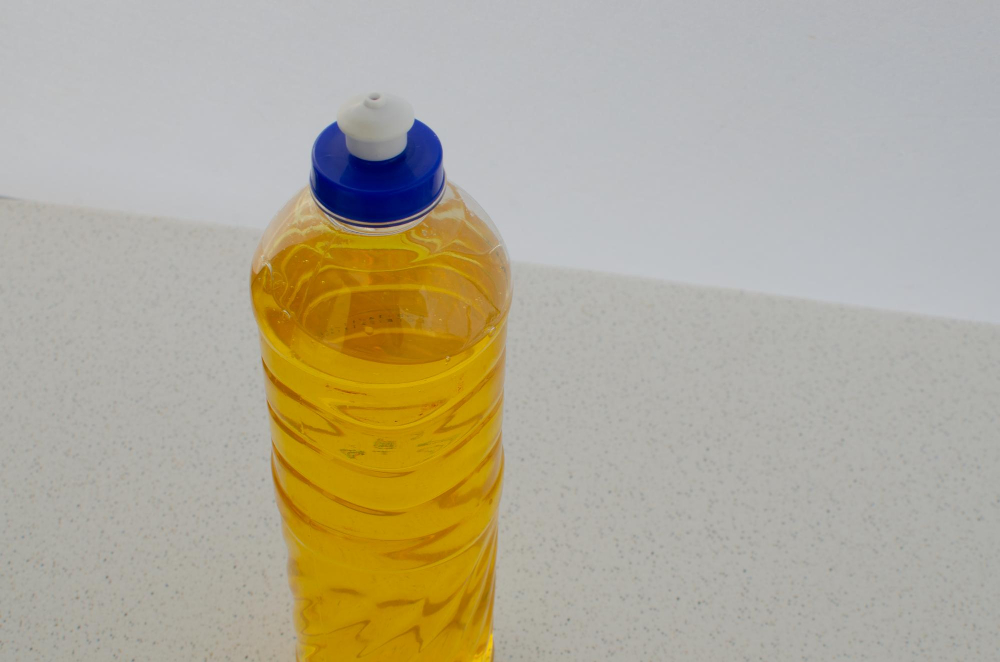
This will save you time and ensure that the process is smooth and efficient. You’ll need a few basic items such as gloves, microfiber cloths, soft-bristled brushes or sponges, warm soapy water (dish soap works well), degreaser spray or solution (depending on how dirty your fixture is), and a ladder if needed.
It’s important to note that different types of fixtures may require specific cleaning products or tools. For example, glass shades may need special care when handling them during the cleaning process.
Once you have all your supplies ready at hand, put on some gloves for protection against any chemicals in the cleaners used.
Identify Fixture Material

Different materials require different cleaning methods, and using the wrong method can damage your fixture permanently. Most kitchen light fixtures are made of metal, glass or plastic.
Metal: Metal fixtures such as brass, copper or stainless steel should be cleaned with a soft cloth dipped in warm soapy water. Avoid using abrasive cleaners that can scratch the surface.
Glass: Glass fixtures are delicate and prone to breakage if not handled carefully during cleaning. Use a soft-bristled brush dipped in warm soapy water to clean them gently.
Plastic: Plastic light covers are easy to clean but may become discolored over time due to exposure from heat generated by bulbs inside them. Clean plastic covers with mild soap and water solution only.
Understanding Different Fixture Types

There are various types of light fixtures in the market, including pendant lights, chandeliers, flush mounts and recessed lighting. Each type has its unique design and structure that requires specific cleaning techniques.
For instance, pendant lights have a single bulb hanging from a cord or chain while chandeliers feature multiple bulbs arranged on arms or branches. Flush mount lighting is installed directly onto the ceiling without any gap between them while recessed lighting is installed inside holes cut into ceilings.
Knowing what type of fixture you have will help determine how best to clean it without damaging its delicate parts such as crystals or glass shades.
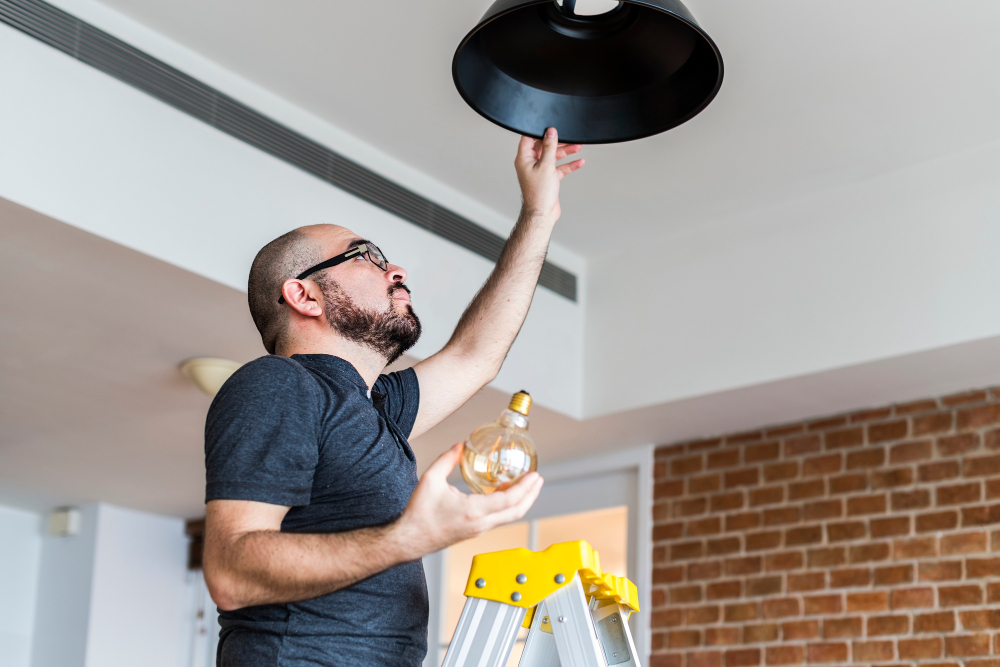
Remove Light Fixture
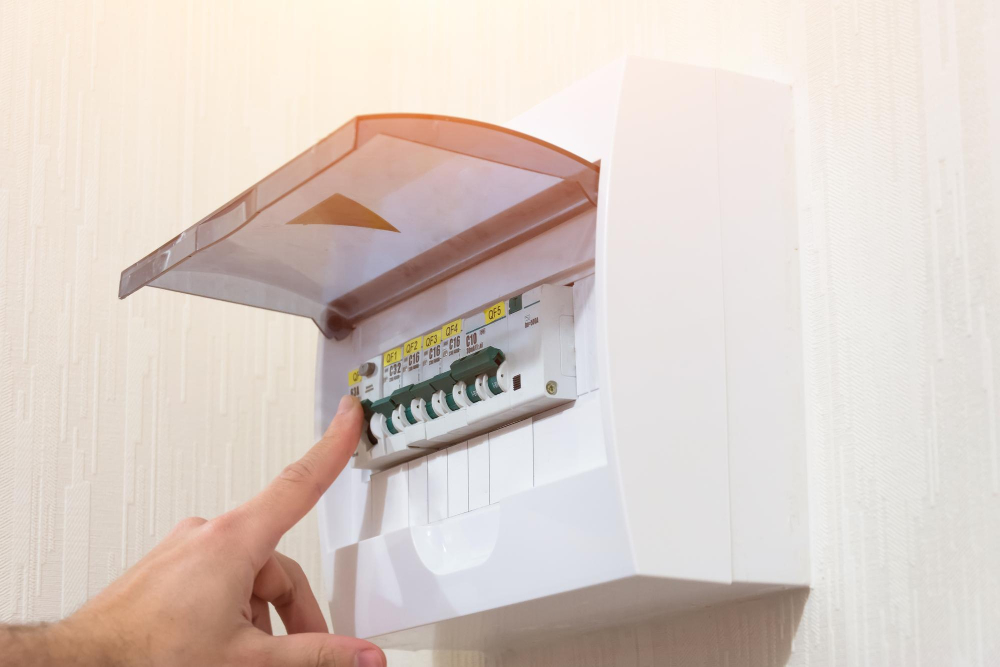
Removing the fixture will make it easier for you to clean every nook and cranny of your light fixture thoroughly. Before removing any electrical appliance, ensure that you turn off the power supply at your circuit breaker or fuse box.
This is an essential safety measure that should not be overlooked.
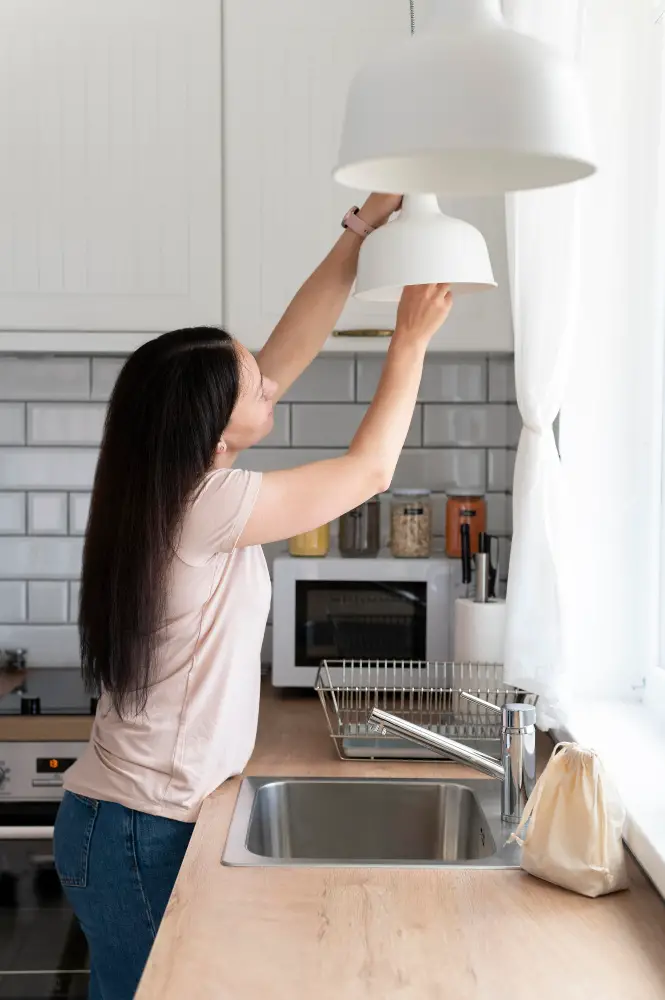
Next, use a screwdriver or pliers to loosen and remove any screws holding up your light fixture in place carefully. If there are no visible screws on the surface of your lighting unit, check for clips or other fasteners holding it in place.
Gently pull down on each clip until they release from their respective slots before pulling outwards towards yourself with one hand while supporting its weight with another hand underneath if necessary.
Wipe Grease Buildup

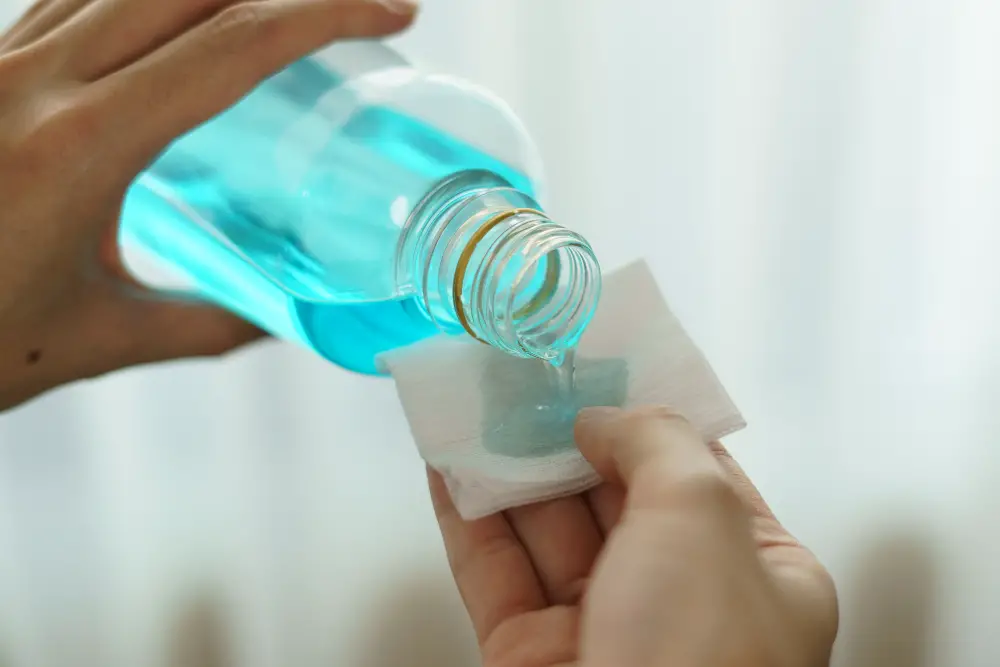
The first step is to wipe off any visible grease buildup on the surface of your fixture using a soft cloth or paper towel. This will help remove loose dirt and grime that may be stuck on the surface of your fixture.
Be gentle while wiping down as excessive force can damage delicate parts such as glass shades or bulbs. If there are stubborn stains, use a damp cloth with warm water and mild soap solution to loosen up any remaining grease.
Remember not to apply too much pressure while wiping down so that you don’t scratch or damage the finish of your light fixtures. Once done, move onto soaking in warm soapy water for further cleaning before moving onto degreasing solutions if necessary.
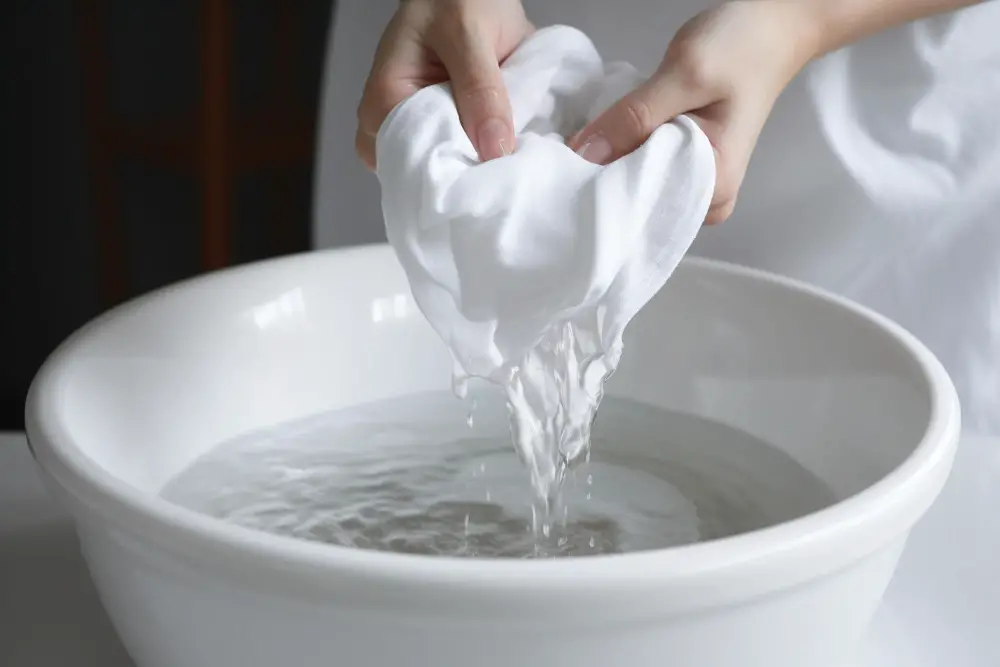
Soak in Warm Soapy Water
One effective method for removing grease buildup on light fixtures is soaking them in warm soapy water. This technique works well for glass or metal fixtures that can be easily removed from their base.
To begin, remove the fixture from its base and place it in a sink or large bowl filled with warm water and dish soap. Allow the fixture to soak for at least 15-20 minutes, giving enough time for the grease to loosen up.
After soaking, use a soft-bristled brush or sponge to gently scrub away any remaining grime on both sides of your light fixture. Be sure not to apply too much pressure as this may scratch delicate surfaces like glass shades.
Once you’re satisfied with how clean your kitchen light fixtures look after soaking them in warm soapy water, rinse thoroughly under running tap water until no soap residue remains before drying completely using a microfiber cloth.
Use Degreaser
A degreaser is an effective solution that helps break down grease and grime buildup on your kitchen light fixtures. You can purchase a commercial-grade degreaser from any home improvement store or make one at home using natural ingredients like vinegar, baking soda, or lemon juice.
To use the degreaser effectively, spray it directly onto the surface of your light fixture and let it sit for several minutes to allow enough time for it to penetrate through the grease buildup. Afterward, scrub gently with a soft brush until all visible dirt has been removed.
It’s important to note that some types of fixtures may require special care when using a degreasing agent. For instance, if you’re dealing with delicate materials such as crystal chandeliers or antique brass fixtures; consult an expert before applying any chemical solutions as they may damage these surfaces permanently.
Scrub With Soft Brush
Use a soft-bristled brush to gently scrub the surface of your light fixtures. Be careful not to use abrasive materials that could scratch or damage the finish.
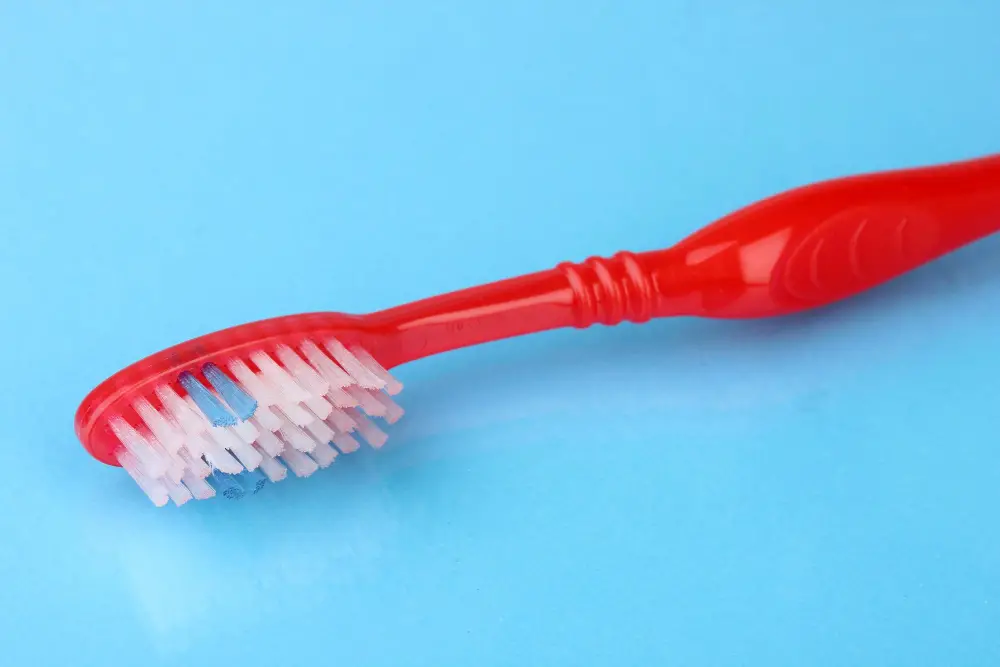
For stubborn stains and hard-to-reach areas, try using an old toothbrush or cotton swab dipped in cleaning solution. Scrubbing with a soft brush will help remove any remaining grime and restore your kitchen lights’ shine.
After you’ve finished scrubbing, rinse off all soap residue thoroughly with clean water and dry completely before reattaching them back into place. Remember always to handle electrical components carefully when removing or replacing fixtures from their sockets.
Cleaning Light Bulbs for Optimal Brightness
Over time, dust and dirt accumulate on the surface of light bulbs, reducing their brightness. Cleaning them will ensure that your kitchen is bright and welcoming.
To clean your light bulbs effectively, first turn off all power sources to avoid electrocution. Then use a soft cloth or microfiber towel to wipe away any visible dirt or debris gently.
Avoid using water directly on the bulb as this can cause damage.
If there are stubborn stains or grime buildup on your bulb’s surface, you can use a mixture of warm water and mild soap solution with a soft-bristled brush like an old toothbrush to scrub away at these areas carefully.
Once done cleaning each bulb thoroughly with soapy water solution rinse them in cold running tap water until no soap residue remains then dry completely before reinserting into fixture sockets.
Taking Care of Light Shades
Depending on the material, you may need to use different cleaning methods to avoid damaging them. For instance, glass or plastic shades can be cleaned using warm soapy water and a soft cloth or sponge.
However, fabric lampshades should not be soaked in water as it can damage the fabric.
To clean a fabric shade effectively, start by removing any loose dust with a soft-bristled brush or vacuum cleaner attachment. Then use a dry-cleaning solvent such as rubbing alcohol on stubborn stains using cotton swabs until they disappear completely.
For metal lampshades that have become greasy over time due to cooking fumes and smoke from stovetops nearby; wipe them down with vinegar solution (one-part vinegar mixed with two parts water) before rinsing thoroughly under running tap water.
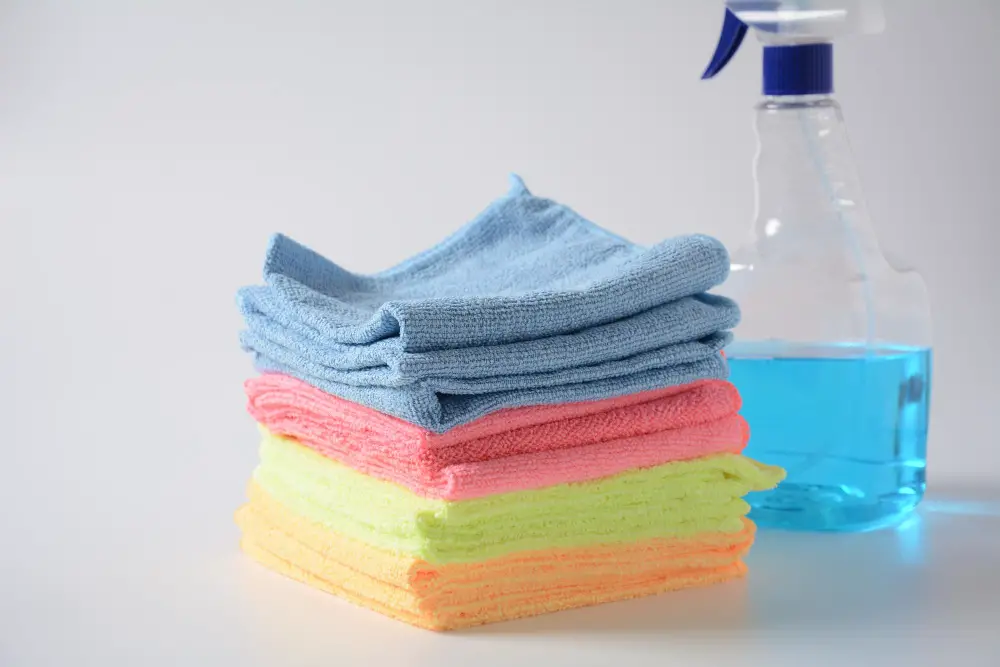
Wipe Down With Microfiber Cloth
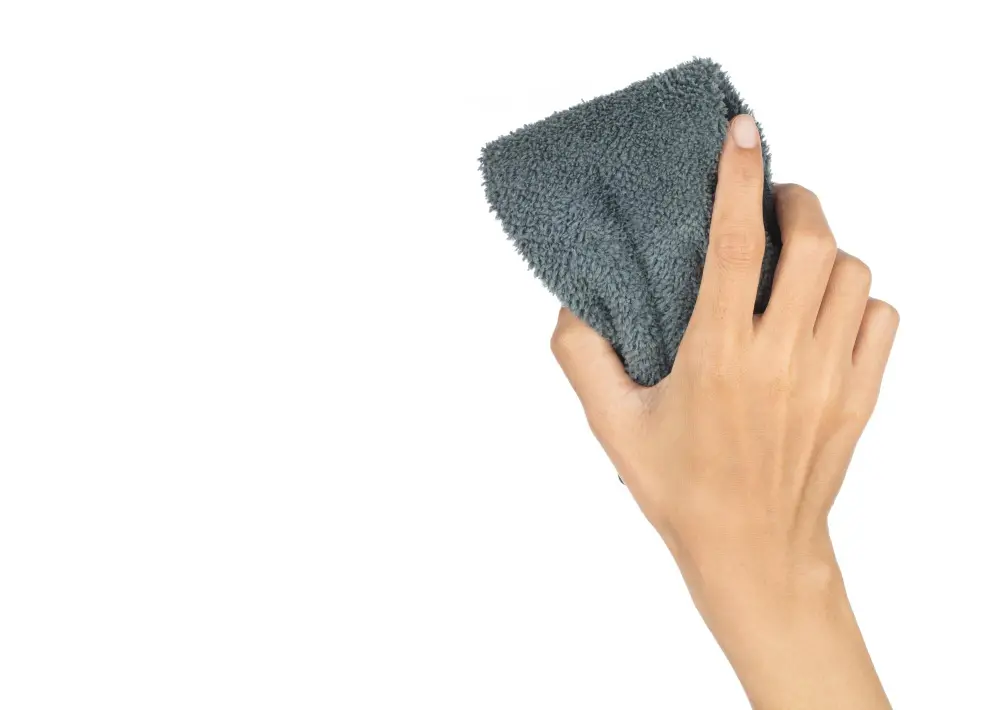
Using a microfiber cloth is an excellent way to ensure that your fixtures are completely dry and free of any streaks or water spots. Microfiber cloths are highly absorbent and can hold up to seven times their weight in water, making them ideal for cleaning delicate surfaces like light fixtures.
To wipe down your kitchen light fixtures with a microfiber cloth, start by gently patting the surface until all excess moisture has been absorbed. Then use long sweeping motions across the entire surface of each fixture until they’re completely dry.
Remember not to apply too much pressure when wiping down your kitchen light fixtures as this could damage their finish or cause scratches on glass shades. Once you’ve finished drying off each fixture with a microfiber cloth, take one final look at them before replacing them back into position.
Rinse Thoroughly
Rinsing is an essential step in cleaning your light fixtures as it helps remove any remaining dirt or grease buildup that may be left on the surface. To do this, use warm water and a clean cloth or sponge to wipe down each fixture carefully.
Make sure you rinse all parts of the fixture properly, including any crevices where dirt can accumulate. If there are still some stubborn stains left after rinsing once, repeat the process until they disappear completely.
Once you’re done rinsing your kitchen light fixtures thoroughly, dry them off using a microfiber cloth or towel before reassembling and reinstalling them back into place.
Enhancing Finish Shine
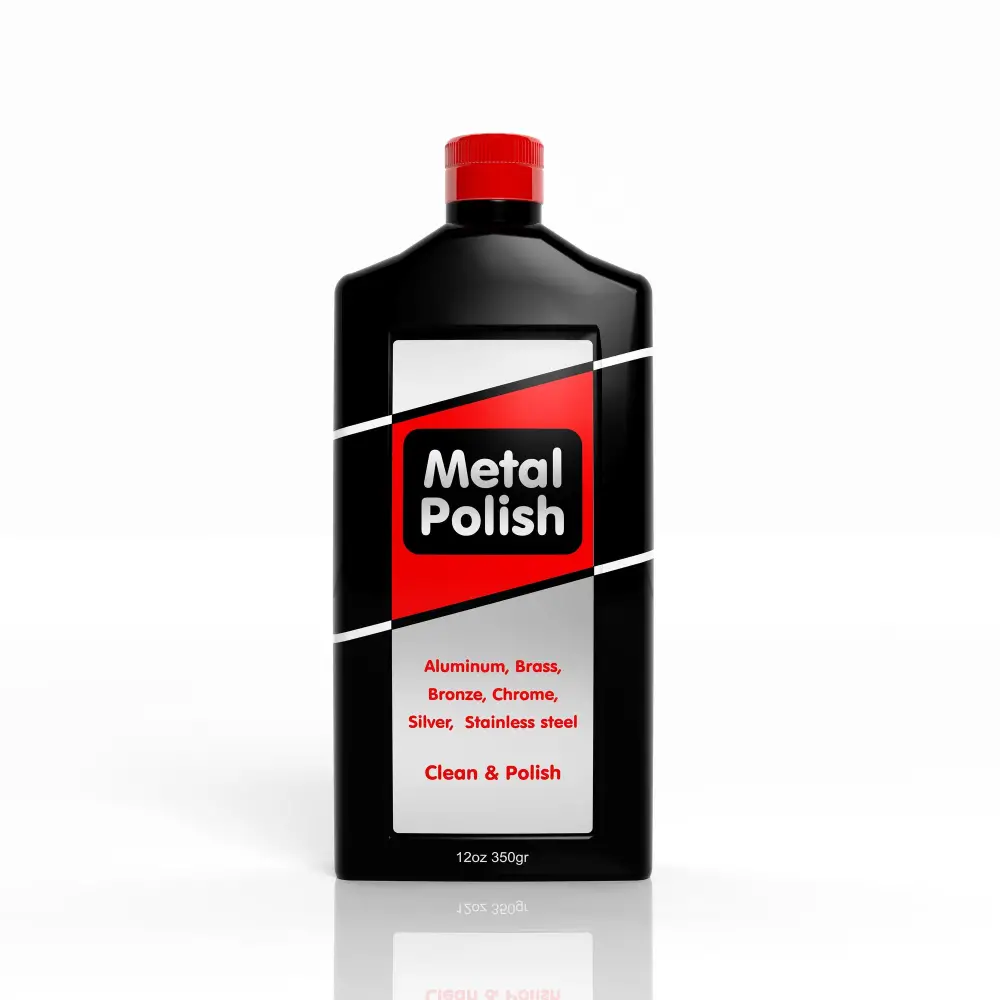
This step is optional but can make a significant difference in the overall appearance of your light fixtures. To do this, use a soft cloth and apply some metal polish or wax on the surface of the fixture.
Rub gently in circular motions until you achieve an even shine across all surfaces.
For brass or copper finishes, try using lemon juice mixed with baking soda for an eco-friendly alternative that will leave them looking shiny and new without any harsh chemicals.
Remember to avoid using abrasive materials such as steel wool or scouring pads as they can scratch and damage delicate finishes.
Dry Completely
Leaving any moisture on the surface can cause water spots and streaks that will make your light fixtures look unattractive. Use a clean microfiber cloth or a soft towel to wipe down all parts of the fixture until they are completely dry.
If you’re in a hurry, use a hairdryer set on low heat to speed up the drying process. However, be careful not to overheat any plastic components as this may cause them to warp or melt.
Replace Light Fixture
If the fixture is old and outdated, consider replacing it with a new one that complements your kitchen decor. Before purchasing a new fixture, measure the size of the existing one to ensure that you get an appropriate replacement.
Replacing a light fixture can be tricky if you’re not familiar with electrical work. It’s best to hire an electrician for this task if you’re unsure about how to do it yourself safely.
However, if you feel confident in doing so yourself and follow all safety precautions carefully (such as turning off power at the breaker box), then go ahead and replace your old fixtures with newer ones.
Prevent Future Grease Buildup
One of the best ways is by wiping down your light fixtures regularly with a microfiber cloth or soft-bristled brush. This will help remove any grease and grime before they accumulate on the surface.
Another way is by using a degreaser spray specifically designed for kitchen surfaces. These sprays are effective in breaking down grease and preventing its buildup on surfaces.
Consider installing an exhaust fan in your kitchen if you don’t already have one. An exhaust fan helps draw out steam, smoke, and other airborne particles from cooking that can contribute to greasy buildups on light fixtures.
Maintaining Home Brightness

One way to do this is by regularly wiping down the fixtures with a microfiber cloth. This will help prevent grease buildup and keep them looking shiny and new.
Another tip for maintaining home brightness is to clean your light bulbs regularly. Dust can accumulate on the surface of bulbs, reducing their ability to emit optimal levels of light.
To clean them, simply turn off the power supply and gently wipe each bulb with a soft cloth or duster.
Lastly, consider investing in energy-efficient LED bulbs that emit brighter light while consuming less electricity than traditional incandescent ones. Not only will they save you money on your energy bills but also provide better illumination for your home.
By following these simple tips for maintaining home brightness, you’ll be able to enjoy a bright and welcoming living space all year round!
FAQ
How do you clean sticky light fixtures?
To clean sticky light fixtures, lightly moisten a microfiber cloth with a mixture of water and a few drops of dishwashing liquid, then use it to remove stuck-on grime from the metal part of the fixture.
How do you clean greasy track lights?
To clean greasy track lights, regularly dust them with a feather or polywool duster and wash removable glass or plastic shades with warm soapy water, ensuring they are dried well before replacing to prevent water spots.
How do you clean streak free glass pendant lights?
To clean streak-free glass pendant lights, make a 50/50 mixture of distilled white vinegar and tap water in a spray bottle, spray the glass, and wipe using a newspaper or lint-free cloth, drying and ensuring no streaks remain.
What is the most effective method for removing grease from metal light fixtures?
The most effective method for removing grease from metal light fixtures is by using a mixture of dish soap and warm water, then gently wiping the surface with a soft cloth.
Are there any specific cleaning solutions recommended for cleaning greasy kitchen light fixtures?
Recommended cleaning solutions for greasy kitchen light fixtures include a mixture of warm water and mild dish soap.
What precautions should be taken when cleaning electrical components in greasy light fixtures?
Precautions when cleaning electrical components in greasy light fixtures include turning off electricity, using non-conductive cleaning tools, and avoiding liquid cleaning solutions.


