Last updated on
Discover the simple steps to effectively clean your KitchenAid ice maker and enjoy refreshing, crystal-clear ice every time.
Are you tired of your Kitchen Aid ice maker producing cloudy and foul-tasting ice? If so, it’s probably time for a good cleaning. Cleaning your ice maker is an essential step in maintaining its efficiency and ensuring that the ice it produces is safe to consume.
However, many people are hesitant to tackle this task because they’re not sure where to start. In this article, we’ll walk you through the steps on how to clean a Kitchen Aid ice maker properly.
So grab some gloves and let’s get started!
What's Inside
Why Regular Cleaning Is Important
Over time, mineral deposits from the water can build up in the machine’s various components such as the water reservoir or condenser coils. These deposits can cause clogs or blockages that affect how well your ice maker works.
Moreover, bacteria and mold growth are common in moist environments like an ice maker. If left unchecked for too long without proper cleaning, these microorganisms could contaminate your machine’s interior surfaces leading to foul-tasting or even harmful ices.
By regularly cleaning your KitchenAid Ice Maker at least once every six months (or more frequently if you use it heavily), you’ll not only extend its lifespan but also ensure that it produces high-quality ices consistently.
Safety Precautions Before Cleaning
First and foremost, make sure that the ice maker is switched off and unplugged from the power source. This will prevent any electrical accidents or damage to the appliance during cleaning.
Next, put on a pair of gloves to protect your hands from any sharp edges or chemicals used in the cleaning process. It’s also advisable to wear eye protection if you’re using a chemical cleaner.
Read through all instructions carefully before starting so that you understand how each step should be carried out safely and effectively.
Gathering Necessary Cleaning Supplies
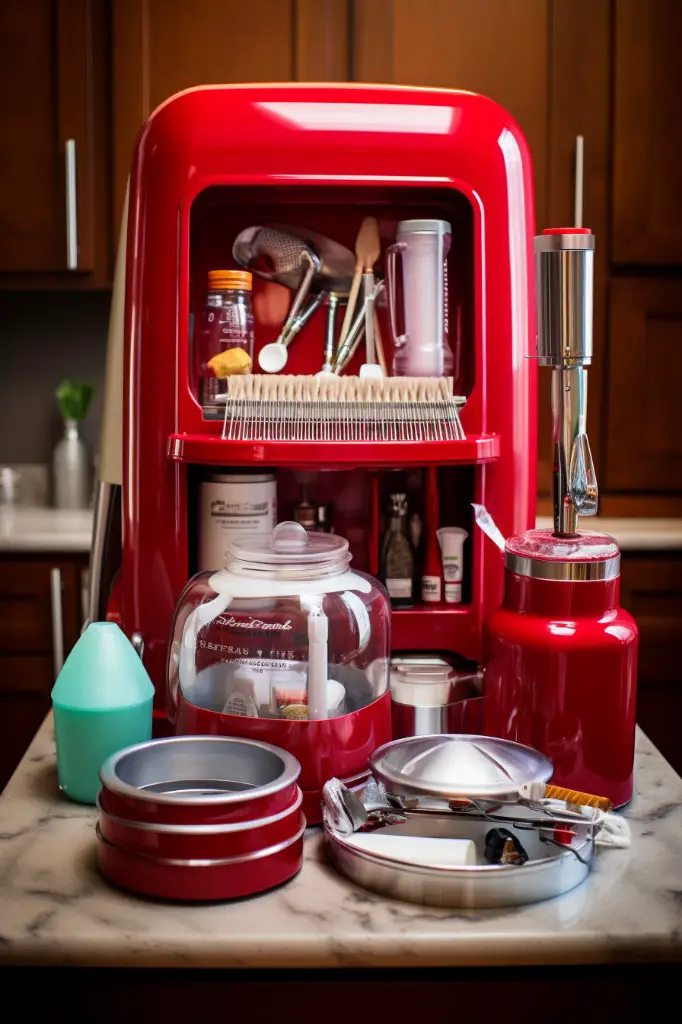
Having everything on hand will make the process smoother and more efficient. Here are some of the items you’ll need:
- Warm water
- Mild dish soap or ice maker cleaner solution
- Soft-bristled brush or sponge
- Microfiber cloth or towel
- Gloves (optional)
- Safety goggles (optional)
Make sure that any cleaning solutions used are safe for use with food-grade materials and follow manufacturer instructions carefully.
Switching Off and Unplugging the Ice Maker
This step is crucial for your safety and will prevent any electrical accidents from occurring during the cleaning process. To do this, locate the power cord at the back of your ice maker and gently pull it out of its socket or turn off its circuit breaker if you can’t reach it.
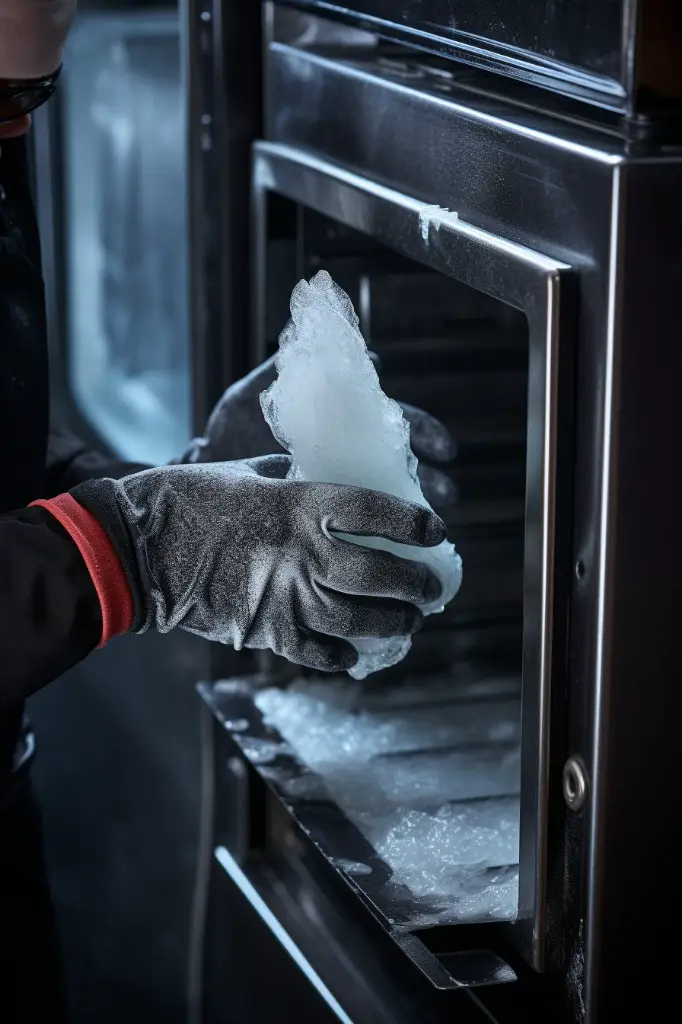
Once unplugged, remove all remaining ice cubes from inside the machine using a plastic utensil such as a spatula or spoon. Be careful not to use anything sharp that could damage any parts of your appliance.
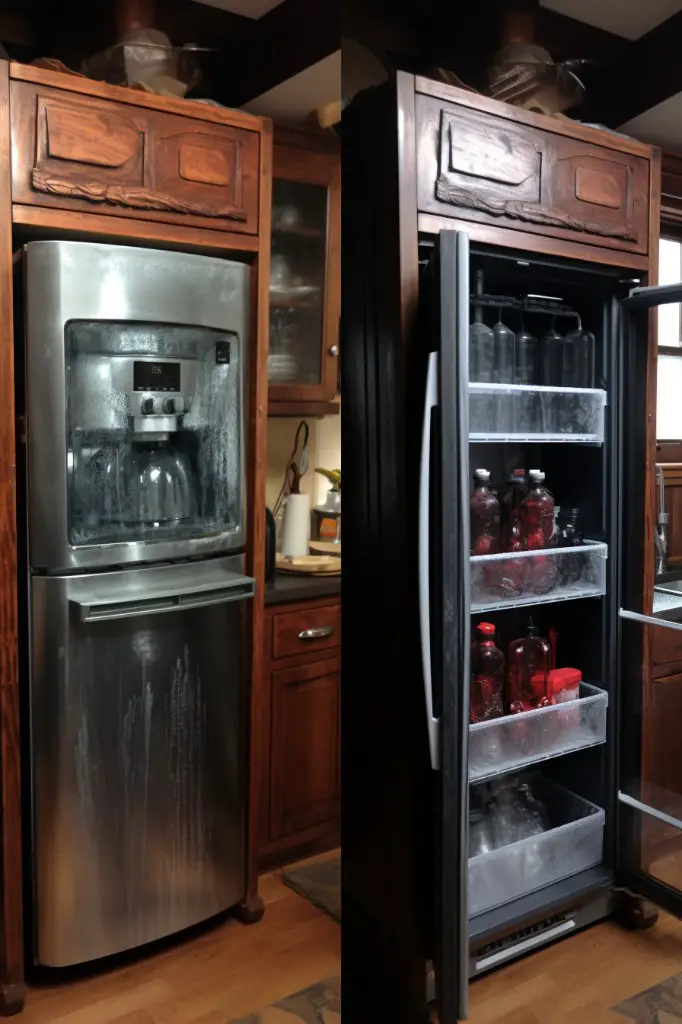
Removing Ice and Ice Bin
This step will make it easier to access all parts of the machine that need cleaning. To do this, first switch off and unplug the appliance from its power source.
Next, locate the release button or lever on your model’s ice bin and press or pull it to release the bin from its position. Carefully lift out any remaining cubes of ice with a plastic scoop or spatula into a container for temporary storage in your freezer.
Once you’ve removed all visible pieces of frozen water, take out the empty bin by pulling straight up on both sides until it clears its tracks completely. Set aside both components in a safe place where they won’t be damaged during cleaning.
Cleaning the Ice Bin
Over time, this area can accumulate dirt, grime, and bacteria that can affect the quality of your ice. To clean it properly:
- Remove any remaining ice from the bin.
- Take out any removable parts such as shelves or dividers.
- Mix a solution of warm water and mild detergent in a bucket or sink.
- Use a soft-bristled brush to scrub all surfaces inside the bin with soapy water.
- Rinse thoroughly with clean water to remove all soap residue.
Make sure you dry everything completely before reassembling them back into place.
Cleaning the Water Reservoir
Over time, it can accumulate mineral deposits and bacteria that affect the quality of your ice. To clean it:
- Turn off and unplug your Kitchen Aid Ice Maker.
- Locate the water reservoir at either side or back of your machine.
- Remove any remaining water from inside using a sponge or towel.
- Mix a solution of warm soapy water in a bowl or bucket
- Dip a soft-bristled brush into this solution and scrub gently around all sides, including corners, edges, and bottom surface until you remove all dirt buildup
- Rinse with clean running tap-water thoroughly to remove soap residue
- Dry completely before reassembling.
Wiping Down the Ice Maker’s Exterior
Wiping down the outside of your machine is a crucial step in ensuring that it remains free from dirt, dust, and grime buildup. To do this effectively, you’ll need a soft cloth or sponge and some mild soap mixed with warm water.
Start by dipping your cloth or sponge into the soapy solution and wringing out any excess liquid. Then gently wipe down all surfaces of your ice maker including buttons, handles as well as its top surface.
Be sure not to use abrasive cleaners or scrubbers that can scratch or damage stainless steel finishes on some models. Once you’ve wiped everything clean with soapy water rinse off any remaining residue using a damp cloth before drying thoroughly with another clean towel.
Cleaning the Condenser Coils
Over time, these coils can become clogged with dust and debris, which can cause your ice maker to work harder than it needs to. To clean the condenser coils:
- Locate the condenser coil at the back of your ice maker.
- Use a soft-bristled brush or vacuum cleaner attachment to gently remove any dirt or debris from the coil.
- If necessary, use a damp cloth to wipe down any remaining residue.
It’s important not to use water when cleaning these coils as this could damage them and potentially lead to electrical shock.
Cleaning the Water Line
Over time, mineral deposits and other impurities can build up in the line, leading to clogs and reduced performance. To clean the water line, you’ll need a flexible brush or pipe cleaner that’s long enough to reach all the way through.
Start by turning off and unplugging your ice maker as described earlier. Locate where the water supply connects with your machine; it should be at either end of a small tube running from behind or underneath it.
Disconnect this tube carefully using pliers if necessary so that you can access both ends of it easily. Then use a flexible brush or pipe cleaner dipped in warm soapy water (or vinegar solution) to scrub inside each end thoroughly until no more debris comes out when rinsed with clean tap-water.
Cleaning the Ice Scoop and Holder
They are just as important to clean as any other part of the machine. The scoop is what you use to transfer ice from the bin to your glass or pitcher, so it’s essential that it’s free from bacteria or mold buildup.
To clean these parts, start by removing them from the machine. Wash them with warm water and dish soap using a soft-bristled brush or sponge.
Make sure you get into all crevices where dirt may accumulate.
Rinse thoroughly with hot water before sanitizing both pieces in a solution made up of one tablespoon bleach per gallon of water for at least five minutes.
Afterward, rinse again with hot water before allowing both pieces to air dry completely on a clean towel.
Once everything is dry, reattach both pieces back onto your Kitchen Aid ice maker following manufacturer instructions carefully.
Replacing the Water Filter
The water filter ensures that any impurities or contaminants in your home’s water supply do not make their way into your ice cubes, resulting in clean and fresh-tasting ice. Over time, however, these filters can become clogged with debris and lose their effectiveness.
To replace the water filter on a Kitchen Aid ice maker:
- Locate the old filter inside the unit.
- Turn it counterclockwise to remove it from its housing.
- Discard it properly.
- Take out a new replacement cartridge from its packaging
- Insert this new cartridge into place by turning clockwise until you hear an audible click sound indicating that it has locked securely in place.
It is recommended to change your KitchenAid Ice Maker’s Water Filter every six months for optimal performance and quality assurance.
Sanitizing the Ice Maker
Sanitizing helps eliminate any remaining bacteria or germs that may have survived the cleaning process. To sanitize your ice maker, mix a solution of warm water and either vinegar or bleach in equal parts.
Then use a clean cloth to wipe down all surfaces inside and outside of the machine.
Be sure to pay extra attention to areas that come into contact with water, such as the reservoir and dispenser chute. Allow this solution to sit for at least five minutes before rinsing everything off with clean water.
Once you’ve finished sanitizing your KitchenAid ice maker, let it air dry completely before reassembling it and turning on power again. This step is crucial because moisture can lead to mold growth if not dried properly.
Post-Cleaning Checklist
Here are some things you should do before using the ice maker again:
- Double-check that all parts have been thoroughly cleaned and sanitized.
- Reassemble the ice maker according to manufacturer instructions.
- Plug in and turn on the machine, allowing it time to cool down before producing new batches of ice.
- Discard any initial batches of newly produced ice as they may contain residual cleaning solution or debris from the cleaning process.
- Monitor your first few batches of freshly made cubes for any signs of discoloration or unusual taste.
Reassembling the Ice Maker
Start by replacing the water filter if necessary and then put back the ice bin in its place. Make sure that it is securely locked into position before proceeding.
Next, attach any removable components such as the scoop holder or drip tray that were removed during cleaning. Double-check to ensure they are properly aligned and secured.
Plug in your ice maker and turn on power supply while making sure everything is working correctly. Wait for a few minutes until fresh cubes start forming again before testing out some freshly made ice!
Restoring Power and Testing
Before plugging in the unit, make sure that all parts are dry and free of any cleaning solution residue. Once everything is clean and dry, plug in the ice maker back into its electrical outlet.
Next, turn on your water supply valve to allow water to flow into the reservoir tank. Wait for a few minutes until enough water has filled up before turning on your ice maker again.
After restoring power to your Kitchen Aid Ice Maker, wait for at least an hour or two before checking if it produces clear and fresh-tasting ice cubes once more. If you notice any issues with its performance or quality of output after testing it out post-cleaning process then refer back to our troubleshooting section for further guidance.
Scheduling Regular Cleanings
Depending on how frequently you use your ice maker, we recommend cleaning it every three to six months.
To make scheduling easier, mark a date on your calendar or set a reminder in your phone. You can also consider setting up an annual maintenance plan with a professional appliance technician who can perform routine inspections and cleanings.
Remember that regular cleaning not only ensures the quality of the ice but also extends the life of your Kitchen Aid Ice Maker.
Troubleshooting and Maintenance Tips
Here are some troubleshooting tips that can help you identify and fix common problems:
1. Check the water supply: If your ice maker is not producing enough or any ice at all, check if there’s a problem with the water supply line.
2. Inspect the condenser coils: Dirty condenser coils can cause poor cooling performance in your machine.
Regularly inspect them for dirt buildup and clean as necessary.
3. Replace worn-out parts: Over time, certain components of an ice maker may wear out or break down completely due to frequent use or age-related factors such as corrosion.
4. Keep it clean: Regular cleaning is crucial for maintaining optimal performance from an appliance like this one; therefore, make sure you follow a routine schedule of deep-cleaning every few months while wiping down surfaces daily.
Additional Resources for Kitchen Appliance Cleaning
Fortunately, there are many resources available online that can help you keep all of your kitchen appliances clean and in good working order. Some popular websites include the manufacturer’s website for specific appliance cleaning instructions and tips, as well as general home improvement sites like HGTV or This Old House.
You can also find helpful videos on YouTube that demonstrate how to clean various types of kitchen appliances step-by-step.
In addition to online resources, don’t forget about the user manual that came with your Kitchen Aid ice maker or other appliances. The manual will provide detailed information on how often each part should be cleaned and what products are safe to use.
By taking advantage of these additional resources for kitchen appliance cleaning, you’ll be able to keep all of your appliances running smoothly while ensuring a healthy environment in which food is prepared and served!
FAQ
How long is the cleaning cycle on a Kitchenaid ice maker?
The cleaning cycle on a Kitchenaid ice maker takes approximately 70 minutes to complete.
How do you clean sediment out of ice maker?
To clean sediment out of an ice maker, dip a clean washcloth in a mixture of one part warm water and one part vinegar, dislodge stuck ice, wipe the interior, and then dry with a clean dish towel.
What is the recommended frequency for cleaning a Kitchenaid ice maker?
The recommended frequency for cleaning a Kitchenaid ice maker is every six months.
Are there any specific cleaning solutions recommended for use with a Kitchenaid ice maker?
Kitchenaid recommends using affresh® Ice Machine Cleaner for efficient and optimal cleaning of their ice makers.
What are some common issues that may arise if a Kitchenaid ice maker is not cleaned regularly?
Common issues with a Kitchenaid ice maker not cleaned regularly include reduced ice production, unpleasant odors, and potentially unsafe ice consumption.


