Last updated on
Discover the effective methods to restore your yellowed white kitchen cabinets back to their original pristine condition in this comprehensive guide.
Try this cleaner first:
Have you ever noticed that your once-pristine white kitchen cabinets have started to look yellow or dingy? It’s a common problem, especially in homes with heavy cooking or smoking habits. But don’t worry! With the right tools and techniques, you can restore your cabinets to their former glory.
In this article, we’ll cover everything you need to know about how to clean white kitchen cabinets that have yellowed. From simple cleaning solutions to more advanced methods, we’ve got you covered.
So let’s get started and bring back the shine in your kitchen!
What's Inside
Identifying Yellowed Cabinets
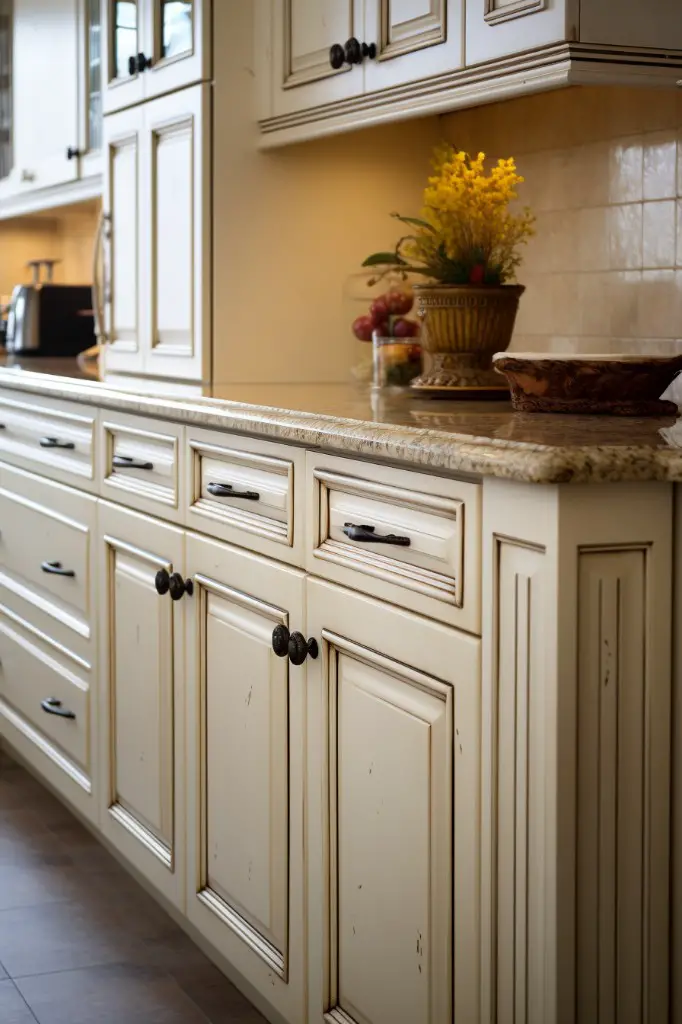
Not all yellowing is created equal, and some stains may require more intensive treatment than others. Take a close look at your cabinets and note any areas that appear discolored or stained.
Check for spots near handles or knobs where oils from hands can accumulate over time.
It’s also essential to determine whether the discoloration is on top of the finish or has penetrated through it. If you notice that only a small area has been affected by staining, then spot-cleaning might be enough to restore its original color.
However, if there are large patches of yellowing across multiple surfaces in your kitchen cabinet system, then deeper cleaning methods will be necessary.
Causes of Yellowing
There are several reasons that can contribute to this discoloration. One of the most common causes is exposure to sunlight and heat over time, which can cause a chemical reaction in some types of paint or finishes.
Another reason could be due to smoke from cooking or cigarettes, which leaves behind a sticky residue on surfaces that attracts dirt and dust particles. Grease buildup from cooking oils and food splatters can also accumulate on cabinet surfaces over time, leading to yellowing.
Lastly, poor ventilation in your kitchen may also contribute as moisture builds up inside cabinets causing mold growth leading them towards turning yellowish-brown color.
Tools and Materials
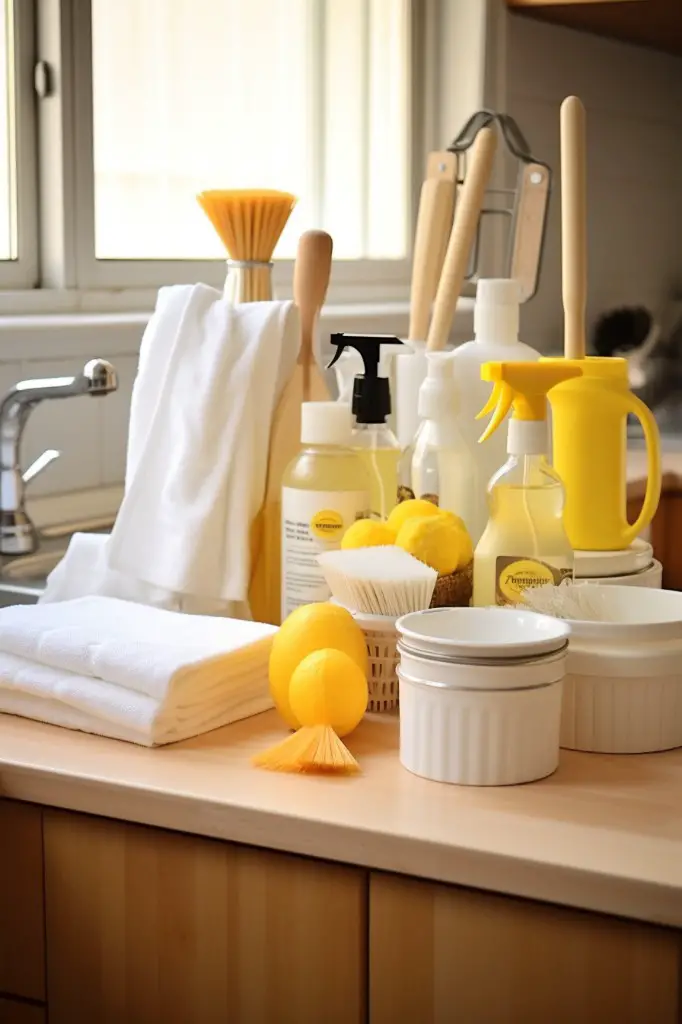
You don’t want to start cleaning only to realize halfway through that you’re missing something crucial. Here are some of the things you’ll need:
- Microfiber cloths or soft rags
- Bucket
- Warm water
- Baking soda
- Vinegar
- Hydrogen peroxide
- Magic eraser sponge
- Lemon juice
- Bleach (if needed)
- Commercial cleaner (optional)
Make sure your microfiber cloths or rags are clean and free from any debris that could scratch your cabinets’ surface during cleaning.
It’s also essential to wear gloves when handling chemicals like bleach or commercial cleaners for safety reasons.
Safety Precautions
Cleaning solutions can be harsh and may cause skin irritation or respiratory problems if not handled properly. To protect yourself, wear gloves and a mask while working with any cleaning solution.
Make sure your workspace is well-ventilated by opening windows or turning on fans. Keep children and pets away from the area until you’re finished cleaning.
It’s also essential to read labels carefully before using any commercial cleaners as they may contain harmful chemicals that require special handling instructions.
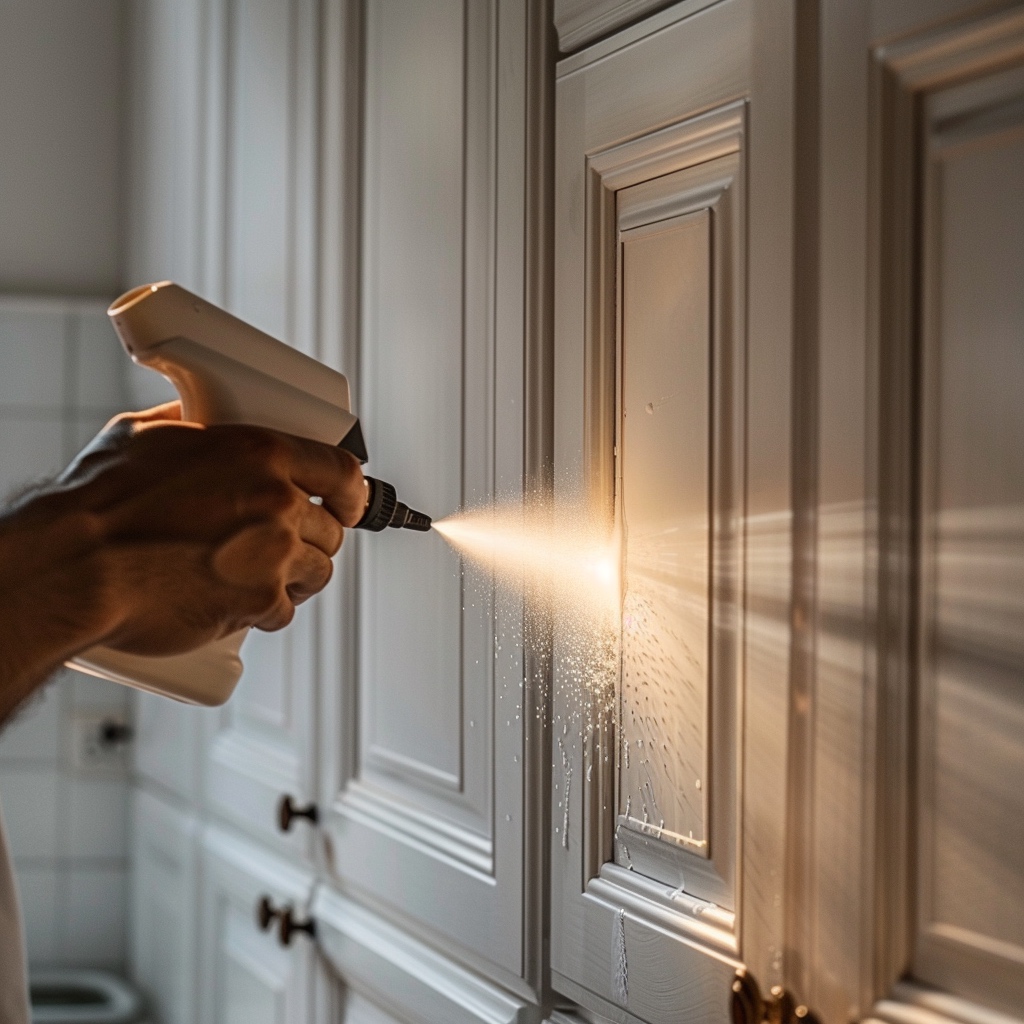
Preparing the Cabinets
This will ensure that the cleaning solution can penetrate deep into the wood and remove any stains or discoloration effectively. Start by removing all items from inside the cabinets and drawers.
Then, use a soft cloth or vacuum cleaner to remove any loose dirt or debris from both inside and outside of the cabinet surfaces.
Next, mix warm water with mild dish soap in a bucket until suds form. Dip a clean sponge into this mixture and wring out excess water before wiping down each cabinet surface thoroughly.
If there are stubborn stains on your cabinets that won’t come off with just soap and water, consider using an oil-based cleaner instead of harsh chemicals like bleach which can damage your cabinetry over time.
Cleaning Solution Options
You can choose from natural remedies or commercial cleaners depending on your preference and the severity of the stains.
For a simple yet effective homemade cleaner, mix equal parts water and vinegar in a spray bottle. Spray this solution onto your cabinets and wipe them down with a microfiber cloth.
Vinegar is an excellent natural cleaner that can remove grease buildup without damaging the finish of your cabinets.
Another option is to use baking soda paste made by mixing baking soda with water until you get a thick consistency. Apply this paste onto stubborn stains using a soft-bristled brush or sponge, then rinse off with warm water after 10-15 minutes.
If you prefer commercial cleaners, look for products specifically designed for wood surfaces that won’t damage their finish or cause discoloration over time. Always read labels carefully before purchasing any product to ensure they’re safe for use on painted surfaces like kitchen cabinetry.
Using Baking Soda Paste
To make a baking soda paste, mix equal parts of baking soda and water in a bowl until it forms a thick consistency.
Apply the paste to the affected areas using an old toothbrush or sponge. Gently scrub the surface in circular motions for several minutes, paying extra attention to any stubborn stains.
Once you’ve finished scrubbing, wipe away any excess paste with a damp cloth. Rinse thoroughly with clean water and dry with another cloth.
Baking soda is gentle enough not to damage your cabinets but strong enough to remove tough stains effectively. It’s also affordable and readily available at most grocery stores or online retailers.
Applying Vinegar Solution
To make the vinegar solution, mix equal parts of water and white vinegar in a spray bottle. Spray the solution onto your cabinets and let it sit for 5-10 minutes before wiping it off with a clean cloth.
For tougher stains, you can add baking soda to the mixture to create a paste. Apply this paste directly onto the stain and let it sit for 15-20 minutes before scrubbing gently with a soft-bristled brush or sponge.
It’s important to note that while vinegar is an effective cleaner, using too much of it on wood surfaces can cause damage over time. Be sure not to saturate your cabinets with too much liquid when applying this solution.
Utilizing Hydrogen Peroxide
To use hydrogen peroxide, mix equal parts of water and 3% hydrogen peroxide in a spray bottle. Spray the solution onto the affected areas and let it sit for about 10 minutes before wiping it off with a clean cloth.
For tougher stains, you can apply undiluted hydrogen peroxide directly to the stain using a cotton swab or sponge. Let it sit for several minutes before wiping away with a damp cloth.
It’s important to note that while hydrogen peroxide is effective at removing stains, it may also lighten the color of your cabinets slightly. So be sure to test this method on an inconspicuous area first before applying it all over your cabinets.
Magic Eraser Techniques
These sponges work by using micro-abrasive technology to lift dirt and debris from surfaces without the need for harsh chemicals.
To use a magic eraser on your yellowed cabinets, simply wet the sponge with water and gently rub it over the affected areas. Be sure to test an inconspicuous area first before proceeding with larger sections of your cabinetry.
While magic erasers can be effective at removing tough stains, they should be used sparingly as they can also strip away paint or finish if too much pressure is applied. It’s important to follow up any magic eraser treatment with a thorough rinse and dry of your cabinets.
Lemon Juice Solution
The citric acid in lemon juice acts as a bleaching agent, helping to remove stains and discoloration from the surface of your cabinets. To use this method, mix equal parts lemon juice and water in a spray bottle or bowl.
Apply the solution to your cabinets using a soft cloth or sponge, making sure to cover all areas evenly.
Allow the mixture to sit on your cabinets for 5-10 minutes before wiping it away with another clean cloth or sponge dampened with warm water. Be sure not to leave any excess moisture on your cabinet surfaces as this can cause damage over time.
For tougher stains, you can add baking soda into the mixture until it forms into paste consistency then apply onto affected areas using an old toothbrush then rinse off after 10 minutes.
Bleaching Techniques
It works by breaking down the chemical bonds that cause discoloration, leaving your cabinets looking bright and clean. To use this method, mix a solution of equal parts water and bleach in a spray bottle or bucket.
Apply the solution to your cabinets using a sponge or cloth, making sure to wear gloves and protective eyewear.
Allow the bleach mixture to sit on your cabinets for 10-15 minutes before rinsing it off with warm water. Be sure to rinse thoroughly as any remaining bleach can damage wood surfaces over time.
It’s important to note that while bleaching can be an effective way of restoring white kitchen cabinet color, it should only be used as a last resort due its harsh nature which may damage some materials if not done correctly.
Commercial Cleaners
These products are specifically designed to remove tough stains and discoloration from various surfaces, including wood. However, it’s important to choose a cleaner that is safe for your specific type of cabinet material.
When using commercial cleaners, always follow the manufacturer’s instructions carefully and wear gloves to protect your hands. Apply the cleaner evenly over the surface of each cabinet door and allow it to sit for several minutes before wiping away with a clean cloth or sponge.
Be sure to rinse thoroughly with water after using any commercial cleaner on your cabinets as some may leave behind residue that can damage or discolor the wood over time if not removed properly.
While commercial cleaners can be effective in removing stubborn stains from yellowed white kitchen cabinets, they should only be used as a last resort after trying other methods first.
Scrubbing Process
Use a soft-bristled brush or sponge and gently scrub in circular motions. Be careful not to apply too much pressure as this can damage the cabinet surface.
Pay extra attention to areas with stubborn stains or discoloration, such as around handles and knobs. You may need to use a toothbrush for these hard-to-reach spots.
As you scrub, periodically rinse your brush or sponge in clean water and reapply the cleaning solution if necessary. Continue until all surfaces are thoroughly cleaned.
Remember that patience is key during this process – rushing through it could result in scratches on your cabinets’ finish! Take breaks when needed but make sure not let any of the solutions dry on the surface before rinsing them off completely.
Rinsing and Drying
Use a clean sponge or cloth and warm water to remove any remaining cleaning solution from the surface of your cabinets. Make sure that all traces of cleaning solution are removed as they can cause damage if left on for too long.
After rinsing, use a dry towel or cloth to wipe down the surfaces and ensure that there is no excess moisture left behind. It’s important not to leave any standing water on your cabinets as this can lead to warping or other types of damage.
If possible, open windows in your kitchen area after washing and drying so that fresh air circulates around the room which will help speed up drying time while also reducing humidity levels in general.
Inspecting for Remaining Stains
Even the most thorough cleaning process may not remove all of the discoloration, especially if it has been present for a long time. To check for remaining stains, take a close look at each cabinet door and drawer front in good lighting conditions.
If you notice any yellowing or staining that hasn’t been removed by your chosen method of cleaning, don’t worry! There are still options available to restore your cabinets’ original color. One option is touch-up painting with an appropriate paint color that matches the existing finish on your cabinets.
Alternatively, if only small areas have remained discolored after cleaning and touch-up painting isn’t necessary or feasible due to budget constraints or other reasons; consider using wood stain markers which can be found at hardware stores and online retailers like Amazon.com.
Touch-Up Painting
This is a great option if your cabinets are in good condition but just need a little sprucing up. First, clean the surface of any dirt or grime using soap and water or a degreaser.
Then sand down any rough spots with fine-grit sandpaper before applying primer to ensure that the paint adheres properly.
When choosing paint for touch-up work, make sure it matches the existing color of your cabinets as closely as possible. You can take one of your cabinet doors to a hardware store for color matching assistance.
Apply thin coats of paint with either an angled brush or foam roller until you achieve full coverage over each area needing attention on all surfaces including edges and corners. Allow each coat to dry completely before adding another layer; this will prevent drips from forming on vertical surfaces like cabinet doors.
Once finished painting let everything dry overnight then reattach handles/knobs if removed earlier during preparation steps.
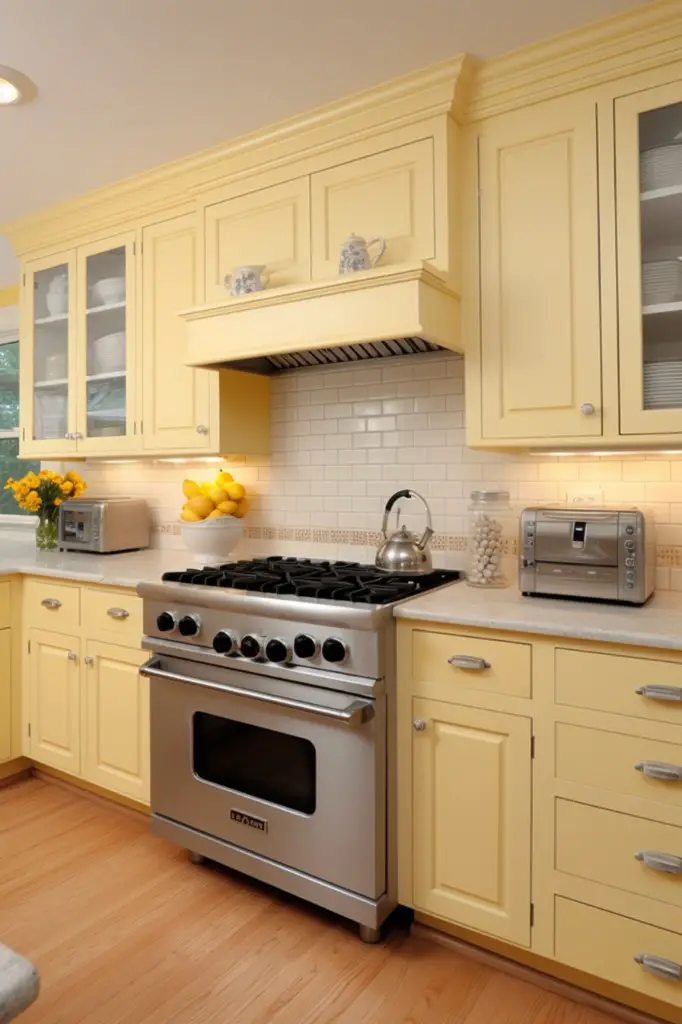
Preventing Yellowing
Here are some tips for keeping your cabinets looking bright and clean:
1. Proper ventilation: Make sure there is adequate ventilation in the kitchen while cooking or smoking.
2. Regular cleaning: Clean the cabinets regularly with a mild detergent solution and a soft cloth.
3. Avoid harsh chemicals: Avoid using harsh chemicals on the cabinet surface as they can cause discoloration over time.
4. Use protective coatings: Consider applying protective coatings like wax or polyurethane to help protect against staining and yellowing.
Cabinet Maintenance Tips
Here are some cabinet maintenance tips that will help keep your cabinets looking great for years to come:
- Wipe down the cabinets regularly with a soft cloth and mild soap and water.
- Avoid using abrasive cleaners or scrubbers that can scratch the surface of the cabinet.
- Keep moisture away from the wood by wiping up spills immediately.
- Use coasters under glasses and cups to prevent water rings on wooden surfaces.
- Dust regularly with a soft cloth or feather duster.
By following these simple maintenance tips, you can extend the life of your white kitchen cabinets and keep them looking like new for many years!
FAQ
Why are my white kitchen cabinets turning yellow?
Your white kitchen cabinets are turning yellow due to cooking and exposure to sunlight, resulting in a dirty, unpleasant hue.
What is the best cleaner for white kitchen cabinets?
The best cleaner for white kitchen cabinets is a proven cleaner and degreaser, such as a 1:2 mix of vinegar and water, diluted Dawn dish soap in hot water, or all-purpose cleaners that are safe on kitchen cabinets.
How do you whiten yellowed melamine?
To whiten yellowed melamine, use vinegar or lemon juice with water and a damp cloth, or apply methylated spirits on a clean cloth or paper towel.
What are the main factors causing yellowing in white kitchen cabinets over time?
Main factors causing yellowing in white kitchen cabinets over time include exposure to sunlight, humidity, grease, and heat, as well as aging and the type of paint or finish used.
Are there any preventive measures to reduce yellowing of white kitchen cabinets?
To reduce yellowing of white kitchen cabinets, use quality paint, ensure proper ventilation, and clean them regularly with gentle cleaning products.
Can specific paint types or finishes help maintain the brightness of white kitchen cabinets and prevent discolouration?
Yes, using semi-gloss or satin finish paint on white kitchen cabinets can help maintain their brightness and prevent discolouration.


