Last updated on
Dive into the specifics of how to clean your wood cabinets and how to imbue them with a dazzling shine, because taking proper care of these surfaces ensures a long lifespan and enhances the overall aesthetic of your home.
Key takeaways:
- Remove Dust and Debris: Use a soft cloth to wipe down cabinets and remove surface dust and debris.
- Gather Cleaning Supplies: Have soft cloths, mild dish soap, white vinegar, warm water, baking soda, furniture oil, and a bucket ready.
- Prepare a Vinegar and Water Solution: Mix equal parts vinegar and warm water for an effective wood cabinet cleaner.
- Apply Solution With a Soft Cloth: Gently wipe down cabinets with a cloth dipped in the vinegar solution.
- Polish With Furniture Oil: Use a small amount of furniture oil on a cloth to add a protective layer and enhance the wood’s shine.
What's Inside
Remove Dust and Debris
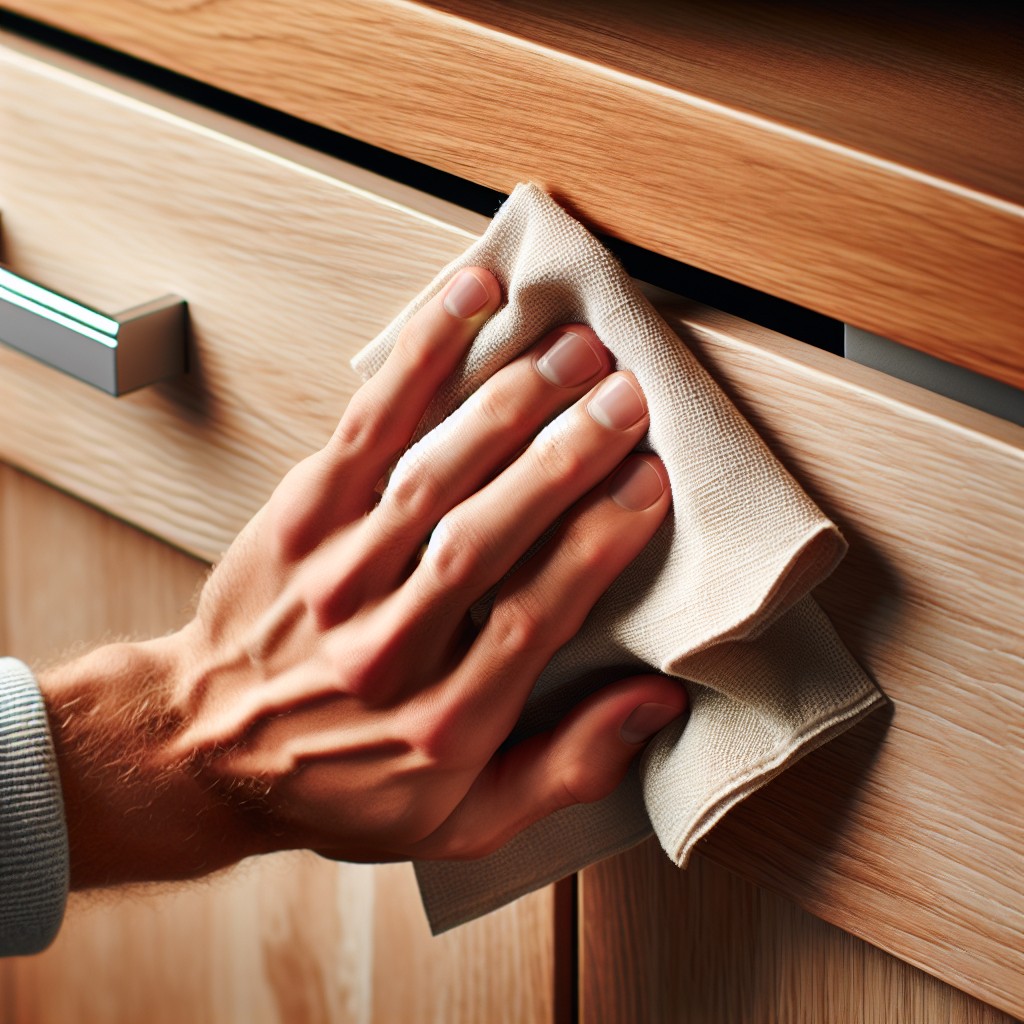
Before diving into the world of solutions and polishes, it’s essential to address the less glamorous aspect of cleaning your wood cabinets – removing surface dust and debris.
A dry, soft microfiber cloth works best for this initial step as it traps particles without scratching the cabinet’s surface.
Gently wipe down all areas, paying special attention to crevices where dust often hides.
If you encounter any stubborn particles, a soft-bristled brush can help dislodge them without causing damage.
This process not only prepares the surface for a more thorough cleaning but also prevents dirt from turning into abrasive grime once you start using wet cleaning agents.
Remember to swap out the cloth for a clean one if it gets too dirty, ensuring you’re not just moving dust around.
Gather Cleaning Supplies
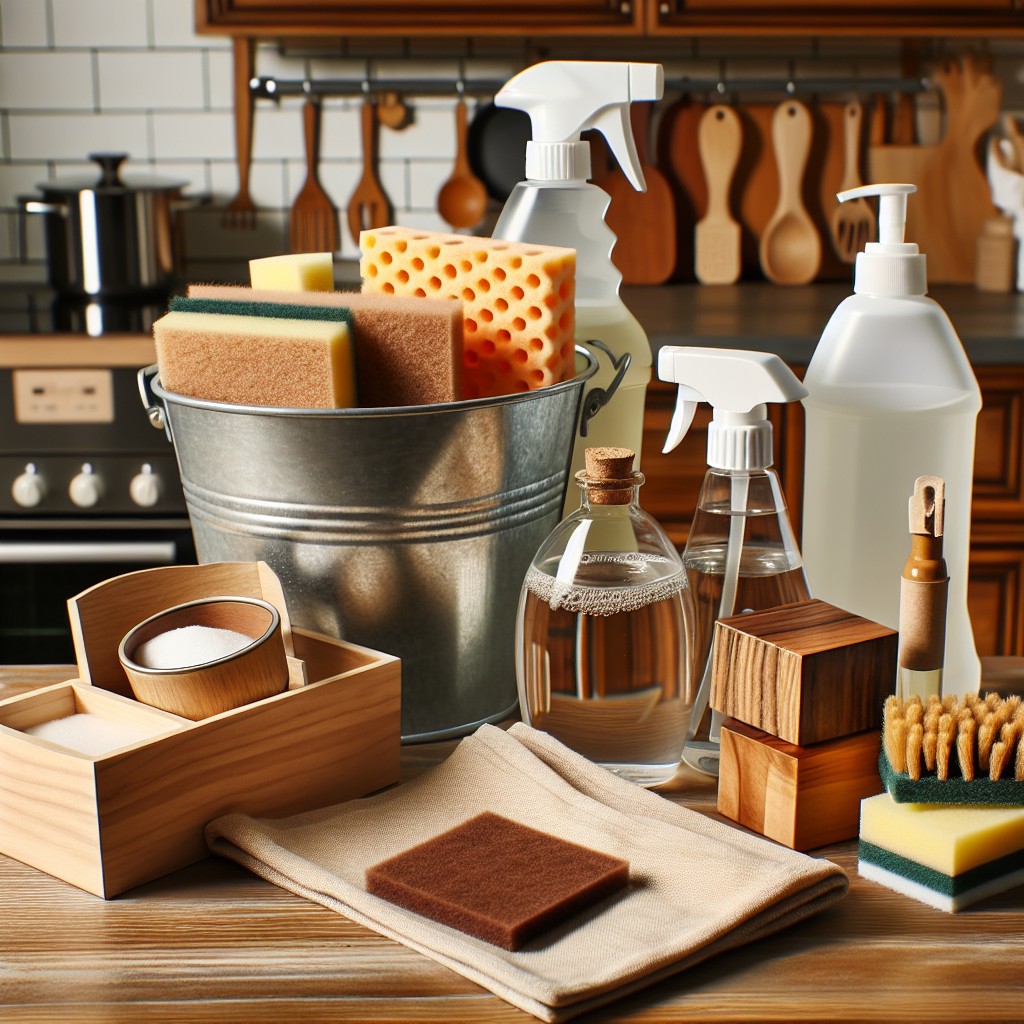
Before diving into the cleaning process, ensure you have all the necessary supplies at hand. You’ll need:
- Soft microfiber cloths: These are gentle on wood surfaces and don’t leave scratches or lint behind.
- Mild dish soap: A drop or two in water can help clean without damaging the finish.
- White vinegar: Acts as a natural cleaning agent that cuts through grease and grime.
- Warm water: Helps to dissolve the soap and makes the vinegar solution effective.
- Baking soda: Useful for treating stubborn stains without harsh chemicals.
- Furniture oil or polish: Choose one that’s suitable for your cabinet’s wood type to enhance shine after cleaning.
- A bucket or bowl: For mixing your cleaning solutions.
- Rubber gloves: Optional, but recommended to protect your hands from drying out.
Having these supplies ready streamlines the cleaning process and ensures you can tackle the task efficiently, without interruption to locate missing items.
Prepare a Vinegar and Water Solution
For an effective yet gentle cleaning solution, mix equal parts white vinegar and warm water.
This natural combination breaks down grease and grime without damaging the wood finish.
It’s crucial to use warm water as it helps dissolve the vinegar for a more consistent mixture.
After mixing, dip a soft cloth into the solution, wring it out well to avoid excess moisture, which can harm the wood.
Proceed by wiping the cabinet surfaces gently, following the wood grain to prevent streaks and maintain the natural pattern of the wood.
Apply Solution With a Soft Cloth
Dampen a clean, soft cloth with your homemade vinegar solution, ensuring it’s not overly saturated to avoid excess moisture seeping into the wood. Gently wipe down the cabinet surfaces in the direction of the grain to lift off the dirt without scratching the wood.
Periodically rinse the cloth with clean water, wring it out, and continue until you’ve covered all the cabinetry. For detailed areas or tight spots, use an old toothbrush dipped in the solution, but work carefully to preserve the wood’s integrity. Remember to immediately dry any excess liquid with a towel to protect the wood from potential water damage.
Polish With Furniture Oil
Once you’ve gently cleaned your cabinets and removed any stubborn stains, it’s time to give them a radiant finish. Using a furniture oil adds a protective layer that not only enhances the natural beauty of the wood but also helps to repel dust and dirt. Opt for a natural oil like lemon, tung, or linseed, and remember, a little goes a long way.
Pour a small amount onto a clean, soft cloth, and work it in by following the grain of the wood. This technique ensures an even application and helps to penetrate the wood, providing nourishment and a long-lasting shine. Allow the oil to sit for a few minutes before buffing it to a gleaming finish using a fresh, dry cloth.
For the best results, consider your cabinet’s specific wood type as some oils may work better with certain woods. If you’re unsure, test the oil on a small area that’s not typically in view. With consistent care, your cabinets will not only shine but also stand the test of time.
Address Tough Stains With Baking Soda
For stubborn stains that don’t respond to your vinegar mix, baking soda is your go-to. It’s a gentle abrasive that can lift away grime without scratching surfaces.
Make a paste with equal parts baking soda and water. Apply it directly to the stain using a soft cloth or sponge—circular motions work best to release the stain. Let it sit for a couple of minutes for tough grime.
Rinse the area with a damp cloth, ensuring all baking soda residue is removed, as leaving it on can dull the wood’s finish. Remember, baking soda is potent, so use sparingly and only on those particularly stubborn spots.
Buff Cabinets for Shine
Achieving a glossy finish on your wood cabinets involves a gentle touch and the right materials. First, make sure your cabinets are clean and dry. Take a soft, clean microfiber cloth or a buffing pad to work on the wood surfaces in a circular motion. This action not only brings out the natural luster of the wood but also works in the oil evenly, maximizing its protective qualities.
During this process, apply light pressure to avoid any potential scratches. Pay special attention to carved details or raised paneling where polish might accumulate. If you encounter any build-up, use a dry, soft brush like an old toothbrush to remove excess oil gently.
Consistency is key. Regular buffing not only enhances the shine but also contributes to the longevity of your cabinets, guarding against the wear and tear of daily use. Keep your movements steady and even; with each pass, you’ll notice the wood starting to gleam. Remember, patience here will yield a kitchen that truly sparkles.
Wipe With Dry Cloth to Prevent Streaks
Once your cabinets have been washed, grabbing a dry cloth is crucial for the final touch-up. The difference between cabinets that radiate cleanliness and those that betray unsightly streaks often lies here.
When choosing your cloth, opt for a microfiber or soft cotton towel—one that won’t scratch the wood’s surface but is absorbent enough to pick up any residual moisture.
Simply glide the cloth in the direction of the wood grain for optimal effect. This not only lifts remaining dampness but also helps in avoiding water spots and streaks that can dull the wood’s appearance.
Frequent turning of the cloth to a dry side ensures you’re not redistributing moisture back onto the surface you just cleaned.
Remember, gentle pressure is your friend. Too vigorous rubbing might lead to a dull finish. Quick, soft passes will leave your wood cabinets glistening and ensure that your efforts are reflected in a streak-free shine.
Maintain Regular Cleaning Schedule
To safeguard the luster of your wood cabinets and extend their lifespan, keep a consistent cleaning regimen. Wipe surfaces weekly with a soft, damp cloth to prevent build-up of dust and grime. Every few months, do a thorough cleaning using your vinegar solution followed by oil polishing. Set reminders if necessary to ensure you don’t skip these essential tasks. By incorporating cabinet care into your routine, you ensure a pristine kitchen environment that stays welcoming and bright.
Pro Tip: Testing Cleaners On an Inconspicuous Area
Before fully committing to a new cleaning solution, take a moment to trial it on a small, less visible part of your cabinetry. Here’s why this step is a game-changer:
- Chemical Reactions: Different wood finishes react uniquely to cleaning agents. Testing ensures the cleaner won’t damage or discolor your cabinets.
- Color Fastness: Ensure the solution doesn’t strip the stain or paint, maintaining the vibrancy and beauty of your wood.
- Surface Safety: Some cleaners might leave a residue or overly dry the wood. A test run helps avoid these pitfalls.
Select an area inside a door or on a lower corner for your spot check. Apply a bit of the solution, wait several minutes, then assess. Once you’re confident of a safe, damage-free result, you’re ready to proceed with sparkling confidence.
FAQ
How do you shine dull wood cabinets?
To restore the shine of dull wood cabinets, clean deeply with oil soap or a solution of one part white vinegar to two parts water, or a teaspoon of dish soap diluted in a cup of water, then polish with a reputable brand like Pledge Restoring Oil.
What is the best product to clean and shine wood cabinets?
The best product to clean and shine wood cabinets is the Magic Cabinet and Wood Cleaner as it utilizes carnauba wax, renowned for its restorative and protective properties, making it suitable for removing grease, food, and dust while also polishing your cabinets.
How do I make my cabinets shiny?
To make your cabinets shiny, simply apply a vinegar solution onto the cabinet doors, let it sit for 2 minutes, then wipe it off with a cloth.
What natural ingredients can effectively clean wooden cabinets?
White vinegar, baking soda, and olive oil are natural ingredients that can effectively clean wooden cabinets.
How often should you clean your wood cabinets to maintain their shine?
Wood cabinets should ideally be cleaned once every week to maintain their shine.
What are the steps to remove grease and grime from wood cabinets without damaging them?
To remove grease and grime from wood cabinets without causing damage, employ a mild dish soap solution followed by vinegar and water mixture, subsequently wiping dry gently.
