Last updated on
In this comprehensive guide, you’ll learn step-by-step methods on how to clean your wood cabinets effectively, enhancing their longevity and maintaining their aesthetic appeal.
Key takeaways:
- Clean wood cabinets weekly to prevent surface grime buildup.
- Use mild dish soap, microfiber cloths, warm water, white vinegar, baking soda, toothbrush, and wood polish for cleaning.
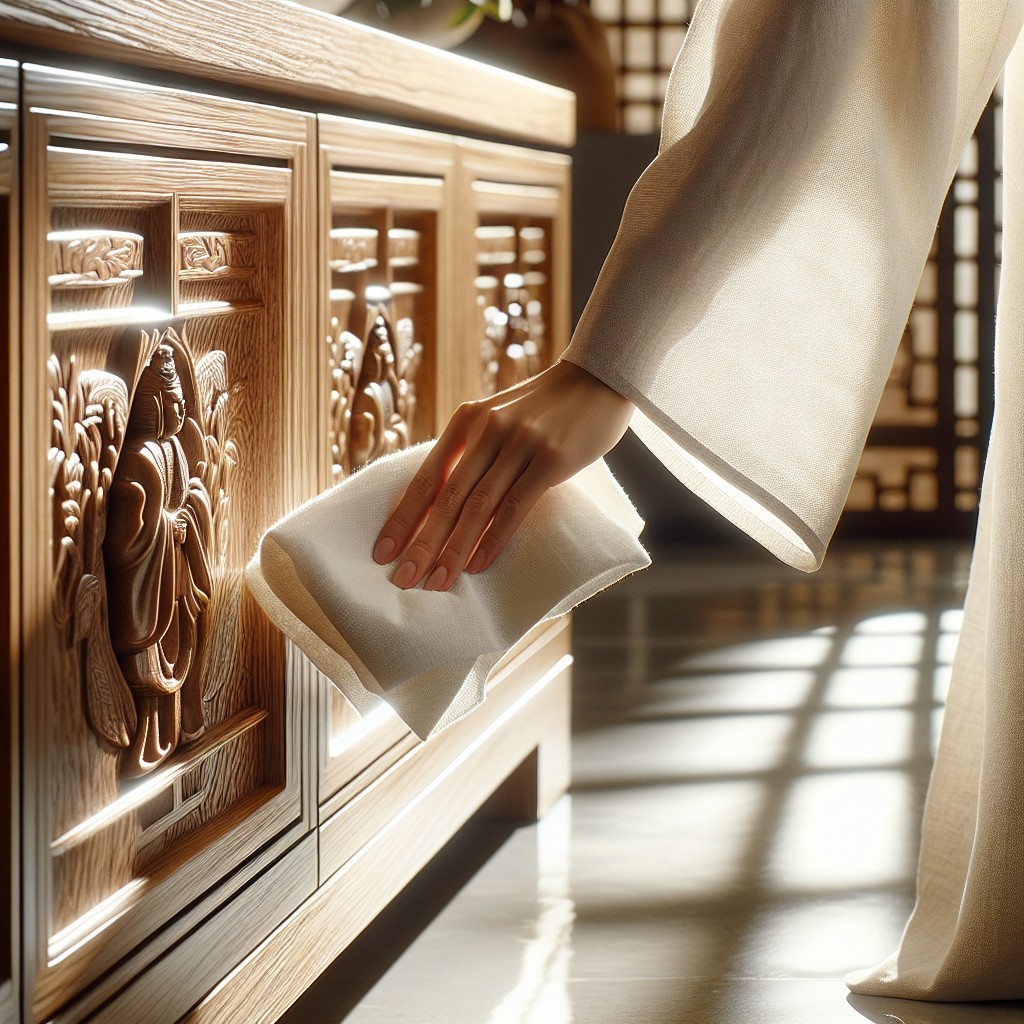
- Wipe cabinets with a damp cloth in the direction of the wood grain.
- Install hardware, dust regularly, spot clean promptly, use cabinet liners, and keep the kitchen well-ventilated.
- Refinish cabinets when color fading, scratches, or peeling occur. Assess structural integrity and consider hiring a professional for best results.
What's Inside
How Often to Clean Wood Cabinets
In the bustling heart of your kitchen, cabinets are the silent guardians of your cookware and pantry essentials. The frequency of cleaning hinges on your kitchen’s activity level. A thumb rule is a gentle dusting once a week to keep the surface grime at bay.
If you’re an avid cook churning out culinary creations regularly, a deeper clean every fortnight is the secret to maintaining that pristine sheen. For households rarely besieged by bubbling pots and sizzling pans, a monthly once-over with a wood-friendly cleaner should suffice. Remember, the trick is to be responsive to spills and splatters – attend to them promptly to prevent a buildup that calls for a more Herculean cleaning effort down the line.
Materials Needed for Cleaning
Equipping yourself with the right cleaning materials is critical for maintaining the integrity of your wood cabinets without causing damage. For optimal results, gather the following items:
- Mild dish soap: It’s gentle enough to cut through grease without stripping the wood’s natural oils.
- Microfiber cloths: These cloths are soft on the wood surface yet effective at trapping dirt and grime.
- Warm water: Acts as a base for your cleaning solution and helps to dissolve dirt.
- White vinegar: An eco-friendly alternative to commercial cleaners that tackles tough stains.
- Baking soda: A natural abrasive that can address sticky residues without scratching the wood.
- Toothbrush: Handy for reaching into grooves and intricate detailing where dust accumulates.
- Wood polish or oil: After cleaning, this will replenish wood’s luster and add a protective layer.
Remember to use these materials with care, always test a small, inconspicuous area first, and follow the wood grain during cleaning to prevent swirls or scratches.
Instructions for Cleaning Process
Begin by wiping down the cabinets with a soft, dry cloth to remove any loose dust or dirt. This prevents scratching the wood when applying any liquid cleaners.
Create a gentle cleaning solution by mixing a cup of warm water with a teaspoon of mild dish soap. For tougher grime or grease, you can add a teaspoon of vinegar.
Dip a soft, clean cloth or sponge into the solution and wring it out so it’s damp, not dripping. Scrub the cabinets in the direction of the wood grain to avoid damage.
Address any heavy buildup or sticky spots with a paste made from baking soda and water. Apply the paste, leave it for a few minutes, then wipe clean with a damp cloth.
After washing, immediately follow up with another clean, soft cloth, this time slightly damp with just water, to remove any soap residue.
Dry off the cabinets with a final pass using a clean, dry cloth. Moisture left on the wood can penetrate and cause warping or discoloration.
For shining up hardware, use a toothbrush to gently scrub handles and hinges with the soapy water mixture. Wipe dry immediately.
For ongoing maintenance, every few weeks wipe the outside of the cabinets with furniture polish made for wood to keep them shiny and help repel dust.
Additional Tips to Keep Wood Cabinets Clean Longer
Maximize the lifespan and luster of your wood cabinets with a few preventative measures:
- Install cabinet hardware such as knobs or pulls. This minimizes the contact between your fingers and the cabinet surface, reducing the transfer of oils and dirt.
- Regularly dust the cabinet surfaces with a soft, dry cloth to avoid buildup that can lead to grime. Microfiber cloths are particularly effective at trapping dust.
- Immediate spot cleaning is key. If spills or splatters occur, wipe them promptly with a damp cloth and follow up with a dry cloth to prevent moisture damage.
- Use cabinet liners or mats in high-risk areas such as under the sink or in spice cabinets. These absorb leaks or spills and can be easily replaced or cleaned.
- Keep the kitchen well-ventilated to prevent excess moisture and humidity from warping the wood. Utilizing range hoods or exhaust fans when cooking can mitigate this risk.
- Avoid using silicone-based sprays or cleaning agents that can cloud the finish of your cabinets over time. Stick to gentle cleansers made specifically for wood.
- Incorporate a periodic cabinet conditioning routine using a wood-friendly polish to retain the natural oils and keep the wood from drying out.
Implementing these habits will ensure that your wood cabinets remain in impeccable condition, warding off the need for deep cleaning sessions more often than necessary.
When to Refinish Cabinets
Recognizing the right moment to refinish wood cabinets is as vital as knowing how to clean them. If your cabinets have widespread color fading, deep scratches, or the wood appears dry and brittle despite regular cleaning, it could be time for a more comprehensive solution. Likewise, when the finish is peeling or flaking, refinishing becomes necessary, not just for aesthetic reasons but to protect the wood from further damage.
Consider the overall look of your kitchen as well. If you’re aiming for an updated style or a color change, refinishing allows for a complete transformation without the need for expensive replacements. This process is a cost-effective way to extend the life of your cabinets and add value to your home.
Before you decide to refinish, assess the structural integrity of your cabinets. Strong, well-built cabinets are prime candidates for refinishing. However, cabinets with weak joints or extensive water damage might require more than just a new finish; they may need to be replaced.
Lastly, be mindful of the time commitment and skill level required for refinishing. An even, durable finish requires careful application and patience. If you’re not ready to take on the challenge, hiring a professional can ensure top-notch results. Remember, the goal is not just to improve appearances but to fortify your cabinets against the wear and tear of daily life.
Read More
 How to Choose Kitchen Cabinets: Your Ultimate Buying Guide
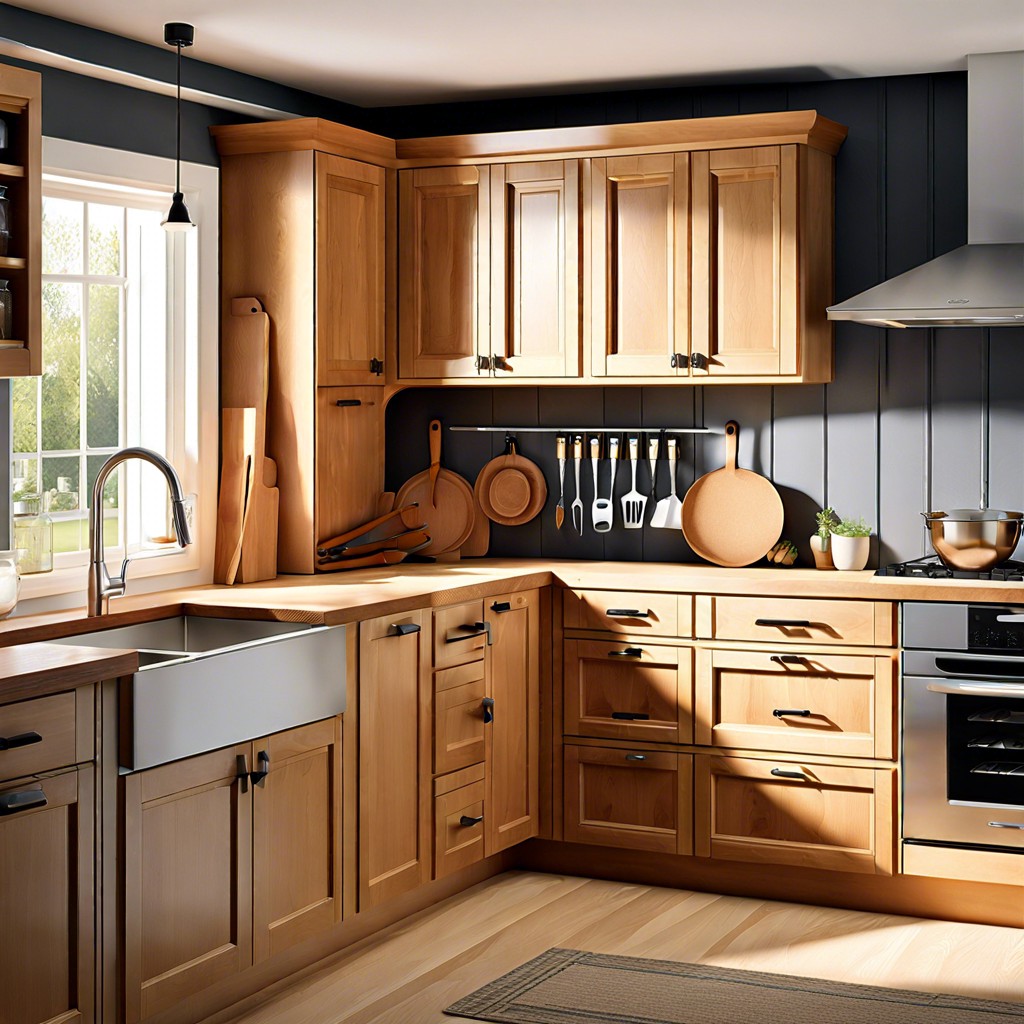 Staining Cabinets: A Step-by-Step Guide to a Fresh Look
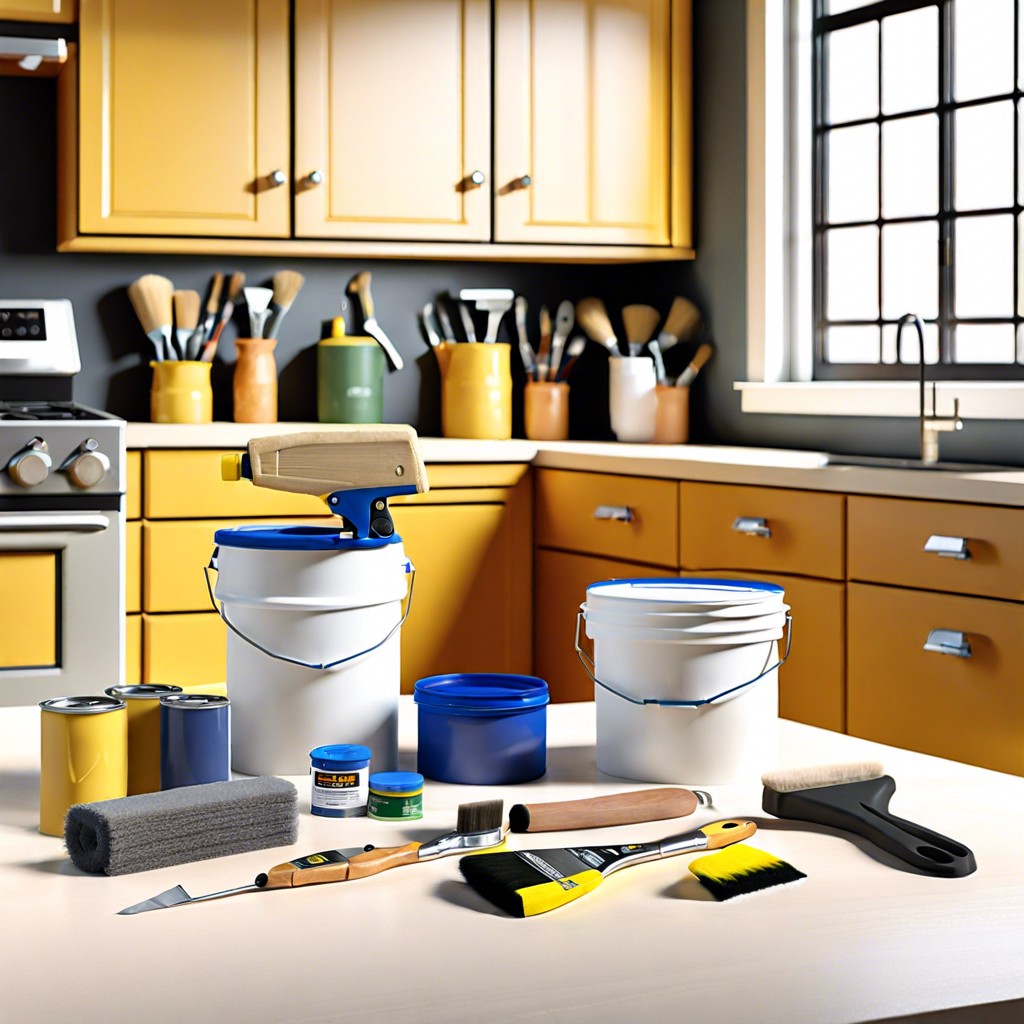 How Long Does It Take to Paint Kitchen Cabinets: A Time-Saving Guide
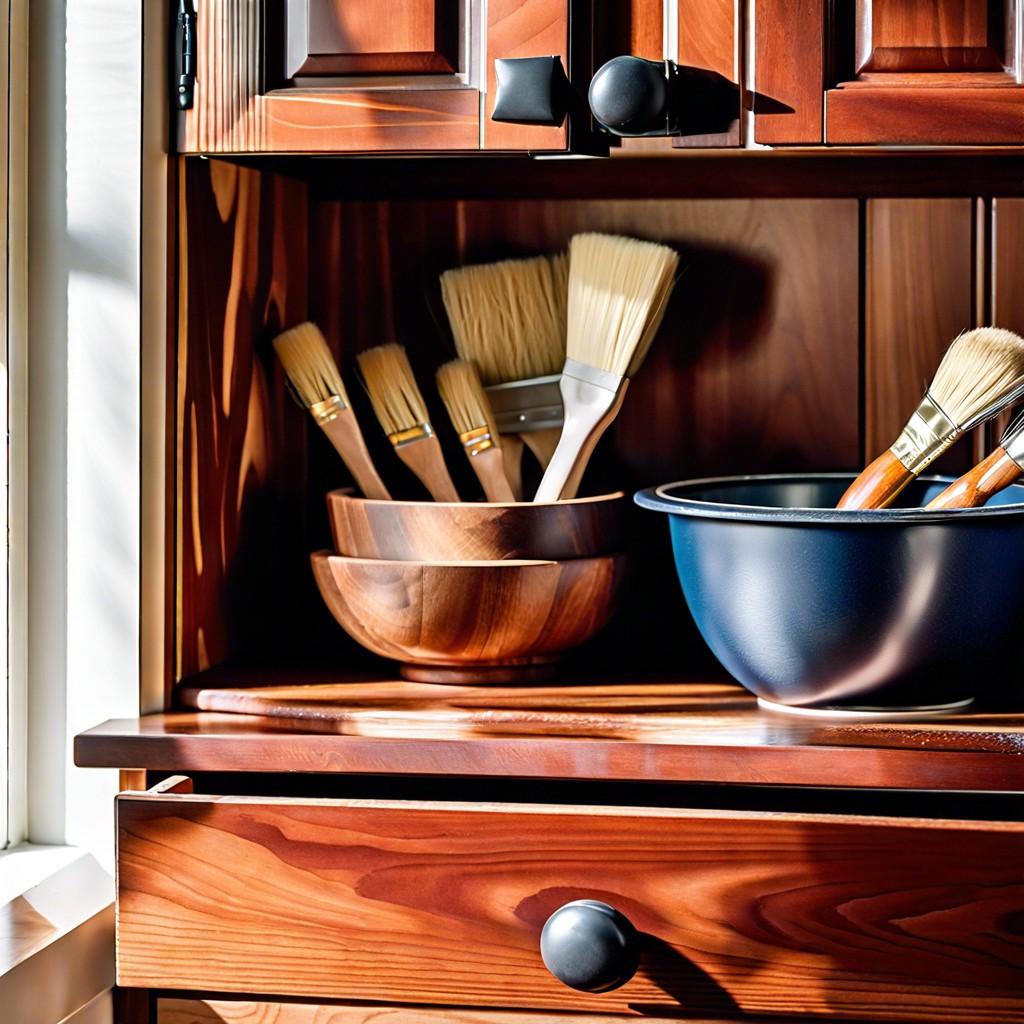 Cost to Refinish Cabinets: A Cheaper Revival
 How to Install Upper Cabinets: Tips for a Perfect Kitchen Makeover