Last updated on
This post details a step-by-step process to effectively degrease kitchen cabinets, ensuring a gleaming and hygienic cooking environment.
Key takeaways:
- Use microfiber cloths and non-abrasive sponges for effective degreasing.
- Start from the top and work your way down when cleaning cabinets.
- Consider eco-friendly, fragrance-free, and concentrated degreasers.
- Different cabinet materials require specific cleaning approaches.
- Establish regular and deep cleaning schedules for maintained cleanliness.
What's Inside
What You’ll Need: Equipment / Tools and Materials
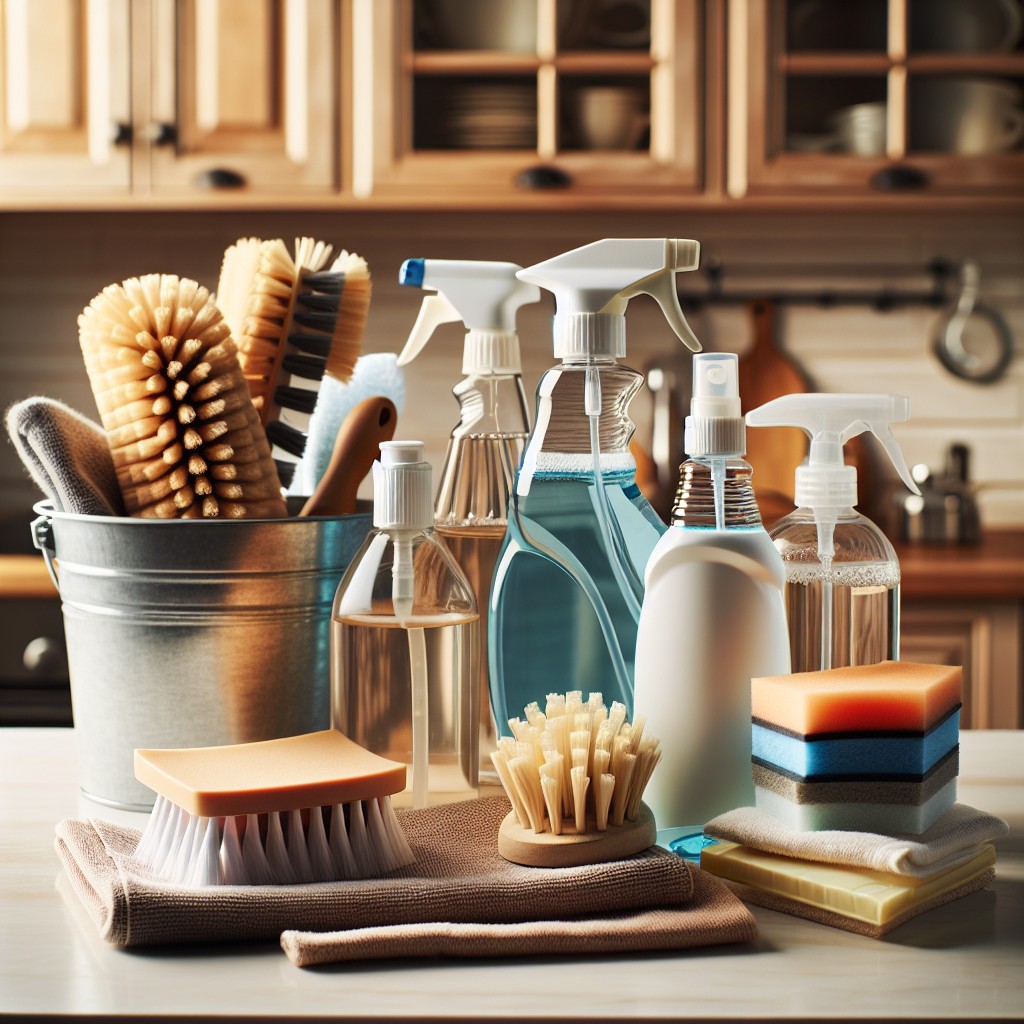
Before rolling up your sleeves to tackle greasy cabinets, gather the right equipment to make the task efficient and effective:
- Microfiber Cloths: These are gentle on surfaces and trap grime without leaving lint behind.
- Soft Sponge or Scrubbing Brush: For stubborn spots, a non-abrasive sponge or soft-bristled brush will do the trick without scratching the finish.
- Rubber Gloves: Protect your skin from grease and cleaning solutions.
- Bucket or Bowl: Use it to mix cleaning solutions and to dip your cloth or sponge in.
- Degreasing Agent: Choose from commercial degreasers, dish soap, or a DIY mixture of white vinegar and warm water.
With these items at the ready, you’ll be well-equipped to cut through the kitchen grease and leave your cabinets looking their best.
Instructions: How to Degrease Kitchen Cabinets
Begin by emptying the cabinets and removing any loose dirt or debris with a soft brush or vacuum attachment. Apply your chosen degreaser to a microfiber cloth or non-abrasive sponge—spraying directly onto the cloth can prevent oversaturation and protect the cabinet’s finish. Start from the top and work your way down, addressing one cabinet at a time, to prevent drip marks.
Gently scrub in a circular motion, focusing on areas with accumulated grease—usually around handles and corners. Rinse the cloth frequently to avoid smearing grime around.
For stubborn grease spots, let the degreaser sit for a few minutes to break down the grime. Be cautious with soaking time; excessive exposure to moisture can damage the cabinet’s material. After scrubbing, use a fresh damp cloth to wipe away the degreaser, ensuring no residue is left behind.
Next, buff the cabinets dry with a clean, dry towel to prevent water marks and restore shine. Finally, tackle the hardware—soak knobs and handles in a degreaser solution, then scrub, rinse, and dry before reattaching.
Choosing the Right Kitchen Degreaser
Navigating the array of kitchen degreasers can feel overwhelming, but a few key points help clarify your selection.
Consider the ingredients and their impact on the environment. Plant-based degreasers provide an eco-friendly option, while still being tough on grime.
If you’re sensitive to smells, go for a fragrance-free formula or one with natural essential oils for a pleasant scent.
Always check the compatibility with your cabinet surfaces. Some degreasers are suitable for all types, while others may not be recommended for wood. The product label or manufacturer’s website typically provides this information.
Efficiency is crucial. Opt for concentrated formulas that can be diluted. This is cost-effective and allows for adjusting the strength based on the task severity.
For those seeking convenience, pre-mixed or spray-on degreasers are time-savers, ready for immediate use.
Lastly, assess the product’s safety. If you have pets or children, look for non-toxic and biodegradable options, ensuring a safe environment for all household members.
Understanding How to Clean Different Types of Kitchen Cabinets
Cleaning various cabinet materials requires specific approaches to avoid damage while effectively removing grease.
1. Laminate and Thermofoil Cabinets: A mild dish soap and water solution usually works well; these materials resist water and don’t warp easily.
2. Painted Cabinets: Opt for a gentle cleaner to protect the paint finish. Avoid abrasive materials that can strip paint or leave scratches.
3. Wood Cabinets: Use oil soap wood cleaners for natural wood cabinets. This not only cleans but also nourishes the wood.
4. Metal Cabinets: A mixture of vinegar and water cuts through grease on metal and doesn’t leave a residue.
5. Glass Panels: Glass cleaner or a mix of vinegar and water applied with a soft cloth can remove grime without streaking.
Always test your chosen cleaner on an inconspicuous area and use a soft, non-abrasive cloth to apply solutions and wipe down surfaces. Clean cabinet hardware separately to maintain its shine and avoid tarnishing.
Maintaining Clean Kitchen Cabinets: Regular and Deep Cleaning Schedules
Keeping kitchen cabinets spotless doesn’t have to be a grueling task. By establishing both regular and deep cleaning schedules, you ensure that grease and grime never build to daunting levels.
For regular maintenance, a weekly wipe-down with a mild detergent and water solution works wonders. Simply use a soft cloth to gently scrub the surfaces, focusing on handles and around hardware where fingerprints and cooking residue typically accumulate.
Deep cleaning, on the other hand, is a more thorough process that should be done every 3-6 months. This involves a stronger degreasing agent and might include removing the hardware and focusing on crevices where oil particles often hide.
A pro tip for maintaining the sheen between cleanings is to use a homemade solution of water and vinegar. Apply it with a spray bottle, and buff with a microfiber cloth for a quick refresh that also acts as a mild disinfectant.
Remember, consistency is key. By integrating these cleanings into your household routine, you’ll not only extend the life of your cabinetry but will also enjoy a perpetually fresh and inviting kitchen environment.


