Last updated on
Discover the simple steps to effectively identify and repair a leak under your kitchen sink, ensuring a dry and functional space in no time.
Have you ever experienced the frustration of finding a leak under your kitchen sink? It’s not only annoying, but it can also cause water damage and lead to mold growth. Fortunately, fixing a leak under the kitchen sink is not as complicated as it may seem.
In this article, we will guide you through the steps to fix that pesky leak and prevent future ones from happening. So grab your tools and let’s get started!
What's Inside
Identifying the Leak Source

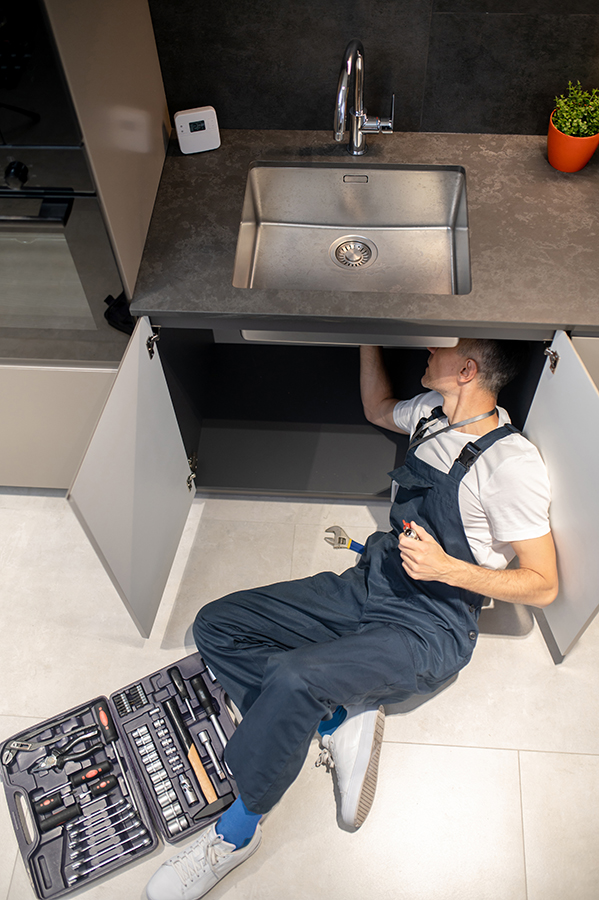
The first step in fixing a leak under the kitchen sink is to identify the source of the problem. This can be done by examining where water is coming from and tracing it back to its origin.
Start by clearing out any items stored beneath your sink and placing a bucket or towel underneath to catch any dripping water.
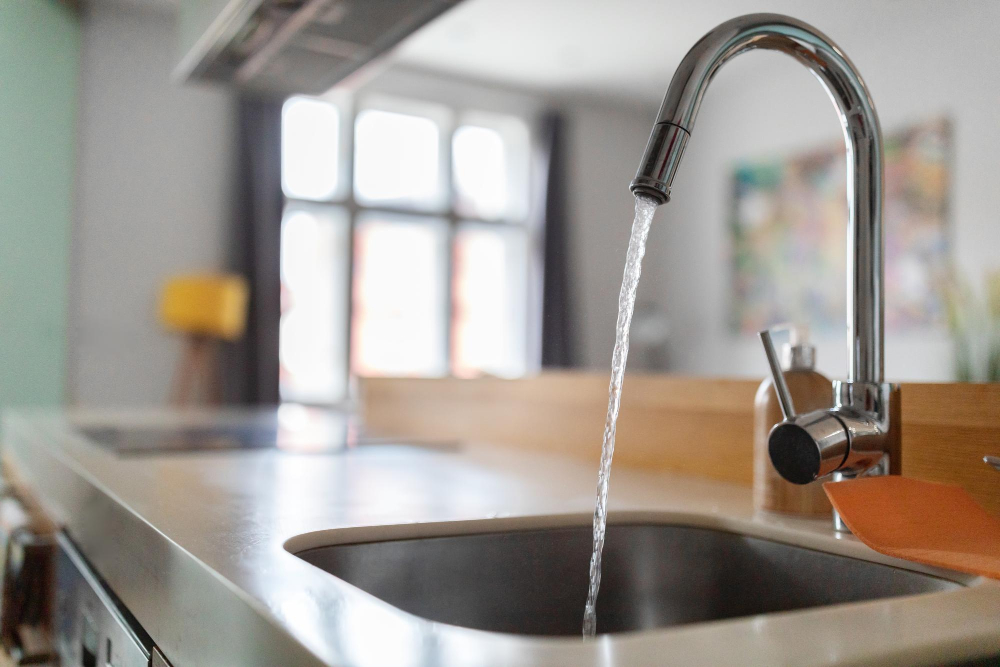
Next, turn on your faucet and check for leaks around its base, handles, or spout. If you notice drips coming from these areas, then there may be an issue with your faucet connections that need tightening or replacing.
If no visible leaks are present at the faucet area, move on to inspecting other parts of your plumbing system such as supply lines and drain pipes. Check for signs of corrosion or damage along these components that could cause leakage.
By identifying where exactly the leak is originating from will help you determine what tools are needed for repair work later on in this process.
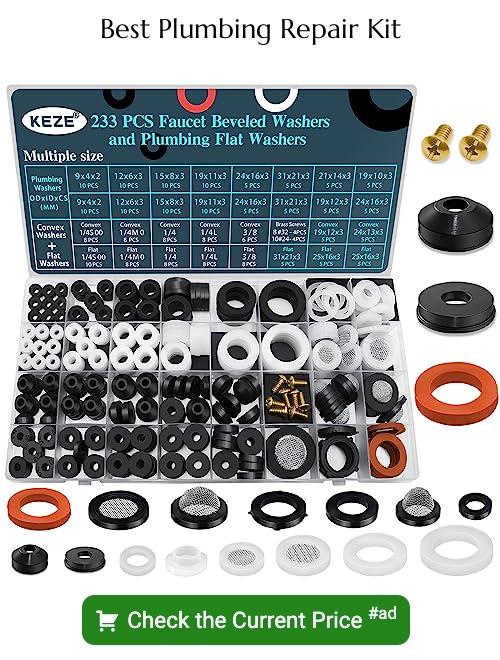
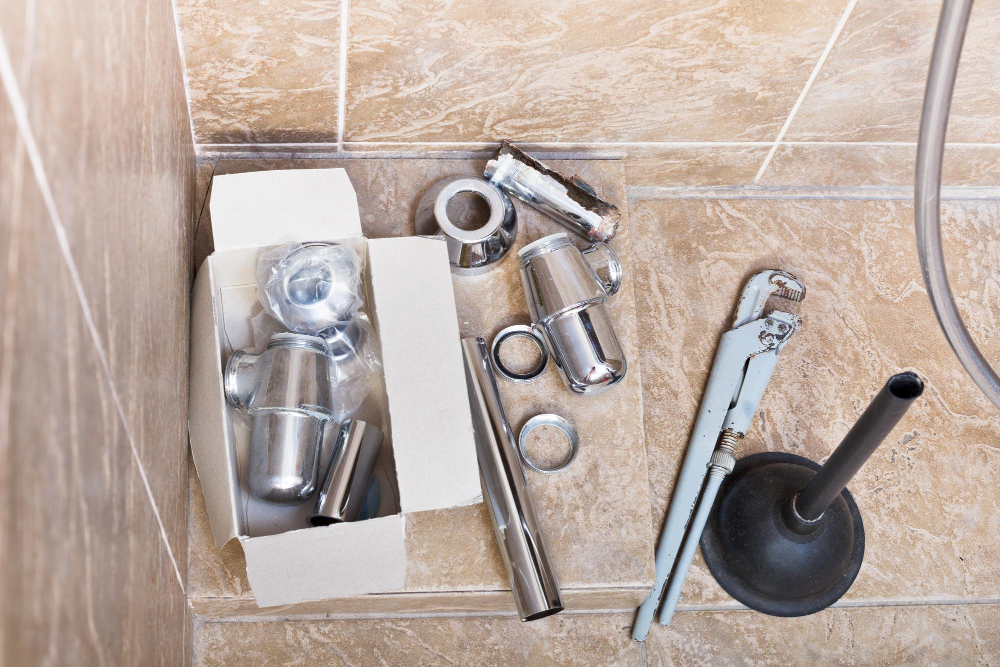
Tools and Materials Needed

Here are some of the items you’ll need:
- Adjustable wrench
- Slip-joint pliers
- Basin wrench (optional)
- Bucket or container for catching water
- Towels or rags for cleaning up spills and drips
- Plumber’s tape
- Plumber’s putty
Make sure to have these tools on hand before beginning your repair work. Having everything ready will save you time and prevent frustration during the process.
Safety Precautions
First and foremost, turn off the water supply under the sink or at the main valve to avoid any accidental flooding. Make sure you have proper lighting in your workspace and wear protective gear such as gloves and eye goggles.
It’s also important to be mindful of electrical hazards if there are outlets near your sink area. If you’re unsure about how to safely disconnect an electrical appliance or fixture from its power source, consult a professional electrician.
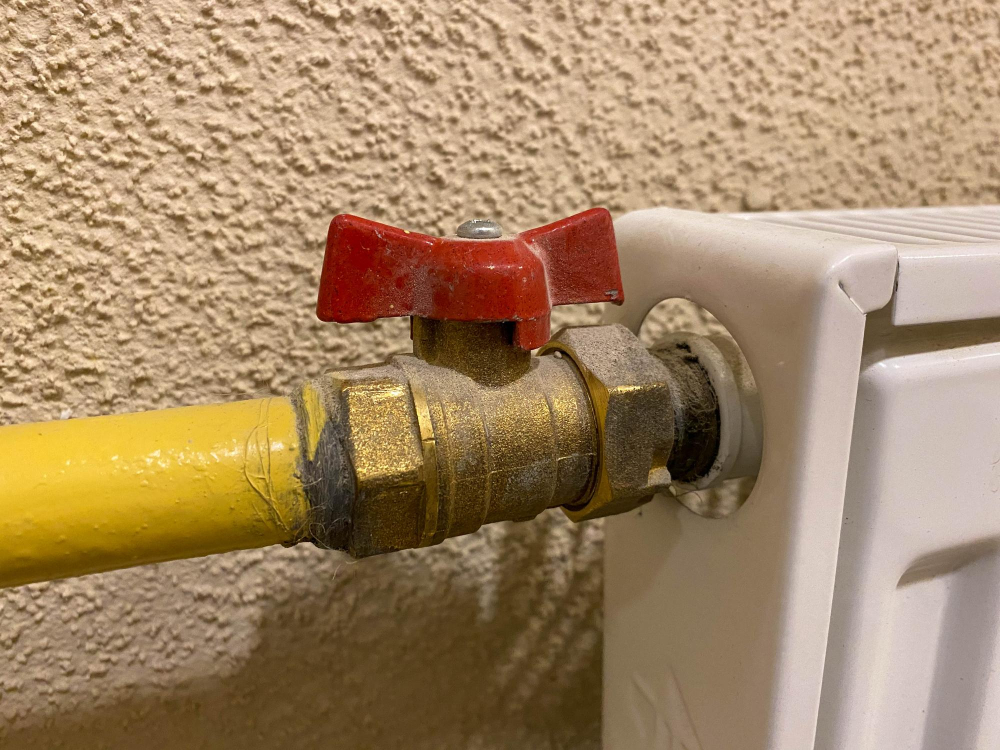
Turning Off the Water Supply
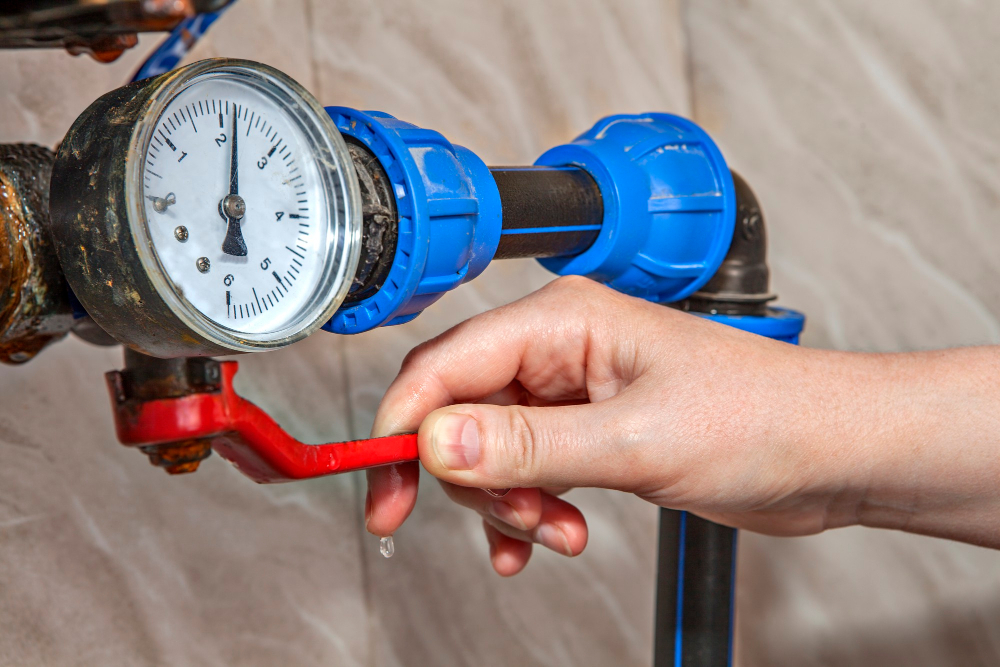
This is an essential step in preventing further damage and making repairs safely. Look for a valve located under your sink or near your main water line and turn it clockwise until it stops.
If you can’t find a valve, shut off the main water supply to your home.
It’s important to note that turning off the wrong valve could result in shutting down water access throughout your entire house, so be sure you know which one controls only that specific area before proceeding with this step.
Clearing the Area Beneath the Sink

This will give you enough space to work and prevent any damage or injury caused by cluttered tools or materials. Start by removing all items stored in the cabinet below your sink, including cleaning supplies and other household products.
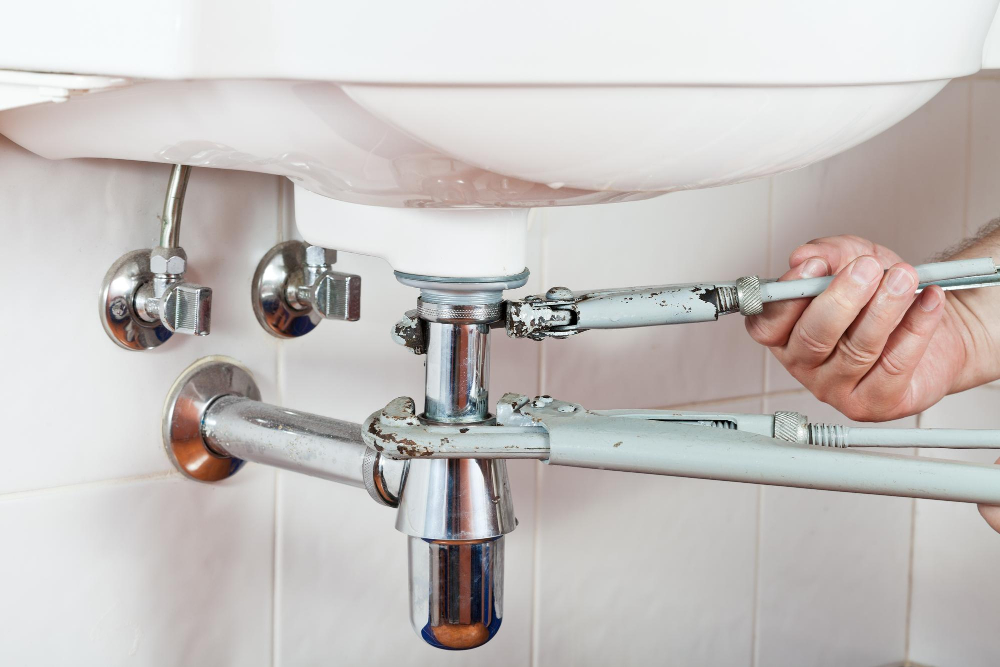
Next, place a bucket underneath the P-trap (the curved pipe that connects your sink drain to the main plumbing line) before loosening its nuts with pliers. The bucket will catch any water left in this section of piping when you remove it from under your sink.
Checking the Sink Drain

To check if this is where your leak is coming from, start by placing a bucket or basin beneath the P-trap (the curved pipe that connects to both the sink and wall). Then, unscrew and remove it carefully using pliers or a wrench.
If you notice any water in it, empty it into your bucket.
Next, inspect both ends of the P-trap for cracks or damage. If you find any issues with either end of this pipe section, replace them immediately with new ones available at hardware stores.
If there are no visible signs of damage on either end but still suspect that’s where your leak comes from; run some water through to see if there are any leaks around its connections while keeping an eye out for drips underneath.
Inspecting the P-trap
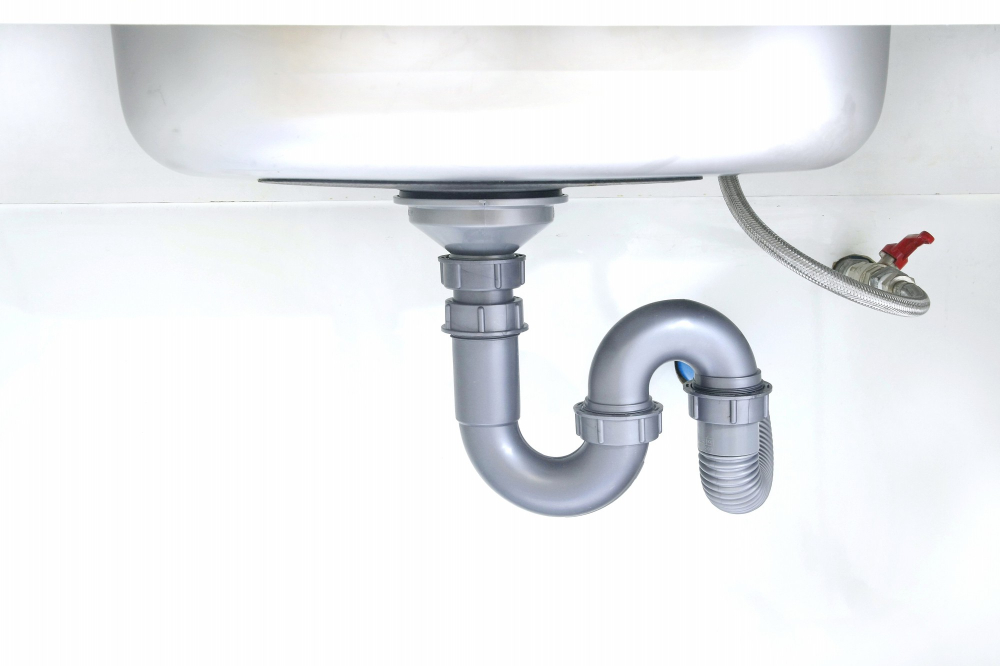
It’s also a common spot for leaks to occur. To inspect the P-trap, place a bucket underneath it to catch any water that may spill out during inspection.
First, check if there are any visible cracks or damage on the trap itself. If you notice anything unusual, replace it immediately with a new one.
Next, use pliers or an adjustable wrench to loosen and remove each nut connecting the trap assembly together carefully. Once removed, clean out any debris inside using gloves and hot soapy water before reassembling everything back in its original position.
If you find no visible signs of damage but still suspect this area as being responsible for your leak problem – try tightening all nuts securely by hand first before resorting to using tools like pliers which can cause further harm if not used correctly!
Clearing a Backed-Up P-trap

The P-trap is a curved pipe located under your sink that traps debris and prevents sewer gases from entering your home. Over time, this trap can become clogged with food particles or other debris causing a backup in your sink.
To clear a backed-up P-trap, start by placing a bucket underneath it to catch any water or debris that may spill out during cleaning. Then use pliers to loosen and remove each nut on either side of the trap until you can pull it free.
Once removed, clean out any visible blockages using gloves or tongs before rinsing thoroughly with hot water. If there are stubborn clogs remaining inside of the pipe bend itself (the “U” shape), try using an auger tool specifically designed for clearing drains.
After cleaning everything up reassemble all parts carefully making sure not to overtighten anything as this could cause damage leading back again into leaks.
Examining Water Supply Lines
These are usually located at the back of your cabinet and connect to both your faucet and shut-off valve.
Firstly, check for any visible signs of damage such as cracks or leaks in the pipes themselves. If there is no visible damage, turn on your faucet while observing these lines closely for any signs of leakage.
If you notice a leak coming from one of these supply lines, try tightening its connection with an adjustable wrench or pliers carefully. Be sure not to overtighten as this can cause further damage.
If tightening doesn’t solve the problem or if there is significant corrosion present on either end of a line that cannot be repaired by cleaning alone then it may be necessary to replace them entirely.
Investigating the Faucet Connections
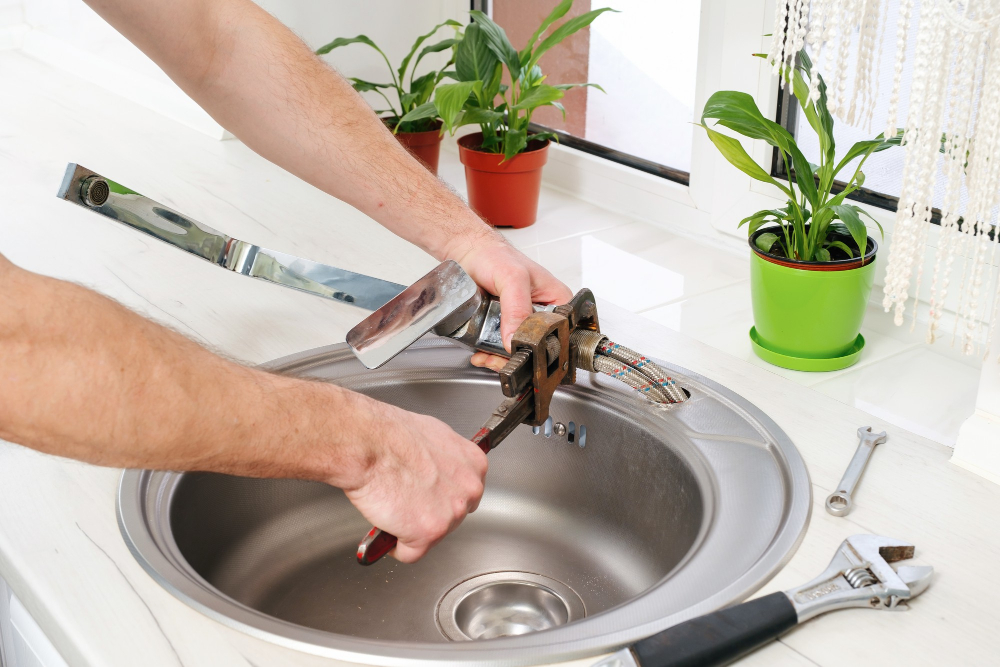
The connections between your faucet and water supply lines can become loose over time due to regular use or vibrations from nearby appliances. To check for leaks in this area, turn on the faucet and look for any signs of dripping or pooling water.
To fix a leaky connection at this point, first turn off both hot and cold-water supplies leading to your kitchen sink. Then carefully inspect each connection point between the supply line valves (located beneath your countertop) up through where they connect with their respective inlet ports on either side of your faucet base.
If you find that one of these connections is loose or damaged in any way (such as a cracked washer), tighten it using an adjustable wrench while holding onto its corresponding valve handle with another hand so as not to twist them out of alignment during tightening process.
Inspecting the Faucet
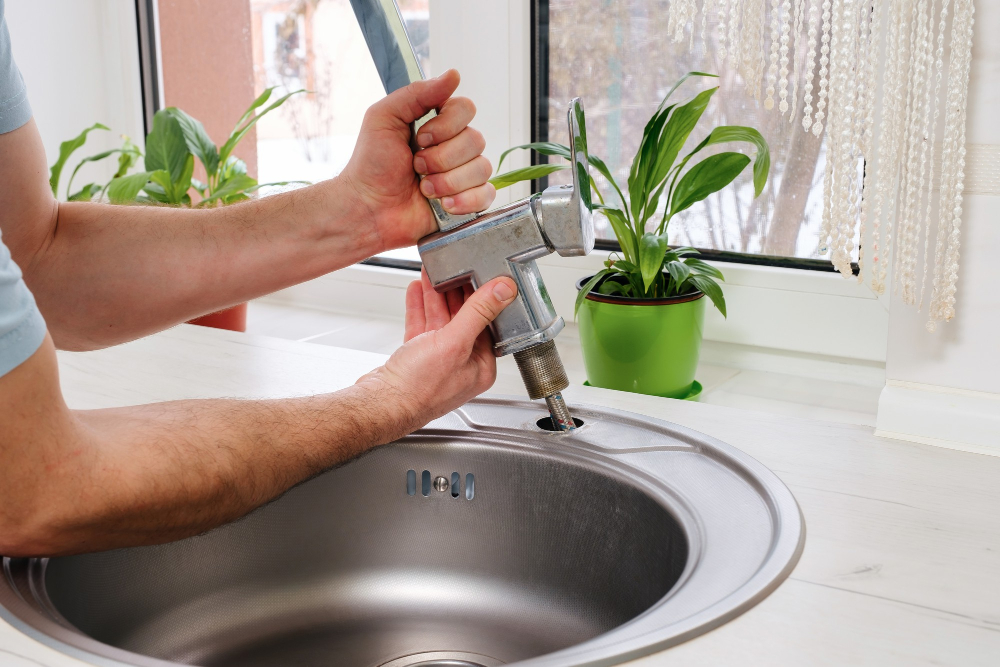
A faulty faucet can cause leaks that may go unnoticed for a long time. To check if your faucet is causing the leak, turn on both hot and cold water taps and observe any drips or leaks.
Next, examine all connections between pipes and faucets for signs of corrosion or damage. If you find any damaged parts such as worn gaskets or washers, replace them immediately with new ones.
Another common culprit of a leaking faucet is a damaged O-ring located inside its body. You can easily remove it by unscrewing the handle from its base using pliers or an adjustable wrench.
Once you’ve removed the handle assembly from your kitchen sink’s body (the part that connects to pipes), take out old O-rings carefully without damaging other components around them before replacing them with new ones in their place.
Replacing a Damaged O-ring
The O-ring is a small rubber ring that sits inside the faucet and helps create a watertight seal. Over time, this ring can become worn or cracked, causing water to leak out of your sink.
To replace an O-ring:
- Turn off the water supply under your sink.
- Remove any decorative caps covering screws on top of your faucet handle.
- Unscrew and remove these screws with an appropriate screwdriver.
- Lift off the handle carefully so as not to damage any parts underneath it.
- Locate and remove any retaining nuts holding down other parts such as cartridges or valves using pliers or wrenches if necessary
- Locate where o-rings are placed in cartridge/valve stem assembly
- Remove old o-rings by gently prying them out with flathead screwdriver
- Clean all surfaces thoroughly before installing new rings
- Install new o-rings into their respective grooves making sure they fit snugly without gaps between them
- Reassemble all components in reverse order
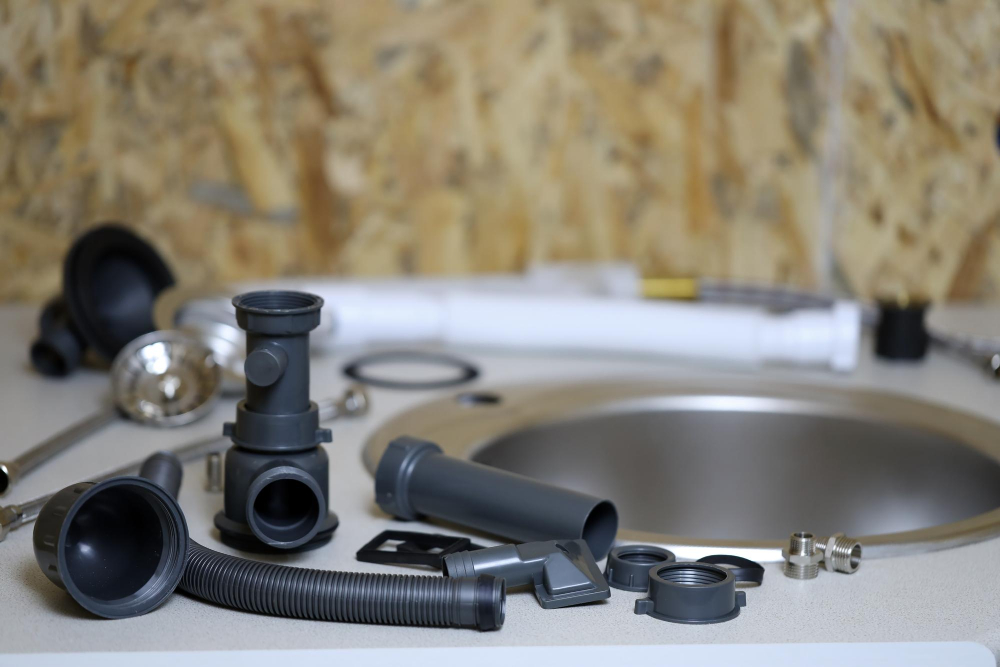
Repairing Worn Gaskets or Washers
These small components are responsible for creating a watertight seal between different parts of the plumbing system. Over time, they can become brittle or damaged due to constant exposure to water and other elements.
To repair worn gaskets or washers:
- Turn off the water supply.
- Disconnect any pipes that are connected to the area where you suspect there is a leak.
- Locate any gaskets or washers that appear old, cracked, corroded or otherwise damaged.
- Remove them using pliers if necessary
- Replace with new ones of similar size and shape
- Tighten everything back up again
Once all repairs have been made reassemble everything in reverse order making sure not over tighten anything as this may cause damage.
Fixing a Corroded Valve
A corroded valve can cause leaks by allowing water to seep through its damaged surface. To fix this issue, you will need to replace the corroded valve with a new one.
Firstly turn off both hot and cold-water supplies before removing any parts from beneath your sink. Then use an adjustable wrench or pliers to loosen and remove any nuts or bolts holding down old valves in place.
Next step is cleaning up around where they were located using some sandpaper if necessary so that there are no rough edges left behind which could damage new components during installation process later on.
Tightening Loose Connections

Before tightening any connections, make sure to turn off the water supply under your sink and clear out any items in your way.
Using an adjustable wrench or pliers, gently tighten each connection until they are snug but not over-tightened. Over-tightening can cause damage to pipes and fittings.
After tightening all connections, turn on the water supply and check for leaks. If there are no more leaks present then congratulations! You’ve successfully fixed a leaky kitchen sink!
Using Plumber’s Tape for Sealing
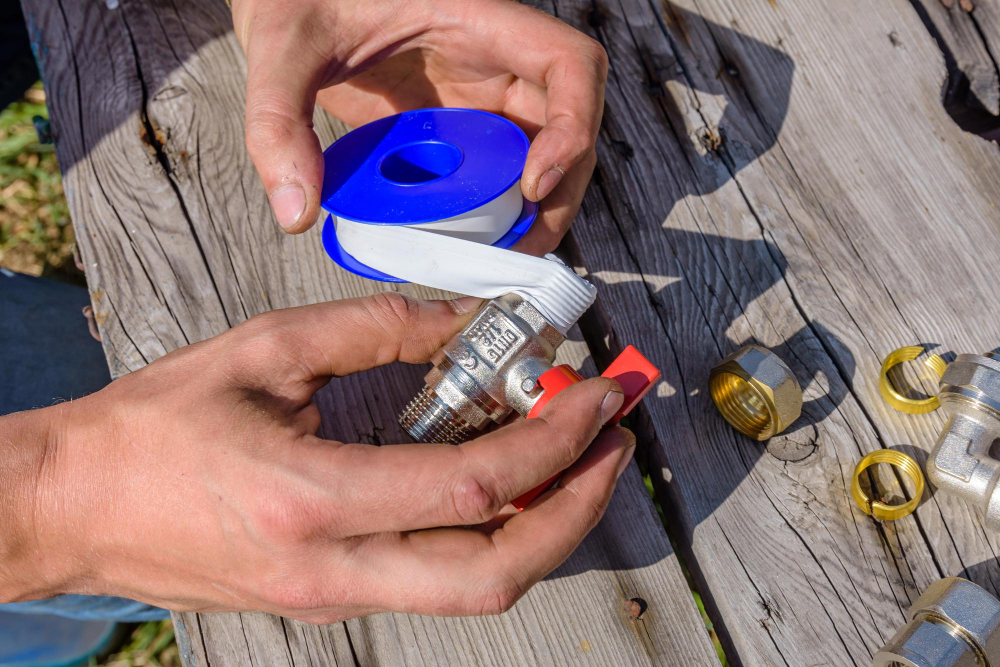
Plumber’s tape is also known as Teflon tape or thread sealant, and it is used to create a tight seal between two threaded pipes or fittings.
To use plumber’s tape, first turn off the water supply to your sink. Then unscrew the fitting that needs sealing and remove any old plumber’s putty or debris around it.
Wrap several layers of plumbers’ tape clockwise around the threads until they are completely covered.
Make sure not to wrap too much as this could cause problems when reattaching everything back together again. Once wrapped correctly, screw back in place tightly but do not over-tighten which may damage threads.
After reassembling all parts under your sink with new seals in place (if necessary), turn on your water supply slowly while checking for leaks at each joint along with running some hot water through them before using normally again.
Applying Plumber’s Putty
Plumber’s putty is a soft, moldable substance that can be easily shaped to fit around pipes and fixtures.
To apply plumber’s putty, first remove any old putty or debris from the area using a scraper or brush. Then take a small amount of fresh plumber’s putty and roll it into a thin rope shape with your hands.
Next, place the rope of plumber’s putty along the base of where you will install your fixture (sink strainer basket for example). Press down gently on each side to ensure it adheres well to both surfaces.
Tighten up all nuts as per manufacturer instructions until snug but not too tight so as not to damage anything.
Wipe away any excess with a damp cloth before allowing time for it dry completely before turning on water supply again. Applying plumbers’ tape over this area after drying will provide an extra layer of protection against leaks in future use.
Testing for Remaining Leaks
Turn on the water supply and let it run for a few minutes while checking underneath the sink for any signs of moisture or dripping water. If there are no visible leaks, place a paper towel or dry cloth in each area where you made repairs and leave them there overnight.
In the morning, check if they are still dry; if so, then congratulations! You have successfully fixed your kitchen sink leak.
However, if you notice any dampness or wet spots on the paper towels/cloths after leaving them overnight – don’t panic! It could be that some parts need further tightening or sealing. Repeat steps 11-16 as necessary until all leaks are resolved.
Testing for remaining leaks is crucial because even small drips can lead to bigger problems over time such as mold growth and structural damage to cabinets beneath your sink.
Leak Prevention Tips

Here are some tips that can help:
- Regularly inspect the area beneath your sink for any signs of moisture or water damage.
- Avoid using harsh chemicals that can corrode pipes and cause leaks.
- Do not overload cabinets with heavy items as this may put pressure on pipes and cause them to crack or break.
- Install a drip tray underneath your sink to catch any small drips before they turn into bigger problems.
- Consider replacing old plumbing fixtures with newer, more efficient ones that are less prone to leaking.
When to Call a Professional Plumber
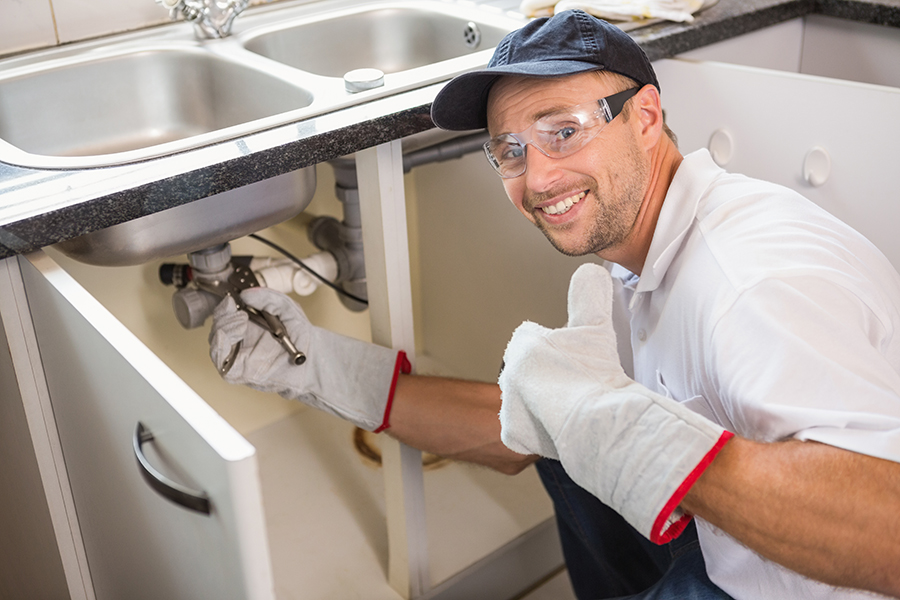
A licensed plumber has the expertise and specialized tools needed to identify and repair complex leaks that require more than just basic DIY skills.
If you are not comfortable working with plumbing fixtures or do not have experience with home repairs, it is best to leave it up to a professional. Attempting repairs without proper knowledge can lead to further damage or even injury.
Remember that prevention is key when dealing with leaks under your kitchen sink. Regularly inspecting pipes for signs of wear and tear can help prevent future leaks from occurring.
And always remember: safety first!
FAQ
What cause a kitchen faucet leaking under the sink?
A kitchen faucet leaking under the sink is commonly caused by a worn-out washer or gasket, a loose O ring, or corrosion in the valve seat, which can be fixed using a faucet repair kit.
What is the most common leak under the kitchen sink?
The most common leak under the kitchen sink is due to a leak in the drain, caused by shifting plumbing lines, worn-out connections, or pipe corrosion.
What to do when water leaks from under kitchen sink?
When water leaks from under the kitchen sink, tighten the fittings around the shut-off valves using a wrench and, if needed, tighten the faucet connection.
How can you identify the source of a leak under the kitchen sink?
To identify the source of a leak under the kitchen sink, closely examine the pipes, connections, and seals while the water is running or use a dry tissue to wipe around potential leak areas until wetness is detected.
What tools and materials are commonly needed to fix a leak under the kitchen sink?
Common tools and materials needed to fix a leak under the kitchen sink include a pipe wrench, plumber’s tape, a bucket, a replacement P-trap or pipe, and a pipe cutter.
How often should you inspect your kitchen sink plumbing to prevent leaks and water damage?
Inspect your kitchen sink plumbing every six months to prevent leaks and water damage.


