Last updated on
Discover the transformative power of glazing as we guide you through the process of giving your kitchen cabinets a fresh and stylish makeover.
Transforming your kitchen can be a daunting task, but it doesn’t have to break the bank. One of the easiest and most cost-effective ways to give your kitchen a facelift is by glazing your cabinets.
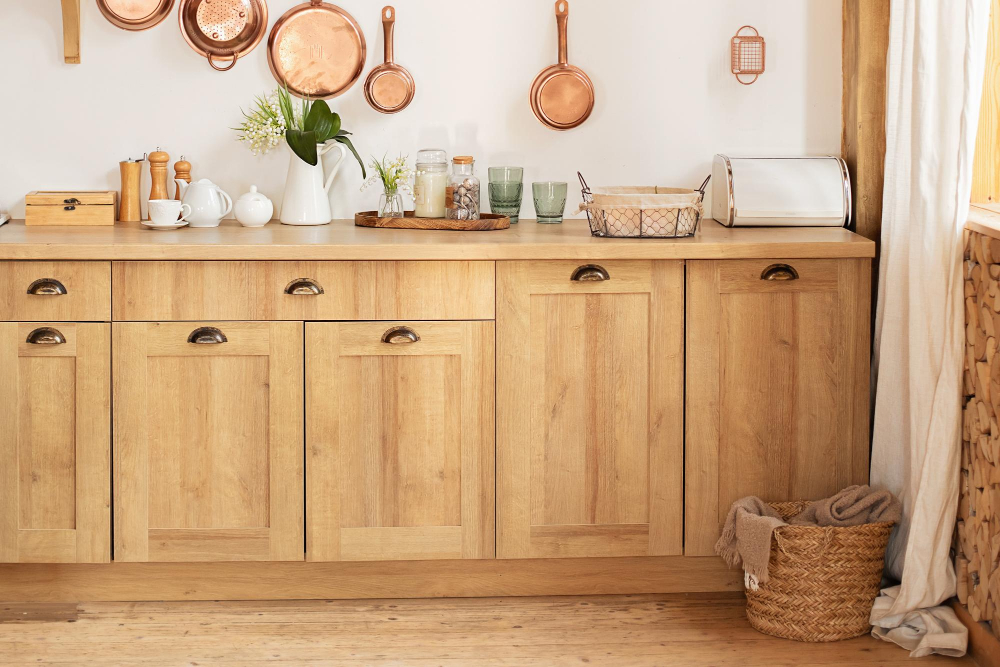
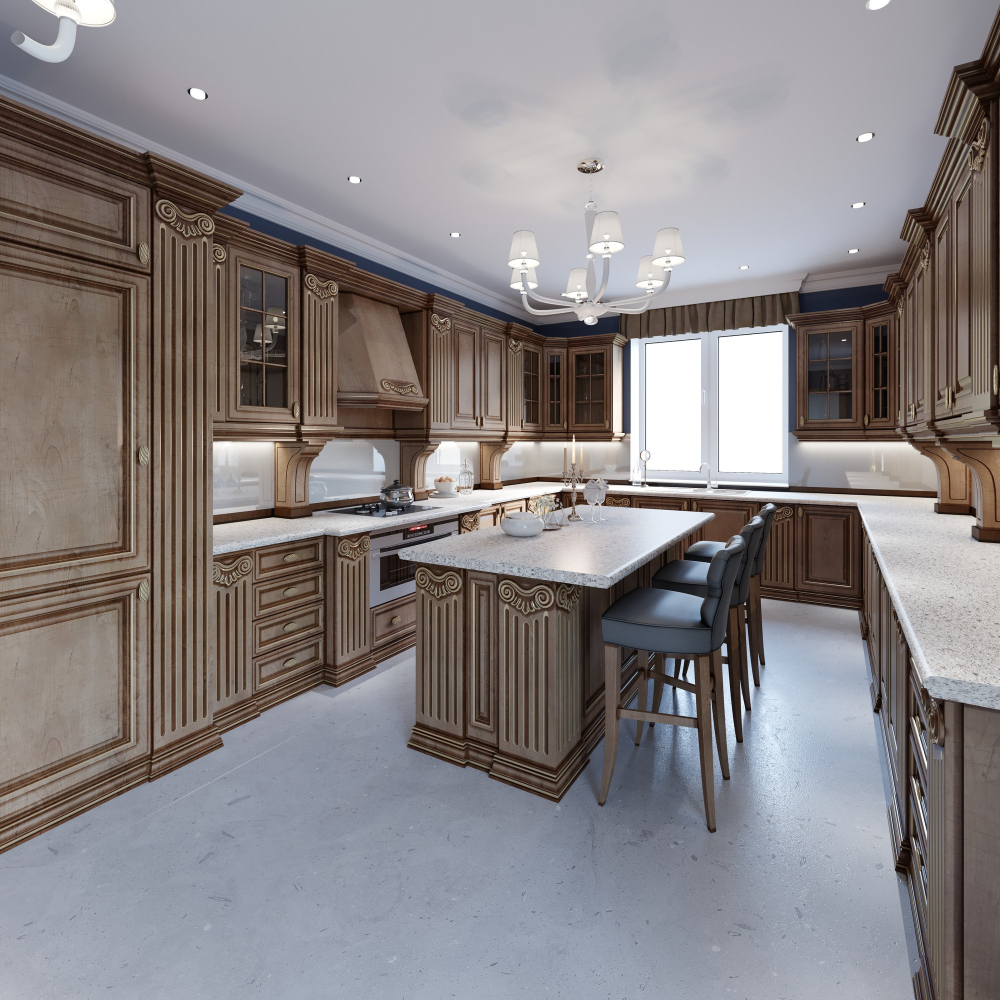
Glazed cabinets add depth and character to any kitchen, giving it that warm and inviting feel. Plus, glazing your cabinets is an easy DIY project that you can tackle in just a weekend! In this article, we’ll walk you through the steps of how to glaze kitchen cabinets like a pro so you can achieve that beautiful finished look without spending a fortune on new cabinetry.
What's Inside
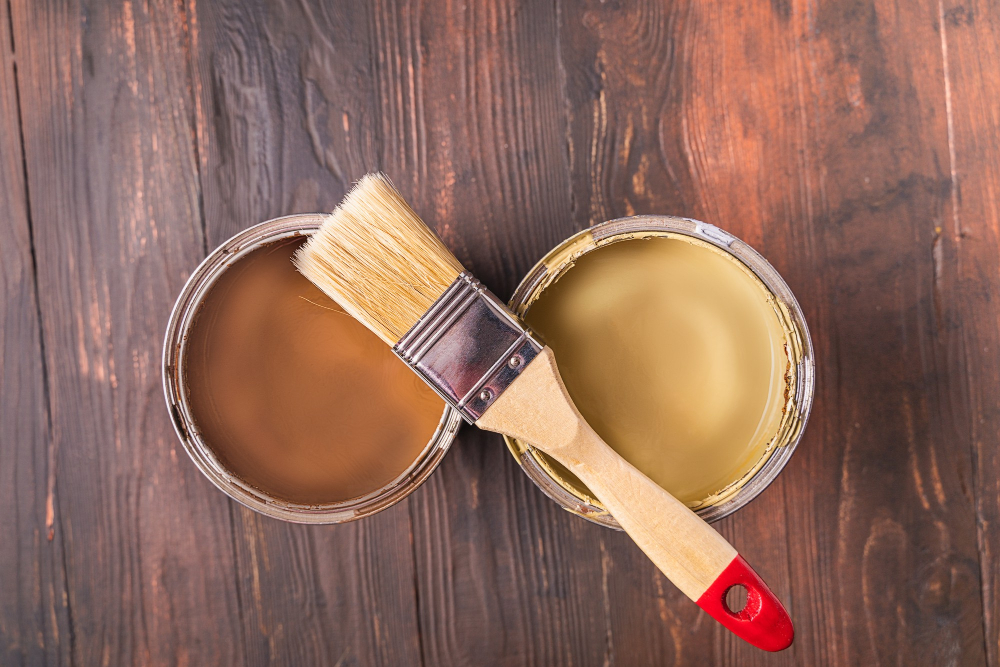
Types of Glaze
Water-based glazes are easier to clean up with soap and water, have a lower odor than oil-based options, and dry faster. They also tend to be less durable than their oil counterparts but can still provide excellent results when used correctly.
Oil-based glazes take longer to dry but offer more durability over time. They’re ideal for high-traffic areas like kitchens because they resist wear-and-tear better than other finishes.
However, they require mineral spirits or paint thinner for cleanup which can be messy.
Both types of glaze come in clear or tinted varieties that add color depth while highlighting the natural wood grain patterns on your cabinets’ surface. Choosing the right type of finish depends on your personal preference as well as practical considerations such as how much traffic your kitchen gets daily and how often you plan on cleaning them.
Choosing the Right Glaze
First and foremost, you want to make sure that the glaze complements your existing decor and color scheme. If you have a modern kitchen with sleek lines and neutral colors, then a dark or heavily textured glaze may not be the best choice.
On the other hand, if your kitchen has more of a rustic or traditional feel with warm wood tones and natural textures, then an antique or distressed finish might be just what you’re looking for.
Another important factor when choosing a glaze is its durability. You want to select one that will hold up well over time without chipping or peeling.
Look for high-quality products from reputable manufacturers that offer warranties on their finishes.
Consider how much work is involved in applying each type of glazing product as some require more effort than others do.
Choosing Glaze Colors
The color you choose will have a significant impact on the overall look and feel of your kitchen, so it’s essential to take some time to consider all your options before making a decision.
When choosing a glaze color, start by considering the style and decor of your kitchen. If you have warm-toned walls or countertops, then warmer colors like brown or gold may be more suitable for creating that cozy atmosphere.
On the other hand, if you prefer cooler tones in your space such as blues or grays, then lighter shades like white or cream can complement them well.
Another factor to consider when selecting a glaze color is how much contrast you want between it and base coat paint. A high-contrast combination can create depth and texture while low-contrast combinations give off subtle hints of character without being too overwhelming.
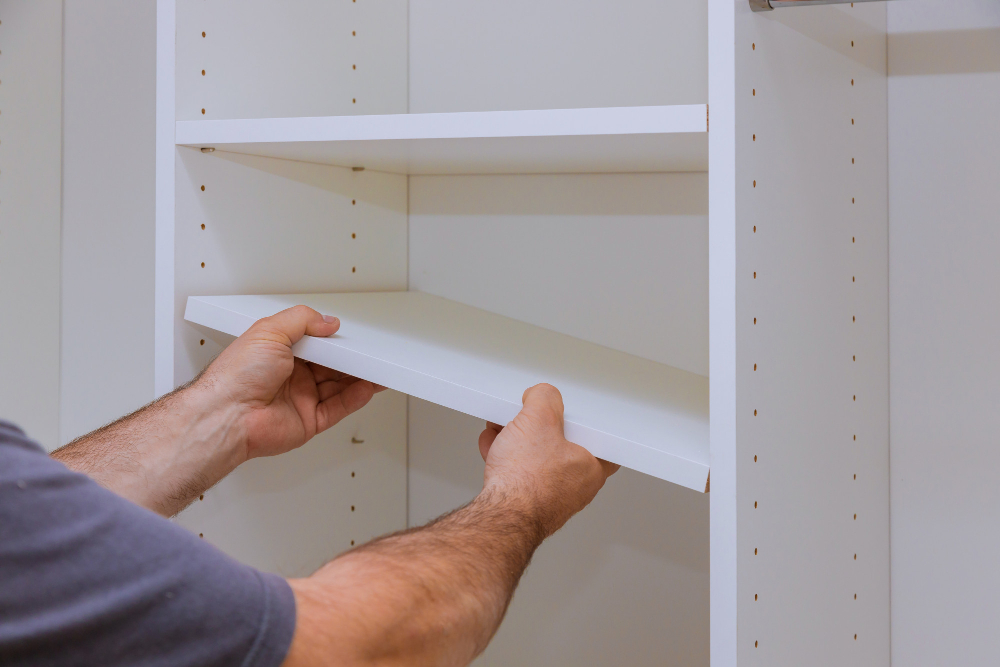
Preparing Kitchen Cabinets
This will ensure that the glaze adheres well and creates a smooth finish. Start by removing all cabinet doors and hardware, including knobs, handles, hinges or any other attachments.
Next up is cleaning the cabinets thoroughly with soap and water to remove any dirt or grime buildup. You can also use a degreaser if there are stubborn stains on your cabinetry.
Once cleaned, sanding is necessary for creating an even surface for painting later on in the process. Use fine-grit sandpaper (around 220 grit) to lightly sand all surfaces of each cabinet door until they feel smooth when touched.
Afterward comes applying primer which helps paint adhere better while also covering up imperfections like scratches or dents that may be present on older cabinetry before proceeding with base coating as per instructions provided by manufacturer.
Preparing Work Area
This will help ensure that the process goes smoothly and that you achieve the best possible results. Start by clearing out all of the items from inside your cabinets and removing any loose shelves or drawers.
Next, cover nearby surfaces with drop cloths or plastic sheeting to protect them from drips and spills. You’ll also want to tape off any areas around your cabinets where you don’t want glaze to get on such as walls, countertops, or floors.
Make sure there is plenty of ventilation in the room by opening windows or using fans if necessary since some types of glazes can produce strong fumes during application.
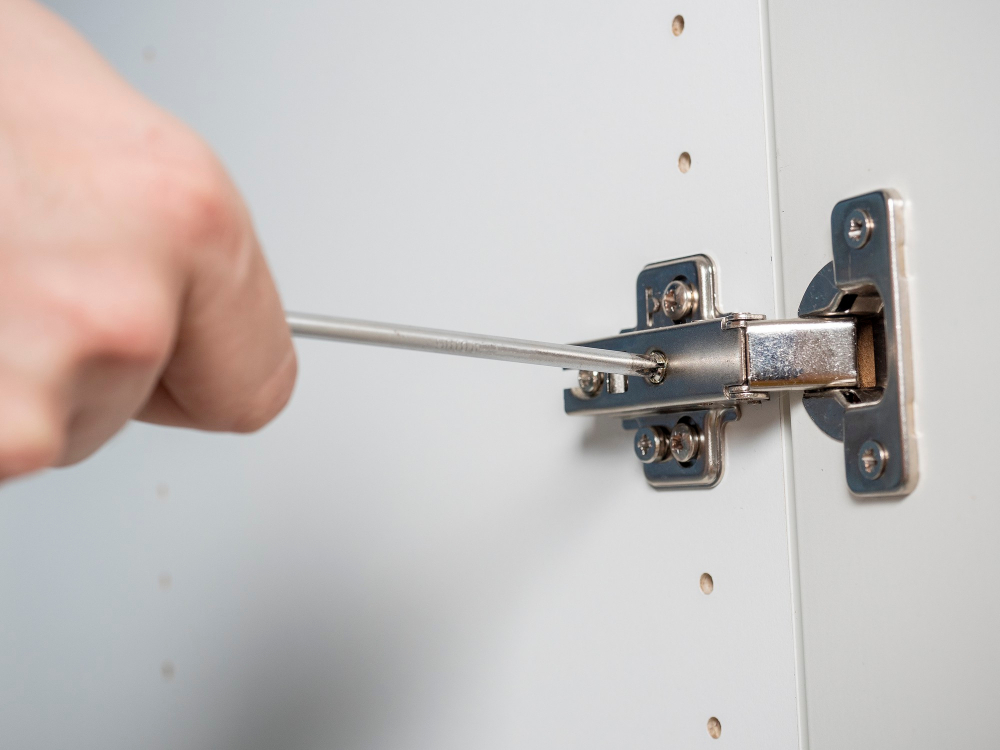
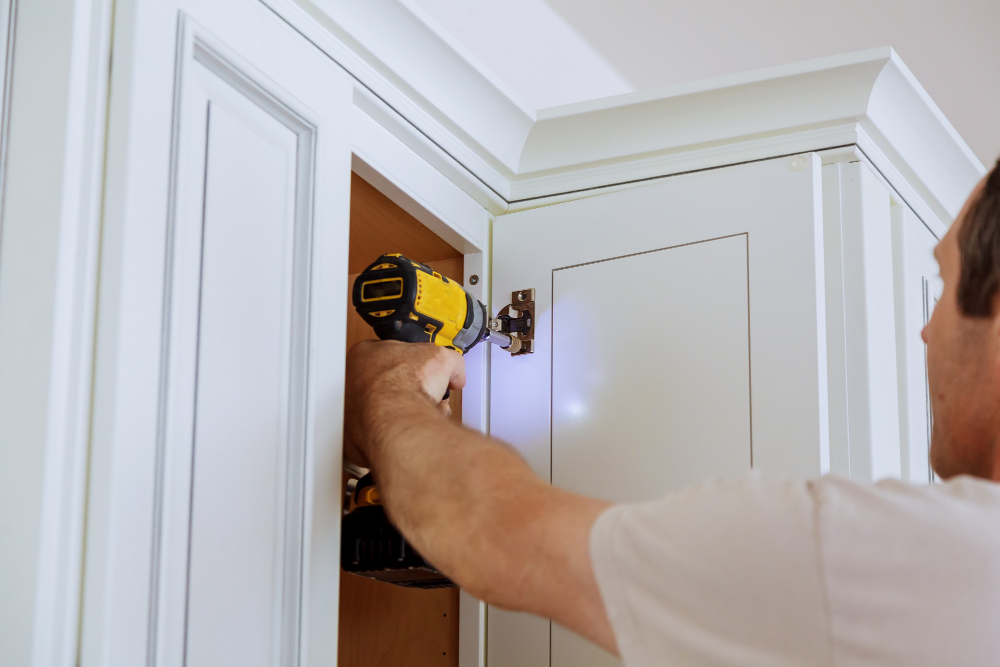
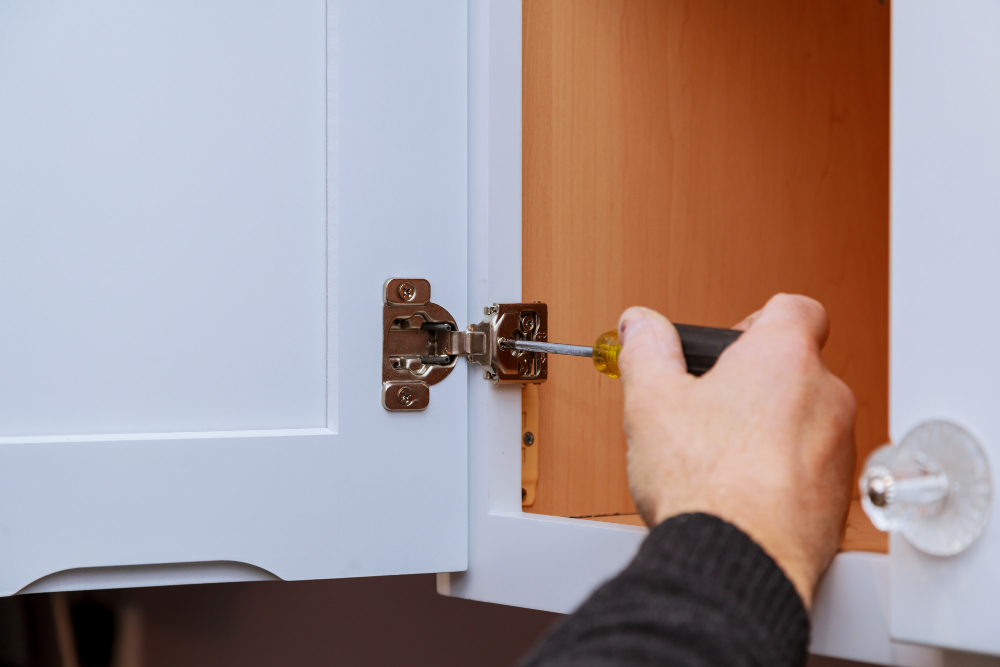
Removing Cabinet Hardware

This includes handles, knobs, and hinges. Removing the hardware will make it easier for you to paint and glaze your cabinets without getting any unwanted marks or drips on them.
To remove the cabinet hardware, use a screwdriver to unscrew each piece from its position on the cabinet door or drawer front. Be sure to keep all of these pieces in a safe place so that they don’t get lost during this process.
If there are any stubborn screws that won’t budge with just a screwdriver alone, try using pliers or an adjustable wrench for added leverage. Once all of the hardware has been removed from your kitchen cabinets, set them aside until after you’ve finished painting and glazing so that they’re ready for reattachment later on.
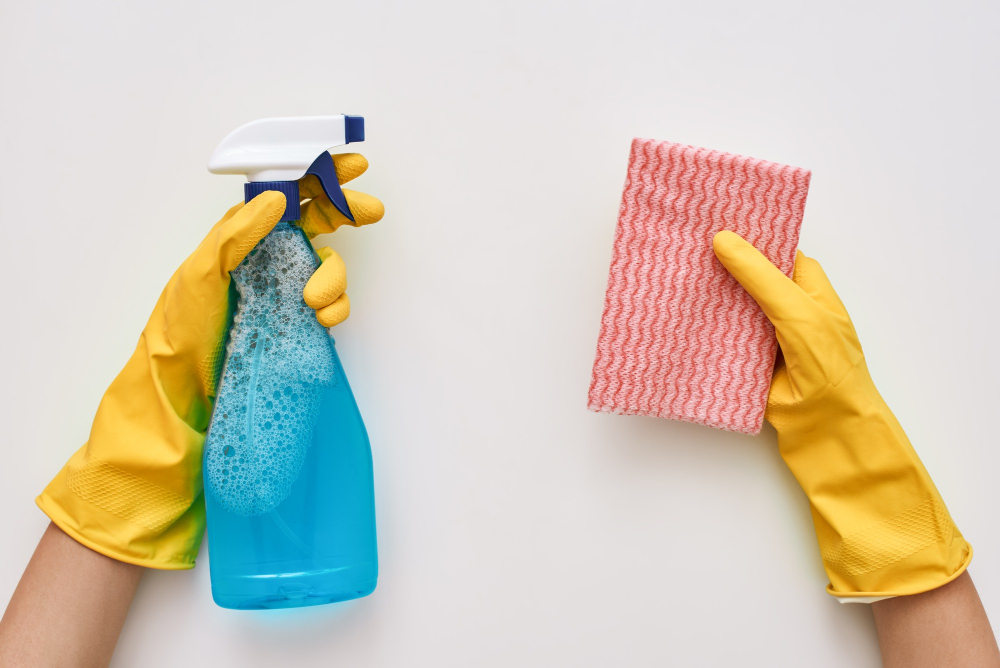
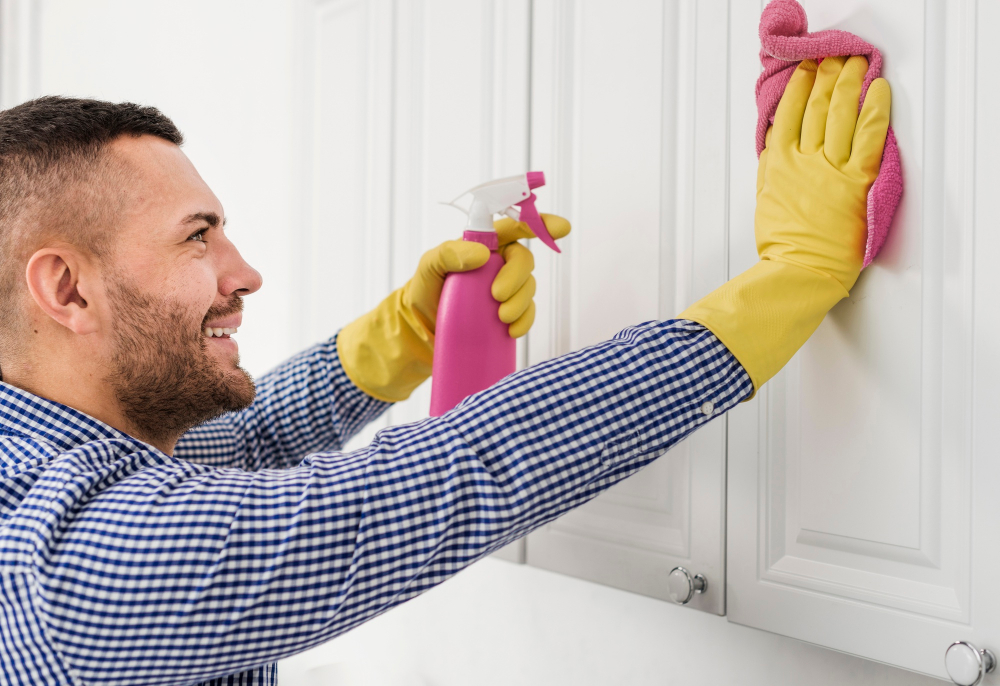
Cleaning Kitchen Cabinets
Cleaning your cabinets is a crucial step in the process as it ensures that the primer and paint adhere properly to the surface. To clean your kitchen cabinets, begin by removing all cabinet doors and hardware.
Use a soft cloth or sponge with warm water and mild soap to wipe down each cabinet thoroughly. Be sure not to use abrasive cleaners or scrubbers as they can damage the finish on your cabinetry.
For tough stains such as grease buildup, mix equal parts vinegar and water in a spray bottle, then spray onto affected areas before wiping away with a damp cloth.
Once you’ve finished cleaning each cabinet door front/backside along with its hardware pieces separately; allow them ample time for drying completely before moving on to sanding them down for priming purposes.
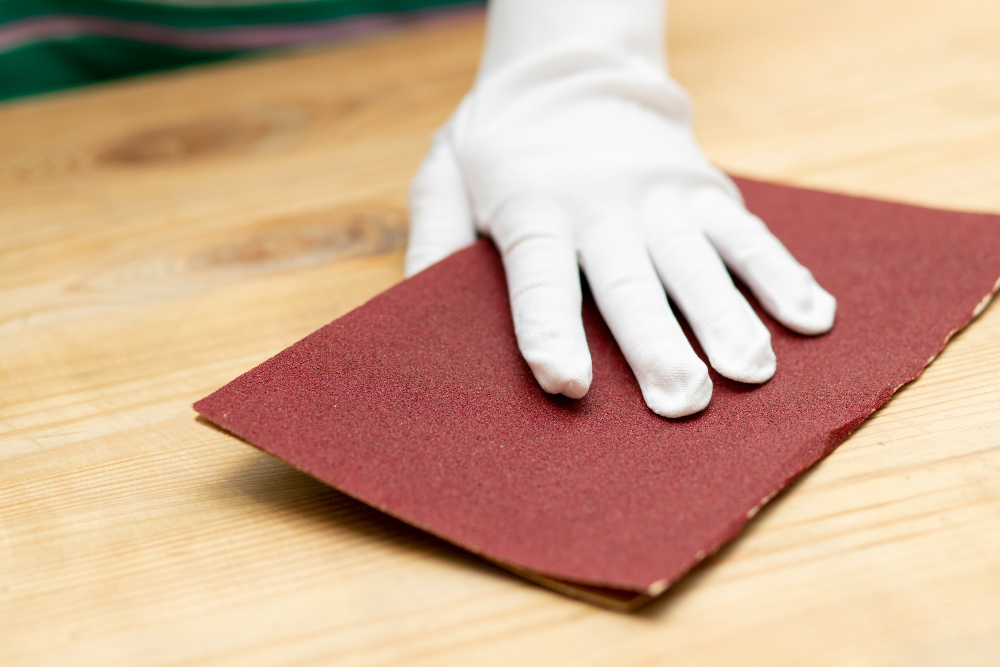
Sanding Cabinets
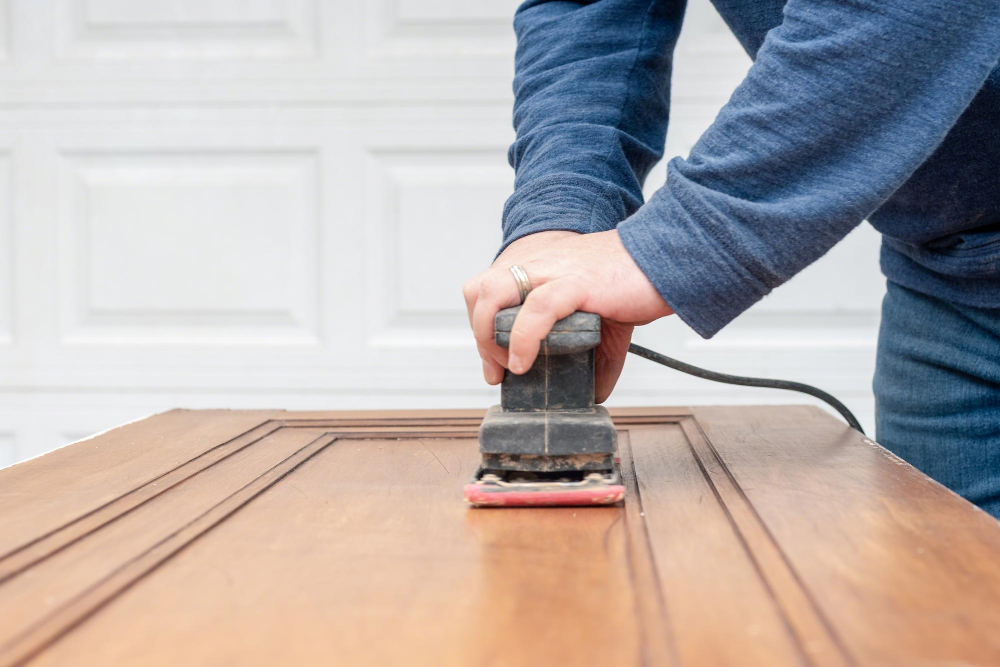
Sanding is a crucial step in this process as it helps to remove any existing finish or paint and creates a smooth surface for the primer and paint to adhere to. Start by removing all cabinet doors, drawers, and hardware before sanding them down with 120-grit sandpaper.
Be sure to wear protective gear such as gloves and goggles while sanding.
If your cabinets have intricate details or carvings that are difficult to reach with regular sandpaper, consider using an electric sander or a small piece of folded-up sandpaper instead. Once you’ve finished rough-sanding all surfaces of the cabinet boxes, doors, drawers fronts (and sides), use fine-grit (220) paper for smoothing out any remaining roughness on wood surfaces.
Afterward cleaning up dust from every corner is essential before moving onto priming stage.
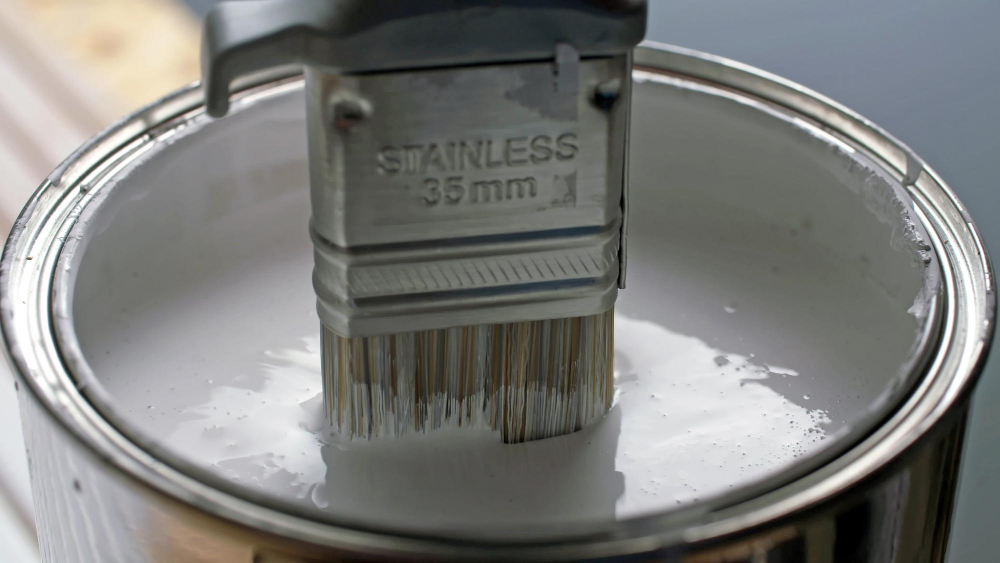
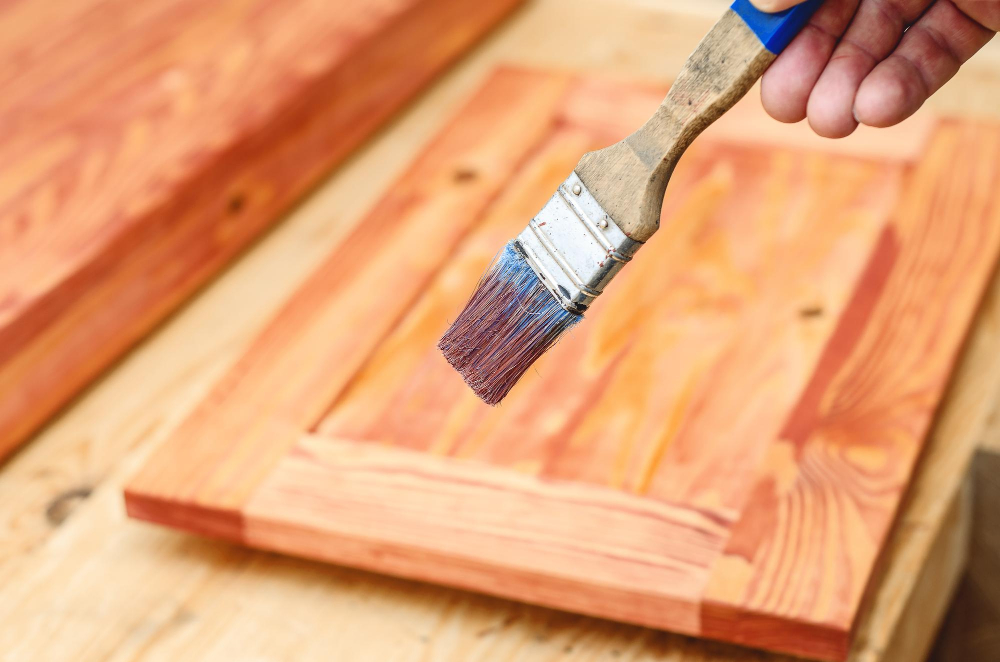
Applying Primer
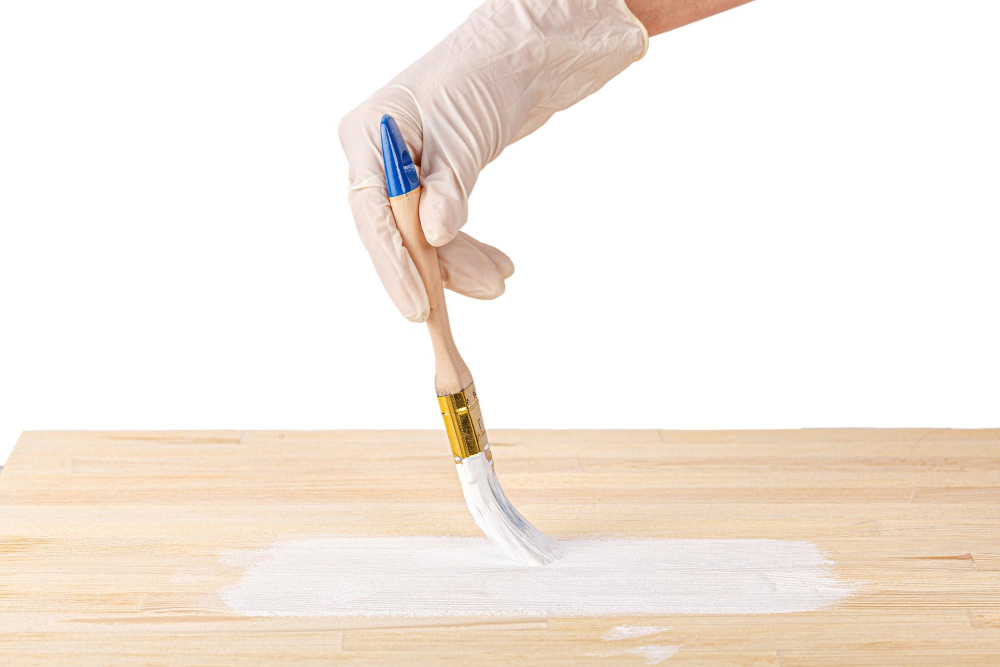
Primer helps the paint adhere better and provides an even base coat for the glaze. To begin, remove all cabinet doors and hardware from their hinges so that you can work on them more easily.
Next, clean your cabinets thoroughly with soap and water or a degreaser solution to remove any dirt or grease buildup. Once they’re dry, sand down any rough spots or imperfections in the wood using fine-grit sandpaper.
Afterward, apply a thin layer of primer using either a brush or roller depending on what works best for you. Be sure not to overload your brush with too much primer as this will cause drips and uneven coverage.
Allow the primer coat ample time (usually 24 hours) before moving onto painting your basecoat color over it.
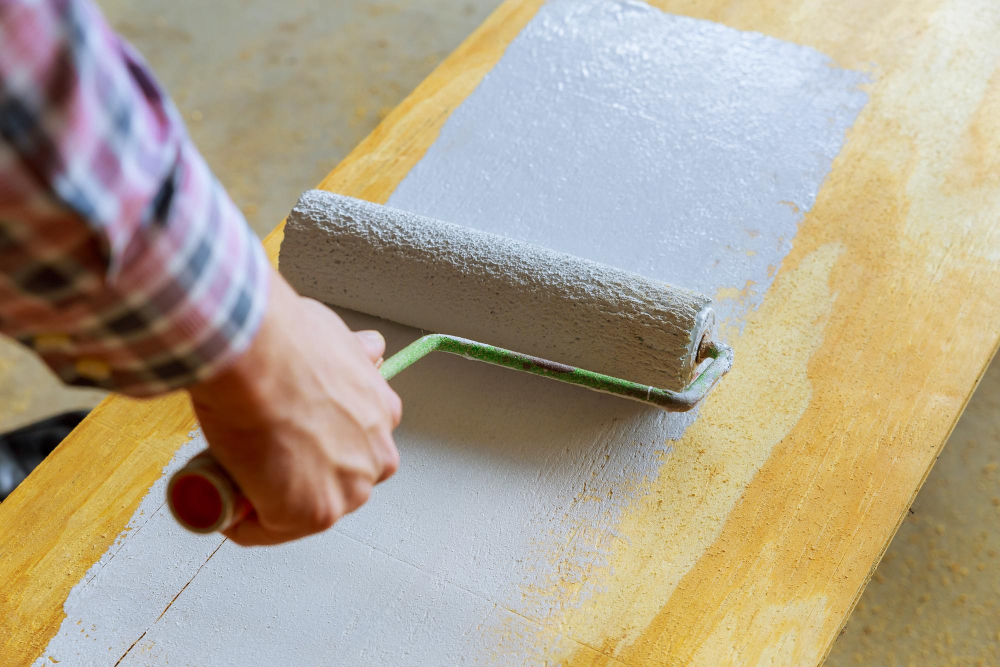
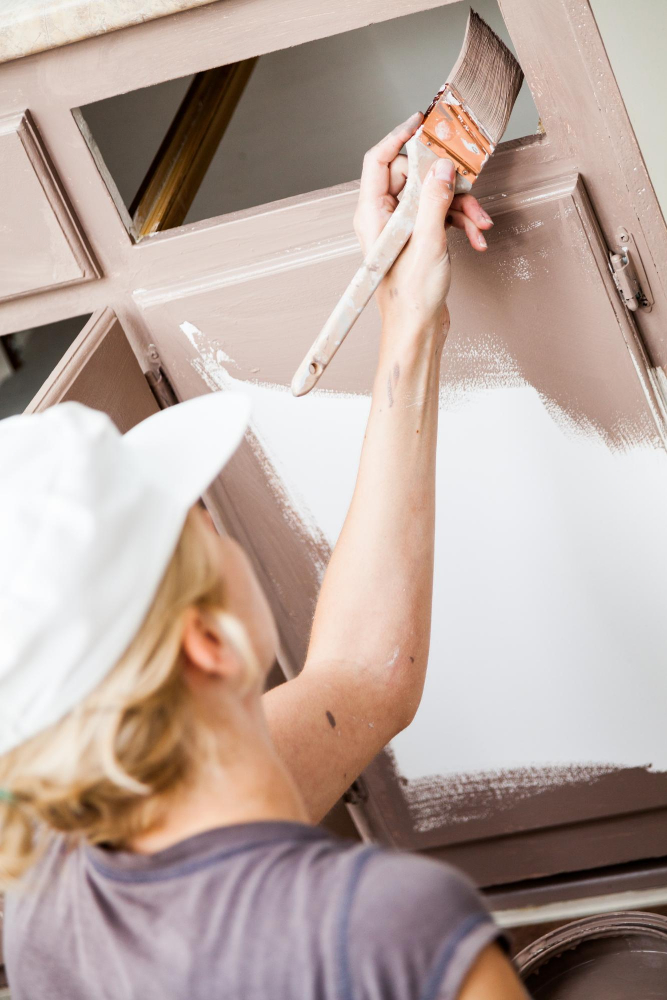
Painting Cabinets
Painting is an essential step in the process of glazing because it provides a base coat for the glaze to adhere to. When painting your cabinets, choose a high-quality paint that will provide good coverage and durability.
You’ll also want to select a color that complements the overall design scheme of your kitchen.
To begin painting your cabinets, remove all cabinet doors and hardware from their hinges using a screwdriver or drill. Next, clean all surfaces thoroughly with warm soapy water and allow them to dry completely before sanding.
Once everything is dry, use 120-grit sandpaper or an electric sander on flat surfaces like cabinet doors and drawer fronts until they are smooth enough for primer application (but not too smooth). Then apply one coat of primer evenly over all painted areas using either spray cans or brushes depending on preference – let this layer dry overnight before proceeding with further coats if necessary.
Base Coating
The base coat will serve as the foundation for the glaze and ensure that it adheres properly to your cabinets. To begin, remove all cabinet doors and hardware so that you have easy access to every surface of each cabinet.
Next, clean all surfaces thoroughly with warm water and soap or a degreaser solution. Once dry, sand down any rough spots or imperfections in the wood using fine-grit sandpaper until they are smooth.
Afterward, apply primer evenly over all surfaces of each cabinet using a paintbrush or roller. Allow ample time for drying before applying any additional coats if necessary.
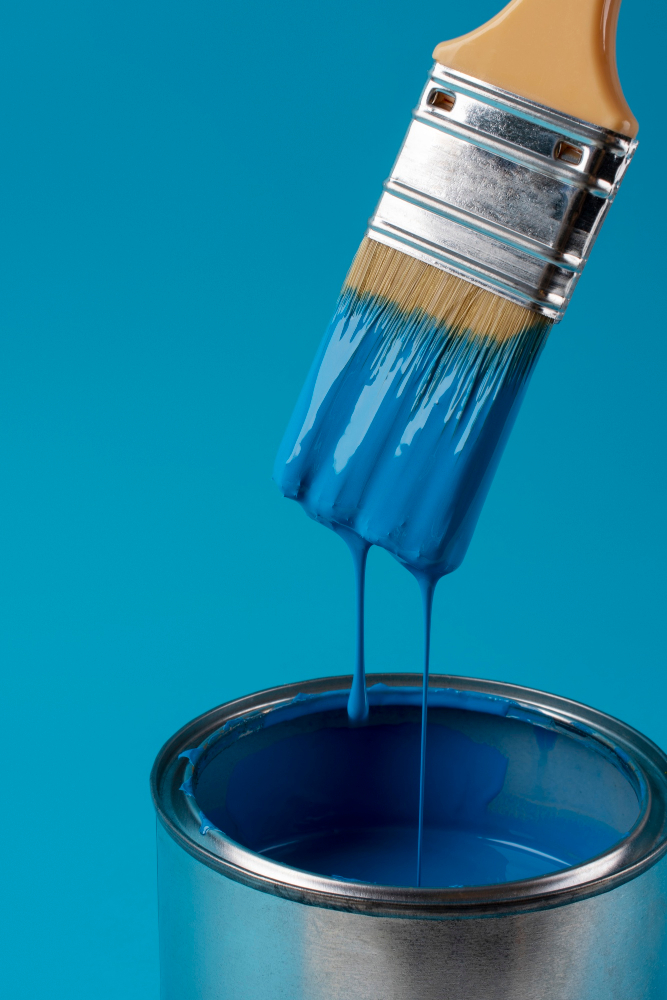
Mixing Glaze
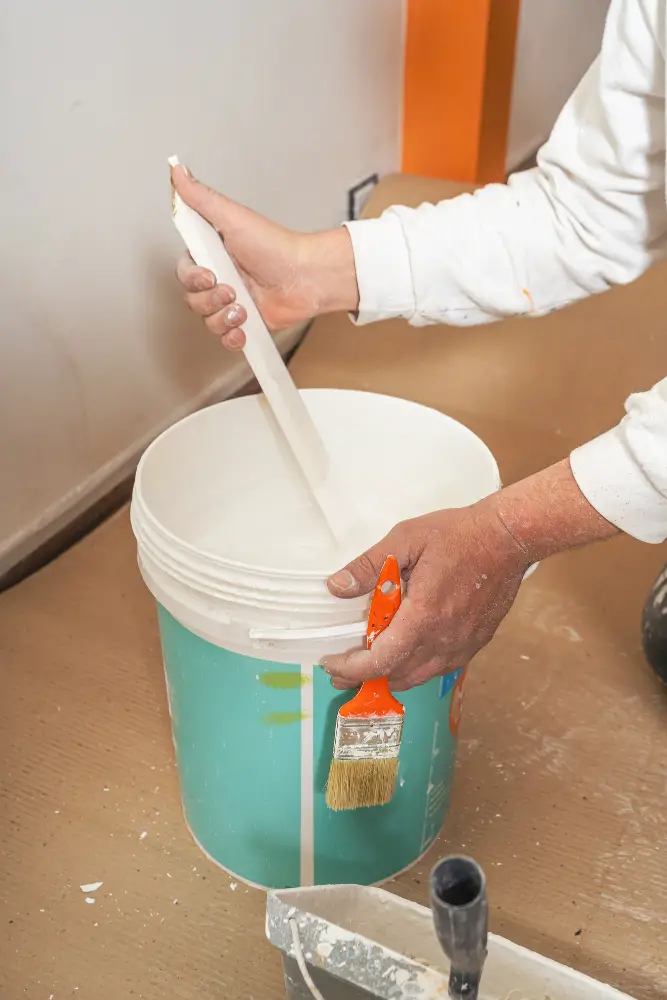
Mixing glaze is a simple process that requires only a few basic tools and materials. First, make sure you have all the necessary supplies on hand: your chosen glaze color, paint stirrer or wooden stick, mixing container (a plastic cup works well), and water.
To begin mixing the glaze, pour some of it into your mixing container. Next, add water to thin out the mixture until you reach your desired consistency.
The amount of water needed will depend on how thick or thin you want your final product to be.
Use a paint stirrer or wooden stick to thoroughly mix together the glaze and water until they are fully combined with no lumps remaining in the mixture.
It’s important not to rush this step as properly mixed glazes will ensure an even application across all surfaces of each cabinet door/drawer front.
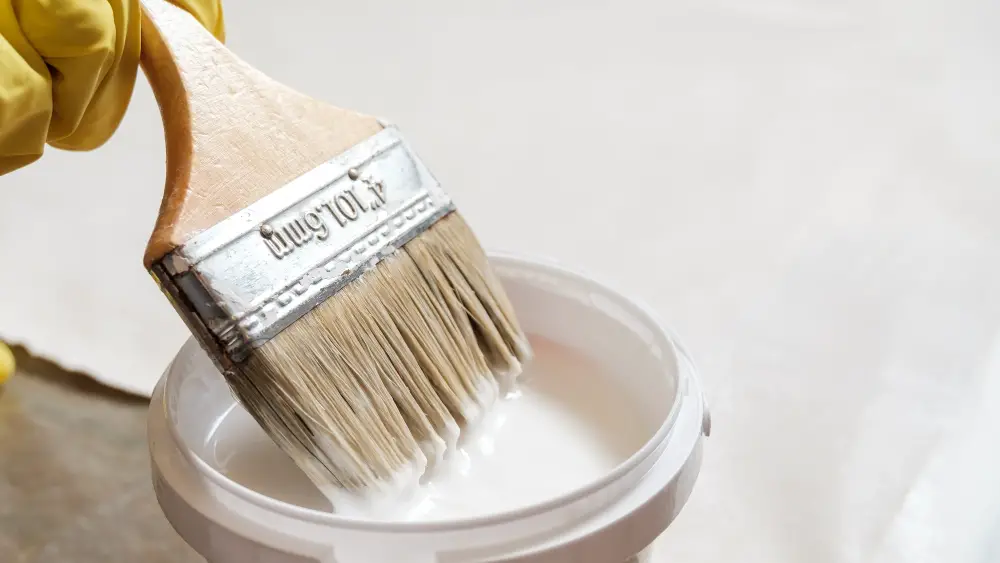
Applying Glaze to Cabinets
Begin by using a brush or roller to apply the glaze in small sections. Work quickly and efficiently, as the glaze can dry fast.
As you work on each section of the cabinet, use a clean rag or cheesecloth to wipe off any excess glaze before moving onto another area. This will help ensure that your finish is even and consistent throughout.
When applying the glaze, be sure not to overload your brush or roller with too much product at once. A thin layer of glaze is all that’s needed for this technique.
Remember that different techniques can produce different results when applying glazed finishes – experiment with wiping off more or less of the excess depending on what look you’re going for!
Techniques for Glazing

There are several techniques for glazing that can give you different effects depending on the look you’re going for. One popular technique is working in sections, which involves applying the glaze to one section of a cabinet at a time and then wiping off any excess before moving on to the next section.
This helps ensure that each area gets an even coat of glaze and prevents streaking or blotching.
Another important technique is wiping off excess glaze with a clean cloth or rag after application. This step is crucial because leaving too much glazed residue can result in an uneven finish or cause drips and runs as the cabinets dry.
It’s also essential not to rush through this process; take your time when applying and removing the glazed coating from each cabinet surface carefully. Remember, patience pays off when it comes down to achieving professional-looking results!
Working in Sections
This will help you achieve a consistent finish and avoid any unsightly blotches or streaks. Start by dividing your cabinets into manageable sections, such as upper and lower cabinets or individual cabinet doors.
Apply the glaze to one section at a time before moving on to the next.
As you work through each section, be sure to wipe off any excess glaze with a clean cloth before it dries completely. This will help prevent buildup and ensure that your finished product looks smooth and even.
Wiping Off Excess Glaze

This step is crucial in achieving a professional-looking finish. You can use a clean rag or cheesecloth for this task.
Start by wiping off any excess glaze from the edges and corners of your cabinets using a damp cloth. Then, working in sections, gently wipe away any remaining glaze with long strokes following the grain of the wood.
Be sure not to remove too much of the glaze as this will result in an uneven finish. If you accidentally remove too much, don’t worry! Simply reapply some more glaze and start again.
Drying Time for Glaze

Drying times can vary depending on factors such as humidity and temperature, but generally speaking, you should allow at least 24 hours for the glaze to dry completely.
During this time, it’s best not to touch or disturb your cabinets in any way. This will ensure that the finish dries evenly and doesn’t become smudged or damaged.
If you’re working in a particularly humid environment or if temperatures are cooler than usual, consider extending your drying time by an additional day just to be safe. Rushing through this step could result in less-than-perfect results down the line.
Sealing Glazed Cabinets

Sealing helps protect the finish and ensures that your newly glazed cabinets will last for years to come. To seal your glazed cabinets, use a clear coat sealer or polyurethane finish.
These products are available in both spray and brush-on formulas.
Before applying any sealer or finish, make sure that the glaze is completely dry. This can take anywhere from 24-48 hours depending on humidity levels in your area.
When applying the sealer or finish, work in small sections at a time using long strokes with a high-quality brush or sprayer. Be sure not to overwork the product as this can cause bubbles and streaks.
Allow each coat of sealer/finish ample drying time before adding additional coats (usually around 2-4 hours). Once you have achieved desired coverage (typically two coats), allow everything to dry overnight before reattaching hardware and reassembling doors/drawers onto their respective frames.
Reattaching Hardware
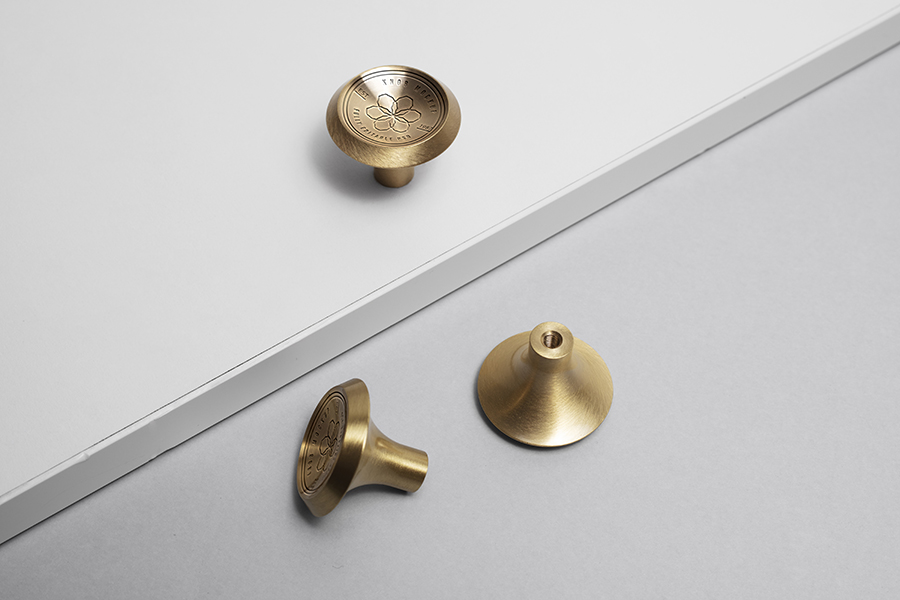
This is a simple process that can be done with just a screwdriver. Make sure you have all of the necessary screws and knobs before starting this step.
Begin by placing each knob or pull in its designated spot on the cabinet door or drawer front. Insert one screw into each hole and tighten it until snug but not too tight as over-tightening can cause damage to both your cabinets and hardware.
Repeat this process for all of your cabinet doors and drawers until they are fully assembled with their respective hardware attached securely in place.
Reassembling Cabinets
Begin by replacing any hardware that you removed earlier. Make sure all screws and bolts are tightened securely.
Next, carefully replace each cabinet door onto its corresponding frame. Use a level to ensure that each door is straight and even with the other doors.
Check that all drawers slide smoothly into their tracks before replacing them in their respective slots.
Caring for Glazed Cabinets
To keep your newly glazed cabinets looking their best, follow these simple tips:
1. Avoid harsh chemicals: When cleaning your cabinets, avoid using harsh chemicals or abrasive cleaners that can damage the finish.
2. Use a soft cloth: Instead of using rough sponges or scrubbers, use a soft cloth when wiping down your cabinets.
3. Wipe spills immediately: If any spills occur on the cabinet surface, wipe them up immediately with a damp cloth.
4. Don’t hang wet towels or dishcloths on doors: Hanging wet towels and dishcloths over cabinet doors can cause water damage and discoloration over time.
5. Keep away from heat sources: Avoid placing hot appliances near the cabinetry as this may cause warping and discoloration.
Maintenance and Cleaning
Regular cleaning is essential for keeping your cabinets in top condition. Use a soft cloth or sponge and mild soap and water to clean the surface of the cabinets, being careful not to scrub too hard as this can damage the glaze finish.
Avoid using harsh chemicals or abrasive cleaners on glazed surfaces as these can strip away the glaze over time. If you need a deeper clean, try using a mixture of vinegar and water instead.
It’s also important to be mindful of any spills or stains that may occur on your glazed cabinets. Wipe up spills immediately with a damp cloth so they don’t have time to set in and cause permanent damage.
Troubleshooting Glazing Issues
One of the most common problems that people face when glazing their cabinets is streaking or uneven coverage. This can happen if you don’t apply enough glaze or if you don’t wipe off excess properly.
To avoid this issue, make sure to work in small sections and apply an even coat of glaze with a brush or rag. Use a clean cloth to wipe off any excess before moving on to the next section.
Another problem that may arise during the process is bubbles forming in your glazed finish. This can occur due to air getting trapped under the surface while applying paint and primer coats.
To prevent bubbles from forming, make sure each layer has dried completely before proceeding with another coat. If bubbles do appear after applying your final layer of glaze, use fine-grit sandpaper (320 grit) lightly over affected areas until smooth then reapply another thin layer of topcoat for best results.
Common Glazing Mistakes
One of the most common mistakes is not properly preparing the cabinets before applying the glaze. This can result in an uneven finish or even cause the glaze to peel off over time.
Another mistake people make when glazing their cabinets is using too much or too little of the product. Applying too much glaze will result in a thick and gloopy finish, while using too little will leave you with an inconsistent look.
It’s also important to remember that different types of wood absorb paint and stain differently, so it’s essential to test your chosen color on a small area first before committing to painting all your cabinetry.
Pros and Cons of Glazed Cabinets
Here are some things to keep in mind:
Pros:
- Adds depth and character: Glazing adds a layer of depth that can make even the most basic cabinets look more interesting.
- Customizable: With so many different types of glazes available, you can customize the look of your cabinets to fit your personal style.
- Cost-effective: Compared to replacing all your cabinetry, glazing is an affordable way to update the look of your kitchen.
Cons:
- Time-consuming process: While it’s not difficult work, applying a glazed finish requires patience as each coat must dry completely before moving on.
- Messy job: The process involves sanding down existing finishes which creates dust. Additionally, mixing up batches for application can be messy if you’re not careful
- Not suitable for every cabinet type or style: Depending on what kind material used in making cabinet doors ,glaze may have difficulty adhering properly leading to unsatisfactory results.
Benefits of Glazed Cabinets
One of the most significant advantages is the ability to add depth and character to your cabinetry, giving it a warm and inviting feel. Glazing can also help hide imperfections in older or worn-out cabinets, making them look new again without having to replace them entirely.
Another benefit of glazed cabinets is their versatility when it comes to design options. With so many different types and colors of glaze available, you can create a custom look that perfectly complements your kitchen’s style and decor.
Glazed cabinets are relatively easy to maintain compared with other finishes such as painted or stained wood. They are less likely to show scratches or wear over time because the glaze creates an extra layer of protection on top of the cabinet surface.
Cost Considerations

The cost of glazing will depend on several factors, including the size of your kitchen, the type and quality of materials you choose, and whether you decide to do it yourself or hire a professional.
If you’re on a tight budget but still want to achieve that beautiful glazed finish for your cabinets, doing it yourself is definitely an option. DIY glazing kits are readily available at most home improvement stores and can save you hundreds or even thousands of dollars compared to hiring professionals.
However, if time is not on your side or if this project seems too daunting for you as an inexperienced DIYer then hiring professionals may be worth considering. Professional cabinet refinishers have years of experience in handling such projects with precision which ensures high-quality results within reasonable timelines.
DIY Vs Professional Glazing

If you’re not confident in your abilities or don’t have the necessary tools and equipment, then hiring a professional may be the best option for you.
Professional cabinet refinishers can provide high-quality results that are guaranteed to last longer than DIY projects. They also offer additional services such as custom color matching and specialty finishes that may not be available with off-the-shelf products.
However, if budget is an issue or if you enjoy taking on home improvement projects yourself, then DIY glazing might be right up your alley! With careful preparation and attention to detail throughout each step of the process outlined above (and some practice), anyone can achieve beautiful glazed cabinets without breaking their bank account.
Ultimately, whether you choose professional or DIY glazing depends on what works best for your specific situation.
FAQ
Can you glaze your own cabinets?
Yes, you can glaze your own cabinets by applying a layer of glaze using a rag, natural bristle paint brush, or foam brush in a circular or straight motion, despite it initially appearing messy and darker than desired.
What does a glaze do to kitchen cabinets?
A glaze applied to kitchen cabinets enhances their depth and dimension by adding a semi-transparent color over the existing finish, while darkening highlights along profiles and corners to emphasize the cabinet door style.
What are the different glazing techniques for enhancing the appearance of kitchen cabinets?
Different glazing techniques for enhancing the appearance of kitchen cabinets include dry brushing, pinstriping, and overall glazing.
What materials and tools are necessary for a successful cabinet glazing project?
Materials and tools necessary for a successful cabinet glazing project include glaze, paint, brushes, a clean cloth, paint thinner, a mixing tray, gloves, and protective gear.
How do you properly prepare and maintain glazed kitchen cabinets for long-lasting results?
To properly prepare and maintain glazed kitchen cabinets for long-lasting results, thoroughly clean, sand, and prime the surface before applying glaze, and routinely wipe down with a damp cloth to prevent dust and dirt buildup.


