Last updated on
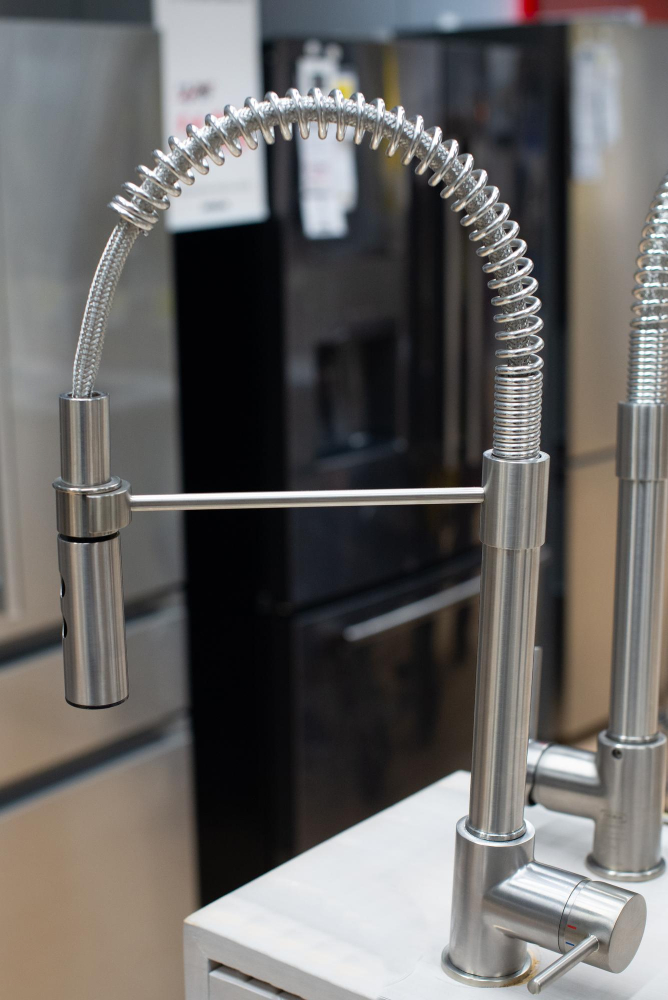
Discover the step-by-step process of installing a single-handle kitchen faucet with sprayer to upgrade your kitchen’s functionality and appearance.
Welcome to the world of home improvement! Installing a new kitchen faucet can be both exciting and daunting, especially if you’re doing it for the first time. But don’t worry, we’ve got you covered.
In this article, we’ll guide you through the process of installing a single handle kitchen faucet with sprayer step-by-step. With our easy-to-follow instructions and some basic tools, you can have your new faucet up and running in no time.
So grab your toolbox and let’s get started!
Key takeaways:
- Clear workspace and turn off water supply valves.
- Gather necessary tools and materials.
- Disconnect old faucet and remove connections.
- Prep and clean sink area before installing new faucet.
- Assemble faucet components, connect water lines, and test for leaks.
What's Inside
Preparing for Installation
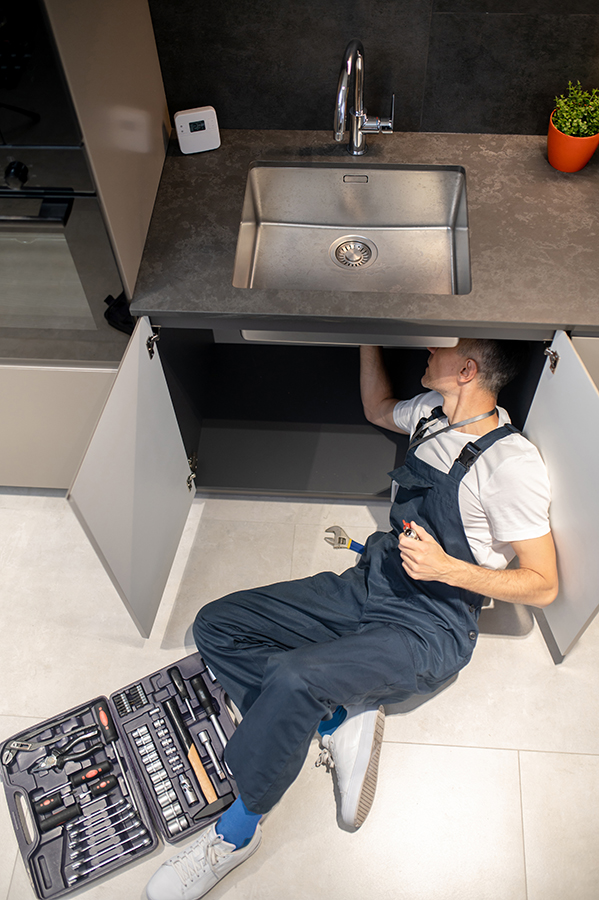
Before you begin installing your new single-handle kitchen faucet with sprayer, it’s essential to prepare the workspace. First, clear out any clutter from under the sink and around the area where you’ll be working.
This will give you enough space to move around and work comfortably without any obstructions.
Next, turn off both hot and cold water supply valves located beneath your sink or near your main water line if there are no valves under the sink. Turning off these valves ensures that no water flows through them while you’re working on installing a new faucet.
It’s also crucial to read through all of the manufacturer’s instructions before starting installation so that you have a good understanding of what needs to be done at each step in advance.
Gathering Necessary Tools and Materials
Having everything on hand will make the installation process smoother and more efficient. Here are some of the things you’ll need:
- Adjustable wrench
- Basin wrench
- Screwdrivers (flathead and Phillips)
- Plumber’s putty or silicone sealant (optional)
- Teflon tape
- Bucket or container for catching water drips
- Water supply lines
- New single-handle kitchen faucet with sprayer
Make sure to read through your manufacturer’s instructions carefully before starting any work as they may have specific requirements for tools needed.
Once you’ve gathered all these items, set them up in a convenient location near your workspace so that they’re easily accessible during installation.
Turning Off Water Supply At Supply Valves
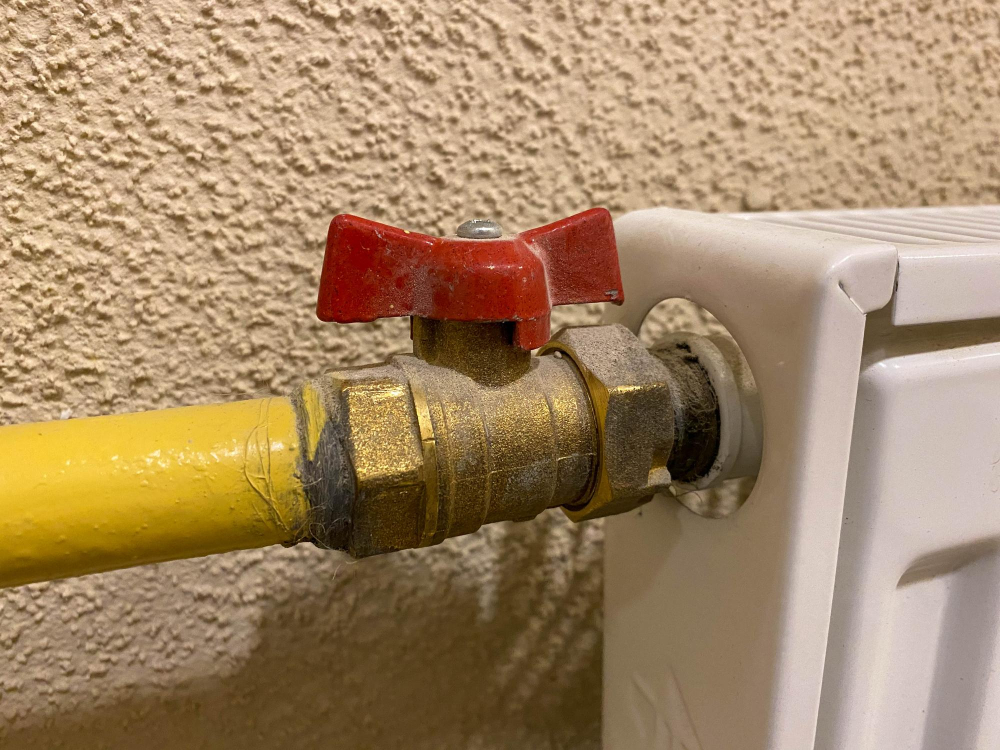
This step is crucial to prevent any accidental leaks or flooding during installation. The shut-off valves are usually located under the sink and can be turned off by turning them clockwise until they stop.
If you don’t have individual shut-off valves for your kitchen sink, then you’ll need to turn off the main water valve that supplies water to your home. It’s typically located near where your main water line enters into your house.
Once you’ve turned off either of these valves, open up both hot and cold faucets on top of the sink so that any remaining pressure in pipes can drain out completely before proceeding with further steps. Turning on both taps will also help release any trapped air in pipes which could cause issues later when connecting new lines.
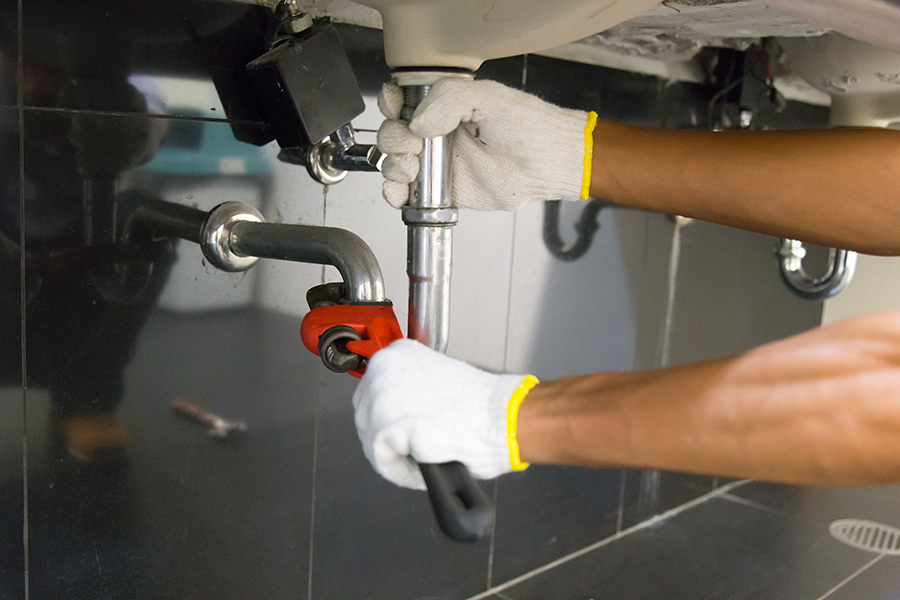
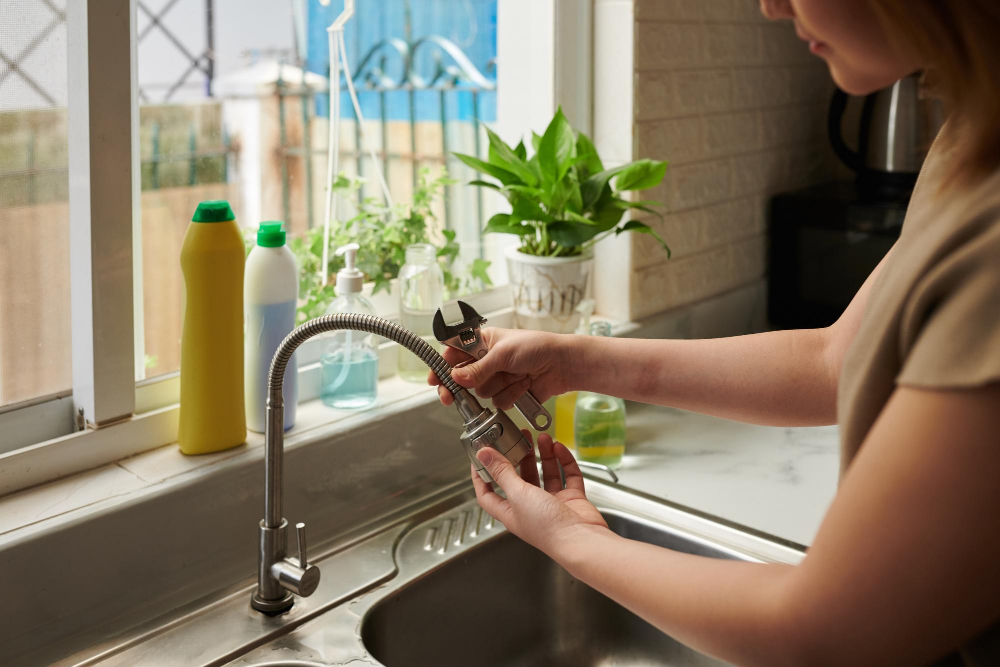
Disconnecting Water Supply Lines

Before proceeding with this step, make sure to turn off both hot and cold water supply valves under the sink. Once you’ve turned off the valves, open up your old faucet handles to release any remaining pressure in the lines.
Next, use an adjustable wrench or pliers to loosen and remove each of the nuts connecting your hot and cold water supply lines from underneath your sink. Be prepared for some residual water dripping out of these connections as they are disconnected.
If there is a sprayer hose attached to your current faucet model, be sure also to disconnect it at this point by unscrewing its mounting nut located on top of where it connects onto either side of a T-fitting or directly onto one valve stem.
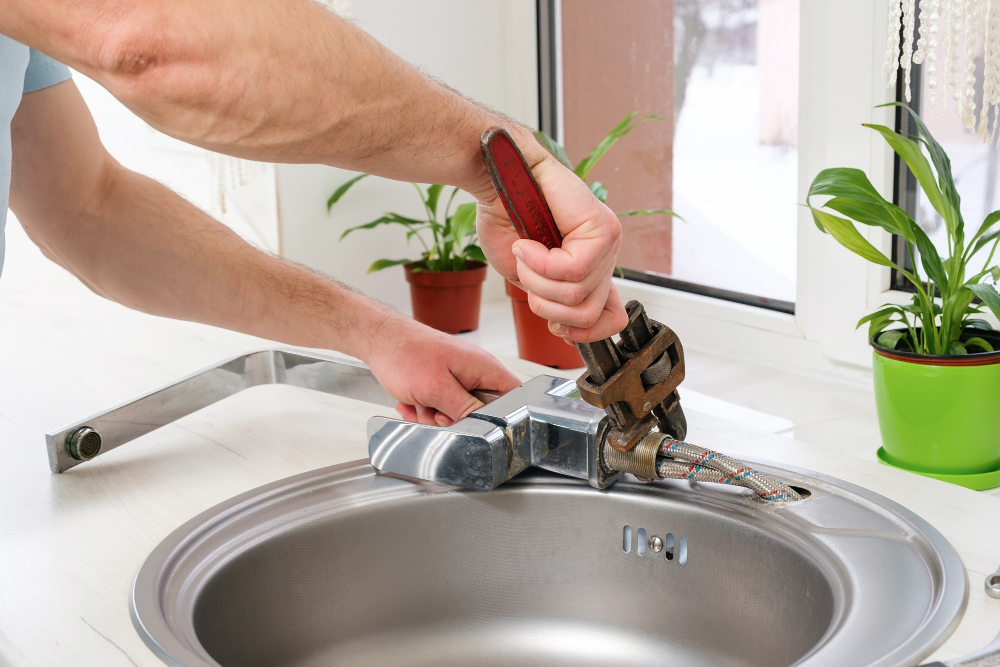
Removing the Old Faucet and Connections

Before starting, make sure to turn off the water supply at the valves under your sink. Next, disconnect any water supply lines connected to your old faucet using a wrench or pliers.
To remove the old faucet itself, locate and loosen any mounting nuts securing it in place with a basin wrench or adjustable pliers. Once loosened enough, lift up on the faucet body and carefully pull out of its position.
If there are any additional connections such as sprayers or soap dispensers attached to your old fixture that you don’t plan on reusing with your new one; now is also an excellent time for removal.
Removing an outdated kitchen fixture can be challenging if it has been installed for many years due to corrosion buildup around bolts/nuts holding everything together tightly over time.
Prepping and Cleaning the Sink Area
This will ensure that you have a smooth and hassle-free installation process. Start by removing any items from around the sink, including soap dispensers or dish racks.
Next, give the entire area a thorough cleaning with warm water and mild soap to remove any dirt or grime buildup.
Once you’ve cleaned the sink area thoroughly, dry it off completely using a clean towel or rag. Make sure there is no moisture left on the surface as this can affect how well your new faucet adheres to its base.
If you’re replacing an old faucet with a new one, take some time to inspect for any damage around where your previous fixture was installed before proceeding further in order not repeat past mistakes during installation of your new single handle kitchen faucet with sprayer.
Assembling the Faucet Components
Before starting this step, make sure that you have all the necessary parts and tools at hand. Check your manufacturer’s instructions for a detailed list of components included in your faucet package.
Start by attaching any mounting hardware or gaskets provided with your new faucet onto its base plate or directly onto the sink surface if required. Next, insert any rubber washers into their respective holes on top of the base plate.
Now take hold of your single-handle kitchen faucet and slide it through its designated hole in either one- or three-hole sinks depending on what type you are installing. Make sure that all water supply lines are facing towards where they will be connected later on.
Installing the Deck Plate (optional)
A deck plate is a metal or plastic cover that sits on top of the sink and covers any unused holes in your sink’s surface. It provides an aesthetically pleasing look and can also help prevent water from seeping under the faucet base.
To install the deck plate, place it over the mounting holes in your sink and align it with your new faucet’s base. Make sure that all components are level before tightening down screws or bolts to secure them into place.
Note: Not all faucets require a deck plate, so be sure to check if yours does before purchasing one unnecessarily.
Mounting the Faucet Body
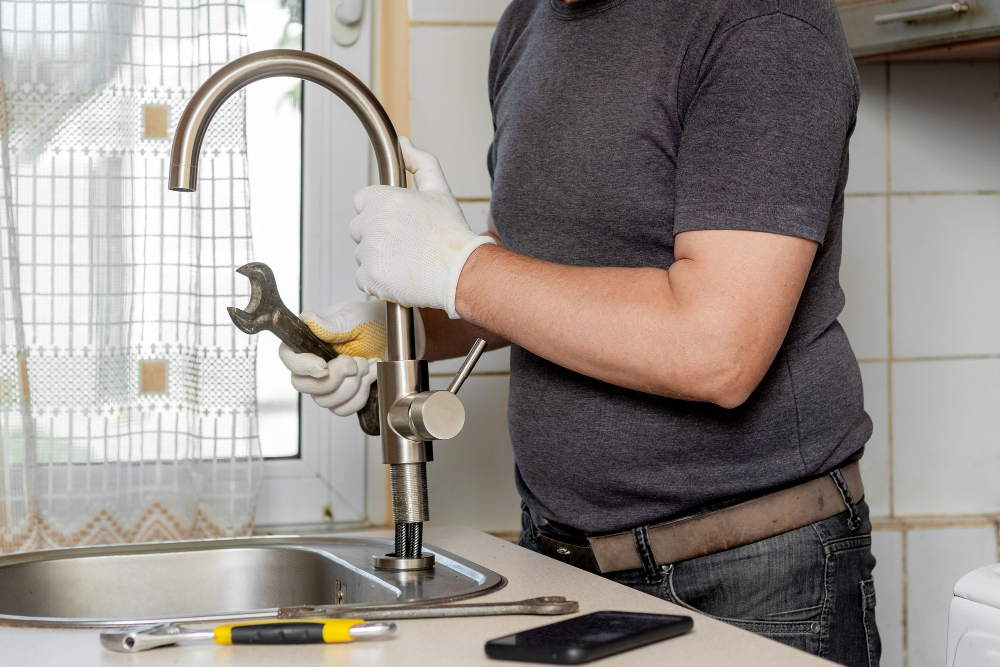
Start by placing a rubber or plastic gasket over the mounting hole on your sink. Then, insert the threaded shank of your new faucet through this hole and secure it in place with a mounting nut from underneath.
Make sure that you align any tabs or notches on the base of your new kitchen faucet with corresponding slots or grooves in its mounting surface before tightening everything down securely. Use an adjustable wrench to tighten up all nuts and bolts until they are snug but not overly tight.
If there is no pre-drilled hole for installing a single-handle kitchen faucet, then drill one according to manufacturer instructions using appropriate tools such as diamond-tipped bits for porcelain sinks.
Remember that proper installation is crucial for ensuring optimal performance and longevity of your new fixture.
Connecting and Anchoring Hot and Cold Valves
First, attach the valve bodies to their respective inlets on the faucet base using a wrench. Make sure they are tightened securely but not over-tightened as this can damage them.
Next, insert rubber or plastic gaskets into each of the valve inlets before connecting them to your water supply lines. This will help prevent leaks from occurring at these connection points.
Now that you’ve connected both valves to their corresponding water supply lines, use adjustable pliers or a basin wrench (depending on your plumbing setup) to tighten each connection until snug.
To ensure stability and prevent any wobbling of your new kitchen faucet during use, anchor it firmly onto your sink deck with mounting hardware provided by its manufacturer. Tighten all screws evenly so that no one side is tighter than another which could cause uneven pressure distribution leading up-to leakages later down-the-line.
Connecting Water Lines to the Faucet and Flushing Lines
First, attach each line to its corresponding valve using a wrench or pliers. Make sure they are tightened securely but not over-tightened as this can damage the connections.
Next, turn on both supply valves slowly to allow water into your new faucet gradually. Check for any leaks around all connections while flushing out debris from your pipes by running both hot and cold water through them for about two minutes.
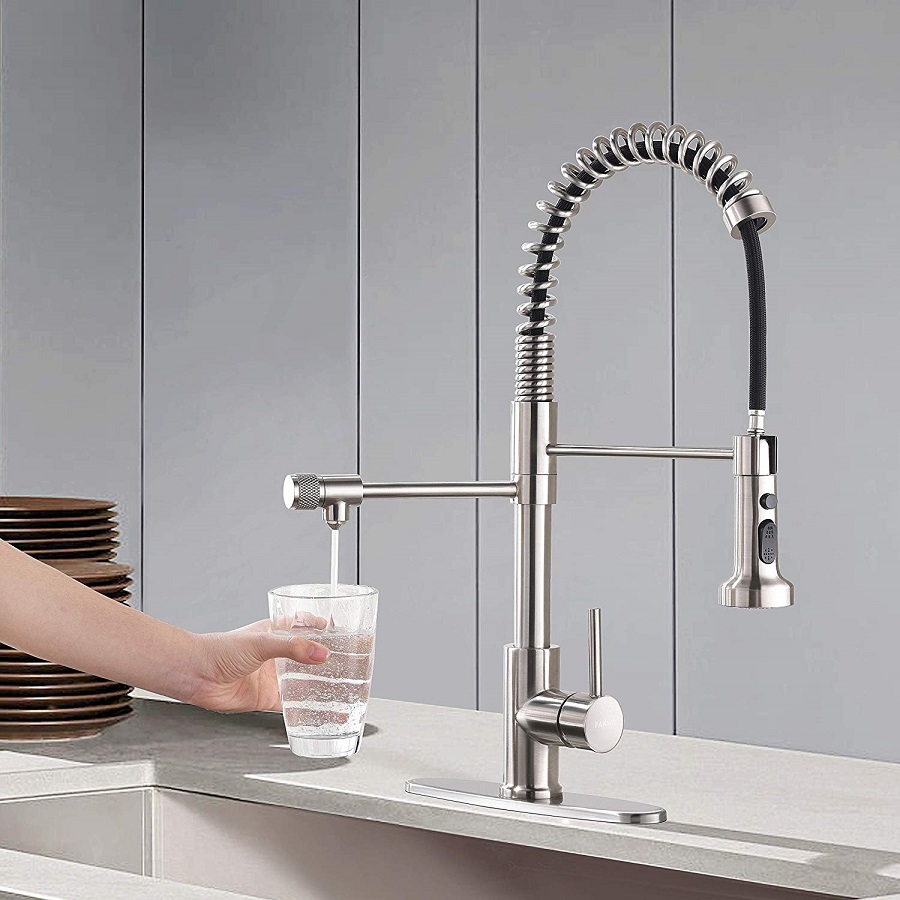
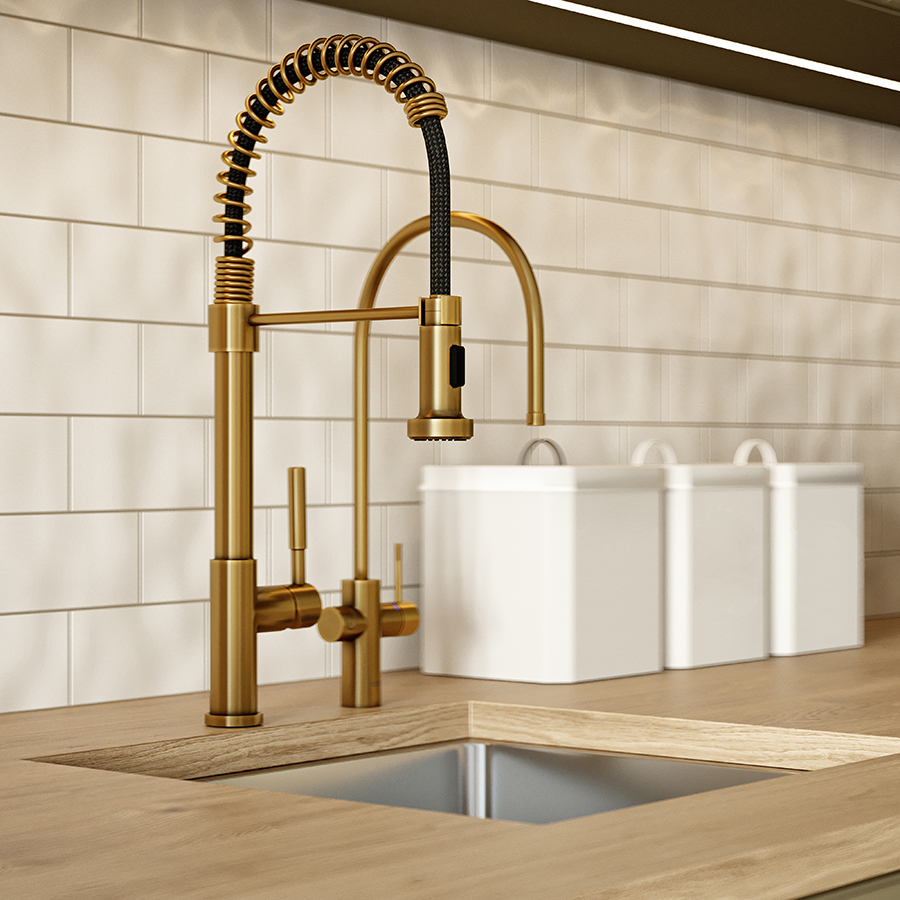
Installing and Securing the Sprayer
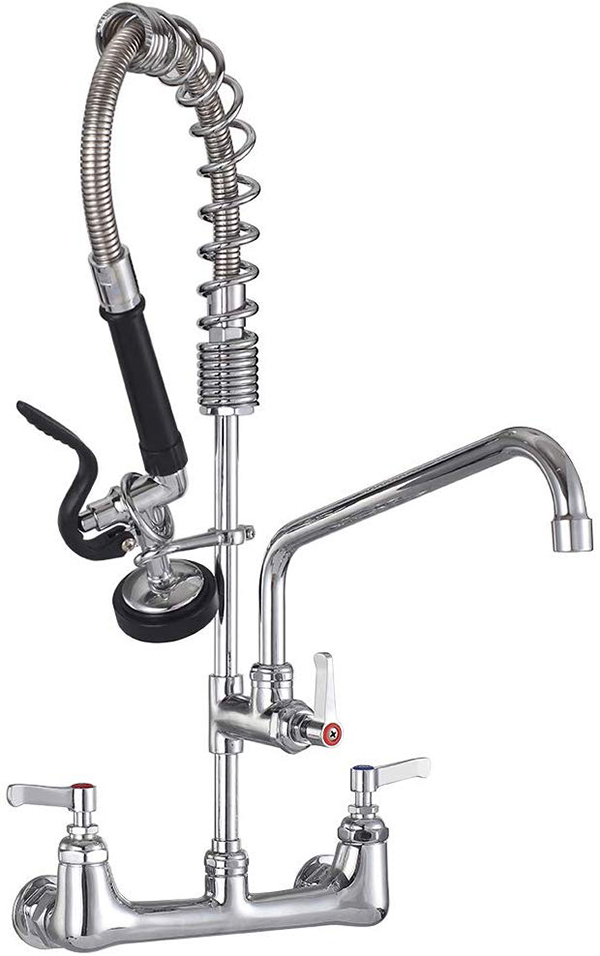
The sprayer is a handy feature that allows you to easily rinse dishes or fill pots with water. To install it, first insert the gasket into its mounting hole on top of your sink.
Then, slide in the threaded mounting nut from underneath and tighten it by hand until snug.
Next, attach one end of your flexible hose onto your new faucet’s spray nozzle using an adjustable wrench if necessary (be careful not to over-tighten). Attach another end of this hose onto a nipple located at bottom side of sprayer head.
Attaching Hose Weight
The purpose of this weight is to keep the sprayer in place and prevent it from dangling when not in use. To do this, slide the hose weight over the spray hose and position it about 6 inches above where it connects with your faucet body.
Make sure that you don’t install your hose weight too close to where your spray head rests on its holder or too far away from its connection point as either can cause issues with proper retraction of your sprayer.
Testing the New Faucet for Leaks
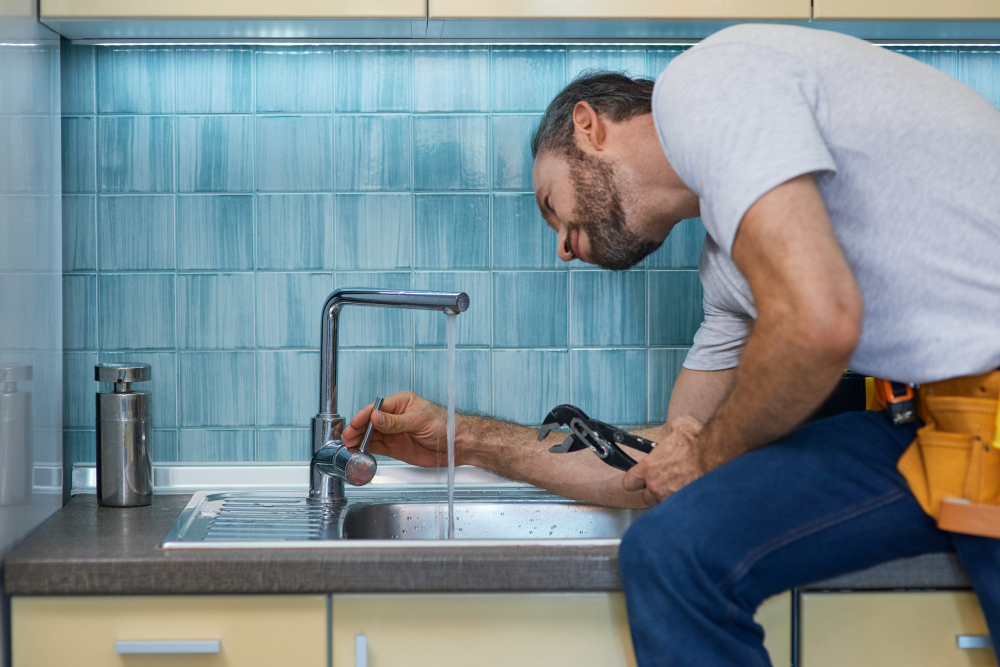
This step is crucial in ensuring that the installation was done correctly and that there are no issues with water flow or pressure. To test for leaks, turn on the water supply valves slowly and let the water run through the faucet for a few minutes.
Check all connections and joints around the sink area carefully to see if any drops of water appear.
If you notice any leaks, tighten up loose connections or replace damaged parts as necessary until they stop leaking completely. If everything looks good after testing, congratulations! You have successfully installed your new kitchen faucet with sprayer! Enjoy using your upgraded sink setup while cooking meals or washing dishes without worrying about drips or low-pressure streams of water anymore.
Applying Sealant (optional) and Final Adjustments
Applying a small amount of silicone or plumber’s putty around the base of the faucet can help prevent water from seeping under the sink. Be sure to wipe away any excess sealant with a damp cloth.
Next, turn on both hot and cold water supply valves slowly and check for leaks at all connections. If there are no leaks, test out your new single handle kitchen faucet with sprayer by turning it on and off several times while adjusting its temperature control lever.
Troubleshooting Common Faucet Installation Issues

However, sometimes things don’t go as planned during installation. Here are some common issues that may arise and how to troubleshoot them:
1. Leaks: If you notice water dripping from the base of your new faucet or around any connections, it’s likely due to loose fittings or incorrect installation of gaskets and washers.
2. Low Water Pressure: This can be caused by debris clogging up aerators in the spout or sprayer head.
3. Sprayer Malfunction: If your sprayer isn’t working properly after installation, check for kinks in the hose or make sure it’s securely attached to its mounting bracket.
4. Loose Faucet Handle: A wobbly handle is usually due to an improperly tightened set screw on top of the handle itself.
5. Noisy Faucet Operation: Squeaking sounds when turning on/off faucets could indicate worn-out O-rings inside valve cartridges that need replacing.
Cleaning Up the Workspace

This is an important step that should not be overlooked as it ensures a safe and tidy environment for you and your family. Start by wiping down the sink area with a damp cloth to remove any debris or dust that may have accumulated during installation.
Next, dispose of any packaging materials or old parts in an appropriate manner.
If there are any spills or stains on the countertop, use a mild cleaning solution to wipe them away gently. Avoid using abrasive cleaners as they can scratch surfaces and damage finishes.
Take some time to organize your tools and materials before putting them away in their designated storage space. This will make future projects easier by ensuring everything is easy to find when needed.
Maintenance Tips and Care

Regular maintenance will help keep your faucet functioning optimally and extend its lifespan. Here are some tips on how to take care of your single handle kitchen faucet with sprayer:
1. Clean the Faucet: Wipe down the surface of the faucet regularly with a soft cloth or sponge and mild soap solution to remove dirt, grime, or water spots.
2. Avoid Harsh Chemicals: Do not use abrasive cleaners or harsh chemicals like bleach on the finish as they can damage it.
3. Check for Leaks: Periodically check all connections for leaks by turning on both hot and cold water valves fully while checking underneath sink area.
4. Lubricate Moving Parts: Apply silicone-based lubricant occasionally (once every six months) onto moving parts such as handles, spout swivels etc., this helps prevent wear-and-tear from friction over time.
5. Replace Cartridges When Needed: If you notice any decrease in flow rate or difficulty in controlling temperature/pressure then replace cartridges immediately.
By following these simple steps above ,you’ll be able to enjoy a functional kitchen that looks great too!
FAQ
What holds a kitchen faucet in place?
A kitchen faucet is held in place by a locking nut or screws, which are used to keep it firmly attached to the sink.
What tools are needed to successfully install a single-handle kitchen faucet with sprayer?
To successfully install a single-handle kitchen faucet with sprayer, the required tools are adjustable wrench, basin wrench, plumber’s tape, and a plumber’s putty.
What are the steps to install a single-handle kitchen faucet with sprayer?
Shut off water supply, remove old faucet, insert new faucet through holes, attach water lines, secure with nuts, connect hose to sprayer, and test for leaks.
How do you ensure proper water supply connections when installing a single-handle kitchen faucet with sprayer?
To ensure proper water supply connections when installing a single-handle kitchen faucet with sprayer, always connect the hot and cold water supply lines to the respective inlet ports on the faucet and attach the sprayer hose correctly.


