Last updated on
Discover the simple steps to tighten a loose single handle kitchen faucet base and restore its stability in no time!
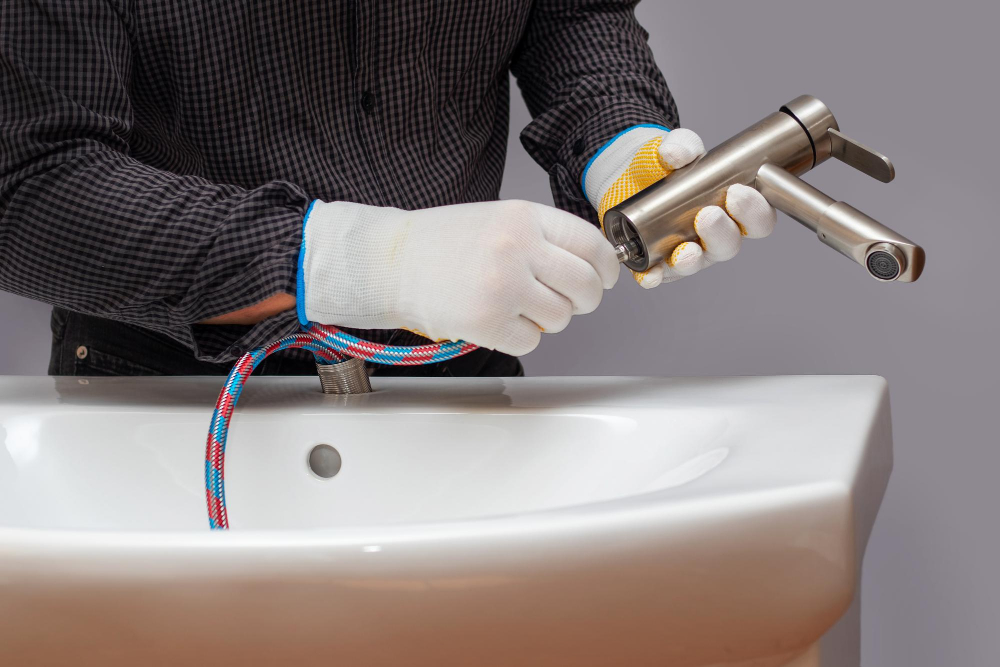
Are you tired of your kitchen faucet wobbling every time you turn it on? A loose faucet base not only looks unsightly but can also cause water leaks and damage to your countertop. Luckily, tightening a loose single handle kitchen faucet base is a quick and easy DIY fix that anyone can do with the right tools and instructions.
In this article, I’ll guide you through the simple steps to tighten your faucet base and get your kitchen sink looking and functioning like new again. So grab your tools, put on some gloves, and let’s get started!
Key takeaways:
- Identify the problem and signs of a loose faucet base.
- Gather necessary tools: adjustable wrench, screwdriver, pliers, basin wrench.
- Prepare the work area: clear items, place a towel, turn off water valves.
- Shut off the water supply: locate shutoff valves or main supply valve.
- Remove faucet handle, inspect base, access the base nut, and tighten.
What's Inside
Identifying a Loose Single Handle Kitchen Faucet Base

The first step in tightening a loose single handle kitchen faucet base is to identify the problem. A wobbly faucet can be caused by various factors, including wear and tear, improper installation, or simply loosening over time due to regular use.
To determine if your faucet base is loose, start by turning on the water and observing any movement or shaking of the fixture. You may also notice water leaking from under the sink or hear a rattling sound when using your faucet.
Another way to check for looseness is to grab hold of the spout and try moving it side-to-side; if there’s any play in its movement at all then you have identified that there’s an issue with your kitchen sink fixture.
Once you’ve confirmed that your single handle kitchen faucet base needs tightening up, it’s important not only for aesthetic reasons but also because leaving this issue unaddressed could lead to further damage down-the-line such as leaks which can cause mold growth underneath cabinets leading towards costly repairs later on.
Signs of a Loose Faucet Base
Some signs of a loose single handle kitchen faucet base include wobbling or tilting when the handle is turned on and off, water leaks around the base, and difficulty turning the handle due to misalignment. You may also notice that your countertop has become discolored or damaged from water seeping through gaps between the faucet and sink surface.
If you’re experiencing any of these issues with your kitchen sink, then chances are high that you have a loose faucet base that needs fixing as soon as possible!
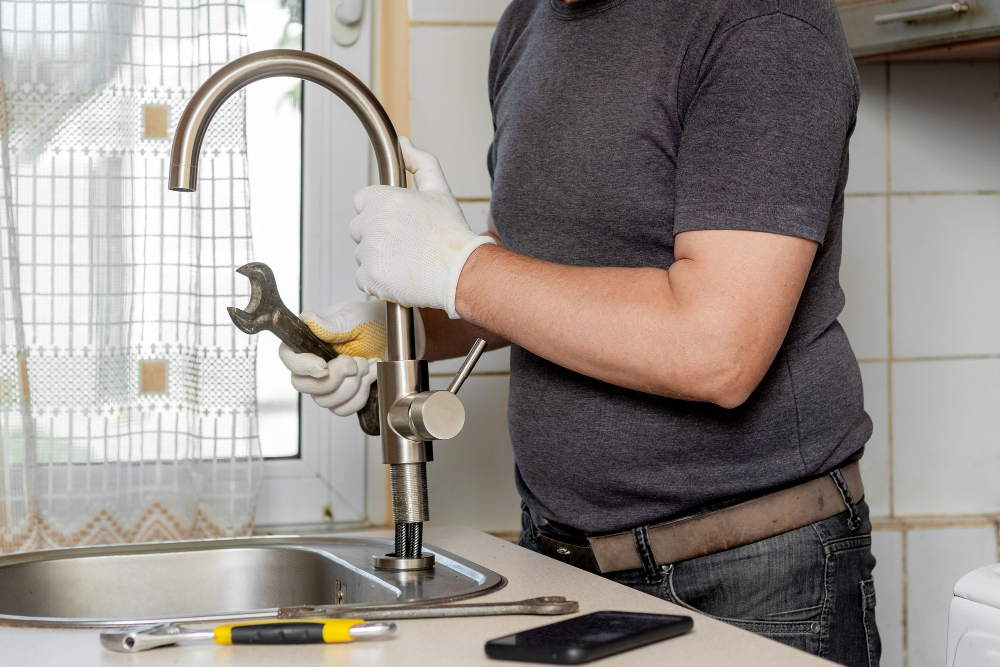
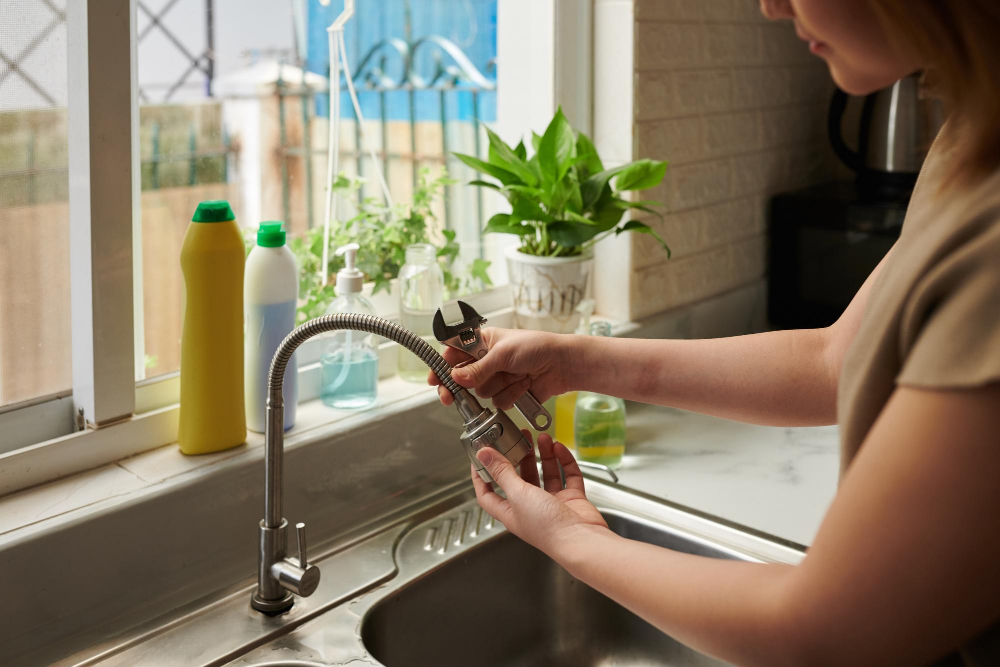
Gathering Necessary Tools
You don’t want to be halfway through the process and realize that you’re missing a crucial tool! Here are some of the tools you’ll need:.
- Adjustable wrench
- Phillips head screwdriver
- Flathead screwdriver
- Basin wrench (optional)
- Most of these tools can be found in any basic home toolkit. If you don’t have them already, consider investing in a good set for future DIY projects around your home.
Preparing the Work Area
This will not only make the process easier but also prevent any damage to your sink or countertop. Start by clearing out any items from under the sink and placing a towel or bucket underneath to catch any water that may drip during the repair.
Next, turn off both hot and cold water supply valves located beneath your sink. If you can’t find them there, check in nearby cabinets or behind an access panel on the wall.
Once you’ve turned off both valves, open up your faucet handle all of way so that no more water is trapped inside of it before proceeding with disassembly.
Shutting Off the Water Supply
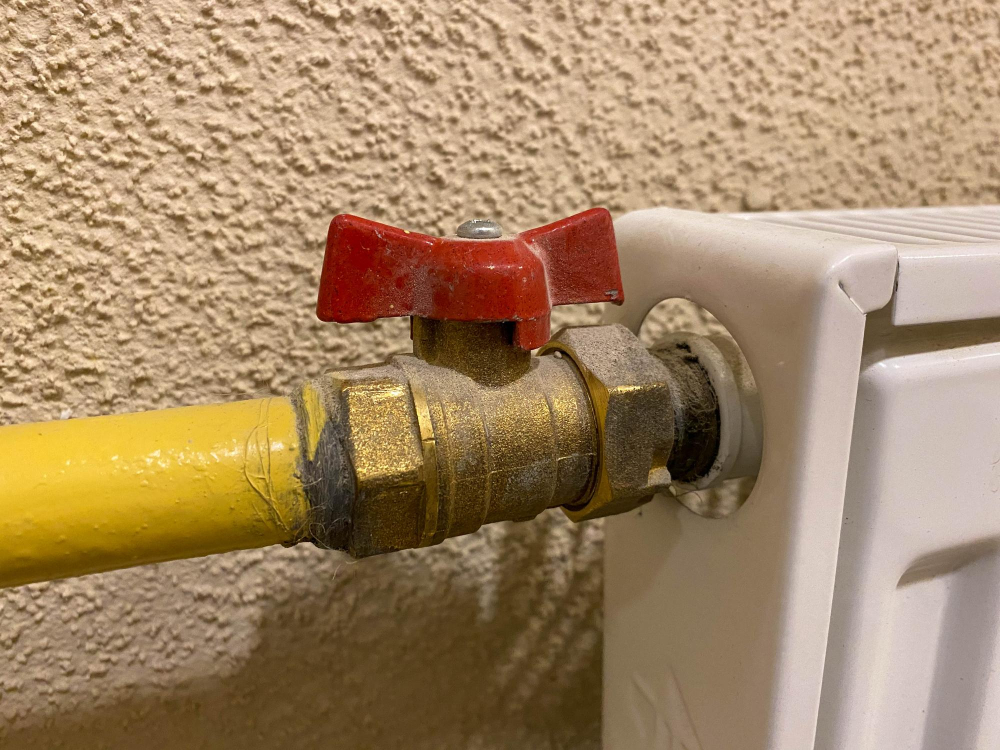
Look for the shutoff valves under your sink and turn them clockwise until they are fully closed. If you can’t find these valves, turn off the main water supply valve in your home.
Once you’ve turned off the water supply, open up your faucet handle and let any remaining water drain out of the pipes before proceeding with disassembly. This step will help prevent excess pressure from building up in your plumbing system while you work on tightening the base nut.
Remember that safety should always come first when working with plumbing fixtures. Wear gloves and eye protection if necessary, especially if there is a risk of sharp edges or debris during disassembly.
Removing the Faucet Handle
This will give you access to the mounting nut and allow you to tighten it properly. To do this, start by turning off the water supply under your sink.
Next, locate a small screw on top of or behind your faucet handle and use a Phillips head screwdriver to remove it. Once removed, gently lift up on the handle until it comes off completely.
If your faucet has been in place for some time or if there’s hard water buildup around its base, removing its handle may require more effort than usual. In such cases where corrosion has set in around screws holding down parts of faucets together; applying penetrating oil can help loosen them up before attempting removal again.
Inspecting the Faucet Base

Before tightening any nuts or bolts, it’s important to inspect the base for any signs of damage or wear and tear. Check for cracks, corrosion, or other visible defects that may be causing your faucet to loosen over time.
If you notice any issues with your faucet base during inspection, it may be necessary to replace certain parts before proceeding with tightening. In some cases, a damaged base can cause further problems down the line if not addressed promptly.
Accessing the Faucet Base
This step is crucial in tightening a loose single handle kitchen faucet as it allows you to reach and tighten the mounting nut that holds your faucet securely in place.
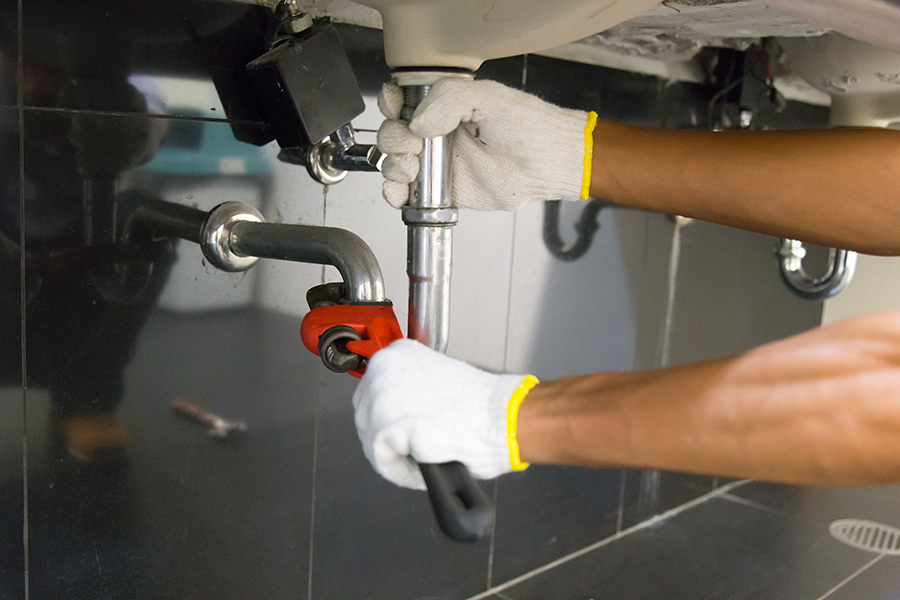
To access the base, locate where your water supply lines connect to your sink. You should see a large mounting nut securing your kitchen faucet from underneath.
Use an adjustable wrench or pliers to loosen this nut by turning it counterclockwise until you can remove it completely.
With this done, lift out any washers or gaskets between the sink and old mounting plate before removing them entirely. Once these are out of sight, clean up any debris around where they were located using a soft-bristled brush or cloth so that nothing interferes with reinstallation later on.
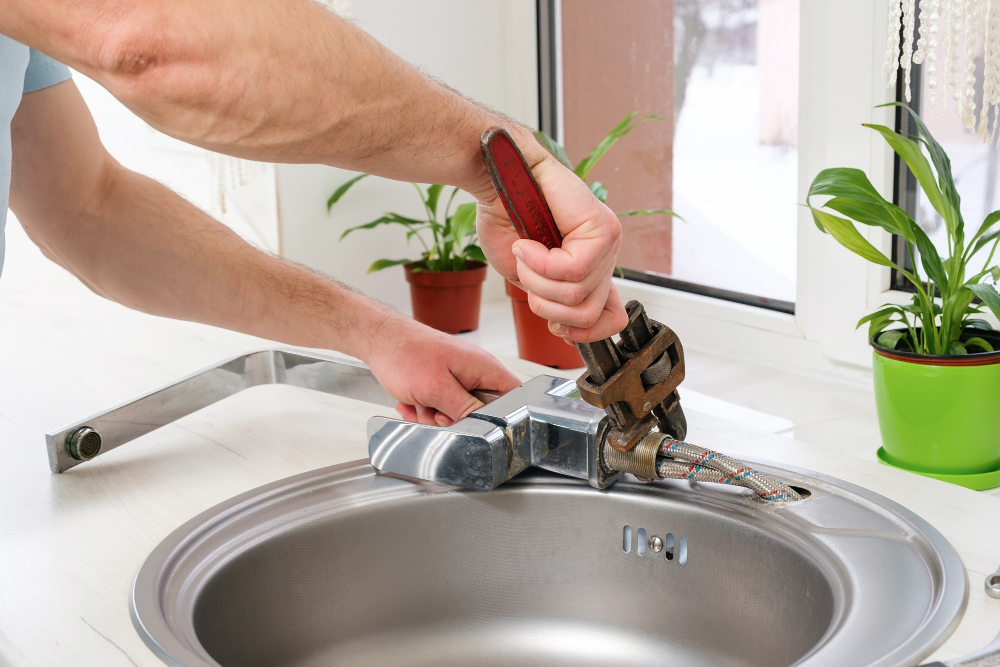
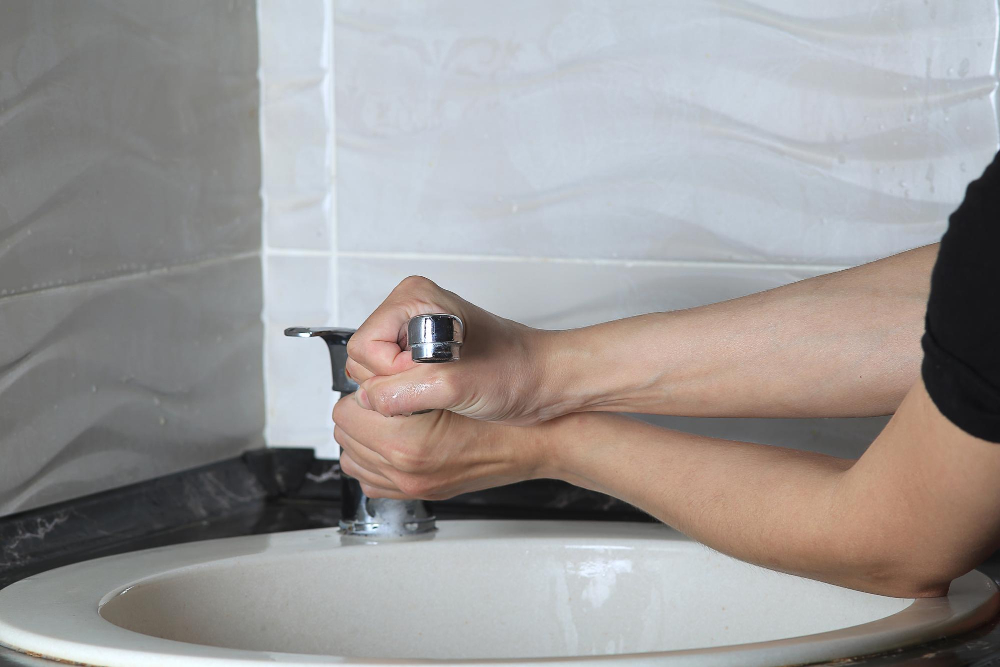
Tightening the Base Nut
Using a wrench or pliers, turn the nut clockwise until it is snug against the sink. Be careful not to overtighten as this can cause damage to your faucet and plumbing.
If your faucet has a mounting plate underneath, make sure that it is also tightened securely against the sink surface. Once everything is in place and secure, reattach any hoses or water supply lines that were disconnected earlier.
Turn on your water supply valves slowly and check for any leaks around the base of your kitchen faucet. If there are no leaks present after testing out hot and cold water settings then congratulations! You’ve successfully tightened up a loose single handle kitchen faucet base all by yourself!
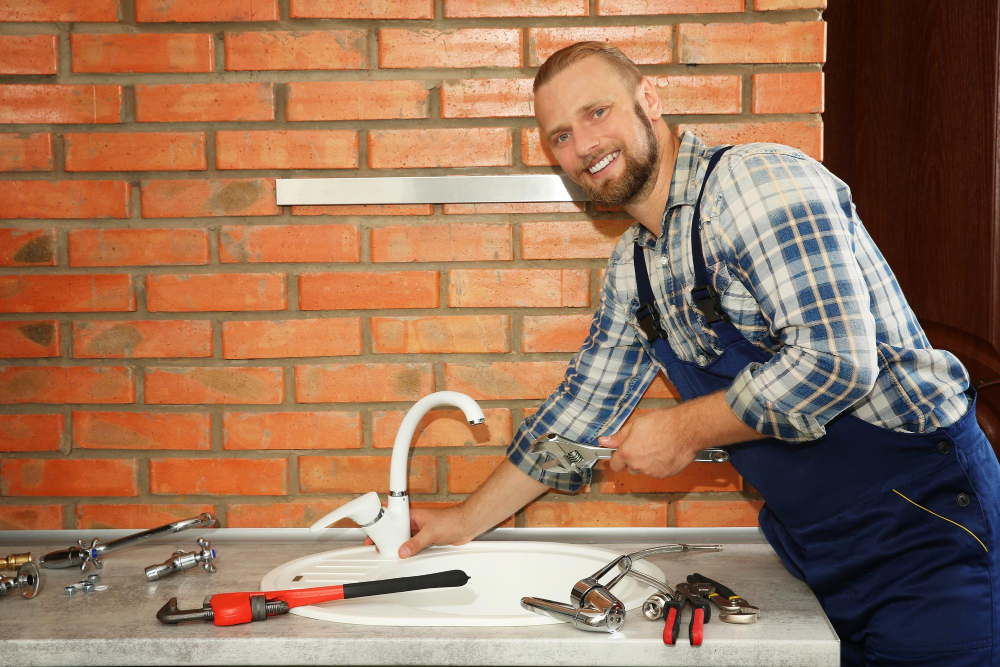
Reassembling the Faucet

Start by placing the gasket and mounting plate back onto the sink deck. Then, carefully insert the faucet body through these parts and align it with its original position.
Next, secure the mounting plate using screws or bolts as per your manufacturer’s instructions. Make sure not to over-tighten them as this can cause damage to both your sink and faucet.
After that, slide on any washers or nuts provided with your kit onto their respective positions under the sink deck before tightening them securely in place using a wrench or pliers.
Reattach any hoses that were disconnected earlier while taking care not to cross-thread them during installation. Turn on water supply valves slowly while checking for leaks around all connections before testing out how well everything works together again!
Testing Your Work
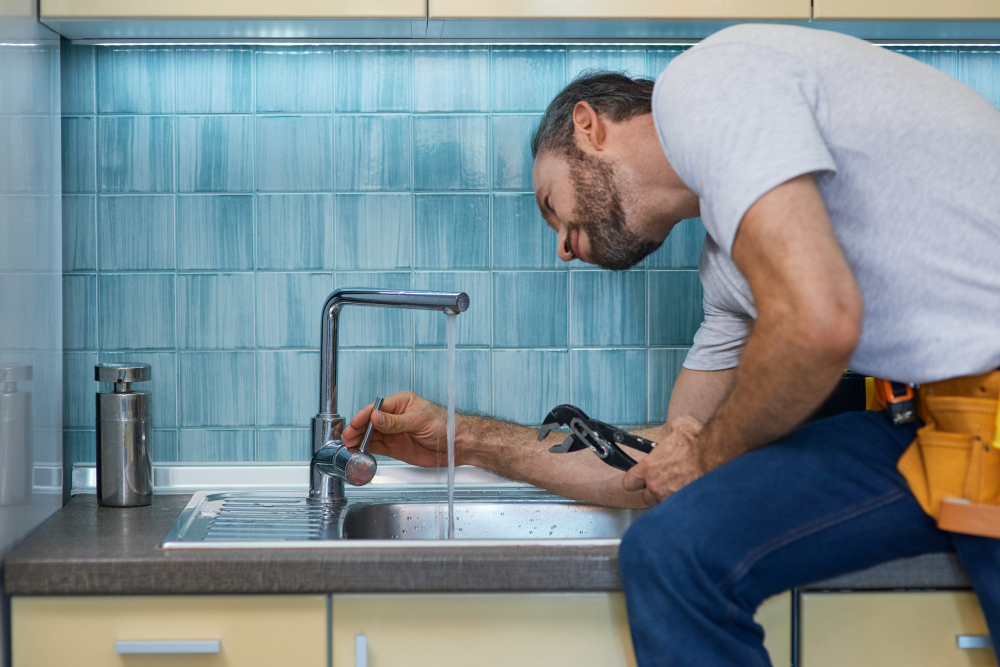
Turn on the water supply and check for any leaks around the base of the faucet. If there are no leaks, turn on both hot and cold water to ensure that they flow smoothly without any wobbling or shaking of the faucet handle or spout.
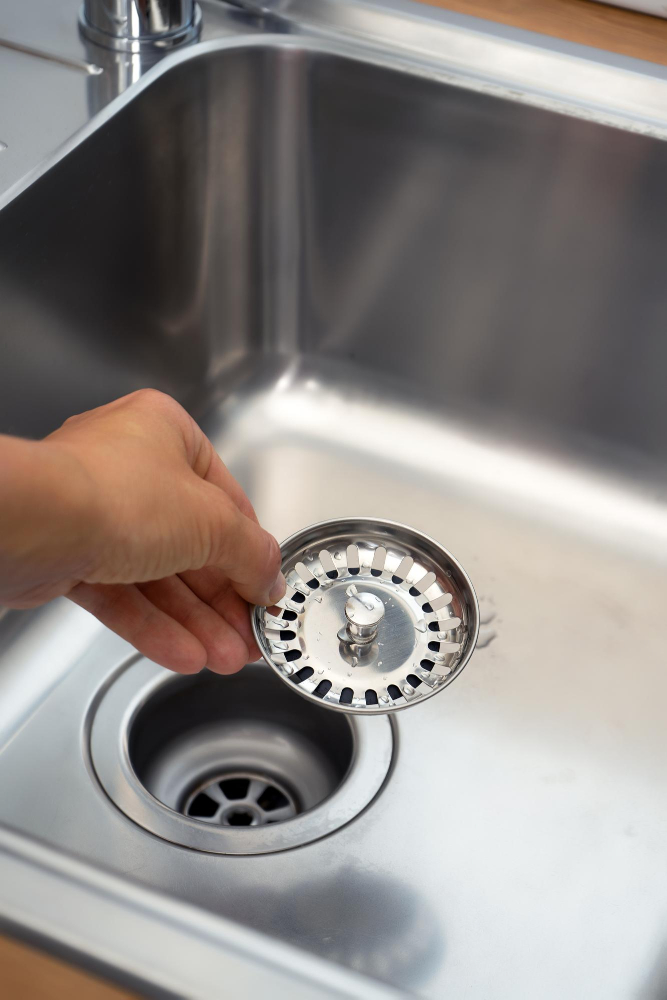
If you notice any issues with water flow or stability, double-check that all parts have been properly tightened and secured. It’s also a good idea to inspect other areas of your kitchen sink for signs of wear or damage that may need attention in order to prevent future problems.
By taking these simple steps, you can easily tighten a loose single handle kitchen faucet base yourself without having to call in a professional plumber.
Troubleshooting Common Issues
One issue is a reduced water flow caused by debris or mineral buildup in the aerator. To fix this, remove and clean the aerator with vinegar or a descaling solution.
Another issue is leaks around the base of your faucet after tightening it. This could be due to worn-out O-rings or gaskets that need replacement.
You can easily replace these parts by disassembling and inspecting your faucet again.
If you notice any unusual noises coming from your kitchen sink after fixing a loose base, it could be due to air trapped in pipes or water hammering caused by high pressure in plumbing lines. In such cases, consider installing an air chamber near shut-off valves to absorb shock waves and prevent noisy pipes.
Preventing Future Loosening

One way to do this is by using a thread-locking compound on the base nut before tightening it. This will help keep the nut in place and prevent it from coming loose over time.
Another tip is to avoid using excessive force when turning your faucet handle on and off. Over-tightening or forcing the handle can cause unnecessary stress on the base, leading to loosening over time.
Regular maintenance of your kitchen faucet can also help prevent future issues with looseness or leaks. Check for any signs of wear or damage regularly and replace any worn-out parts as needed.
Fixing a Loose Faucet Handle
Fixing a loose faucet handle requires a slightly different approach than tightening the base nut, but it’s just as easy to do yourself.
To fix a loose faucet handle, start by removing any decorative caps or screws covering the set screw on top of your handle. Use an Allen wrench to loosen and remove this set screw before pulling off the handle from its stem.
Next, inspect both sides of your cartridge for damage or wear. If either side appears damaged or worn down, replace it with a new one before reassembling everything back together.
Once you have replaced any necessary parts and reassembled everything back together again in reverse order (starting with replacing decorative caps), test out your work by turning on water flow at various temperatures while checking for stability in both temperature control and overall movement of handles themselves.
Conclusion
By following the steps outlined in this article, you can quickly identify and tighten your faucet base to restore its stability and prevent further damage. Remember to always shut off the water supply before starting any plumbing work, gather all necessary tools beforehand, and take your time during each step of the process.
With a little patience and effort, you’ll have your kitchen sink looking like new again in no time!
FAQ
How do you fix a loose faucet handle base?
To fix a loose faucet handle base, secure it by using a basin wrench, socket wrench, or pliers to grip the nut’s base and turn it clockwise until tight.
What tools are needed to tighten a loose single handle kitchen faucet base?
To tighten a loose single handle kitchen faucet base, the needed tools are an adjustable wrench, a Phillips screwdriver, and a flashlight.
Can a DIY approach be used for repairing a loose single handle kitchen faucet base?
Yes, a DIY approach can be used for repairing a loose single handle kitchen faucet base.
What are the common reasons for a single handle kitchen faucet base becoming loose?
Common reasons for a single handle kitchen faucet base becoming loose include wear and tear, improper installation, and loosened nuts or screws.


