Last updated on
Discover the essential steps to transform your kitchen with elegant and durable granite countertops in this comprehensive guide.
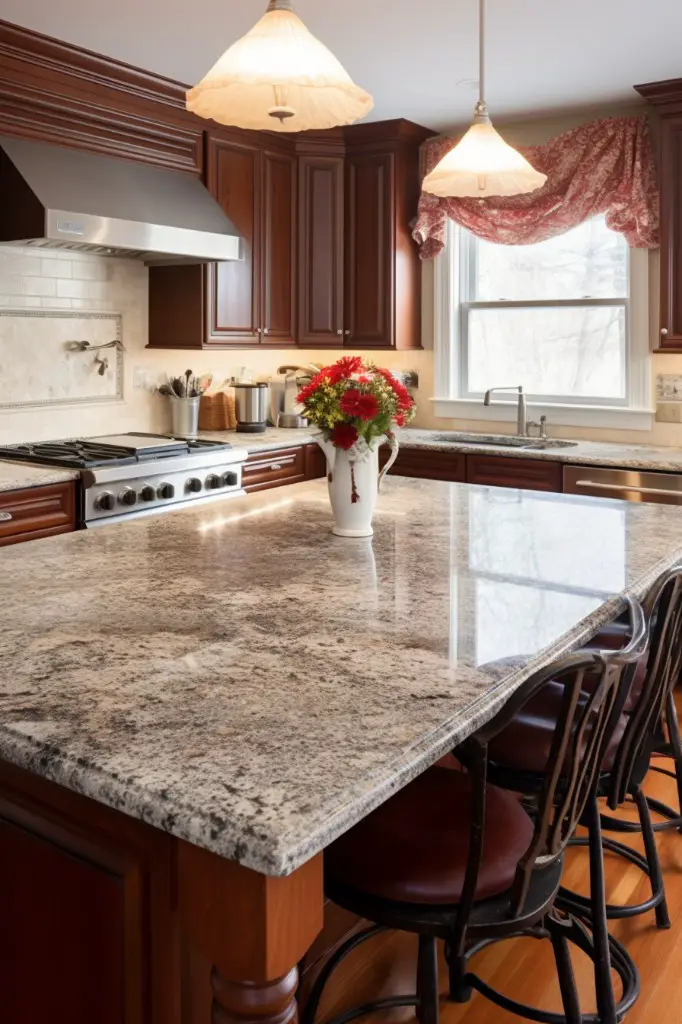
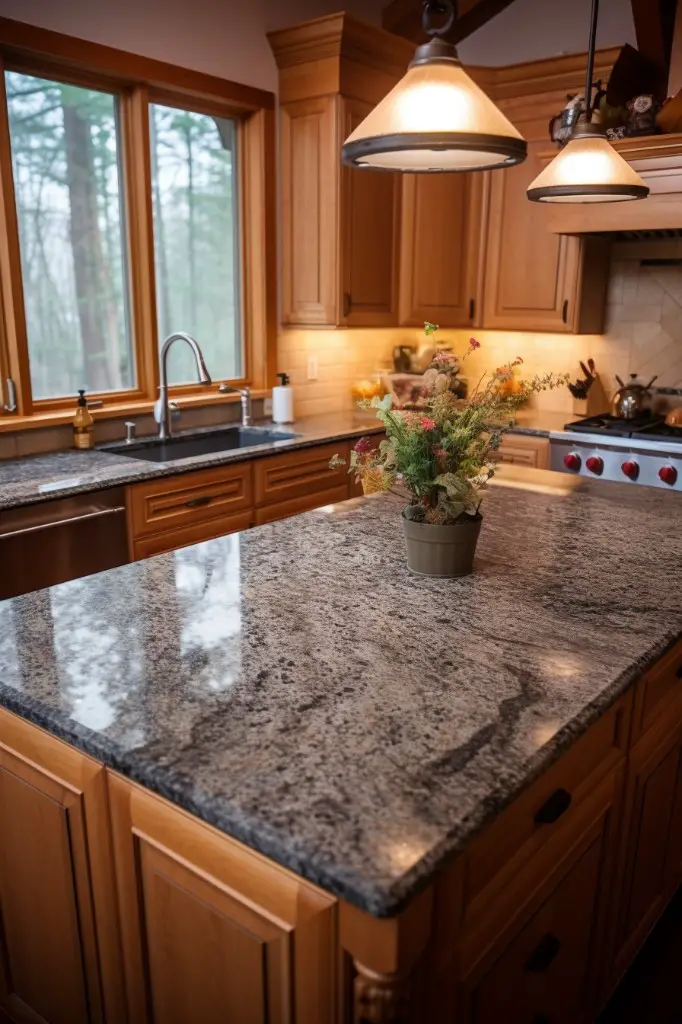
Granite kitchen countertops are a popular choice for homeowners who want to add elegance and durability to their kitchens. Not only are they aesthetically pleasing, but they also offer a practical solution for busy kitchens.
However, installing granite countertops can seem like an intimidating task if you’re not familiar with the process. The good news is that with the right guidance and tools, it’s possible to install them yourself and save money in the process.
In this article, we’ll guide you through everything you need to know about how to install granite kitchen countertops step-by-step. So let’s get started!
What's Inside
Types of Granite Material
Each type of granite has its unique characteristics and benefits that can enhance the overall look and feel of your kitchen. Some popular types of granite include Absolute Black, Blue Pearl, Ubatuba Green, Santa Cecilia Gold, and Kashmir White.
Absolute Black is a classic choice that offers a sleek and modern look with its deep black color. Blue Pearl features stunning blue hues with silver flecks throughout the slab for an eye-catching effect.
Ubatuba Green is another popular option known for its rich green tones mixed with gold speckles.
Santa Cecilia Gold boasts warm golden tones mixed with brown accents creating a cozy ambiance in any kitchen space while Kashmir White provides an elegant touch to any design scheme thanks to its white base color accented by gray veins running through it.
Choosing the right type of granite material depends on personal preference as well as factors such as durability needs or budget constraints.
Measuring Your Kitchen Space

Measuring your kitchen will help you determine the amount of material needed and give an estimate of the cost. To get started, grab a measuring tape and follow these simple steps:
1. Draw a rough sketch: Start by drawing a rough sketch of your kitchen layout on paper or use digital tools like SketchUp or RoomSketcher.
2. Measure walls: Measure each wall from corner to corner along with any protrusions such as windowsills.
3. Record measurements: Write down all measurements in inches on your sketch.
4. Check for accuracy: Double-check all measurements to ensure they are accurate before proceeding further.
5. Calculate square footage: Calculate the total square footage by multiplying length x width for each section and adding them together.
Selecting the Right Granite Slab

Granite slabs come in a variety of colors, patterns, and finishes. It’s important to choose a slab that complements your kitchen design while also fitting within your budget.
When selecting a granite slab, consider factors such as color scheme, veining pattern (if any), and finish options like polished or honed. Keep in mind that some types of granite are more expensive than others due to their rarity or unique characteristics.
It’s also essential to inspect each potential slab for cracks or other imperfections before making a final decision. A reputable supplier will allow you ample time to browse through their inventory so that you can find just what you’re looking for.
Choosing Granite Thickness
The most common thicknesses for granite slabs are 2cm (3/4 inch) and 3cm (1-1/4 inch). While both options have their advantages, it’s essential to consider factors such as weight, cost, edge profile options, and overall aesthetics when making a choice.
Thicker slabs tend to be more durable than thinner ones because they offer better resistance against chipping or cracking. They also provide a more substantial feel that some homeowners prefer in their kitchens.
However, thicker slabs come with added weight which may require additional support from cabinets or other structures underneath them.
On the other hand, thinner slabs are lighter in weight which makes them easier to handle during installation. They’re also less expensive than thicker ones since they require fewer materials to produce.
Thinner granite countertops work well with modern designs where sleekness is preferred over bulkiness.
Calculating Granite Cost
The price of granite varies depending on several factors such as the type of granite material, thickness, edge profile options, and installation costs. To calculate the total cost of your project accurately, you need to consider all these factors.
The first step is to measure your kitchen space accurately. This will help you determine how much square footage of countertop material you’ll need for your project.
Once you have this information at hand, visit local stone yards or home improvement stores that sell granite slabs in different colors and patterns.
The price per square foot can range from $40-$200 depending on the quality and rarity of the slab selected. Additionally thicker slabs may be more expensive than thinner ones due to their weight which requires additional support during installation.
When calculating costs don’t forget about other expenses like sink cutouts or faucet holes which can add up quickly if not accounted for upfront! Finally make sure that when comparing quotes from different installers they include all necessary materials such as adhesive sealant so there are no surprises later down-the-line!
Finding a Reputable Installer
Installing granite countertops is not an easy task, and it requires experience and expertise to ensure that everything is done correctly. Therefore, finding a professional installer who has years of experience in installing granite countertops can save you from costly mistakes.
To find a reputable installer, start by asking for recommendations from friends or family members who have recently installed new kitchen countertops. You can also check online reviews on websites such as Yelp or Angie’s List to see what other customers are saying about local installers.
When selecting an installer, make sure they are licensed and insured. Ask for references so that you can speak with previous clients about their experiences working with the company.
Ask if they offer any warranties or guarantees on their workmanship.
Preparing Your Kitchen
This step is crucial because it ensures that the installation process goes smoothly and without any hitches. The first thing you need to do is clear out all items from your existing countertops, including appliances, dishes, and other objects.
Next up is removing the old countertop if you have one already installed. You can either hire a professional or remove it yourself if you’re confident in your DIY skills.
If opting for the latter option, ensure that you turn off all water supply lines before disconnecting sinks or faucets.
After removing the old countertop successfully comes leveling of base cabinets; this will help create an even surface for placing new granite slabs on top of them later on during installation.
Level Base Cabinets
Uneven cabinets can cause the countertop to crack or break over time due to uneven weight distribution. To check if your base cabinets are level, use a spirit level and place it on top of each cabinet from front-to-back and side-to-side.
If you find any discrepancies in the levels, adjust them accordingly using shims until they’re perfectly leveled.
It’s important not to rush this step as having a solid foundation is crucial for ensuring that your granite countertops last for years without any issues. Once you’ve ensured that all of the base cabinets are leveled correctly, you can move onto templating the countertop by creating an accurate outline of where exactly it will be placed on top of these even surfaces.
Templating the Countertop
Templating is a crucial step in ensuring that your countertops fit perfectly into your kitchen space. It involves creating a precise outline of the countertop area using cardboard or plywood sheets.
To begin templating, measure the length and width of each section where you plan to install granite countertops. Then transfer these measurements onto cardboard or plywood sheets by marking them with a pencil or marker.
Next, cut out each section carefully along the marked lines using a jigsaw or circular saw. Make sure to leave enough space around each piece for overhangs and edges.
Once all sections are cut out, place them on top of base cabinets in their intended positions while checking for any gaps between walls and cabinets that need filling before installation begins.
Cutting and Polishing Granite
This step requires specialized tools such as a diamond blade saw, angle grinder with diamond polishing pads, and a wet stone polisher. It is essential to wear protective gear like safety glasses, gloves, earplugs or earmuffs during this process.
Firstly the granite slab needs to be cut into sections that fit your kitchen layout using a diamond blade saw. The edges of each section are then smoothed out using an angle grinder fitted with coarse-grit polishing pads before moving on to finer grits for smoothing out scratches until they become invisible.
After cutting the countertop pieces down to size and smoothing their edges comes polishing them up so that they shine beautifully in your kitchen space. A wet stone polisher is used for this purpose along with progressively finer grits of abrasive discs until achieving desired smoothness levels.
Edge Profile Options
The edge profile refers to the shape and design of the countertop’s edges. There are several options available for you to choose from, each with its own unique style and functionality.
One popular option is a straight or eased edge, which features a simple square or slightly rounded finish that complements modern kitchens. Another common choice is a bullnose edge, which has a smooth curve on both top and bottom edges for added safety in high-traffic areas.
For those who prefer more intricate designs, there are also decorative options such as ogee (S-shaped), beveled (angled), waterfall (cascading down one side) or dupont (two-tiered). These styles add elegance and sophistication but may come at an additional cost due to their complexity.
Ultimately, choosing an appropriate granite countertop edging depends on personal preference as well as practical considerations such as durability and maintenance requirements.
Sink and Faucet Requirements
The type of sink you choose will depend on your personal preference, kitchen design, and budget. There are three main types of sinks: undermount, drop-in (self-rimming), or farmhouse/apron front.
Undermount sinks are installed underneath the countertop for a seamless look that’s easy to clean. Drop-in sinks sit on top of the countertop with a visible rim around them while farmhouse/apron front sinks have an exposed front panel that extends beyond the edge of your cabinets.
Faucets come in various styles such as single-handle or double-handle faucets with different finishes like chrome or brushed nickel. It’s essential to ensure that your chosen faucet fits well with both your sink style and kitchen decor.
Before purchasing any fixtures for installation purposes, make sure they fit within standard measurements so they can be easily integrated into existing plumbing systems without requiring additional modifications.
Installation Process
This is where things can get a bit tricky, so it’s important to follow each step carefully.
Firstly, ensure that all base cabinets are level before proceeding with any further steps. Then create a template of your countertop by using cardboard or thin plywood sheets.
The template should be an exact replica of your countertop space including sink and faucet holes.
Next, take this template to the granite supplier who will use it as a guide for cutting and polishing the granite slab according to its shape and size requirements. Once cut into pieces that fit perfectly on top of each cabinet section in place without gaps between them.
Afterward, attach these sections together using epoxy resin adhesive at their seams while ensuring they remain level throughout this process until everything is securely attached onto cabinets below them!
Join Seams and Attach to Cabinets
This is a crucial step in the installation process as it ensures that your countertops are secure and level. To begin, place the two pieces of granite next to each other on top of your base cabinets with a small gap between them for seam adhesive.
Then, use clamps or suction cups to hold both pieces tightly together while you apply epoxy resin along the seam line.
After applying enough adhesive material along with both edges of granite slabs’ seams, carefully align their edges so they fit perfectly without any gaps or unevenness. Once aligned correctly, tighten up all clamps until there is no movement between two parts.
Next comes attaching brackets underneath at regular intervals across countertop length for added support before removing excess glue from seams using acetone solution.
Sealing Granite Countertops
Granite is a porous material, which means it can absorb liquids and stains if left unsealed. Sealing the surface of your granite countertop creates a protective barrier that prevents liquids from penetrating the stone.
To seal your granite countertop, you’ll need to purchase a high-quality sealer designed specifically for natural stone surfaces. Before applying the sealer, make sure your countertop is clean and dry.
Using a soft cloth or brush, apply the sealer evenly over the entire surface of your countertop. Be sure to follow any specific instructions provided by the manufacturer regarding application time or number of coats required.
After allowing sufficient drying time (usually 24 hours), test whether additional sealing is necessary by placing drops of water on various areas around your counter’s surface; if they bead up instead of soaking in after several minutes have passed then you’re good to go! If not – repeat this process until desired results are achieved!
Caring for Granite Countertops
Granite is a porous material, which means it can absorb liquids and stains if not properly sealed. To keep your countertops looking new, you should clean them regularly with a mild soap or granite cleaner and avoid using harsh chemicals or abrasive sponges that can scratch the surface.
It’s also important to be mindful of what you place on your countertop. While granite is heat-resistant, placing hot pots directly on the surface can cause thermal shock and damage the stone over time.
Always use trivets or hot pads under hot dishes.
In addition to regular cleaning, it’s recommended that you reseal your granite countertops every one to three years depending on usage. Resealing helps protect against stains by creating an invisible barrier between spills and the stone.
Safety Tips and Guidelines
Here are some essential tips to keep in mind:
1. Wear protective gear: Granite is heavy and sharp, so make sure you wear gloves, eye protection, and sturdy shoes.
2. Use proper lifting techniques: When moving granite slabs or tools around your kitchen space, use proper lifting techniques such as bending at the knees instead of your back.
3. Keep children away from work area: Make sure that children stay away from the work area while you’re installing countertops.
4. Turn off power sources near installation site: Before starting any installation work near electrical outlets or appliances like stoves or ovens turn them off for safety reasons.
5. Follow manufacturer instructions carefully – Always follow manufacturer instructions when using adhesives or sealants on your countertop surface.
Granite Countertop Alternatives
Fortunately, there are several alternatives to granite that can provide similar benefits and aesthetics. One option is quartz countertops which offer durability and low maintenance with a wide range of colors and patterns to choose from.
Another alternative is marble which provides an elegant look but requires more upkeep than other materials due to its porous nature.
For those looking for eco-friendly options, recycled glass or concrete countertops could be the perfect solution as they’re made from sustainable materials while still offering unique designs.
Other countertop options include butcher block, stainless steel or even laminate surfaces that mimic natural stone at a fraction of the cost.
Ultimately, choosing the right countertop material comes down to personal preference and lifestyle needs.
FAQ
Can I install granite countertops yourself?
Yes, you can install granite countertops yourself, but it is an expensive, arduous, and difficult task that is often better handled by a professional installer.
Are granite countertops glued to cabinets?
Granite countertops are typically held in place by a bead of silicon applied at the countertop and cabinet intersections and the stone’s underside after ensuring proper leveling.
Does granite countertop need plywood base?
Yes, granite countertops need a plywood base and an underlayment of cement board to provide necessary support due to their heavy and dense nature.
What tools and materials are required for a DIY granite countertop installation?
For a DIY granite countertop installation, required tools and materials include a granite slab, circular saw with a diamond blade, wet-grinder, sandpaper, level, crowbars, clamps, wood supports, epoxy, painter’s tape, and a towel.
How do you properly measure and cut granite countertops to fit a specific kitchen layout?
To properly measure and cut granite countertops for a specific kitchen layout, one needs to create a template of the kitchen’s dimensions, accurately mark the granite using the template, and use specialized cutting tools like a diamond-encrusted blade to make the cuts.
What are the essential precautions to take during granite countertop installation to avoid damage or injury?
To avoid damage or injury during granite countertop installation, essential precautions include using proper support, handling with care, having enough manpower, and wearing appropriate safety gear.


