Last updated on
Discover the secrets to maintaining a spotless kitchen sink with our easy-to-follow cleaning tips and tricks for a healthier, more inviting cooking space.
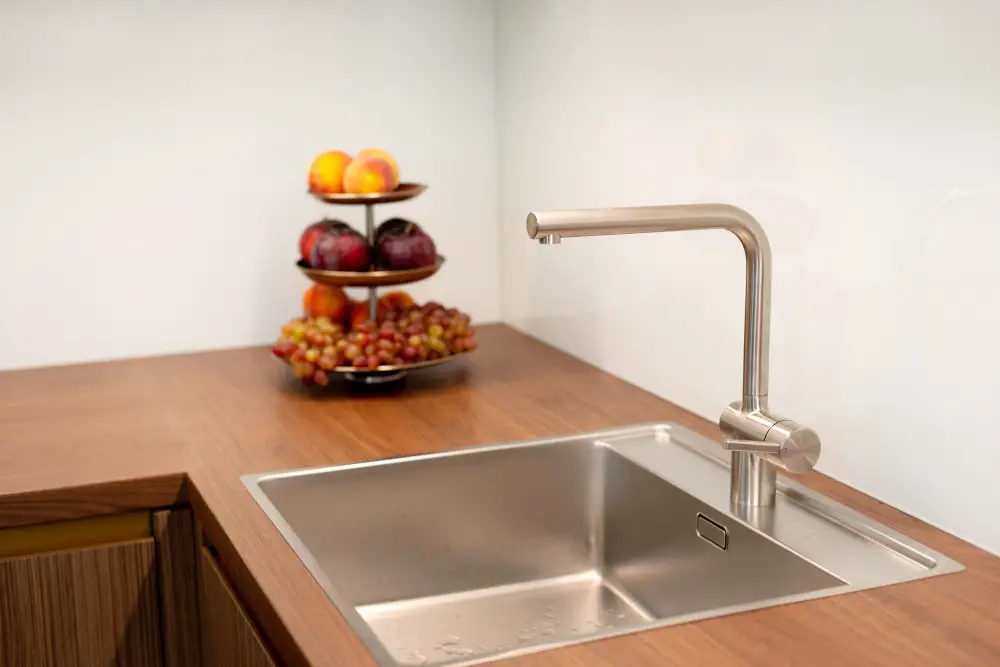
A kitchen sink is a hub of activity in any home. It’s where we wash dishes, rinse fruits and vegetables, and even give our pets a bath.
But with all that use comes the inevitable build-up of grime, food particles, and bacteria. Keeping your kitchen sink clean is not only important for hygiene reasons but also for the overall look and feel of your kitchen.
In this article, we’ll explore some simple yet effective ways to keep your kitchen sink sparkling clean. So roll up your sleeves and let’s get started!
What's Inside
Importance of a Clean Sink
A clean kitchen sink is essential for maintaining a healthy and hygienic cooking environment. Bacteria, mold, and other harmful microorganisms can quickly accumulate in a dirty sink, posing health risks to you and your family.
Not only that but leaving food particles or grease in the sink can also attract pests like cockroaches or fruit flies. A clean kitchen sink not only looks great but also helps prevent unpleasant odors from developing in your home.
By keeping up with regular cleaning routines, you’ll be able to maintain a spotless kitchen sink that’s both functional and aesthetically pleasing!
Before Getting Started

First, remove any dishes or debris from the sink and surrounding countertops. This will give you ample space to work and prevent any cross-contamination of bacteria.
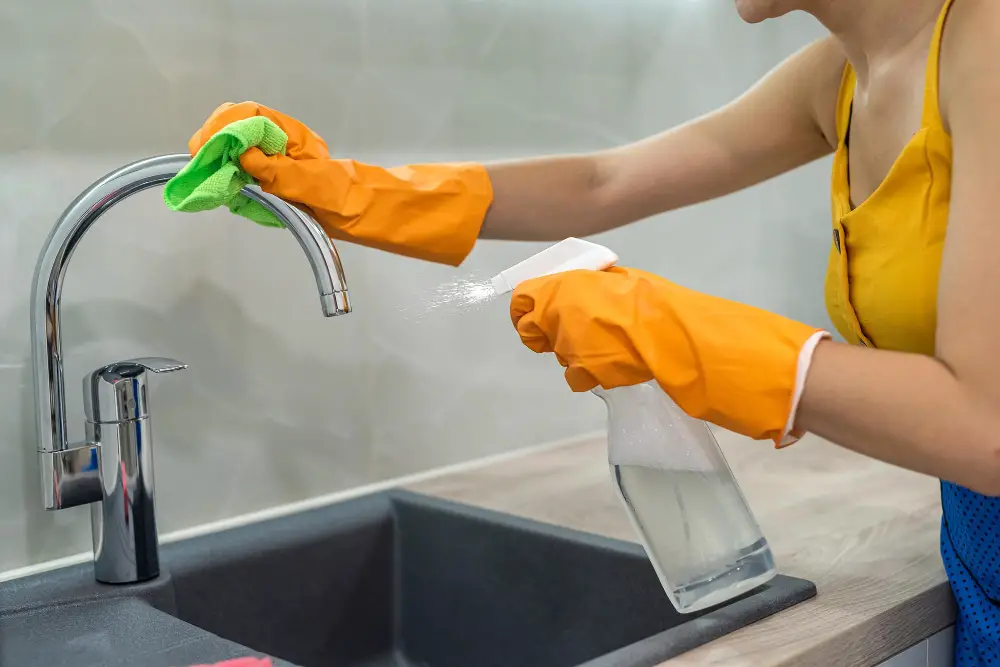
Next, put on some rubber gloves to protect your hands from harsh chemicals or hot water. If you have an open cut or wound on your hand, consider wearing two pairs of gloves for extra protection.
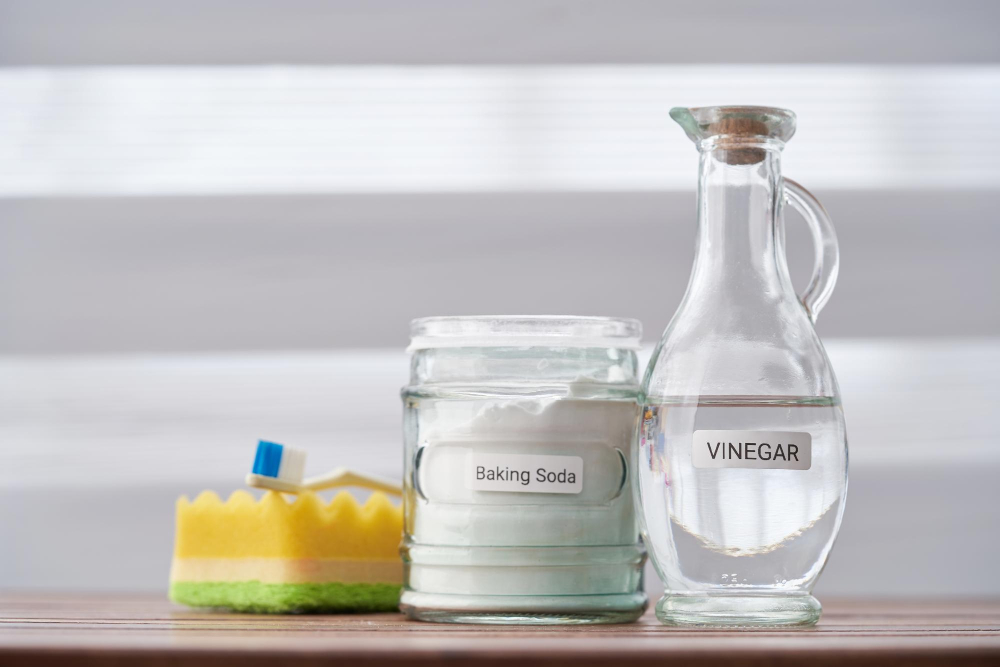
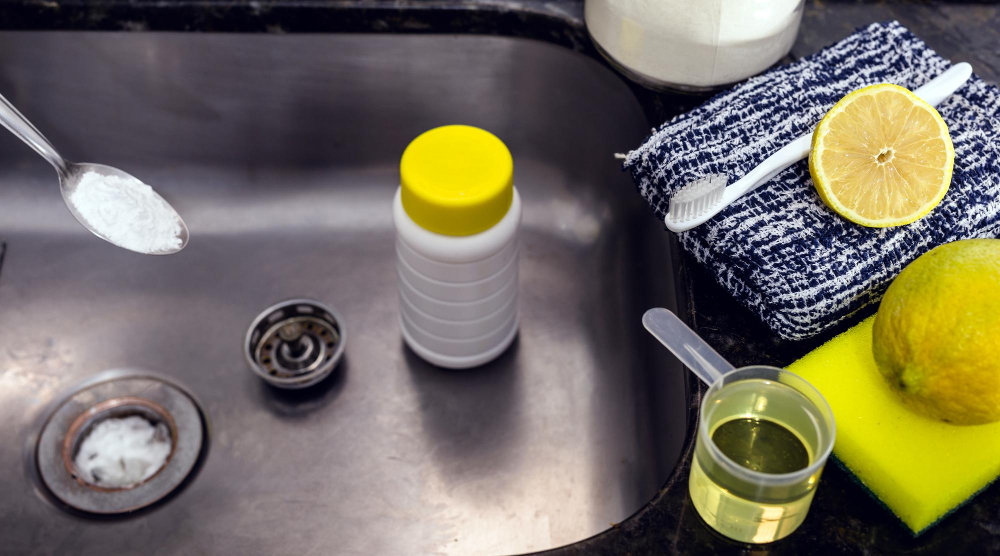
Make sure that all necessary cleaning supplies are within reach before starting the process. This includes dish soap, baking soda/vinegar (if using natural cleaners), scrub brush/sponge/cloth (depending on what type of material is used in making the sink), and a bucket if needed.
What You’ll Need
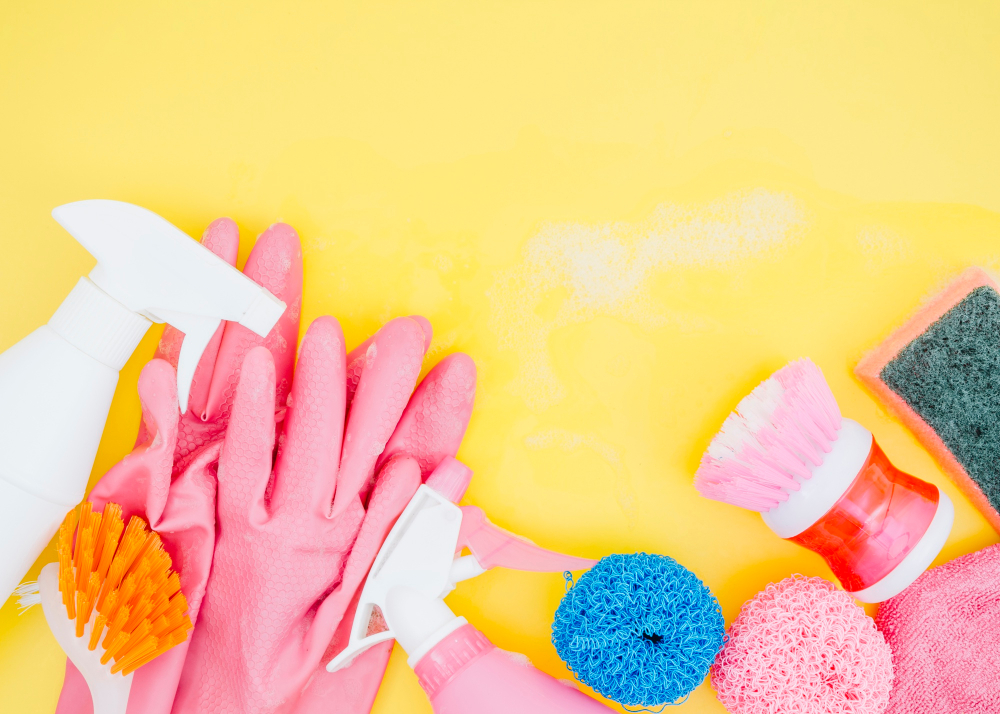
First and foremost, invest in a good pair of rubber gloves to protect your hands from harsh chemicals and hot water. You’ll also need some cleaning supplies such as dish soap, baking soda or vinegar for natural cleaning solutions, an all-purpose cleaner for deep-cleaning tasks, microfiber cloths or sponges for wiping down surfaces and drying the sink after use.
In addition to these basic items, it’s important to have specific tools on hand depending on the type of sink you have. For example:
- Stainless steel sinks require non-abrasive cleaners that won’t scratch their surface.
- Porcelain sinks should be cleaned with gentle cleaners that won’t damage their finish.
- Cast iron sinks may require special care instructions from the manufacturer.
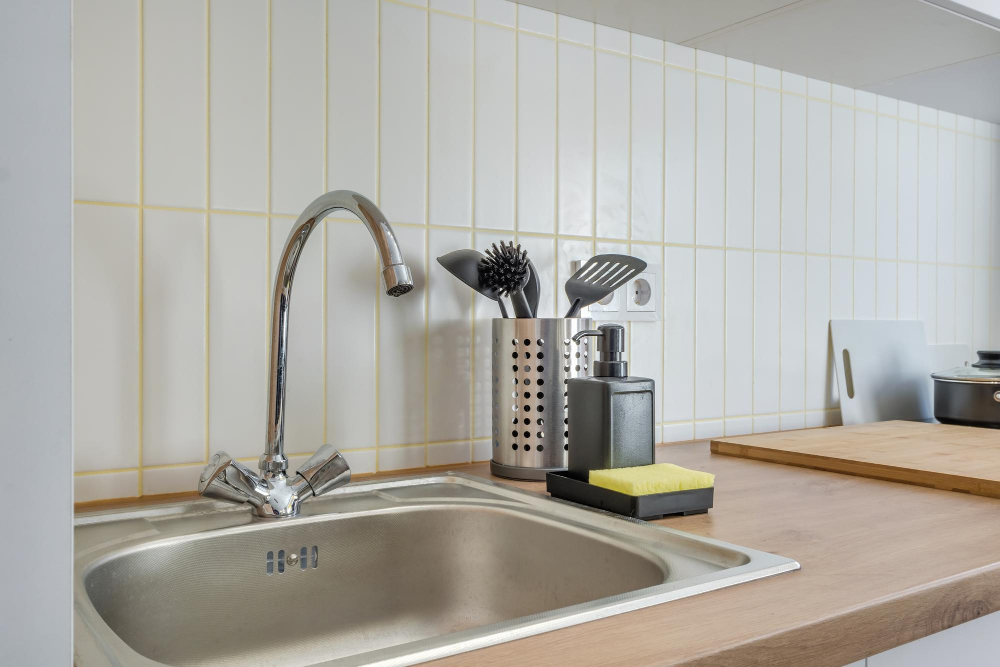
Equipment / Tools

These items will make the cleaning process easier and more efficient. First, invest in a good pair of rubber gloves to protect your hands from harsh chemicals and hot water.
You’ll also need a scrub brush or sponge for daily cleaning tasks, as well as an old toothbrush for hard-to-reach areas.
For deep-cleaning sessions, consider using a heavy-duty cleaner specifically designed for sinks or stainless steel surfaces. A microfiber cloth is ideal for wiping down the sink after cleaning to prevent streaks or water spots.
In addition to these tools, it’s important to have proper ventilation when working with strong cleaners like bleach or ammonia-based products. Open windows if possible or turn on an exhaust fan while you work.
Materials
Having everything on hand will make the process much smoother and more efficient. Here are some of the essential items you’ll need:
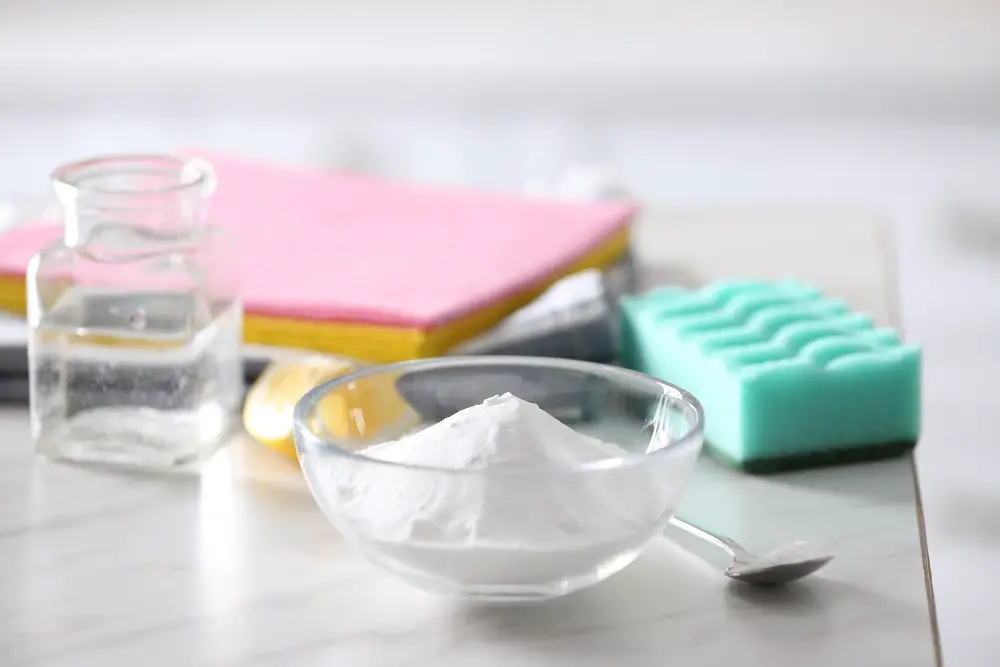
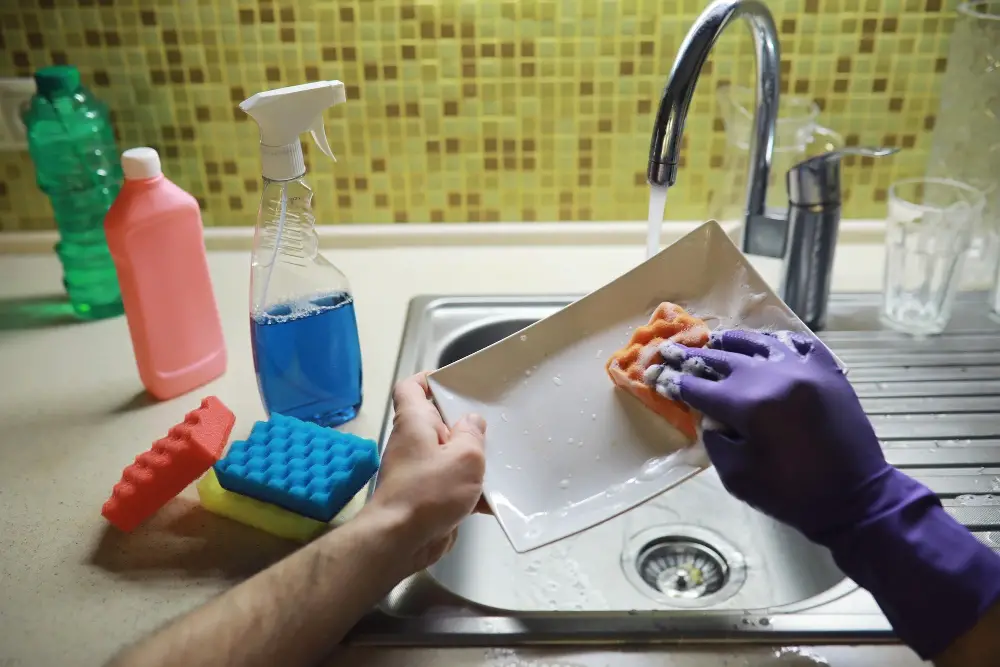
1. Dish soap: Choose a mild dish soap that is gentle on your skin and won’t damage your sink.
2. Baking soda: This versatile ingredient can be used for many cleaning tasks, including removing stains from sinks.
3. Vinegar: White vinegar is an excellent natural cleaner that can help remove tough stains and disinfect surfaces.
4. Microfiber cloths or sponges: These soft materials are perfect for wiping down surfaces without scratching them.
5. Scrub brush or toothbrush: Use a scrub brush or old toothbrush to clean hard-to-reach areas like around faucets and drains.
6. Rubber gloves (optional): If you have sensitive skin, rubber gloves may be helpful in protecting your hands while cleaning.
Daily Cleaning Routine
This will help prevent the build-up of grime and bacteria that can accumulate over time. Start by rinsing your sink with hot water after each use to remove any food particles or debris.
Then, wipe down the surface with a sponge or cloth and some dish soap.
If you have hard water stains or mineral deposits on your sink, try using vinegar as a natural cleaner. Simply soak a paper towel in white vinegar and place it over the stained area for 15-20 minutes before wiping away.
Another tip is to avoid leaving dirty dishes in the sink for too long as this can lead to unpleasant odors and attract pests like fruit flies. Instead, make an effort to wash dishes immediately after use or at least rinse them off before placing them in the dishwasher.
Deep Cleaning Techniques
Deep cleaning involves removing any build-up of grime and stains that may have accumulated over time. Here are some effective techniques for deep-cleaning your kitchen sink:
1. Baking Soda and Vinegar: Sprinkle baking soda all over the surface of the sink, then spray vinegar on top until it starts to fizz.
Let it sit for 10-15 minutes before scrubbing with a soft-bristled brush or sponge.
2. Bleach Solution: Mix one tablespoon of bleach with one gallon of water in a bucket or basin, then use this solution to wipe down the entire surface area of your sink.
3. Lemon Juice and Salt: Cut a lemon in half and sprinkle salt onto its cut side before rubbing it all over the surface area of your sink.
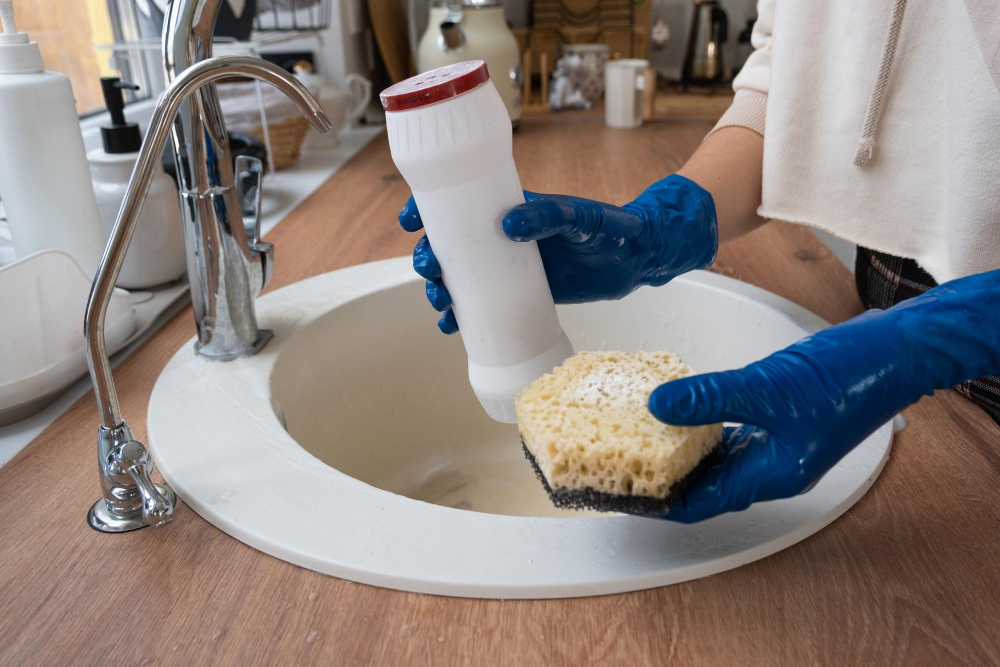
4. Oxygenated Powder Cleaner: Use an oxygenated powder cleaner like Bar Keepers Friend which can remove tough stains without scratching surfaces.
5. Steam Cleaners: Steam cleaners are also great tools for getting rid off stubborn dirt from sinks.
Dealing With Stains
Coffee, tea, and red wine are some of the most notorious culprits for leaving stubborn stains on your sink. But don’t worry; there are several ways to deal with these unsightly marks.
One effective method is to mix baking soda and water into a paste-like consistency and apply it directly onto the stain. Let it sit for 10-15 minutes before scrubbing gently with a soft-bristled brush or sponge.
Another option is using white vinegar mixed with water in equal parts as an alternative cleaning solution that can help remove tough stains from your sink’s surface.
If all else fails, try using commercial cleaners specifically designed for removing stubborn stains from kitchen sinks. However, be sure to read the instructions carefully before applying any product on your sink’s surface as some may contain harsh chemicals that could damage its finish over time.
Removing Odors
One simple solution is to pour boiling water down the drain once a week. This will help dissolve any grease or food particles that may have accumulated in the pipes and eliminate any bad smells.
Another effective method is to use baking soda and vinegar. First, sprinkle some baking soda into your sink drain followed by white vinegar.
Let it sit for 10-15 minutes before flushing with hot water.
If you’re dealing with particularly stubborn odors, try using lemon juice or essential oils like tea tree oil or peppermint oil as natural deodorizers.
Drain Maintenance

A clogged or slow-moving drain can lead to unpleasant odors, standing water, and even damage to your pipes. To avoid these issues, it’s essential to take steps towards regular drain maintenance.
Firstly, try not to pour grease or oil down the sink as they can solidify in pipes over time causing blockages. Instead, dispose of them in a separate container once cooled down.
Secondly, use a strainer over the plug hole when washing dishes or preparing food; this will prevent larger food particles from entering into your plumbing system.
Lastly but importantly is flushing out drains with hot water regularly; this helps break up any build-up that may have accumulated inside the pipe walls before it becomes too much for you to handle on your own.
Garbage Disposal Care

To keep your garbage disposal in good working order, it’s important to follow some simple care tips.
Firstly, always run cold water while using the disposal. This helps solidify any food particles that may have been ground up and allows them to be easily flushed down the drain.
Secondly, avoid putting hard or fibrous materials such as bones or celery stalks into the disposal as they can damage its blades. Also never pour grease or oil down your sink as it will solidify in pipes causing blockages over time.
Lastly, clean your garbage disposal regularly by grinding ice cubes with salt which helps remove debris from inside of it and freshens up its smell too!
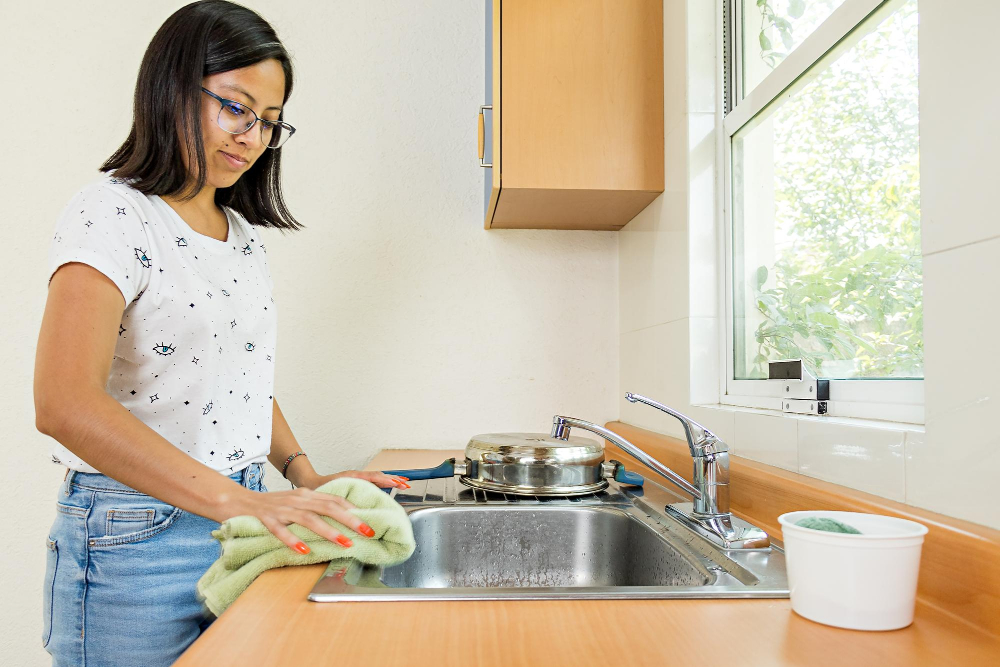
Clean Your Sink Regularly
This means wiping down the sink after each use and giving it a thorough cleaning at least once a week. Regular cleaning will help prevent build-up, stains, and odors from forming in your sink.
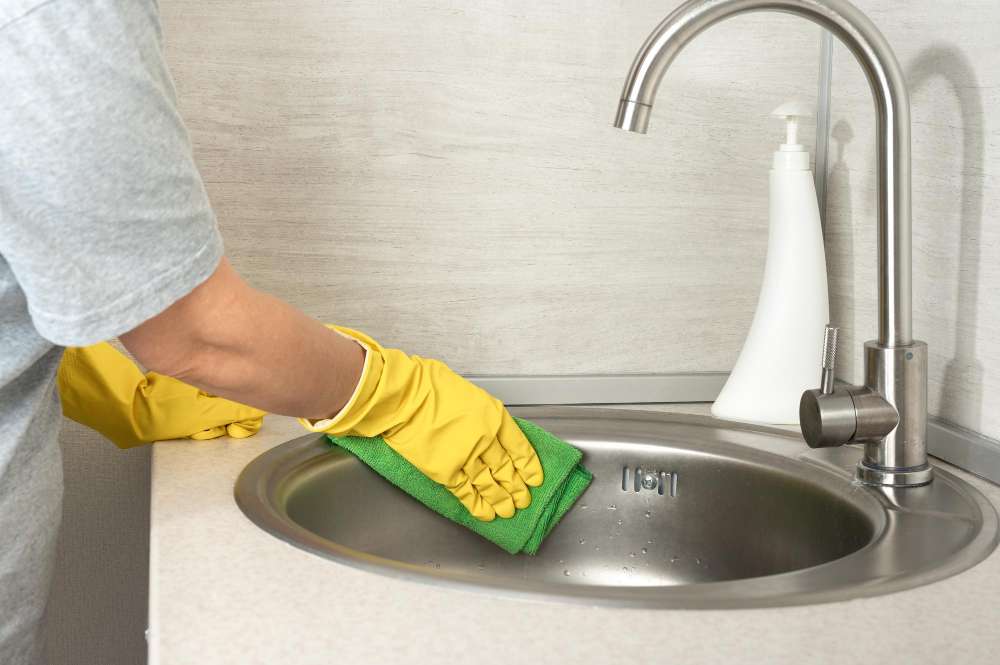
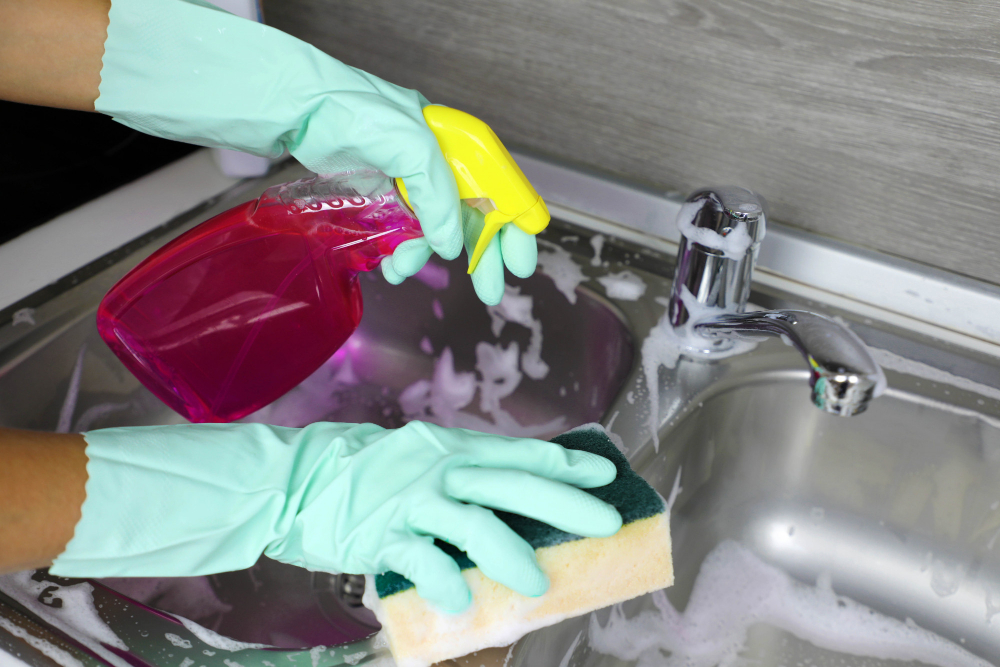
To start with regular cleaning, remove any dishes or debris from the sink and rinse away any food particles or residue that may be left behind. Then apply an all-purpose cleaner or dish soap onto the surface of your kitchen sink using a sponge or cloth.
Scrub gently around all areas of the basin including corners, edges, faucet handles as well as drain covers until they are free from dirt buildup. Rinse thoroughly with warm water then dry off completely using paper towels for best results.
Disinfect Your Kitchen Sink
Disinfecting the sink is equally important, especially if you use it for washing raw meat or handling other potentially harmful substances. To disinfect your kitchen sink, start by cleaning it thoroughly with soap and water.
Then apply a disinfectant solution such as bleach or hydrogen peroxide to the surface of the sink.
To make a homemade disinfectant solution, mix one part white vinegar with one part water in a spray bottle. Spray this mixture onto your clean kitchen sink and let sit for 10-15 minutes before rinsing off with warm water.
Another effective way to sanitize your kitchen sink is by using rubbing alcohol on its surface after cleaning it properly. Simply pour some rubbing alcohol onto a cloth or paper towel and wipe down all surfaces of the basin including faucet handles, drain stoppers etc., then rinse well.
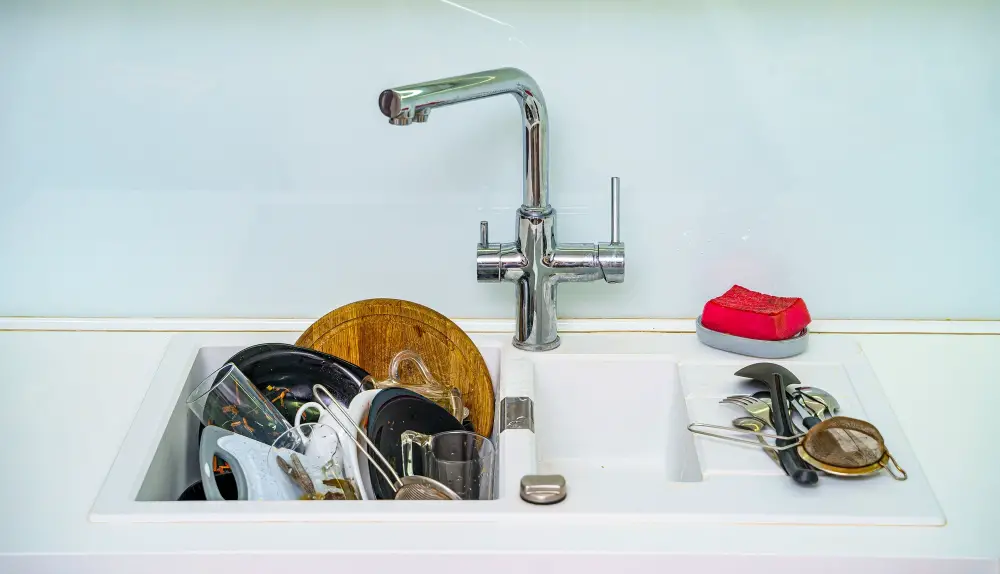
Do Dishes ASAP

Leaving dirty dishes in the sink for too long can lead to a buildup of bacteria and unpleasant odors. Plus, it’s much easier to clean up after yourself when you’re dealing with fresh messes rather than dried-on food particles.
Make it a habit to rinse off plates, utensils, and cookware immediately after use. If you don’t have time for a full wash right away, at least soak them in hot soapy water until you’re ready.
Another tip is not letting pots or pans sit on top of each other while they are still wet because this will create an environment that promotes bacterial growth which could be harmful if ingested later on during cooking or eating.
Use Kitchen Sponges Correctly
To ensure your sponge is doing its job of cleaning and not spreading germs, it’s important to use it properly.
Firstly, always rinse your sponge thoroughly after each use to remove any food particles or debris. Squeeze out excess water and allow the sponge to air dry completely before using again.
Secondly, avoid using the same sponge for different tasks such as wiping down counters and washing dishes. This can lead to cross-contamination of bacteria from one surface to another.
Lastly, replace your kitchen sponges regularly – at least once every two weeks or sooner if they start smelling funky or look worn out. You can also sanitize them by microwaving them on high for 30 seconds (make sure they’re wet first) or running them through the dishwasher on hot cycle with detergent.
Pick the Right Tools for Dish Duty
Using the wrong equipment can not only damage your sink but also make cleaning more difficult and time-consuming. Here are some tips on how to pick the right tools for dish duty:
1. Choose a non-abrasive sponge or cloth: Avoid using steel wool or abrasive sponges that can scratch and damage your sink’s surface.
2. Use a soft-bristled brush: A soft-bristled brush is perfect for scrubbing away tough stains without damaging delicate surfaces.
3. Invest in a good quality scraper: A scraper will help you remove any leftover food particles from plates before washing them, making cleaning easier and preventing clogs in your drain.
4. Get yourself some rubber gloves: Rubber gloves protect hands from hot water, harsh chemicals, and bacteria while doing dishes.
Natural Cleaning Solutions
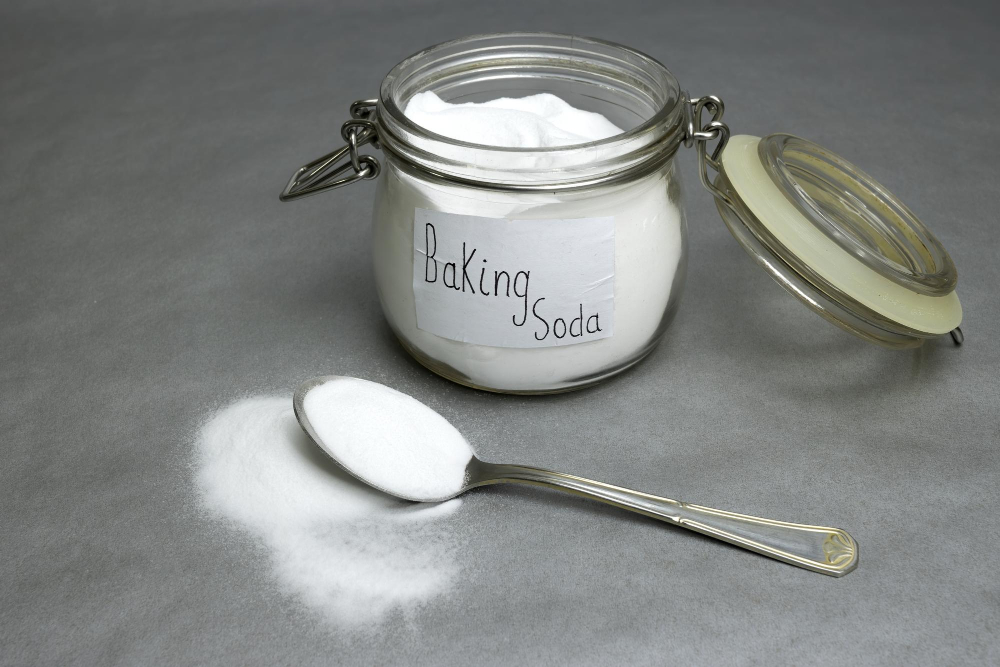
One popular option is baking soda and vinegar. Simply sprinkle some baking soda on the surface of your sink, then spray it with white vinegar until it starts to fizz.
Let it sit for a few minutes before scrubbing with a soft brush or sponge and rinsing thoroughly.
Another effective natural cleaner is lemon juice mixed with salt or baking soda. The acid in lemon juice helps break down stains and grime while also leaving behind a fresh scent.
For tougher stains, try making a paste out of hydrogen peroxide and cream of tartar or borax powder. Apply the paste to the stain, let it sit for 15-20 minutes before scrubbing gently with warm water.
Preventing Rust
It not only looks unsightly but can also weaken the sink’s structure over time. To prevent rust from forming on your kitchen sink, it’s important to keep it dry and clean at all times.
After each use, wipe down your sink with a soft cloth or sponge to remove any moisture that may have accumulated. Avoid leaving wet sponges or dishcloths in the sink as they can trap moisture and promote rust formation.
Another way to prevent rust is by using a protective coating on your metal sink. There are several products available that create an invisible barrier between the metal surface and water molecules, preventing them from reacting with each other and causing corrosion.
If you notice any signs of rust on your kitchen sink despite taking preventive measures, don’t panic! You can still remove it using natural cleaning solutions like vinegar or lemon juice mixed with baking soda. Simply apply the solution onto the affected area and let it sit for 10-15 minutes before scrubbing gently with a soft-bristled brush.
Avoiding Common Mistakes
One of the most significant errors is leaving dishes in the sink for too long. Not only does this create an unsightly mess, but it also makes cleaning more difficult and time-consuming.
Another mistake is using abrasive cleaners or scrubbers on delicate surfaces such as stainless steel or porcelain sinks. These materials can scratch and damage the surface, making it harder to keep clean over time.
Many people forget about their garbage disposal when cleaning their kitchen sink. It’s essential to regularly maintain your disposal by running cold water while grinding food waste and avoiding putting non-food items down the drain.
Maintaining a Clean Sink Environment
It’s also important to keep the surrounding area tidy and organized. A cluttered countertop can make it difficult to access your cleaning supplies, which can lead to neglecting your daily cleaning routine.
To maintain a clean sink environment, start by decluttering your countertops and cabinets. Keep only essential items within reach, such as dish soap, sponges or scrubbers, and paper towels.
Next, consider investing in some organizational tools like under-sink storage baskets or over-the-door organizers for easy access to frequently used items.
Make sure you’re disposing of food scraps properly by using a compost bin if possible or throwing them away in the trash immediately after washing dishes. This will help prevent odors from building up around your kitchen sink area.
By following these simple steps for maintaining a clean sink environment along with regular cleaning routines outlined above will ensure that you have an inviting cooking space that is both hygienic and aesthetically pleasing!
FAQ
How can I keep my stainless steel sink clean?
To keep your stainless steel sink clean, rinse it after each use and perform a weekly cleansing using a soft abrasive cleaner like Bon-Ami or Bar Keepers Friend.
How do I keep my kitchen sink from staining?
To prevent your kitchen sink from staining, thoroughly wipe it dry after each use, and regularly rinse and wash out any food particles or cleansers from the surface.
What are some effective natural cleaning solutions for maintaining a hygienic kitchen sink?
Effective natural cleaning solutions for maintaining a hygienic kitchen sink include using baking soda, white vinegar, and lemon juice to eliminate odors and stains, while providing a fresh scent.
How often should I clean my kitchen sink to prevent bacteria buildup?
To prevent bacteria buildup, you should clean your kitchen sink at least once a week.
Are there any preventative measures to avoid clogs and odors in the kitchen sink drain?
To prevent clogs and odors in a kitchen sink drain, regularly dispose of food waste properly, avoid disposing of grease, and use a combination of hot water, vinegar, or baking soda to clean the drain.


