Last updated on
Because uneven flooring can compromise the stability and aesthetics of your cabinets, learn in this article how to make them level and secure despite the irregular ground.
Levelling cabinets on an uneven floor may seem challenging, but reality could be quite the opposite. In fact, with the correct tools and method, you can ensure your cabinets stand perfectly level.
Here’s a succinct guide to help you achieve just that. Basically, using shims, those thin, wedge-shaped pieces of wood or plastic, is the standard practice.
The process is quite simple – loose fit the cabinet, detect the high and low areas, make necessary adjustments with the shims, and finally secure the cabinet. But, like any other tasks, the devil lies in the details.
This article will provide those essential details to make the job easier and accurate, avoiding common pitfalls that can foil your attempt to level cabinets on an uneven floor.
So, let’s drive straight into the heart of it.
Key takeaways:
- Assess the unevenness of the floor with a straight edge or laser level.
- Use appropriate tools like a level, shims, screwdriver, safety gear, and drill.
- Prioritize safety measures with gloves, safety glasses, and adequate lighting.
- Remove cabinet doors and detach cabinets from the wall.
- Inspect the cabinet base and use a level to check for inclines.
What's Inside
Assessing the Unevenness of the Floor

Begin your project by assessing the floor. Use a long straight edge or a laser level to locate the high and low spots of your floor. Checking the floor for flatness helps to understand how much adjustment your cabinets may require. Be sure to cover the entire range of your installation area. This step should not be rushed as it forms the basis for your entire operation. Once the floor’s condition is properly gauged, you’ll be better equipped to proceed confidently.
Choosing Appropriate Tools

Here’s a brief guide on what you need:
1. Level: A must-have to check the flatness of the base and evaluate the degree of skew.
2. Shims: These thin wedges help correct the unevenness. Plastic ones are best as they resist compression and moisture.
3. Screwdriver: Needed for adjusting screws and removing/reinstalling cabinet doors.
4. Safety Gear: Gloves and safety glasses offer protection while drilling or moving cabinets.
5. Drill: A power drill ensures secure cabinet reinstallation.
6. Filler Strips: Instrumental in filling gaps to achieve a seamless look after leveling.
Get equipped with these tools before embarking on the task. Their roles will be explained in subsequent steps.
Securing Safety Measures
Before getting your hands dirty, always prioritize your safety to avoid any potential mishaps. Prepare gloves and safety glasses to protect your hands and eyes from dust or accidental scraps.
Ensure the room is adequately lit to clearly see what you’re doing. If using power tools, make sure to unplug them during adjustments to prevent accidental triggers.
Lasty, remember not to overstrain yourself. If a cabinet seems too heavy, ask for assistance or use a dolly.
These precautions might seem basic, but they are crucial in any DIY task.
Removing the Cabinet Doors
Before you start, collect all necessary tools – a screwdriver or drill, and a marker for labeling. Have more than one cabinet? Labeling each door according to their specific cabinet helps maintain organization.
Start by opening each door completely. Unfasten screws on the hinges with your screwdriver or drill, one at a time. As you do this, be sure to support the door with your other hand to prevent it from pulling on the remaining screw or hinge.
Once removed, store doors in a designated safe place to avoid any damage. Finally, keep all screws in a resealable bag to prevent them from getting lost.
Detaching the Cabinets From Wall
Start by locating the screws and brackets that hold your cabinets onto the wall. With the help of a screwdriver, undo all the screws while ensuring the cabinet doesn’t fall off suddenly, as it might cause damage or inflict an injury.
It’s recommended to have a pair of helping hands around to hold the cabinet when you’re almost done unscrewing. Keep the screws safe, preferably in a labeled bag or a box, as you’ll need them when reattaching the cabinets.
In case there’s adhesive residue on the wall, use a scraper to peel it off carefully.
Inspecting Cabinet Base
Once detached, turn your attention to the cabinet base. Identify whether it’s flat or if it mimics the floor’s unevenness. If it follows the floor’s contours, you may require more shims to resolve the issue.
A straight edge tool or level can help verify flatness. It’s important to check for any damage or wear that could further complicate the leveling process. In case of significant damage, consider repairing or replacing the base before proceeding. Remember, a secure and even base is vital for a well-leveled cabinet.
Using a Level to Check Inclines
Having detached the cabinets, it’s time to take the level bar. Start by placing it on the base’s bottom part and observe the bubble located in the central tube. If it doesn’t sit at the middle, it indicates an incline – the cabinet base isn’t level.
While the entire base needs to be level for stability, pay extra attention to the front. If the front isn’t correctly aligned, the doors won’t close properly. Jot down at which points you’re seeing significant deviations, as you’ll need to adjust these areas with the shims.
Don’t forget to measure diagonally as well. This is especially critical for larger bases spanning significant lengths or corners. If there’s an incline in either of the diagonal directions, adjust accordingly to counteract it.
Take your time with this step – precise measurements will lead to a more professional outcome. You wouldn’t want to have to take everything apart after finding it’s still uneven! Once you’re confident everything is level, your cabinets are ready for the shims.
Applying Shims for Adjustments
Shims, thin wedges of material, are your allies in making necessary adjustments for uneven floors. Start by sliding a shim beneath the cabinet in the needed areas to counteract the tilt. Trim them down to size if required.
Take these steps when applying shims:
- 1. Decide on the high points: Using your level, identify where the cabinet makes contact with the floor at the highest point. This is where your shim application begins.
- 2. Insert the shim: Under the front and back of the cabinet where it meets the high point, slide in your shims. Make sure to adjust them so the cabinet is stabilized, leaving no wobble.
- 3. Check for level: Once the shims are in place, place your level across the top of the cabinet. Adjust the shims until the bubble in the sight gauge is centered.
Remember, perfection may not always be obtainable due to extreme floor unevenness. Aim for the best level possible while ensuring the cabinets are stable and secure.
Securing Shims in Place
After correctly placing them, it’s crucial to fasten the shims to ensure stability in your cabinet structure. Start by using a pencil to mark the shim at the cabinet base’s front and back, so you know exactly where to cut later on.
Next, utilize a utility knife for the task. A fine-tooth saw can also do the trick if you prefer. Remember: safety first. Use protective eyewear and exercise caution when cutting.
Now, with the shims cut to size, slide them back under the elevated section of the cabinet. Ensure your cabinet is level both from side to side and back to front before proceeding. Once satisfied, fasten shims using a construction adhesive. This step goes a long way in preventing movement when the cabinet is under use.
Lastly, you’ll want to screw the shims into place for extra stability. Using your drill, install screws through the cabinet’s bottom, piercing through the shim. Tighten enough to secure, but avoid over-tightening as this could alter the level.
Take note that these steps may need to be repeated for multiple shims in the case of severely lopsided floors. Considering this, it’s wise to keep a good supply on hand.
Remember: the goal here isn’t just to level but to ensure the cabinets remain that way down the line – so it’s worth taking the time to secure your installations carefully.
Reattaching Cabinets to Wall
Once the shims are securely in place, it’s time to move on to the next crucial step. Begin by positioning the cabinet back against the wall, ensuring it aligns correctly and sits flush. With an electric drill, drive screws through the back of the cabinet into the wall studs. Remember, it’s important to alternate screws at the top and bottom to distribute weight evenly.
The cabinets should now fit snugly against the wall. However, don’t forget to occasionally cross-check the level during this process to maintain alignment. If you notice the cabinet moving out of level, simply loosen the screw, make small adjustments with shims, and tighten back again. This will ensure your cabinet stays sturdy and perfectly level!
Reinstalling Cabinet Doors
After ensuring that your cabinets are level and fastened securely, the next step consists of putting the doors back on. Here are a few steps to help you through this process:
1. Start by positioning the door with the right-hand corner to minimize collapsing risk. Use your gloves to avoid possible scrapes or cuts from sharp edges.
2. Have your hinges ready, preferably those that came with the door. If they were damaged during the removal process, consider replacing them to ensure a snug fit.
3. Position your hinge over the pre-drilled holes on the cabinet frame. If done correctly, the hinge’s screw holes should line up perfectly with the pre-drilled holes.
4. With your screwdriver and screws, attach the hinge to the cabinet frame, alternating between the top and bottom screws to balance tension.
5. Repeat these steps for the left-hand side, again starting with the top hinge.
6. Conduct a quick check to ensure the doors open and close correctly. If doors knock or don’t align properly, recheck your cabinet’s level to diagnose the problem. It might require some minor adjustments.
That’s it! With the doors reinstalled, your cabinets should both look great and function efficiently.
Final Check of Level
Now, it’s pivotal to double-check your work. Using the level, start from one end of the cabinets and diligently work your way over to the other end. Make sure there are no discrepancies along the way. If any cabinet still doesn’t sit right, consider readjusting the shims.
Take a step back and observe the cabinets. Look for any prominent misalignments, if they appear straight and even from a distance, you’ve done an excellent job. It might seem like nitpicking, but details matter. Getting it right at this stage prevents future inconveniences. Remember, precision is your best friend in this task!
Try opening and closing the cabinet doors. They should function smoothly. If you sense any obstruction, try to spot where the difficulty arises. A minor adjustment on the related shim might solve the issue.
In summary, attentiveness here saves further reworking, ensuring a professional finish to your newly leveled cabinets.
Filling Visible Gaps
To give your cabinets a more polished look, it’s time to take care of any gaps that have become visible during installation. Here’s how to do it.
1. Choose the right filler: Wood filler or silicone-based caulk are great choices for cabinets. They blend seamlessly and are easy to work with.
2. Prepare the area: Clean any debris or dust from the gaps to ensure a smooth application.
3. Apply filler: Use a putty knife to insert the filler into gaps. Do the same for any cracks on the cabinet surface.
4. Smooth it out: Use a damp cloth to wipe away excess filler. This will make the surface even.
5. Let it dry: Allow adequate time for the filler to dry. It can be painted over later if required.
This process ensures your cabinets don’t just sit level, but also look professionally installed. It may seem like a small detail, but in home décor, every detail counts!
Help for Aligning Cabinets On Uneven Walls
Before starting, ensure you have a bubble level, shims, and a suitable drill.
Begin by installing the topmost cabinets. Hold them against the wall, using a bubble level to check for evenness. In case of irregularities, enlist the help of a partner to make minor adjustments until the cabinets sit perfectly parallel to the floor.
Insert shims where the cabinet and wall gaps exist: these are thin wedges used for filling in the extra spaces. Be gentle, since forcing could cause some major damage. Once the cabinet is in position, drill through the cabinet’s back into the wall stud.
Additional shim pieces could be necessary in spaces where the cabinets touch the wall. Just remove excess parts of the shims using a utility knife. If the gaps are in a visible area, consider using caulk or wood filler for a neat finish.
Follow these simple steps and your cabinets will be left impeccably aligned on your uneven walls.
FAQ
Do cabinets need to be perfectly level?
While it’s not mandatory, having cabinets perfectly level greatly simplifies the installation process, with installers usually identifying the highest installation point and using shims for leveling.
How can shims be used effectively to level cabinets?
Shims can effectively level cabinets by inserting them beneath the base of the cabinets or on the wall behind to adjust uneven surfaces and obtain a horizontally and vertically consistent position.
What tools are necessary for leveling cabinets on an uneven floor?
To level cabinets on an uneven floor, essential tools include a level, shims, pry bar, and adjustable pliers.
What are some common challenges faced during leveling process and how can they be overcome?
Common challenges during the leveling process include uneven flooring, inaccurate leveling tools, or inadequate preparation, but these can be overcome with thorough preliminary inspection, using high-quality tools, and careful preparation of the surface.
Read More
 How to Choose Kitchen Cabinets: Your Ultimate Buying Guide
 Staining Cabinets: A Step-by-Step Guide to a Fresh Look
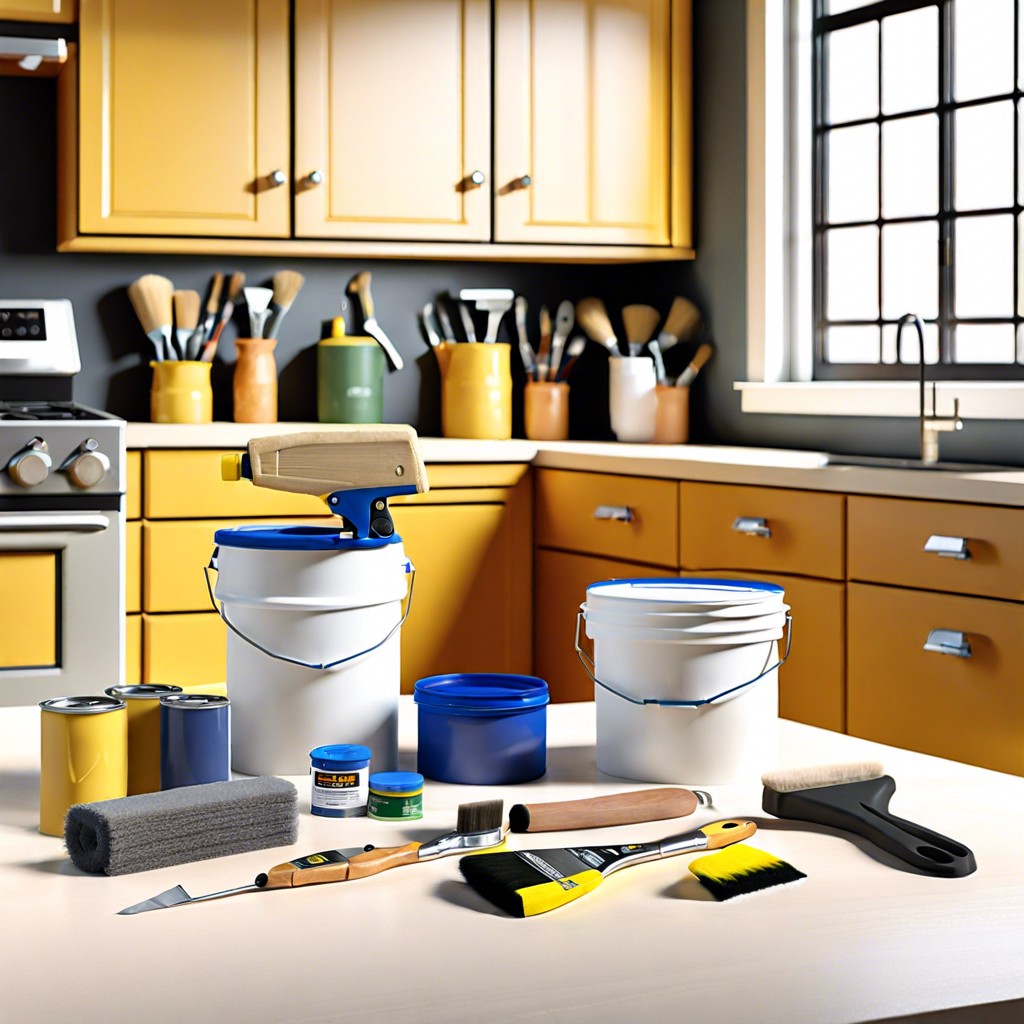 How Long Does It Take to Paint Kitchen Cabinets: A Time-Saving Guide
 Cost to Refinish Cabinets: A Cheaper Revival
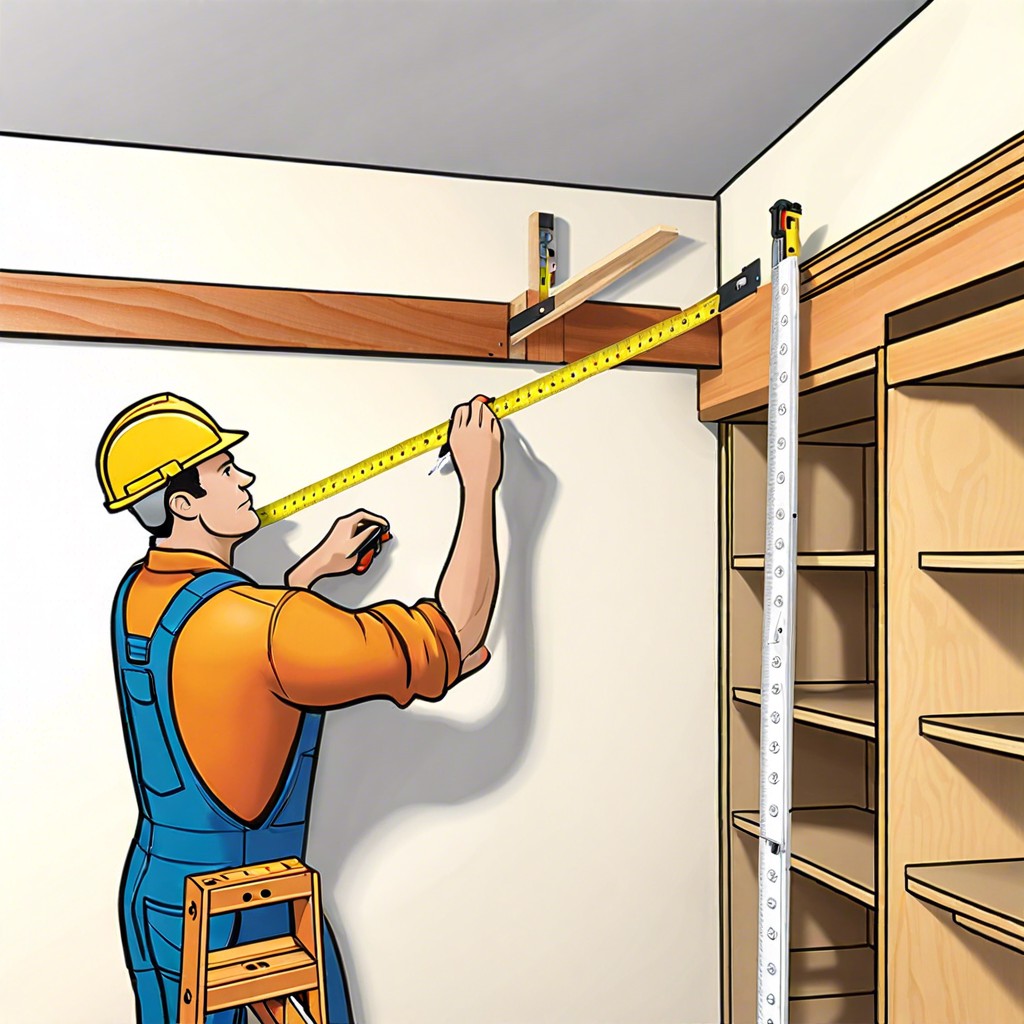 How to Install Upper Cabinets: Tips for a Perfect Kitchen Makeover