Last updated on
Discover the simple steps to create a stylish and functional kitchen boa that will make your cooking experience more enjoyable and mess-free.
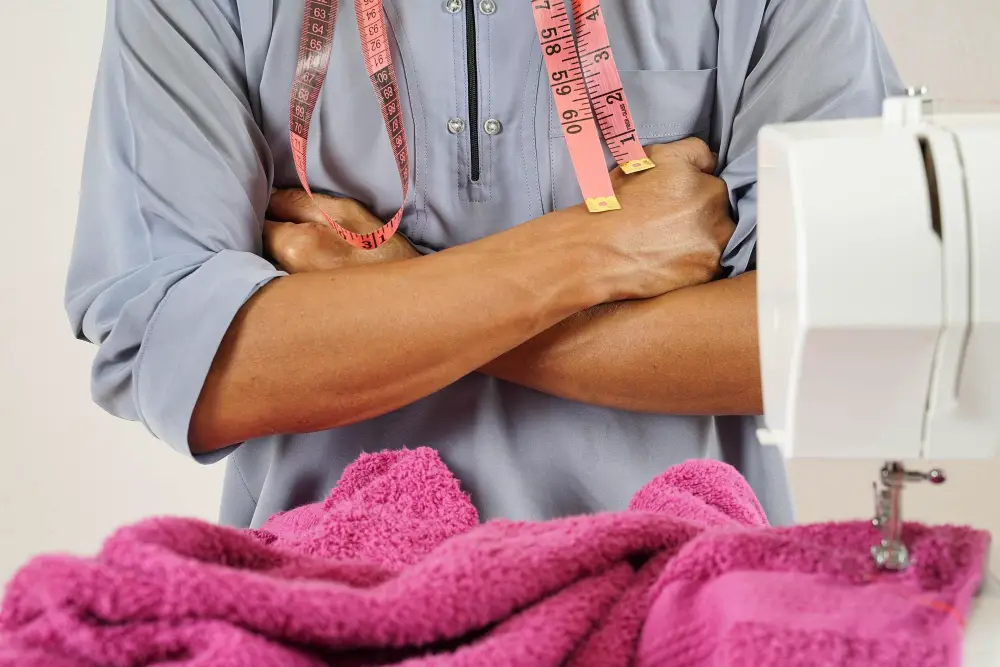
Welcome to my latest blog post, where I’ll be sharing with you a fun and practical DIY project that will add a touch of charm to your kitchen. If you’re someone who loves to cook or bake, then you know just how important it is to have the right tools and accessories on hand.
And what better way to add some personality and flair than by making your very own kitchen boa? Not only is this project easy and affordable, but it’s also a great way to upcycle old fabric scraps or repurpose an old scarf. So grab your scissors, thread, and sewing machine – let’s get started!
Key takeaways:
- Select durable fabric in cotton or cotton blends.
- Choose a towel that complements the fabric.
- Gather basic sewing supplies and tools.
- Measure and cut fabric and towel to the appropriate sizes.
- Attach towel to fabric and sew together.
What's Inside
Selecting the Right Fabric

First and foremost, you want something that is durable and can withstand frequent use and washing. Cotton or cotton blends are great options as they are easy to work with, absorbent, and come in a variety of colors and patterns.
Another factor to keep in mind is the weight of the fabric. You don’t want anything too heavy or bulky as it may become uncomfortable around your neck while cooking.
On the other hand, if you choose something too lightweight like silk or chiffon, it may not hold up well over time.
Choosing a Towel Design
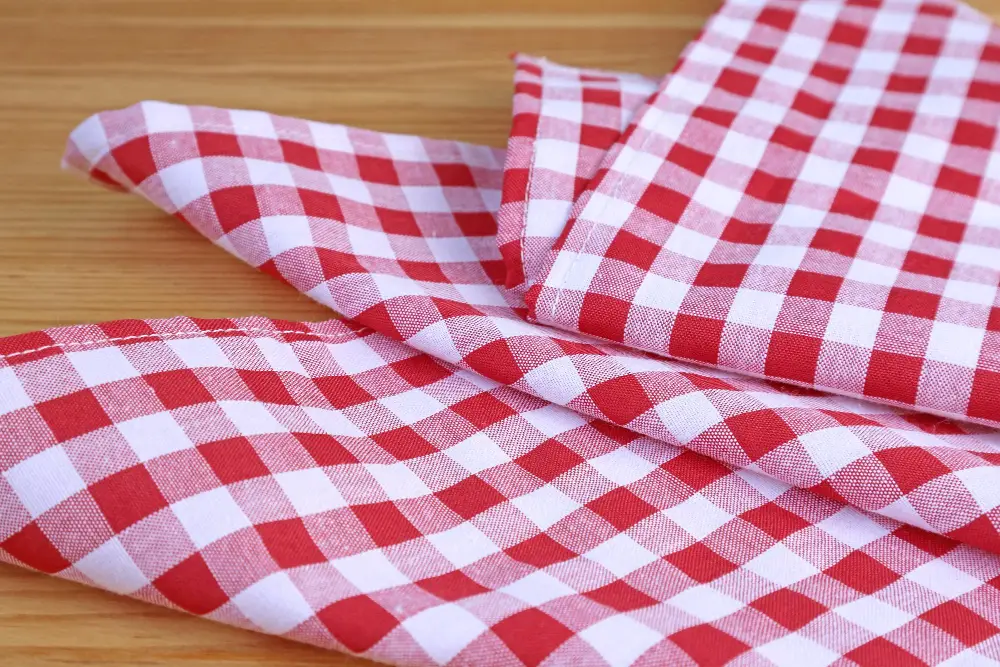
You can opt for a plain white or colored towel, or you can choose one with fun patterns and prints that match your personality and style. The key is to select a towel that complements the fabric you’ve chosen for the main part of your kitchen boa.
If you’re using patterned fabric, consider selecting a solid-colored towel in either matching or contrasting colors. This will help balance out the overall look of your kitchen boa while still allowing it to stand out.
On the other hand, if you’re using solid-colored fabric, feel free to experiment with different patterns and designs on your towels. Stripes and polka dots are always popular choices but don’t be afraid to try something more unique like floral prints or geometric shapes.
Gathering Supplies and Tools
The good news is that most of these items are probably already in your sewing kit or around the house.
Firstly, you will need fabric for the main body of the kitchen boa. You can use any type of cotton fabric – from plain solids to fun prints – as long as it’s sturdy enough to hold up against frequent washing and wear-and-tear.
Next, select a coordinating towel for attaching at one end. A tea towel or dishcloth works well here since they’re absorbent and come in various colors or patterns.
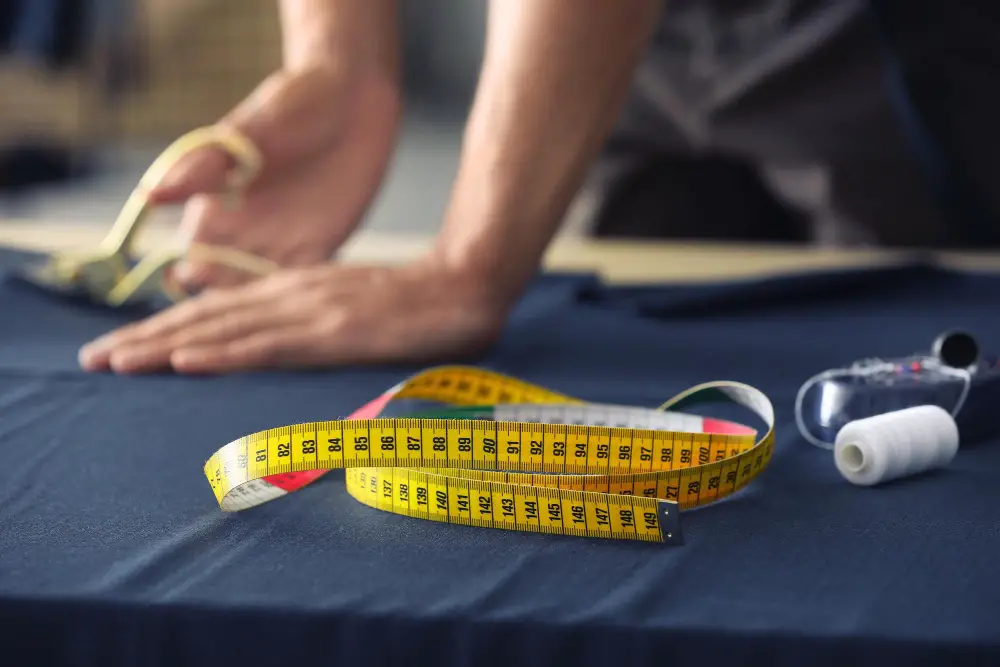
You’ll also require basic sewing supplies such as scissors, pins, thread (in matching color), measuring tape/ruler/cutting mat & rotary cutter (optional), iron/ironing board etc., along with access to a sewing machine if possible.
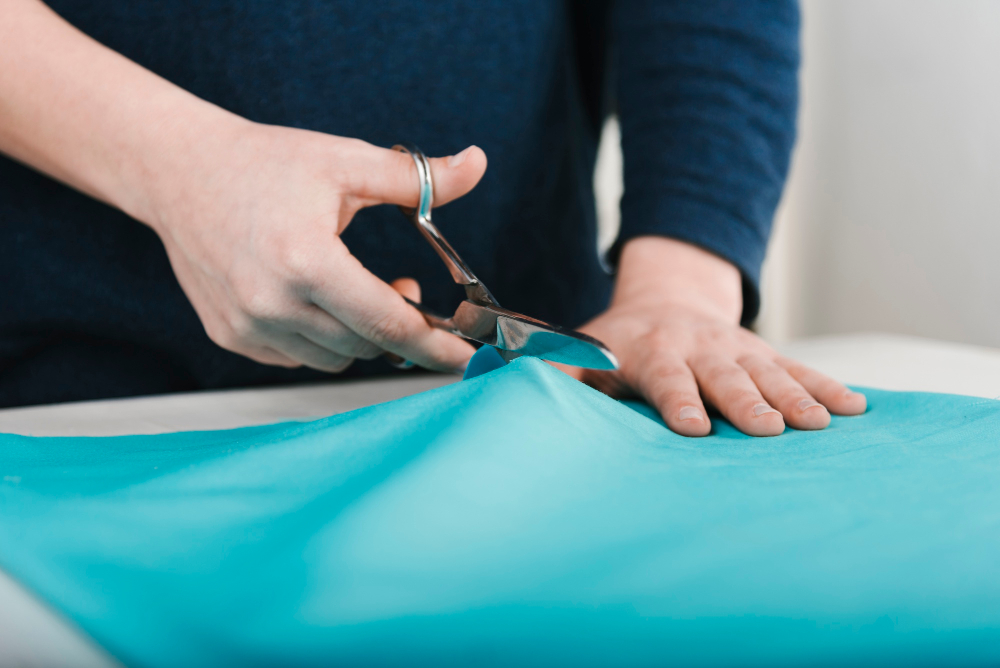
Measuring and Cutting Fabric

Start by measuring out a piece of fabric that is 28 inches long by 6 inches wide. This will be the main body of your kitchen boa.
Next, take your towel and measure out a piece that is also 28 inches long but only about half as wide as the fabric strip (around three or four inches). Once you have both pieces measured out, use sharp scissors or a rotary cutter to carefully cut along each line.
It’s important to note that accuracy is key when cutting these pieces – any mistakes could result in an ill-fitting or uneven kitchen boa. Take extra care when measuring and cutting around corners or curves in the fabric.
Cutting the Printed Fabric
This is where you can really get creative and choose a design that speaks to your personal style. You can use anything from floral patterns and polka dots, or even opt for something more whimsical like animal prints or cartoon characters.
To begin cutting the printed fabric, lay it out flat on a clean surface with the right side facing up. Then take your ruler and measure out two strips of fabric that are 4 inches wide by 22 inches long each.
Using sharp scissors or a rotary cutter, carefully cut along these lines making sure not to fray any edges in the process. Once both strips are cut out, set them aside until later in the project when they will be used for creating pleats.
Cutting the Towel
The towel will serve as the functional part of your kitchen boa, so it’s important that you choose a high-quality option that can withstand frequent use and washing.
To begin cutting the towel, first measure out a piece that is approximately 6 inches wide by 24 inches long. You can adjust these measurements based on personal preference or if you want a longer or shorter kitchen boa.
Using sharp scissors or rotary cutter and ruler, carefully cut along the measured lines. Be sure to keep your cuts straight and even for best results.
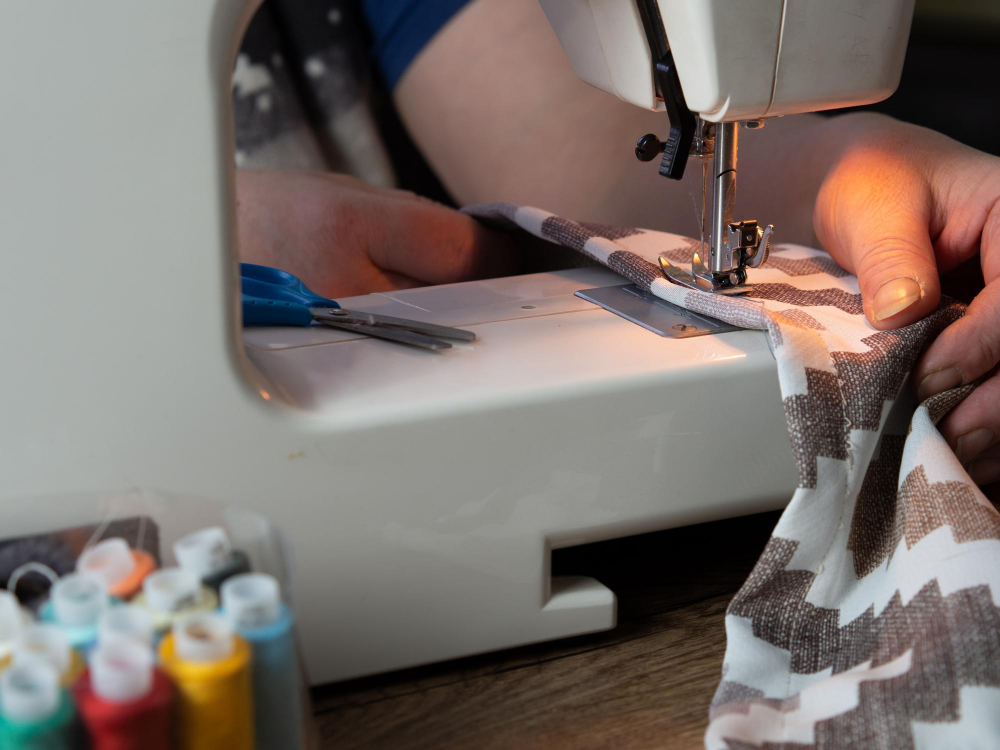
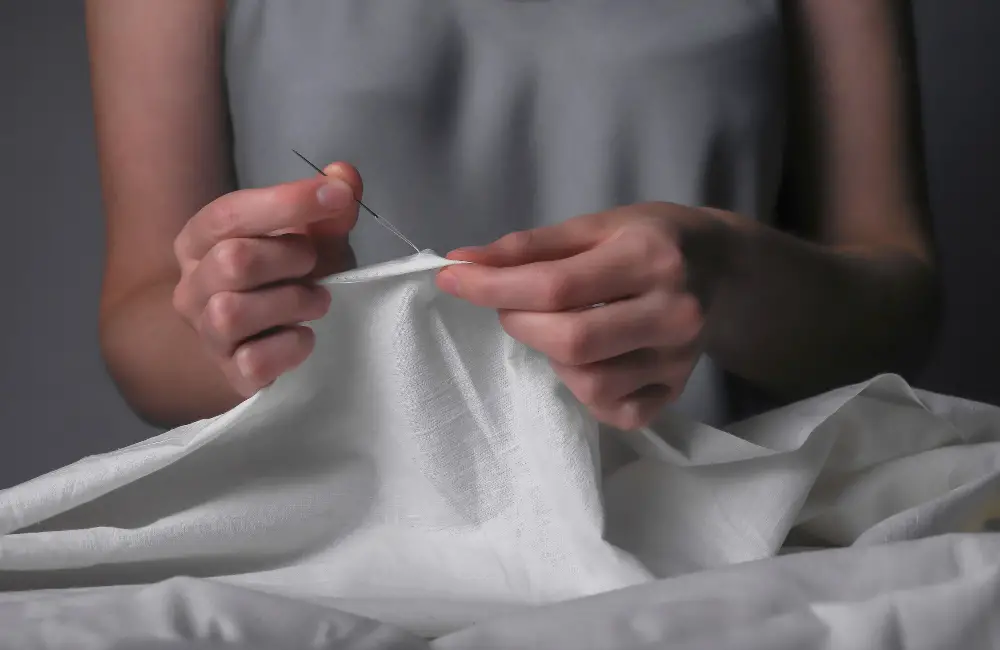
Sewing the Towel Pieces
Begin by placing the printed fabric right side up on a flat surface. Then, take your towel piece and place it on top of the printed fabric with its right side facing down.
Next, pin both pieces together along one of their long edges using straight pins or clips. Make sure that they are aligned properly before stitching them in place with a ¼ inch seam allowance.
Repeat this process for the other long edge until both sides are securely attached to each other. Once you’ve finished sewing these two seams, press them open using an iron set at medium heat.
Sewing the towel pieces is an essential step in creating your kitchen boa as it forms its base structure and provides absorbency when needed while cooking or baking.
Making Pleats

Pleats are a great way to add texture and dimensionality to your kitchen boa while also making it more functional. To make pleats, start by folding the fabric in half lengthwise with the right sides facing each other.
Then fold one end of the fabric up towards you about 1 inch from where it meets at its center point.
Next, take that same end of folded fabric and fold it back down towards itself so that there is now a small triangle shape formed at this corner point (the top left-hand side). Pinch this triangle together tightly between two fingers before moving onto creating another set of folds on either side.
Repeat these steps until all four corners have been folded into triangles or “pleated.” Once complete, pin them securely in place using straight pins or clips before sewing along their edges with a sewing machine or by hand stitching if preferred.
Pinning the Pleats in Place
This step is crucial as it ensures that your kitchen boa looks neat and tidy. Start by folding the fabric in half lengthwise, with the right sides facing each other.
Then, use a ruler or measuring tape to mark where you want your pleats to be placed.
Next, take one of the pins and insert it through both layers of fabric at one end of your marked line. Make sure that you catch all layers of fabric when inserting the pin so that everything stays aligned correctly.
Then fold over a small section (about 1/2 inch) on top of itself towards its backside while keeping another section flat against this folded part; repeat until reaching opposite end from where started marking lines earlier – these folds will create pleats!.
Continue doing this for each marked line until all sections are pinned securely into place.
Once everything is pinned down nicely and evenly spaced out along those marks made earlier using either chalk or pencil lines drawn onto material beforehand (or even just eyeballing), sew across entire width at once making sure not miss any areas between pins which could cause bunching up later on during sewing process if left unattended!.
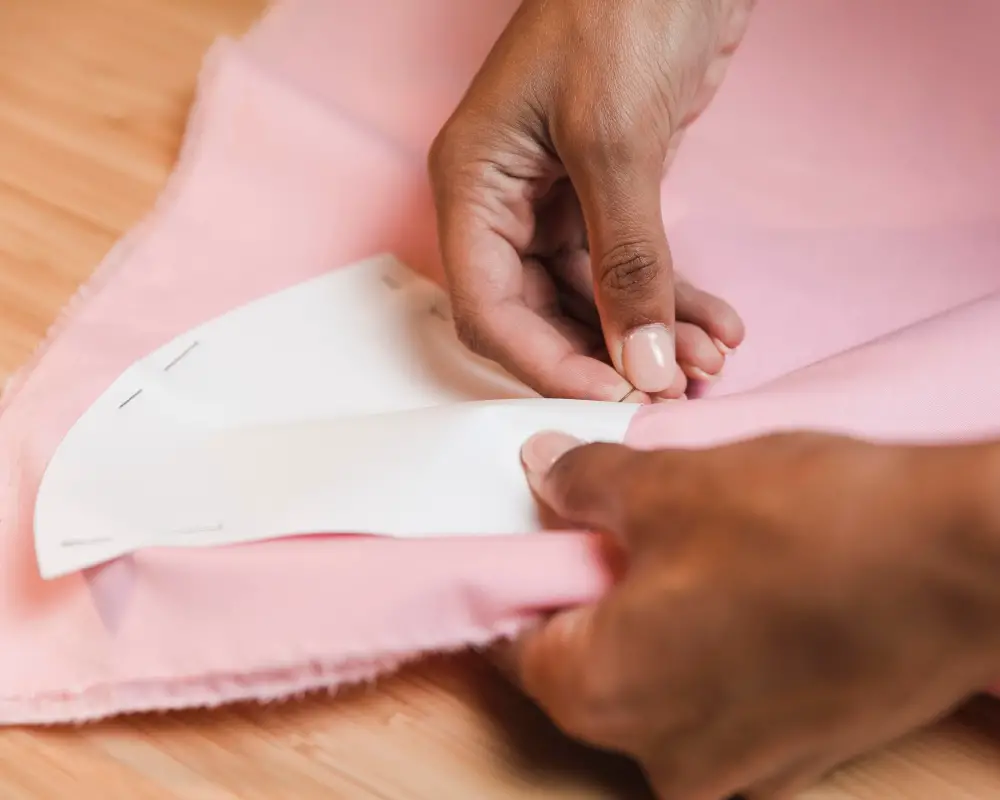
Attaching the Towel to the Boa
Start by placing the right side of your printed fabric on top of the wrong side of your towel piece. Make sure that both pieces are aligned and centered before pinning them together.
Next, sew along one edge using a straight stitch with a 1/4 inch seam allowance. Once you’ve finished sewing one edge, flip over and repeat for another edge until all four edges are sewn together.
After attaching all sides, turn your kitchen boa inside out so that both fabrics’ right sides face outwardly. You should now see how well they complement each other in terms of color or design.
Stitching Towel to Fabric
Start by placing your towel on top of the printed fabric with right sides facing each other. Align one end of the towel with one end of your printed fabric and pin them together.
Next, sew along this edge using a 1/4 inch seam allowance. Be sure to backstitch at both ends for added durability.
After sewing, flip over so that both fabrics are now facing up and press flat using an iron or pressing tool.
Repeat this process for attaching another piece of towel on opposite side as well until all towels are attached securely in place.
Sewing Center Seam

This step will give your kitchen boa a more polished look and ensure that it stays in place while you’re cooking or baking. To do this, fold your fabric in half lengthwise with right sides facing each other and pin along the edge opposite of where you attached the towel.
Sew along this edge using a 1/4 inch seam allowance, making sure to backstitch at both ends for added durability.
After sewing, turn your kitchen boa inside out so that all seams are hidden on the inside of the fabric. You should now have a long tube-like shape with one end being wider than the other due to attaching one side of a dish towel.
Turning the Kitchen Boa Inside Out
This step can be a bit tricky, but with some patience and careful maneuvering, you’ll get the hang of it in no time. Start by gently pulling one end of the fabric through the center seam until it is completely turned right side out.
Then use a chopstick or pencil to push out any corners or edges that may be stuck inside.
Be sure to take your time during this step as rushing could cause tears in your fabric or uneven seams. Once you’ve successfully turned everything right side out, give your kitchen boa a good press with an iron on low heat setting.
Creating the Neck Loop
This is what will keep your kitchen boa securely in place while you’re cooking or baking up a storm. To do this, cut a piece of fabric that measures approximately 4 inches by 20 inches.
Fold it in half lengthwise with right sides facing each other and stitch along one short end and down the long side using a quarter-inch seam allowance.
Next, turn the tube right side out using either a turning tool or safety pin to push one end through to create an opening at both ends of the tube. Press flat with an iron before folding under about half an inch on each open end.
Now take your main fabric piece (the printed part) and fold it in half width-wise so that its two shorter edges meet together; then mark where these edges meet as this will be where you attach your neck loop later on.
Adding Pockets and Accessories
One way to do this is by adding pockets or other accessories. Pockets can be used for holding utensils, recipe cards, or even a phone while cooking.
To create a pocket on your kitchen boa, simply cut out a rectangular piece of fabric and sew it onto the front side of the towel before attaching it to the main fabric piece.
Another fun accessory you can add is decorative trim such as lace or ribbon along either edge of your kitchen boa. This adds an extra touch of personality and style while also helping to reinforce any seams that may be prone to fraying over time.
If you’re feeling particularly creative, consider adding appliques in fun shapes like fruits or vegetables using felt pieces cut into different shapes then stitched onto one end with embroidery thread for added texture.
Personalizing Your Kitchen Boa
There are many ways to personalize your kitchen boa, depending on your preferences and style. One simple way is by adding a monogram or embroidery design using colorful thread.
You can also attach decorative buttons or beads along the length of the fabric for added texture and interest.
Another fun idea is to create custom pockets that match the theme of your kitchen decor – whether it’s floral prints, polka dots, or stripes. These pockets can be used for holding utensils such as spatulas and spoons while cooking.
If you’re feeling particularly creative, why not try painting designs onto the fabric? Fabric paint comes in a variety of colors and finishes so you can let loose with whatever design suits you best!.
Caring for Your Kitchen Boa
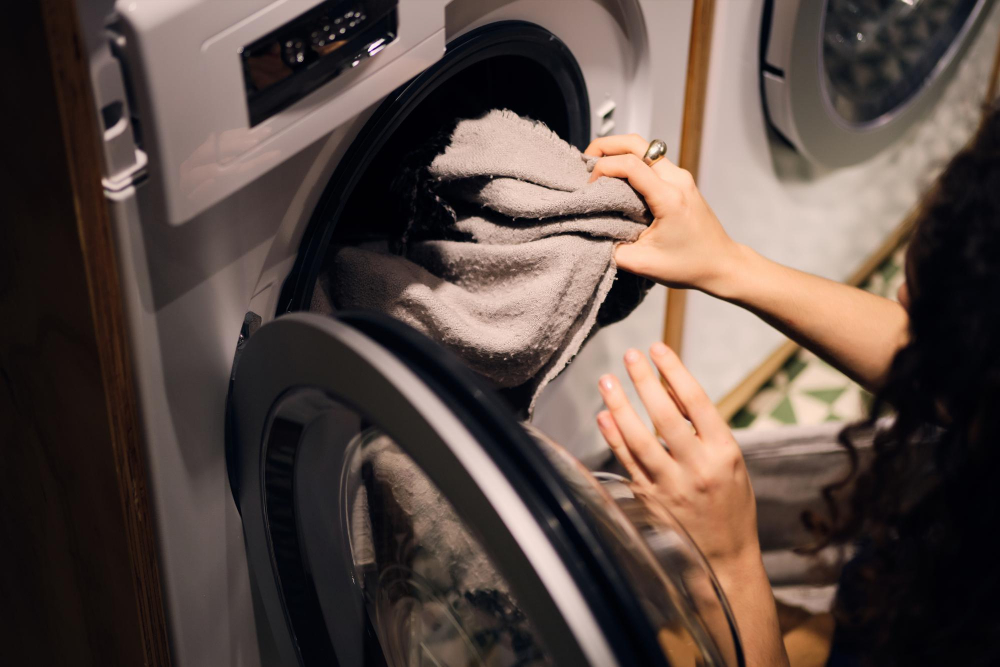
The good news is that caring for your kitchen boa is easy and straightforward. Simply toss it in the washing machine on a gentle cycle with mild detergent and cold water.
Avoid using bleach or fabric softeners as these can damage the fabric over time.
After washing, hang your kitchen boa up to air dry or lay flat on a clean towel until completely dry before storing away. If you’re short on space in your kitchen, consider hanging up your new accessory by its neck loop – not only will this keep it within reach while cooking but also help prevent wrinkles from forming.
Different Uses for Kitchen Boa
Not only is it great for keeping your hands clean and dry while cooking or baking, but it can also serve a variety of other purposes in the kitchen. For example, you could use it as a trivet to protect your countertops from hot pots and pans.
Or why not drape it over the handle of your oven door to add some color and personality to your space? You could even use multiple boas as chair covers for a fun and unique touch at dinner parties or family gatherings. Outside of the kitchen, there are plenty more ways to make use of this handy accessory.
It’s perfect for wrapping around wine bottles when giving them as gifts – simply tie a bow with the neck loop! You could also wear one around your neck while gardening or doing DIY projects to keep dust and debris off yourself. The possibilities are endless when it comes to using a kitchen boa – so get creative!
Gifting a Kitchen Boa
Not only is it practical and functional, but it’s also stylish and customizable to suit any taste or decor. You can choose fabrics that match their kitchen color scheme or opt for fun prints that reflect their personality.
To make the gift even more special, consider adding some personalized touches like embroidery with their name or favorite cooking quote. You could also attach small accessories like wooden spoons, measuring cups, or oven mitts to create a complete cooking kit.
Whether you’re gifting this as a birthday present, housewarming gift, bridal shower favor – your recipient will surely appreciate the thoughtfulness behind such an original creation!.
FAQ
What are the measurements of a kitchen boa?
The measurements of a kitchen boa for an average person’s height should be 40 inches in width and 11 inches in height, while considering the height of the person and the width of the tea towel being used.
What is a kitchen boa scarf?
A kitchen boa scarf is a unique and stylish accessory for hands-free convenience that keeps a towel at hand while focusing on cooking and baking.
What materials are commonly used for making a kitchen boa?
A kitchen boa is commonly made from materials such as cotton fabric and kitchen towel fabric.
How do you attach the towel to the scarf portion of the kitchen boa?
To attach the towel to the scarf portion of the kitchen boa, simply sew or stitch one end of the towel to the midpoint of the scarf.
Are there any specific techniques or patterns used when sewing a kitchen boa?
Yes, specific techniques or patterns for sewing a kitchen boa include using loop stitches and coordinating fabrics, typically attaching a towel to a scarf-like accessory.


