Last updated on
Discover creative ways to breathe new life into your old kitchen cabinets by repurposing them for various practical uses in and around your home.

Have you ever looked at your old kitchen cabinets and thought to yourself, “I wish I could just get rid of these and start fresh”? Well, before you go ahead and spend a fortune on new cabinets, consider repurposing your old ones instead! Not only is it an environmentally-friendly option, but it can also save you some serious cash. In this article, we’ll explore some creative ways to repurpose your kitchen cabinets that will not only breathe new life into them but also add some unique charm to your home.
So let’s dive in!
Key takeaways:
- Assess the condition and style of old cabinets.
- Clean and sand cabinets before repurposing.
- Repair any damages, such as loose hinges or cracked panels.
- Apply a fresh coat of paint to give cabinets a new look.
- Change hardware, like knobs and pulls, for an updated appearance.
What's Inside
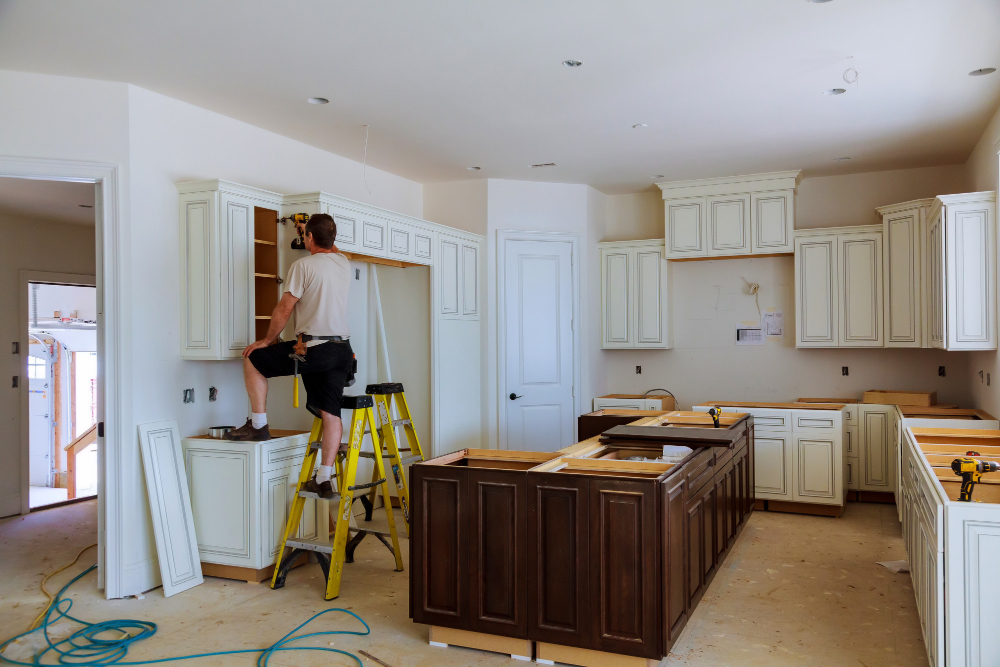
Assessing Old Cabinets
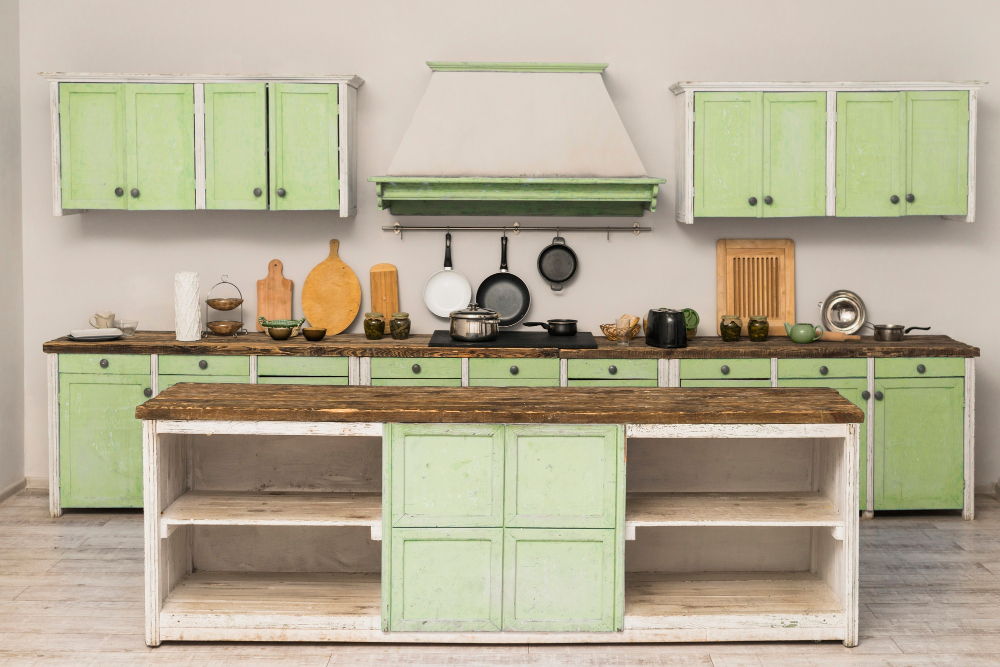
The first step in repurposing your old kitchen cabinets is to assess their condition. Take a close look at each cabinet and drawer, checking for any damages or signs of wear and tear.
Are the doors still attached properly? Do they open and close smoothly? Is there any water damage or warping on the wood?
Once you’ve assessed the overall condition of your cabinets, consider their style. Are they outdated or do they have a timeless design that could be updated with some fresh paint and new hardware?
It’s also important to think about how much storage space you need in your home. If you’re lacking storage options, repurposing old kitchen cabinets can be an excellent solution.
By taking these factors into consideration before starting your project, you’ll have a better idea of what type of repurposing will work best for each individual cabinet piece.
Cleaning and Sanding
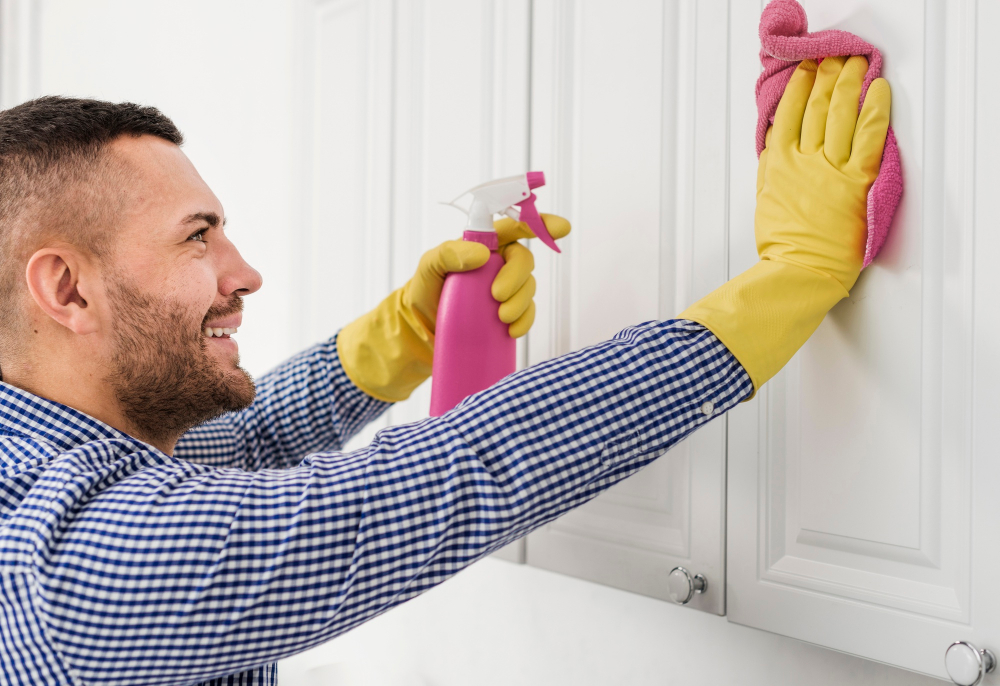
The first step is cleaning and sanding. This process will help remove any dirt, grime or grease that may have accumulated over the years as well as smooth out any rough surfaces.
Begin by removing all hardware such as knobs, handles or hinges from the cabinets. Then use a degreaser solution to clean both inside and outside of each cabinet thoroughly.
Once cleaned, allow them to dry completely before moving onto sanding.
Sanding is an essential part of this process because it helps create a surface for paint or stain application that will adhere properly without peeling off later on down the line. Use medium-grit sandpaper (around 120-150 grit) with an orbital sander if possible for faster results but be careful not to oversand which can damage wood fibers.
Repairing Damages
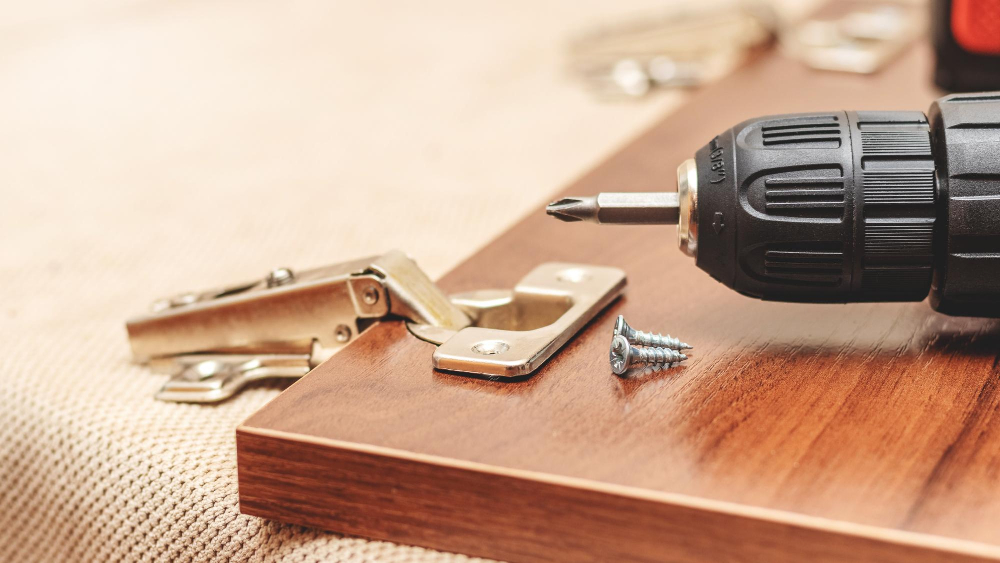
Start by assessing the extent of the damage – whether it’s a loose hinge or a cracked door panel. Once you’ve identified the problem areas, gather all necessary tools such as wood glue, clamps, screws or nails to fix them up.
For minor scratches or dents on wooden surfaces, use wood filler to fill in any gaps before sanding down for an even finish. If there are larger cracks that need repairing on cabinet doors or frames then consider using epoxy putty which can be molded into shape before being sanded smooth once dry.
Remember that repairing damages may take some time but it will save you money in the long run compared to replacing entire cabinets altogether.
Applying Fresh Paint
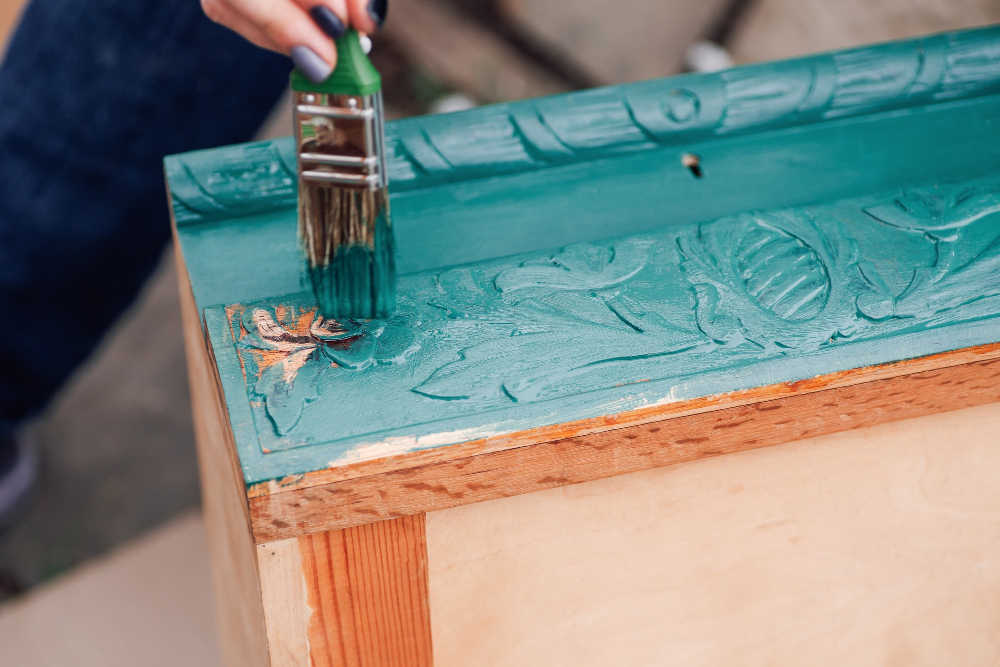
Not only will it give them a new look, but it can also help protect the wood from wear and tear. Before you start painting, make sure to clean and sand down any rough spots or imperfections on the surface.
When choosing your paint color, consider what will complement your home’s overall aesthetic. Neutral colors like white or gray are always popular choices as they provide a timeless look that can easily match with other decor items in different rooms.
To ensure an even application of paint, use high-quality brushes or rollers designed for cabinetry work. Apply thin coats rather than thick ones to avoid drips and allow each layer to dry completely before applying another one.
Once you’ve finished painting all surfaces (including doors), let everything dry overnight before reassembling hardware such as hinges and handles back onto the cabinet doors.
Changing Hardware
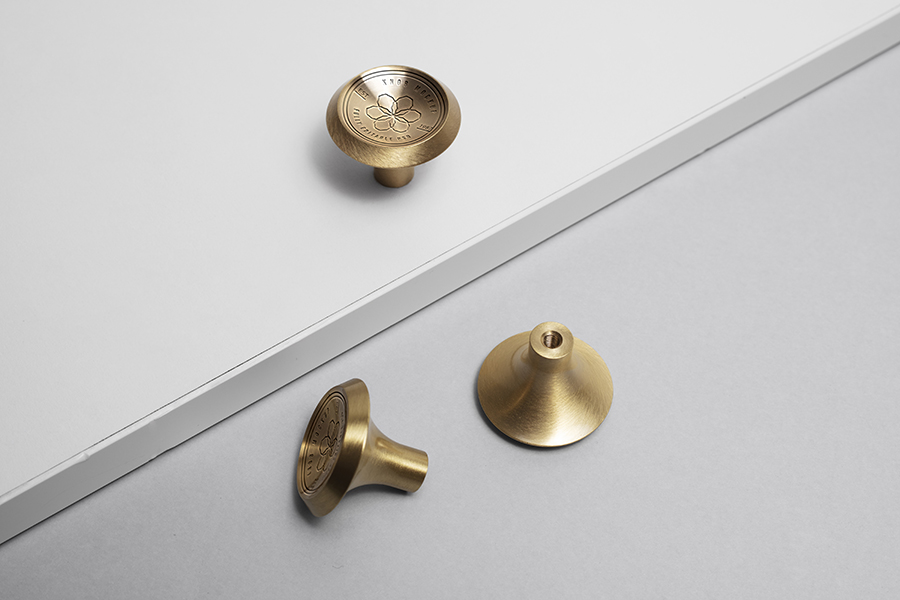
It’s amazing how much of an impact something as small as cabinet knobs and pulls can have on the overall appearance of your cabinets. Whether you prefer sleek modern handles or vintage-inspired knobs, there are endless options available to suit any style.
To change out your cabinet hardware, start by removing the existing knobs or pulls with a screwdriver. Then, measure the distance between each hole so that you can purchase new hardware that will fit properly without leaving unsightly gaps.
When selecting new hardware, consider not only its aesthetic appeal but also its functionality and durability. You want something that looks great but also feels comfortable in your hand when opening and closing drawers and doors.
Once you’ve chosen your new hardware, simply attach it using screws through the holes in each piece.
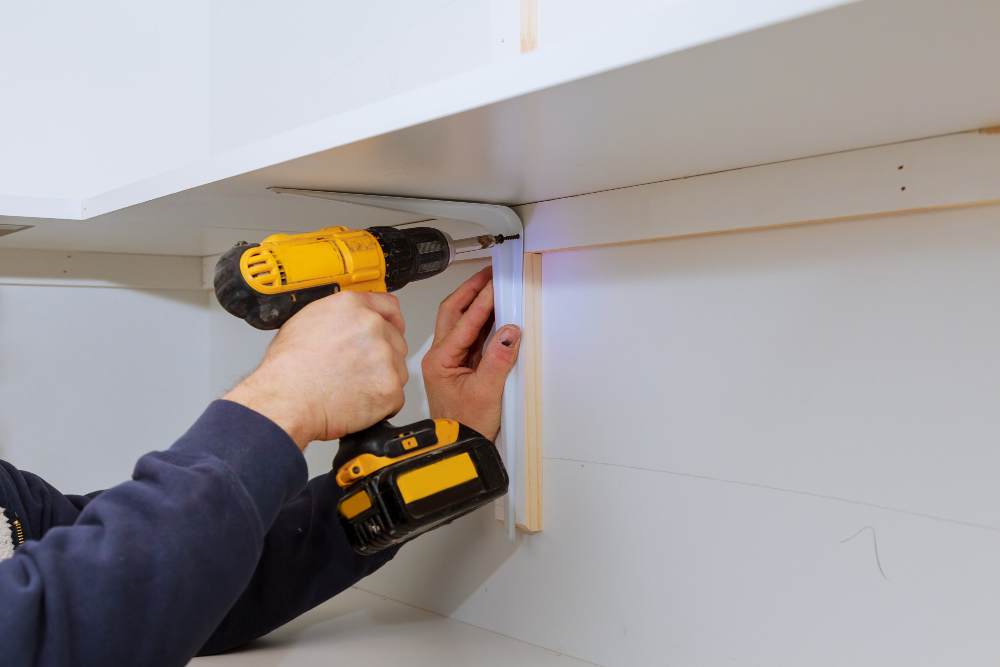
Installing New Shelves
Depending on the size and shape of your cabinets, you can create custom shelving units that fit perfectly into any room of your house. To get started, remove the cabinet doors and hardware from the old kitchen cabinets.
Then measure out where you want each shelf to go and mark it with a pencil.
Next, cut pieces of wood or MDF board (medium-density fiberboard) for each shelf according to your measurements using a saw or have them cut at a local hardware store if needed. Sand down any rough edges before painting or staining them as desired.
Once dry, attach brackets onto both sides of each cabinet where you marked for shelves using screws and anchors appropriate for wall type (drywall vs plaster).
Creating Open Shelving
This option works particularly well if you have a small kitchen or want to create an airy, spacious feel in your home. To get started, remove the cabinet doors and hardware from your old cabinets and give them a good cleaning.
Then, sand down any rough spots or imperfections on the surface.
Next, decide where you want to install your new open shelves and measure out their dimensions accordingly. You can either mount brackets directly onto the wall for support or use pre-made shelf supports that attach directly onto each side of the cabinet frame.
Adding Glass Doors
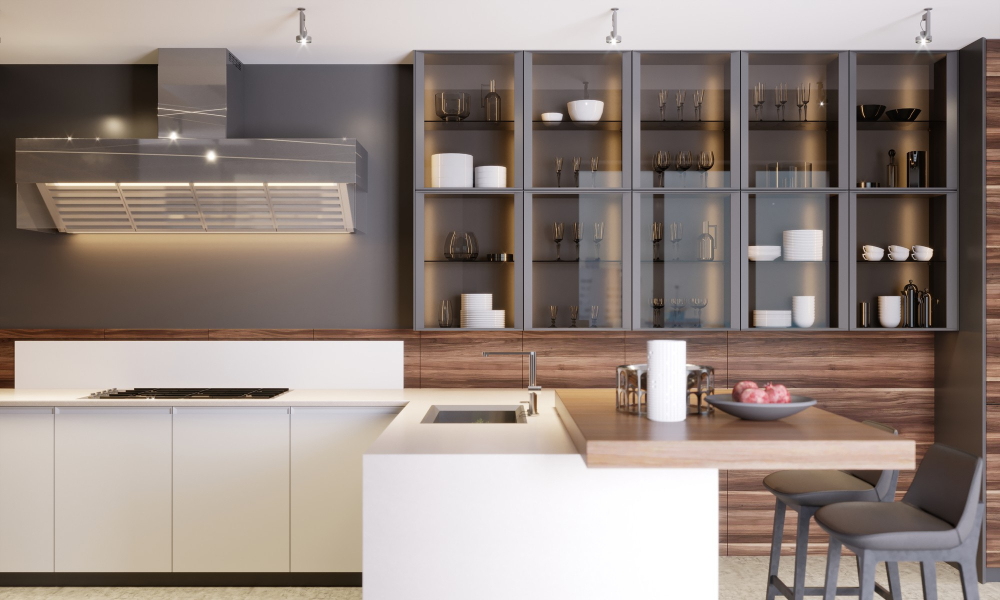
This is a great way to showcase any beautiful dishes or glasses that you may have collected over the years. You can choose from various types of glass, such as frosted or clear, depending on how much privacy you want.
To get started with this project, remove the cabinet doors and measure them carefully so that you can order custom-sized glass panels. Once they arrive, install them into the door frames using silicone adhesive or glazing strips.
Converting to Islands
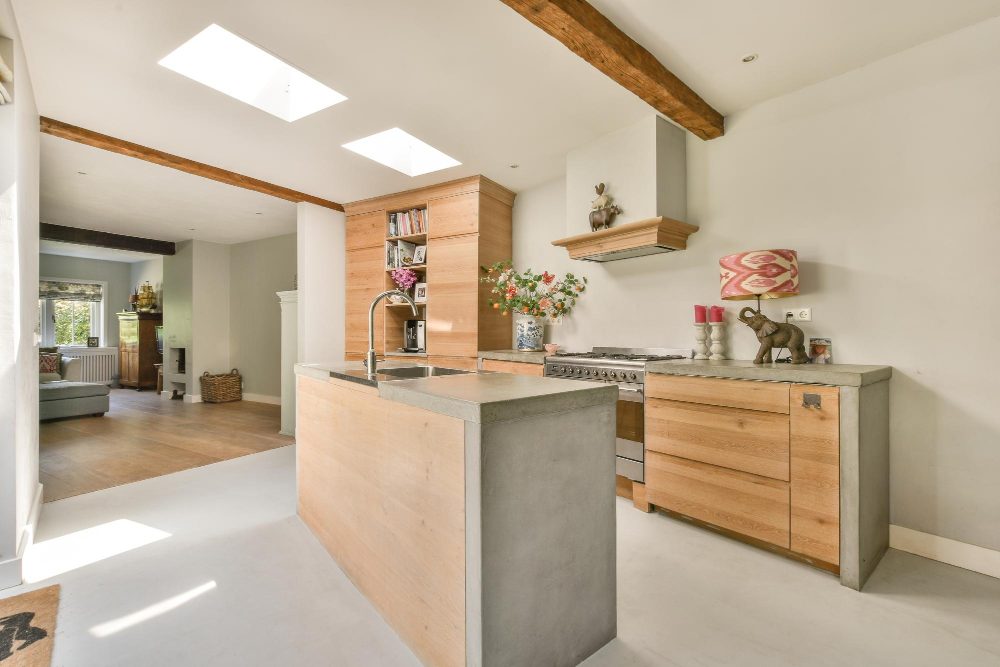
To do this, you’ll need to remove the base of the cabinet and attach legs or casters for mobility. You can also add a countertop that matches your existing countertops or choose something different for contrast.
Once you’ve converted your old cabinets into an island, there are endless possibilities for how you can use it in your kitchen. It can serve as a prep station while cooking, provide additional seating during meals or gatherings with friends and family, or even be used as a makeshift bar area when entertaining guests.
Not only does repurposing old cabinets save money on purchasing new ones but it also adds character and uniqueness to any room in which they’re placed.
Using As Bookshelves

Instead of investing in expensive bookshelves, why not repurpose your old kitchen cabinets? With a fresh coat of paint and some new hardware, they can easily be transformed into stylish bookcases that will add character to any room. You could even remove the cabinet doors for an open shelving look or use glass doors to showcase your favorite reads while keeping them dust-free.
Plus, if you have multiple cabinets available, they can be stacked on top of each other for added storage space. So next time you’re looking for a unique way to display your literary collection without breaking the bank – consider using old kitchen cabinets!
Repurposing As Craft Storage

With just a few simple modifications, you can transform your old cabinets into the perfect space for all of your crafting needs. Consider adding shelves or drawers to store items such as fabric, yarn, and paper.
You could also install hooks on the inside of cabinet doors to hang tools like scissors or rulers.
If you’re an avid crafter with lots of supplies, consider converting multiple cabinets into one large craft station by removing any dividing walls between them. This will give you plenty of room for larger items like sewing machines or cutting mats.
To add some personality to your new craft storage area, consider painting the outside in bright colors that match your decor style or adding decorative knobs and handles that complement other elements in the room.
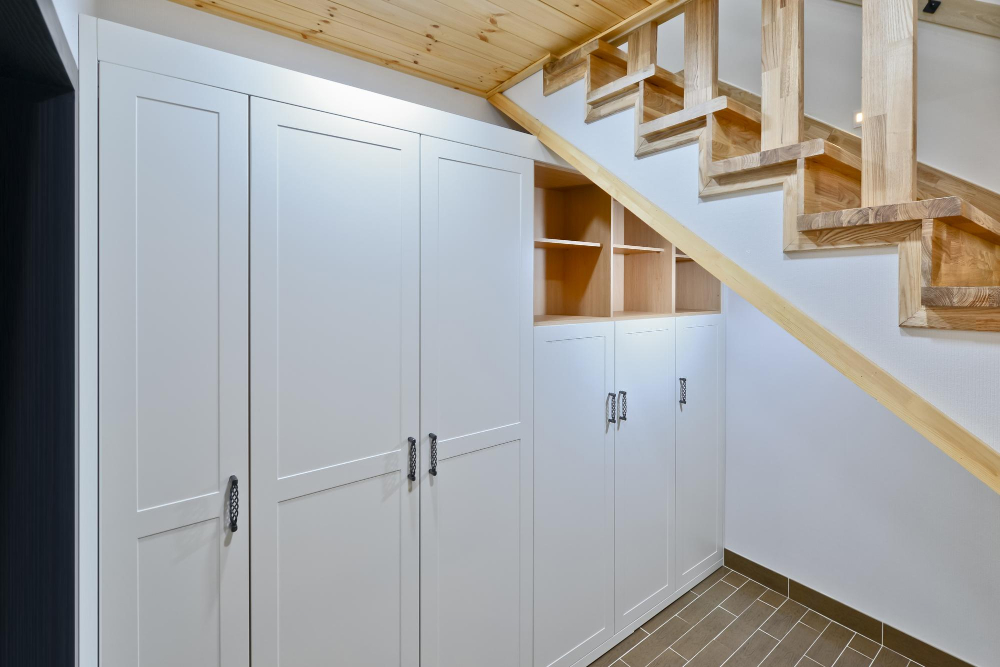
Turning Into Mudroom Lockers

You can use the upper cabinets as cubbies for hats, gloves, and scarves while the lower ones can be used for shoes and boots. To make it even more practical, consider adding hooks on the sides of each cabinet to hang coats and bags.
To create mudroom lockers from old kitchen cabinets:
- Remove any doors or drawers that are not needed.
- Sand down any rough edges or surfaces.
- Paint them with a durable finish that matches your decor style.
- Install hooks on either side of each locker unit at varying heights depending on who will be using them (kids vs adults).
- Add baskets or bins inside each locker cubby to keep items organized.
Building a Window Seat

To get started, measure the area where you want to build the window seat and choose cabinets that fit snugly into that space. You can then attach them together using screws or brackets before adding trim pieces around the edges.
Once your base is secure, it’s time to add cushions and pillows for comfort. You can either purchase pre-made cushions or make them yourself by cutting foam padding to size and covering it with fabric of your choice.
Add some finishing touches such as decorative molding around the top edge of the cabinet base or painting everything in coordinating colors.
Upcycling Into Pet-Friendly Spaces
And what better way to do that than by upcycling your old kitchen cabinets into pet-friendly spaces? With just a few simple modifications, you can turn those outdated cabinets into cozy beds or feeding stations for your pets.
For example, if you have an old base cabinet with doors that open downwards, remove the doors and add some soft bedding inside. You can also cut out an opening in the front of the cabinet so that your cat or dog can easily climb in and out of their new bed.
Alternatively, repurpose upper cabinets as feeding stations by removing one side panel and attaching food bowls underneath. This will keep food off the floor while providing easy access for mealtime.
Designing a Bathroom Vanity
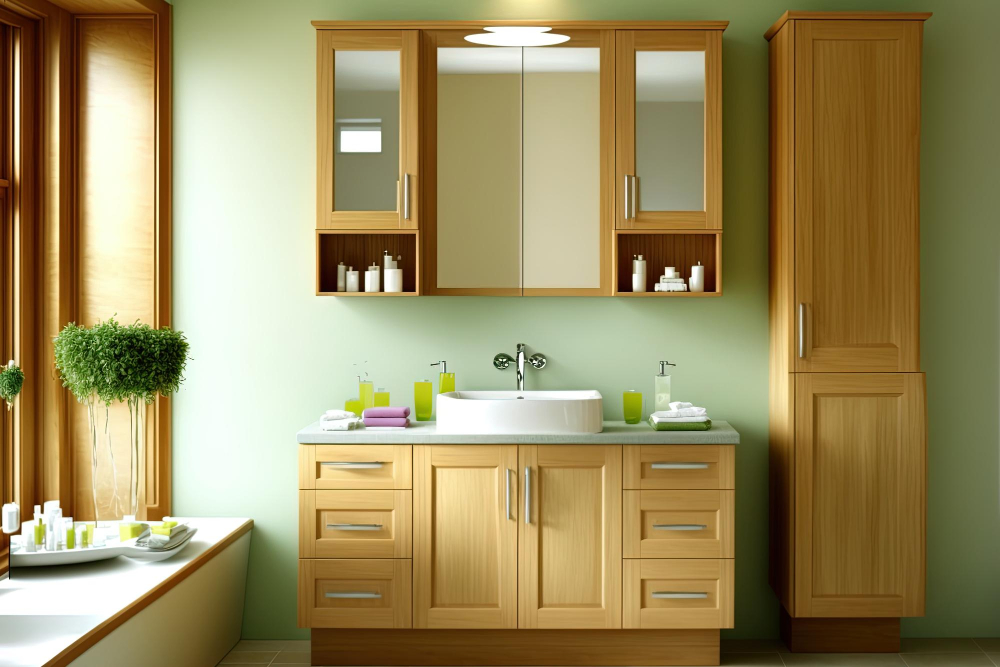
With just a few simple modifications, you can create an eye-catching piece that will be the envy of all who enter. To get started, assess the size and shape of your existing cabinets to determine if they’ll fit in your bathroom space.
If so, clean them thoroughly and sand down any rough edges or surfaces before applying fresh paint or stain.
Next up is hardware – choose something that complements the overall style of your bathroom while also providing functionality for drawers and doors. You may want to replace cabinet doors with glass panels for added elegance or leave them open altogether for easy access storage.
Transforming Into a Workspace
With some simple modifications, you can create a functional and stylish desk that will fit perfectly in any room of your home. Start by removing the doors from the upper cabinets and installing shelves for storage space.
Then, add legs or brackets to support the countertop surface, which can be made from wood or even granite if you have it available.
Once you’ve created your new workspace, consider adding some personal touches like decorative knobs or drawer pulls to give it a unique look that matches your style. You could also paint the cabinets with chalkboard paint so that they double as message boards for notes and reminders.
Making a Bar or Buffet
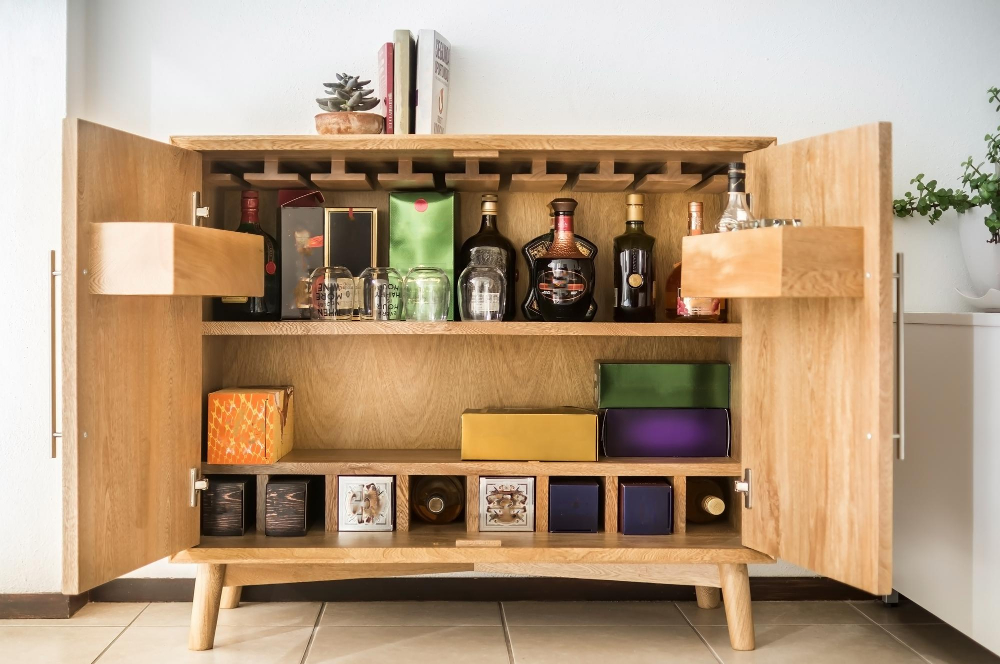
With just a few simple modifications, you can transform those outdated cabinets into an elegant piece of furniture that will impress all of your guests. Start by removing any doors and shelves from the upper cabinets so that they are open-faced.
Then, install glass shelving inside for displaying glasses and bottles. For the lower cabinet section, remove any drawers or shelves and replace them with wine racks or cubbies for storing liquor bottles.
Once everything is in place, give it a fresh coat of paint in whatever color suits your style best! You can also add decorative hardware such as knobs or handles to complete the look. With this new addition to your home decor arsenal comes endless possibilities for hosting parties with friends & family while keeping things organized at all times!
Creating a Kid’s Play Kitchen
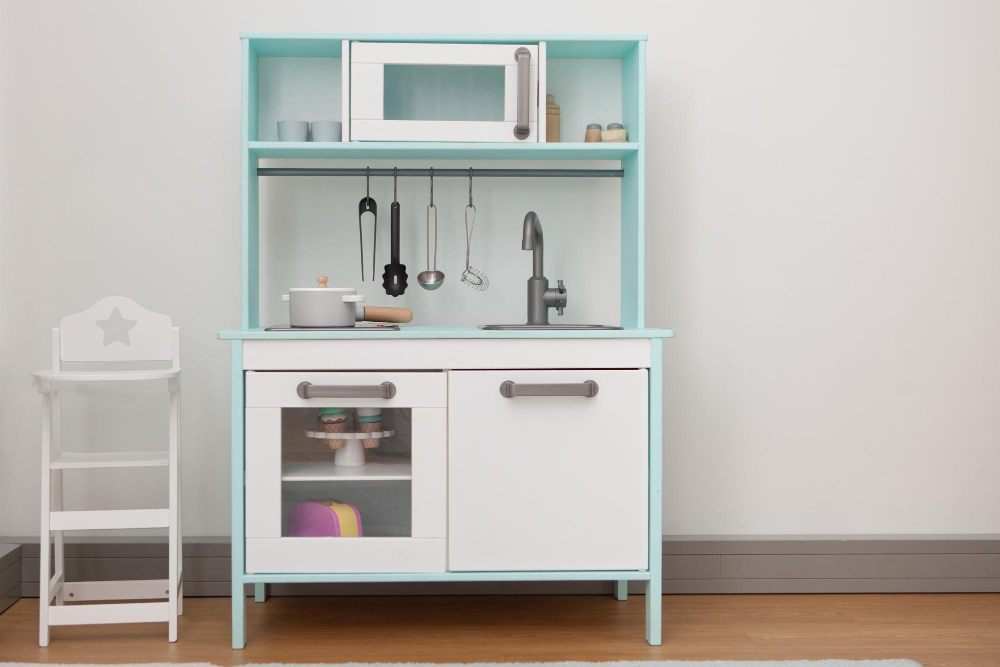
With just a few simple modifications, you can transform your old cabinets into the perfect play space for kids who love to cook and bake.
Start by removing any doors or drawers that may be too heavy or difficult for children to open and close. Then, add some fun details like knobs and handles in bright colors that will appeal to young imaginations.
Next, consider adding some shelves or hooks where kids can hang their pots and pans. You could also install small baskets on the sides of the cabinet where they can store their toy food items.
Incorporating Into the Laundry Room
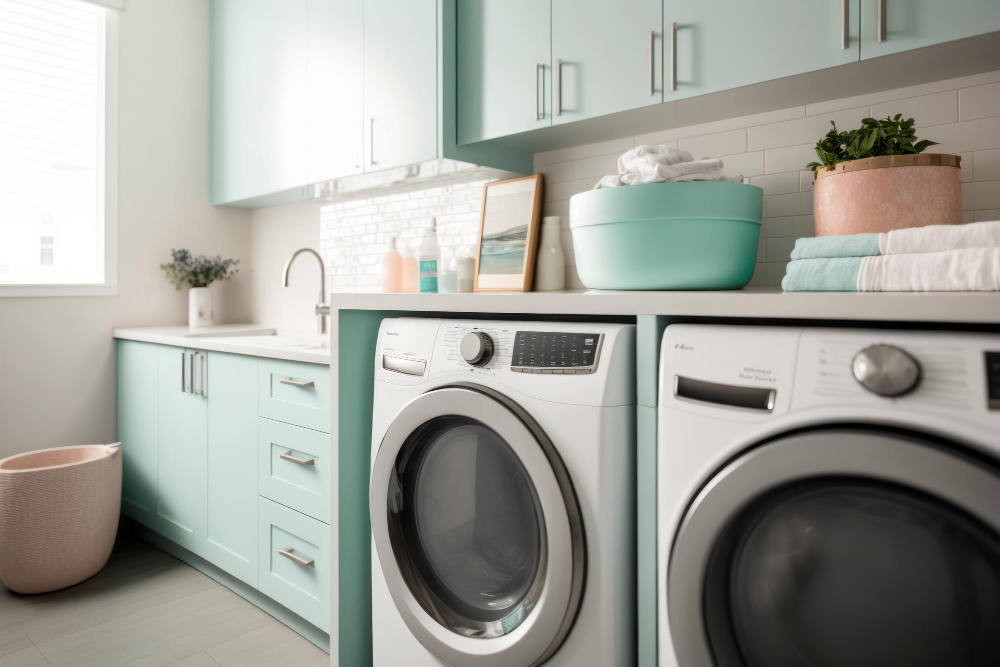
Consider installing upper cabinets above your washer and dryer for storing laundry detergent, fabric softener, and other supplies. You could also use lower cabinets as a folding station or even as a hamper cabinet with pull-out baskets for sorting clothes.
If you have extra wall space in the room, consider adding open shelving made from repurposed cabinet doors for additional storage options. With just a little creativity and elbow grease, you can turn your old kitchen cabinets into an organized laundry room that’s both practical and stylish!
DIY Basement Storage
With some creativity and repurposing skills, your old kitchen cabinets can be transformed into functional storage solutions for your basement. By installing the cabinets along one wall of the room or in a corner, you can create an organized space that will keep all of your belongings neatly stored away.
You could use them to store seasonal decorations, tools and hardware or even as a place to keep extra pantry items if there’s enough space.
To make this work effectively, consider adding shelves inside each cabinet so that everything has its own designated spot. You may also want to add hooks on the outside of the doors where you can hang gardening tools or other equipment.
With just a little bit of elbow grease and some imagination, those old kitchen cabinets that were once taking up valuable real estate in your home could now be providing much-needed storage solutions in an otherwise cluttered basement!
FAQ
What can I do with dated kitchen cabinets?
You can update dated kitchen cabinets by replacing doors, swapping out pulls, painting them, changing countertops, and flooring, or updating old appliances.
Can you reuse kitchen cabinets in a remodel?
Yes, you can reuse kitchen cabinets in a remodel as they offer extra storage space and can be repurposed for use in your garage.
What are some creative ways to transform old kitchen cabinets into functional furniture pieces?
Old kitchen cabinets can be creatively transformed into functional furniture pieces by repurposing them as stylish storage units, side tables, or entryway benches.
How can you incorporate repurposed kitchen cabinets in organizing other rooms of the house?
Repurposed kitchen cabinets can be incorporated in organizing other rooms of the house by utilizing them for additional storage, display areas, or as a unique furniture piece to hold various items.
What are the best tips for refinishing and reviving the appearance of worn-out kitchen cabinets?
To refinish and revive the appearance of worn-out kitchen cabinets, the best tips include cleaning, sanding, and applying a fresh coat of paint or stain.


