Last updated on
Discover the simple steps to create stunning, personalized kitchen curtains that effortlessly elevate your home’s style and ambience.
Welcome to my latest home decor blog where I’ll be sharing some amazing tips on how to make your very own kitchen curtains. Curtains are an essential part of any kitchen, not only do they add a touch of style and personality but they also provide privacy and shade from the sun.
Making your own curtains may seem like a daunting task, but with the right guidance and materials, it can be an enjoyable project that will give you beautiful results. So let’s dive in and learn everything you need to know about making stunning kitchen curtains that will transform your space!
Key takeaways:
- Measure your windows accurately for perfect fitting curtains.
- Consider the type of curtain and style that suits your kitchen.
- Choose the right fabric based on durability, light filtration, and colorfastness.
- Determine the ideal curtain length and calculate fabric yardage needed.
- Gather the necessary tools and prepare your fabric before cutting and sewing.
What's Inside
Measuring Your Windows
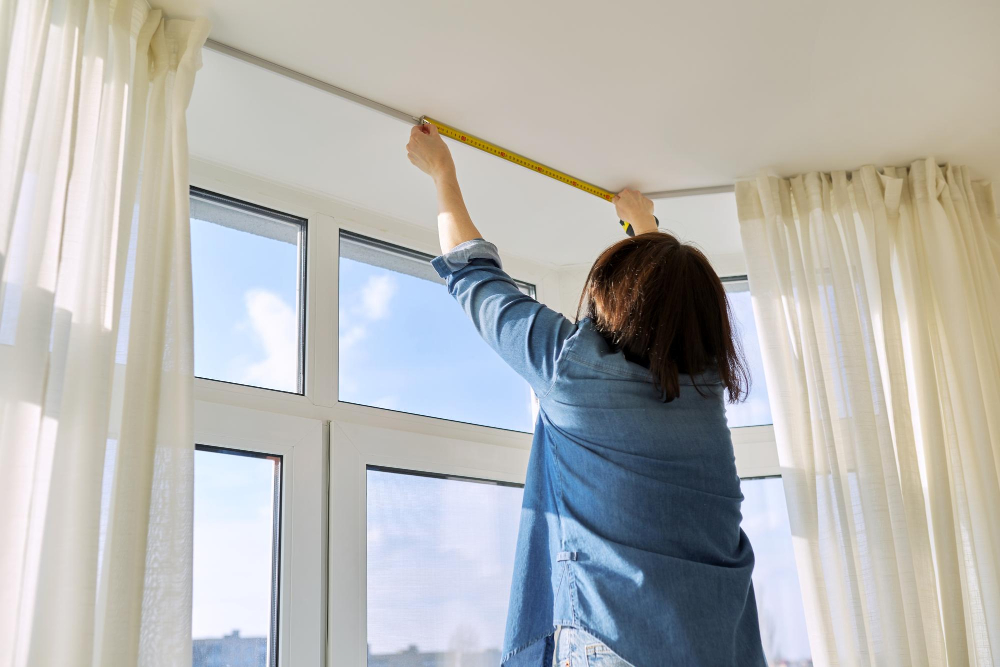
The first step in making your own kitchen curtains is to measure your windows. This may seem like a simple task, but it’s important to get accurate measurements so that you can purchase the right amount of fabric and create curtains that fit perfectly.
Start by measuring the width of your window from one side to the other, including any trim or molding around it. Then measure the length from where you want the curtain rod to be placed down to where you want them hanging.
It’s also essential that you consider how high above and beyond each side of your window frame will extend when installing a curtain rod as this will affect how much fabric yardage is needed for each panel.
Once these measurements are taken, add an additional 2-3 inches on both sides for seam allowances and hems.
Types of Kitchen Curtains
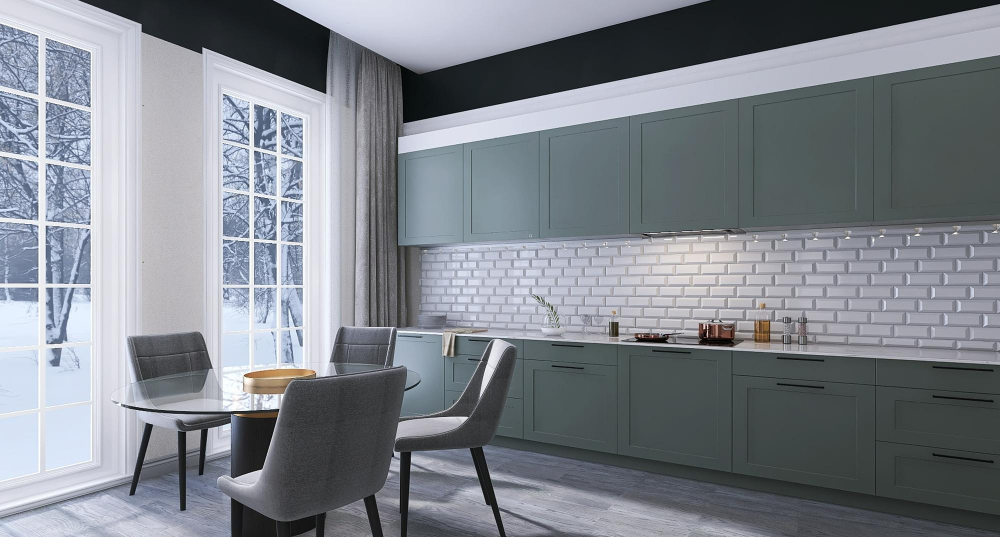
The type of curtain you select will depend on your personal style, the size and shape of your windows, as well as the amount of light you want in your space. Some popular options include cafe curtains that cover only the bottom half or top half of a window; valances that add decorative flair while allowing plenty of natural light into the room; tiered curtains which consist two separate panels – one for covering just above eye level and another for below eye level; panel curtains which provide full coverage over an entire window with varying lengths available depending on preference.
With so many options available, it’s important to consider what works best for both functionality and aesthetics when selecting kitchen curtains that suit your needs perfectly!
Selecting a Curtain Style
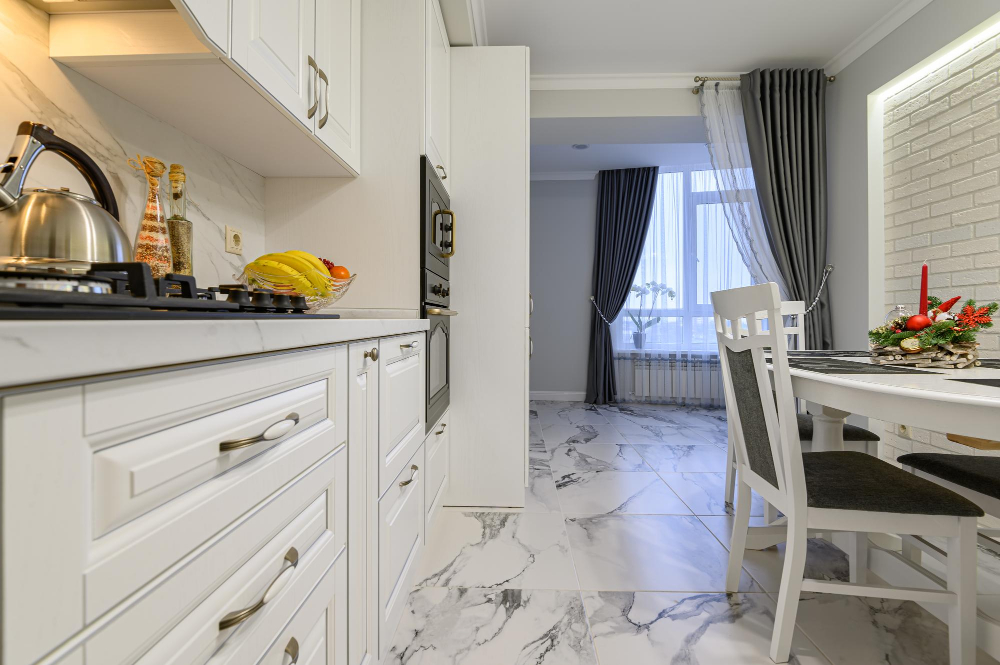
The style you choose will depend on your personal taste and the overall look of your kitchen. Some popular styles include cafe curtains, valances, and full-length curtains.
Cafe curtains are a great option if you want to let in natural light while still maintaining privacy. They cover only the bottom half of the window and can be made with any fabric that suits your decor.
Valances add a decorative touch to windows without covering them completely. They come in various shapes such as scalloped or straight edges and can be hung alone or paired with cafe curtains for added privacy.
Full-length curtains provide maximum coverage for windows but may not be practical for all kitchens depending on their size or layout. However, they do offer an elegant look that can complement any decor style from modern to traditional.
Choosing a Fabric

The fabric you choose will determine how well your curtains function, how long they last, and how easy they are to maintain. When selecting a fabric for your kitchen curtains, consider factors such as durability, light filtration level, colorfastness (how well it resists fading), ease of cleaning and maintenance.
Cotton fabrics are an excellent choice for those who want a natural fiber that is easy to care for. They come in various weights ranging from lightweight voile or muslin to heavier twill or canvas materials that provide more privacy.
Polyester blends offer excellent durability while being resistant to wrinkles and shrinking; this makes them ideal if you’re looking for low-maintenance options with vibrant colors.
Linen fabrics have been used in home decor since ancient times due to their timeless elegance; however, linen requires special care when washing because it can shrink easily if not handled correctly.
Determining Curtain Length
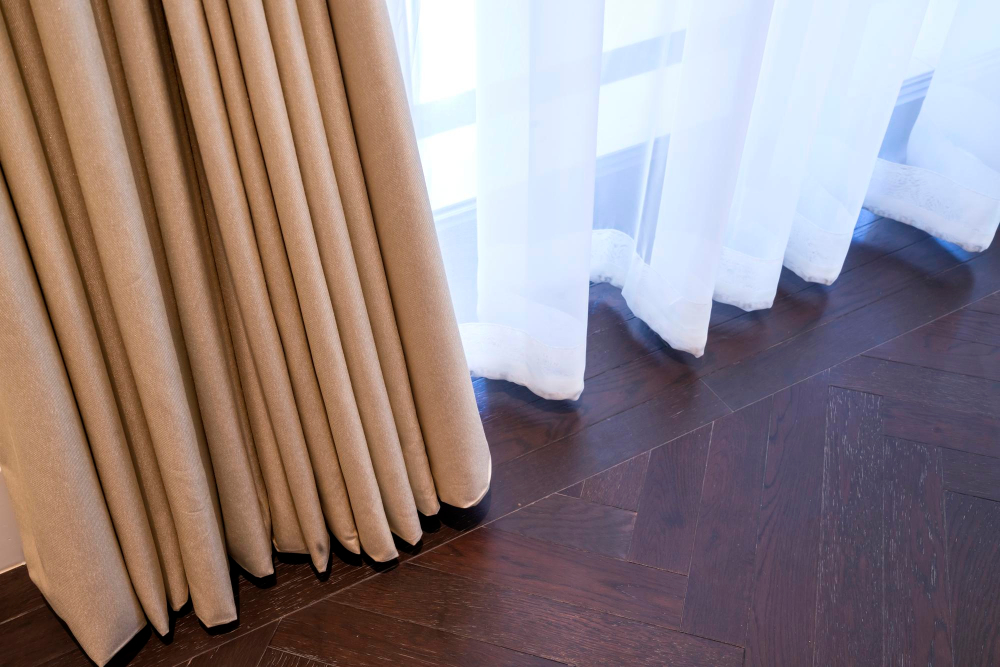
The first step in determining curtain length is deciding where you want the curtains to hang. Do you want them to just cover the window or do you prefer floor-length drapes? Once that’s decided, measure from where you plan on hanging your rod down to either just below the windowsill or all the way down to your desired floor length.
It’s important not only to consider aesthetics but also functionality when determining curtain length. If there are any obstructions such as radiators or furniture near your windows, it may be best for practical reasons if they don’t touch these items.
Another factor that can affect curtain length is whether they will be hung inside or outside of a window frame. Inside-mounted curtains should fall slightly above the sill while outside-mounted ones should extend beyond it by several inches.
Calculating Fabric Yardage

This is an essential step in ensuring that your curtains fit perfectly and look great. To determine the amount of fabric required, measure the width and length of your window frame or curtain rod.
Add a few extra inches to each measurement for hemming and seam allowances.
Next, check the width of your chosen fabric as this will affect how much yardage you need. Standard fabrics are usually 45 or 60 inches wide; however, some specialty fabrics can be wider or narrower than these measurements.
To calculate how many yards of material needed for each panel: divide total length by vertical repeat (the distance between one point on a pattern design to where it starts again) plus add two times hem allowance plus desired header height (if any).
For example: If we have a window with dimensions 36″ x 48″, we would require two panels measuring approximately 20″ x54″. If our chosen fabric has a vertical repeat pattern every twelve inches with an additional four-inch hem allowance at both ends then we would require around three yards per panel.
Gathering Necessary Tools

This will ensure that you have everything on hand and won’t need to stop in the middle of your project. Some essential tools include a measuring tape, fabric scissors, straight pins, an iron and ironing board for pressing seams and hems flat before sewing them together.
You’ll also need a sewing machine with coordinating thread color or needle if hand-sewing is preferred.
If you’re new to sewing or don’t have these items readily available at home, consider borrowing from friends or family members who sew regularly. Alternatively, many craft stores offer rental services for machines so that beginners can try their hands at creating beautiful curtains without investing too much money upfront.
Preparing the Fabric

Before cutting and hemming, you need to prewash the fabric to remove any sizing or dirt that may cause shrinkage later on. It is important not to skip this step as untreated fabrics can shrink after washing and ruin all of your hard work.
To prewash your chosen fabric, simply toss it into a washing machine with mild detergent and cold water. Avoid using hot water or bleach as they can damage some types of fabrics.
Once washed, tumble dry on low heat until damp-dry then iron out any wrinkles before cutting.
By taking the time to properly prepare your fabric before sewing, you’ll ensure that your finished curtains look their best while also preventing them from shrinking in future washes.
Cutting the Fabric
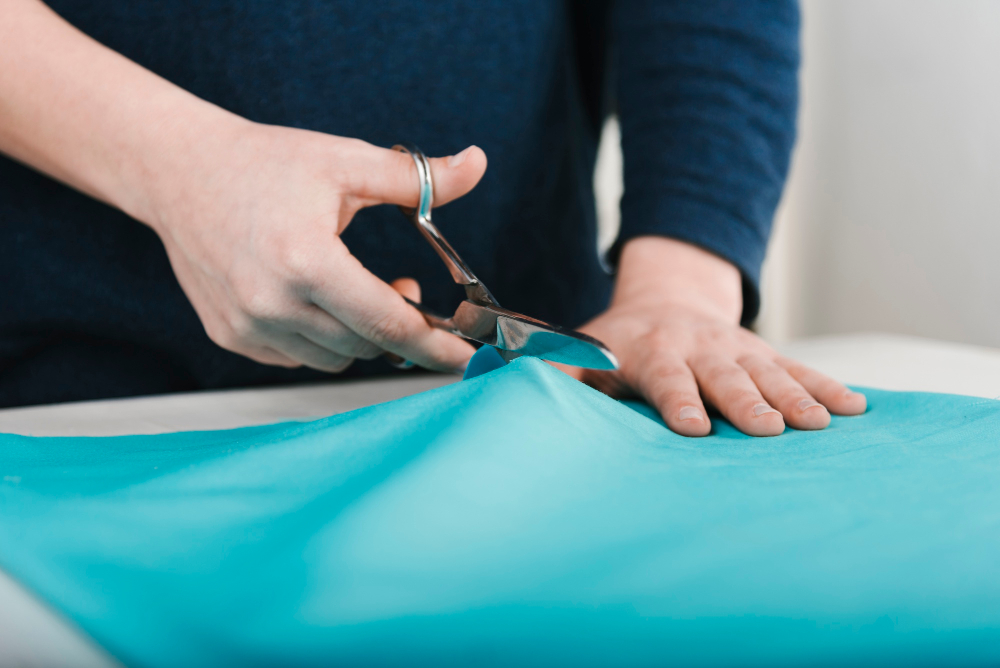
This is a crucial step that requires precision and attention to detail. Before cutting, make sure your fabric is properly prepared by washing and ironing it beforehand.
To begin, lay out your fabric on a flat surface with the wrong side facing up. Use a measuring tape or ruler to mark where you need to cut according to your measurements from earlier.
Next, use sharp scissors or a rotary cutter (if available) along with straight pins or weights (such as cans) placed at each corner of the pattern piece for accuracy when cutting out shapes like circles). Cut carefully along these lines making sure not to veer off course as this can affect how well they hang once hung up in place.
Hemming the Edges
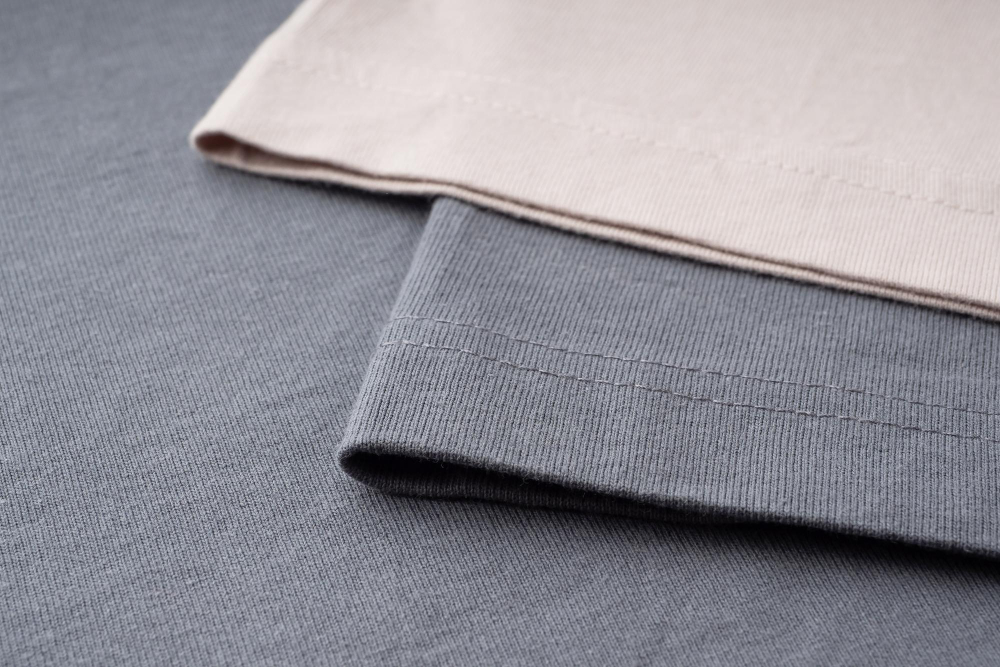
Hemming is a crucial step in making curtains as it prevents fraying and gives them a neat finish. To start, fold over 1/4 inch of fabric along one edge and press with an iron.
Then fold over another 1/4 inch and press again before pinning in place.
Next, sew along the folded edge using a straight stitch on your sewing machine or by hand if you prefer. Repeat this process for all sides of each curtain panel.
It’s important to note that some fabrics may require different hemming techniques such as double-fold hems or rolled hems depending on their weight and texture.
Sewing the Rod Pocket

The rod pocket is a tube at the top of your curtain where you will insert your curtain rod. To create this, fold over about an inch and a half of fabric at the top edge towards yourself and pin it in place.
Then fold another inch and a half down on itself so that there are no raw edges showing.
Next, sew along both sides of this folded section with a straight stitch using matching thread color to secure it in place. Make sure to backstitch at each end for added durability.
When sewing the rod pocket, ensure that its size matches that of your chosen curtain rods or rings as they come in different diameters. A too-small or too-large opening can make hanging difficult or cause sagging once hung up.
Adding Decorative Features
You can choose from a variety of options such as lace trims, tassels, or even pom-poms. Adding these details will give your curtains an extra touch of elegance and make them stand out in any room.
When selecting decorative features for your kitchen curtains, it’s important to consider the overall theme and color scheme of the space. If you have a modern kitchen with clean lines and minimalistic decor, then adding simple yet elegant touches like ribbon ties or metallic accents may be more appropriate than frilly lace trims.
On the other hand, if you have a rustic farmhouse-style kitchen with warm colors and natural textures then opting for burlap bows or wooden beads would complement this aesthetic perfectly.
Attaching Curtain Rings
Curtain rings are an essential part of hanging curtains as they allow for easy movement along the curtain rod. To attach them, simply slide each ring onto your chosen fabric tabs or loops that you’ve created at regular intervals along the top edge of your curtains.
When attaching curtain rings, make sure to space them evenly apart so that your curtains hang straight and don’t bunch up in certain areas. You can use a measuring tape or ruler to ensure consistent spacing between each ring.
It’s also important to choose high-quality metal or plastic rings that will hold up over time without breaking or rusting. Look for durable materials with smooth gliding mechanisms so that opening and closing your curtains is effortless.
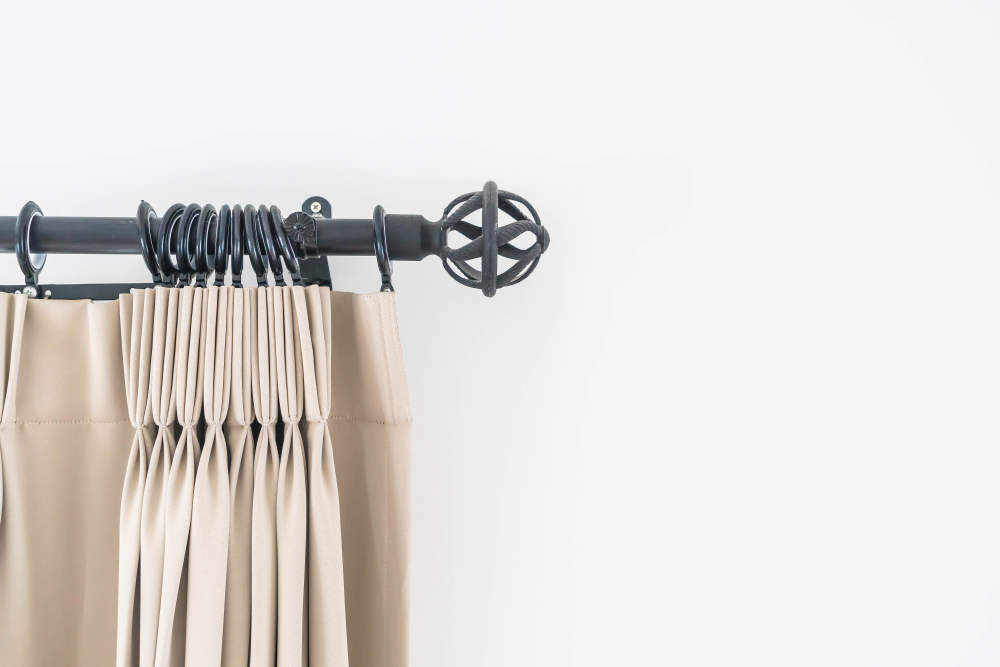
Assembling the Curtain Rod
The first step is to measure the width of your window and add a few inches on either side for overhang. This will give you an idea of how long your curtain rod should be.
Next, select a suitable curtain rod that complements the style and color scheme of your kitchen curtains.
To assemble the curtain rod, start by attaching any necessary brackets or hardware according to manufacturer instructions. Then slide each panel onto the rod one at a time until they are evenly spaced apart.
If using rings with clips instead of sliding panels directly onto rods, attach them evenly along each panel before hanging them up.
Carefully hang up both sides of the assembled curtains on their respective brackets or hooks and adjust as needed until they are level and properly positioned in front of your windows.
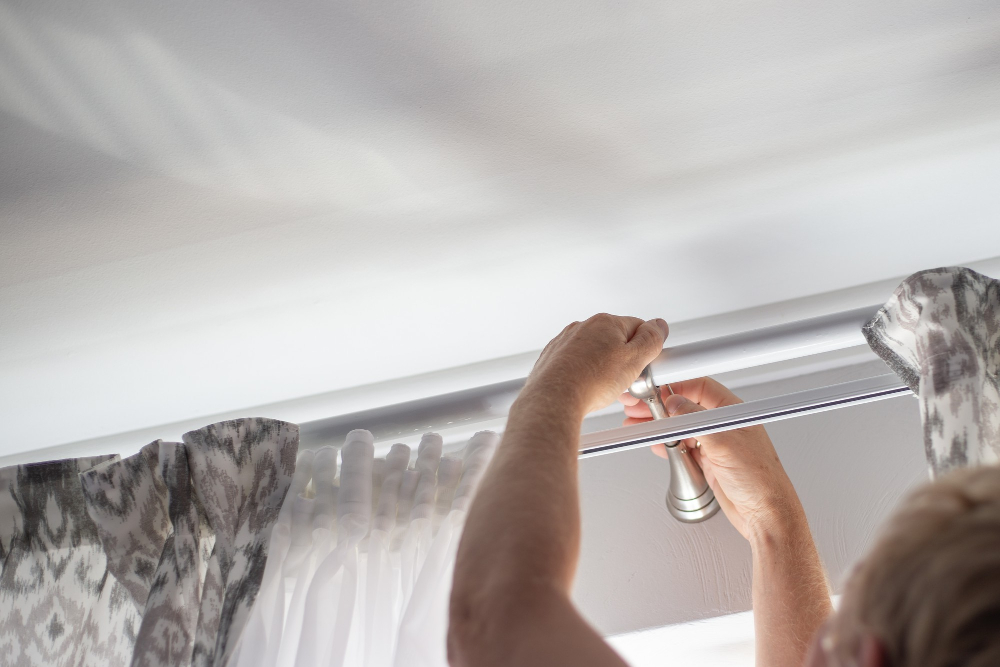
Installing the Curtain Rod
The first step is to determine where you want the rod placed above your window frame. Typically, a few inches above the top of the window frame is ideal for most kitchens.
Using a measuring tape and leveler, mark where you want to place your brackets on either side of the window. Make sure that both sides are even and level before drilling holes into each bracket location.
Next, attach each bracket securely with screws using an electric drill or screwdriver. Once both brackets are in place, slide your curtains onto the rod and carefully insert it into one bracket at a time until it rests comfortably in both brackets.
Adjust any necessary tension or positioning so that they hang evenly across your windowsill without sagging or bunching up in any areas.
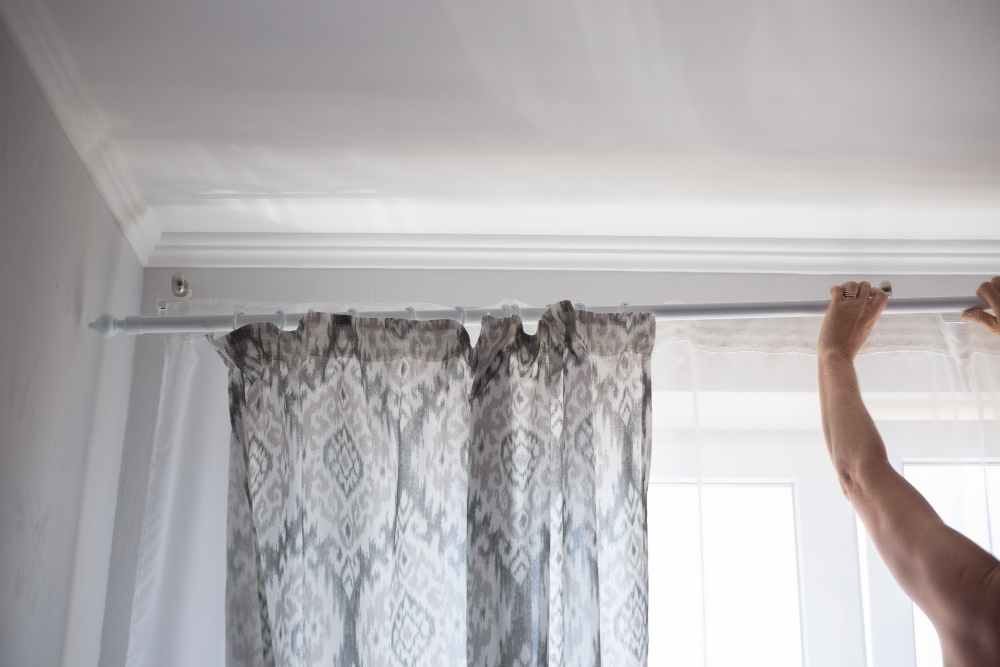
Hanging the Curtains
Before hanging the curtains, make sure that you have installed the curtain rod at the correct height and distance from the window frame. The general rule of thumb is to place it 4-6 inches above the window frame for a standard look or higher if you want to create an illusion of taller ceilings.
To hang your curtains, slide each panel onto its respective rod pocket or attach rings if using clip-on style hardware. Then carefully lift one end of each curtain panel onto one side of the rod before repeating on other side until both panels are evenly distributed across their length.
Adjust any pleats or gathers as needed by gently pulling on fabric sections until they fall into place naturally without bunching up too much in any particular area.
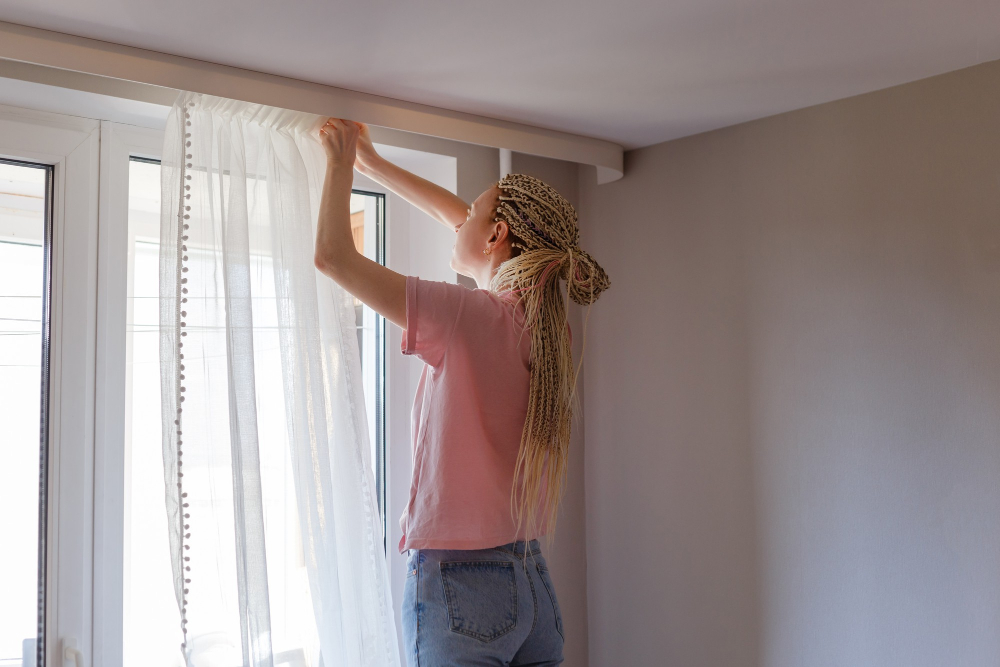
Adjusting the Curtains

Start by standing back and assessing how they look from a distance. Are they hanging evenly? Do they need to be adjusted higher or lower on the rod? If so, take them down and make any necessary adjustments before rehanging.
Next, check that the curtains are level at the bottom hemline. Uneven hems can be distracting and give an unprofessional finish to your project.
Adjust as needed by pulling up or letting down one side of each panel until both sides match.
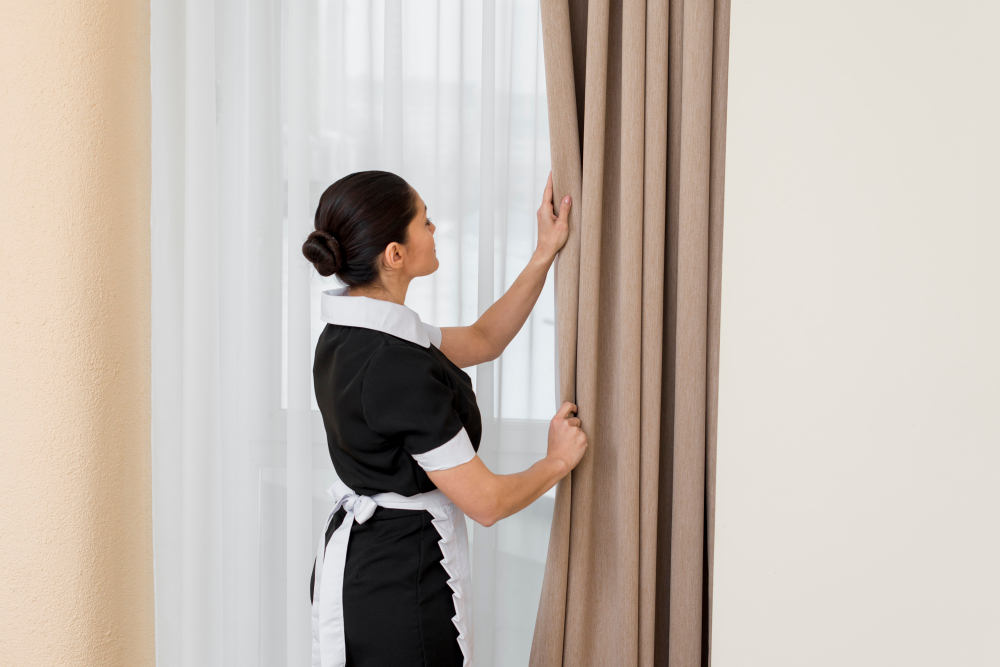
If you have chosen a gathered style curtain with ties or rings along the top edge, ensure that each panel is pulled equally tight across its width for an even appearance when closed.
Step back again and assess whether there are any areas where light is seeping through between panels or around edges of windowsills etc., if so adjust accordingly until all gaps are eliminated.
Tips for Curtain Maintenance
Here are some tips on how to maintain your curtains:.
- Regularly dust or vacuum the curtains to prevent dirt and dust buildup.
- Spot clean any stains as soon as possible using a gentle detergent and warm water.
- Avoid washing the curtains too frequently, as this can cause fading and shrinkage.
- If you do need to wash them, follow the care instructions carefully and use a mild detergent on a gentle cycle with cold water.
- Hang dry or tumble dry on low heat until just slightly damp before rehanging.
Upcycled Kitchen Curtains
Upcycling is the process of transforming old or unused items into something new and useful. Not only does this help reduce waste, but it also gives your curtains a one-of-a-kind look.
For example, if you have an old tablecloth or bedsheet that’s no longer in use, consider turning it into kitchen curtains. You can cut the fabric to size and hem the edges just like any other curtain project.
Another idea is to repurpose vintage linens such as doilies or handkerchiefs by sewing them together to create a patchwork-style curtain panel. This adds charm and character while reducing textile waste.
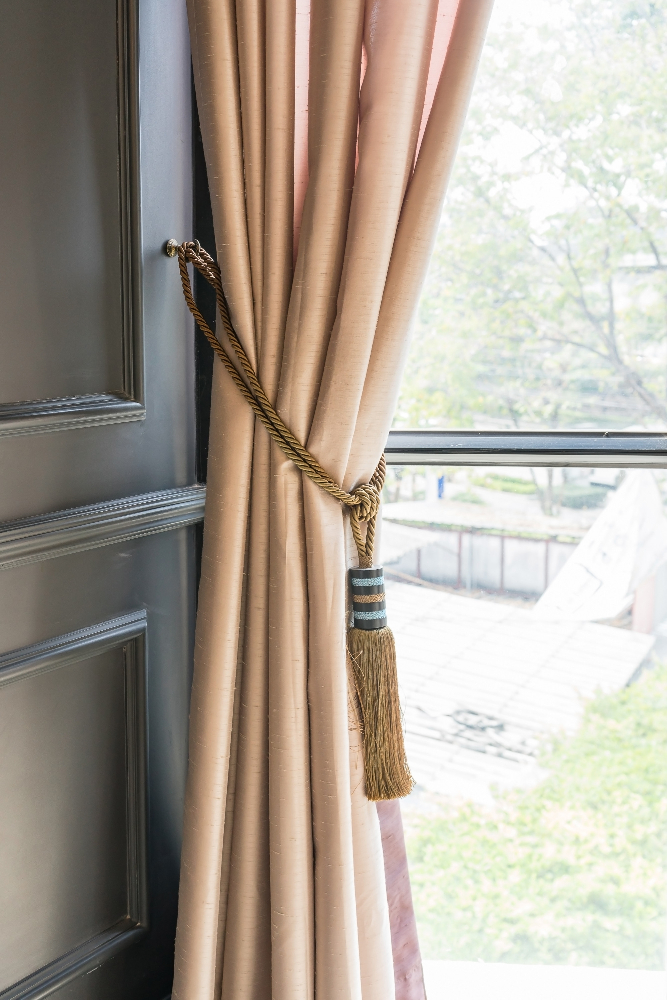
DIY Curtain Tiebacks
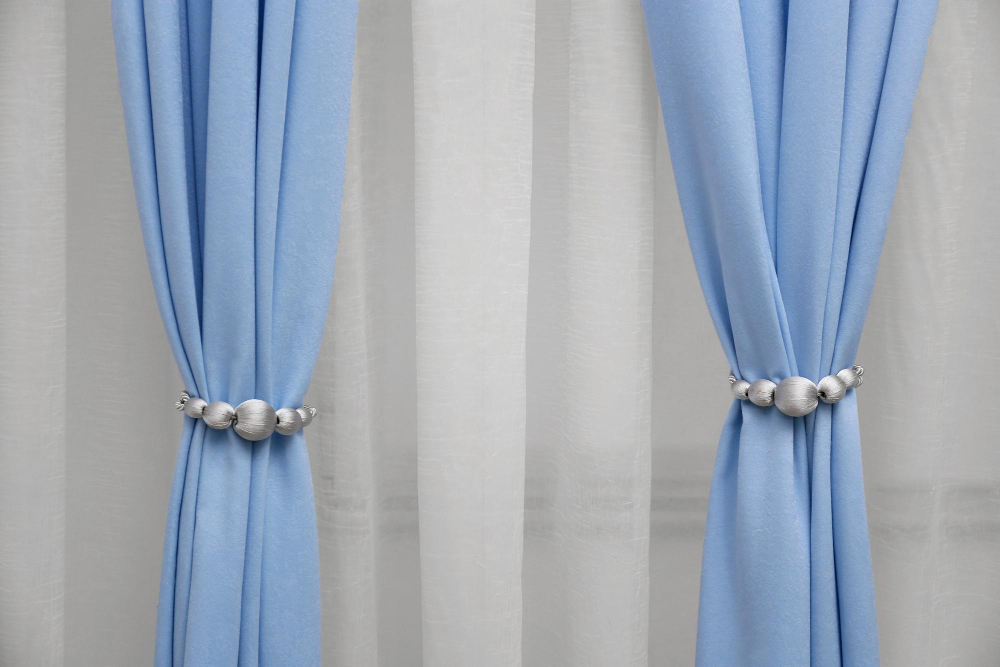
They allow you to easily pull back the curtains when you want more light or air, while also adding a decorative element that can complement your overall decor.
Making your own curtain tiebacks is easy and affordable. You can use materials such as ribbon, rope, twine or even old belts for a unique look that matches the rest of your kitchen’s design.
To make DIY curtain tiebacks:.
- Choose the material you want to use.
- Cut it into strips long enough for tying around each curtain panel.
- Add any embellishments like beads or tassels if desired.
- Tie each strip around its corresponding panel in a knot or bow.
With these simple steps, you’ll have beautiful custom-made tiebacks that will enhance both form and function in your kitchen space!.
FAQ
How many yards of fabric do I need for kitchen curtains?
To determine the number of yards of fabric needed for kitchen curtains, calculate as follows: (Finished length of curtains + 16 inches) / 36 = number of yards required, and add 1 extra yard for large print fabric per pair.
What to use for kitchen curtains?
Use UV-resistant and fire retardant polyester curtains for kitchen windows and doors to ensure extra safety.
What are the best types of fabric materials for kitchen curtains?
The best types of fabric materials for kitchen curtains include cotton, linen, and polyester.
How do I take accurate measurements for my kitchen curtains?
To take accurate measurements for your kitchen curtains, measure the width and length of the window, adding a few inches to both dimensions for seam allowance and desired fullness.
Can you recommend any easy-to-follow kitchen curtain patterns for beginners?
I recommend gingham check, cafe-style, or simple valance patterns for beginners, as they are easy-to-follow and create a charming appearance in the kitchen.


