Last updated on
Discover the simple steps to give your kitchen a fresh look by mastering the art of painting above your cabinets with ease and precision.
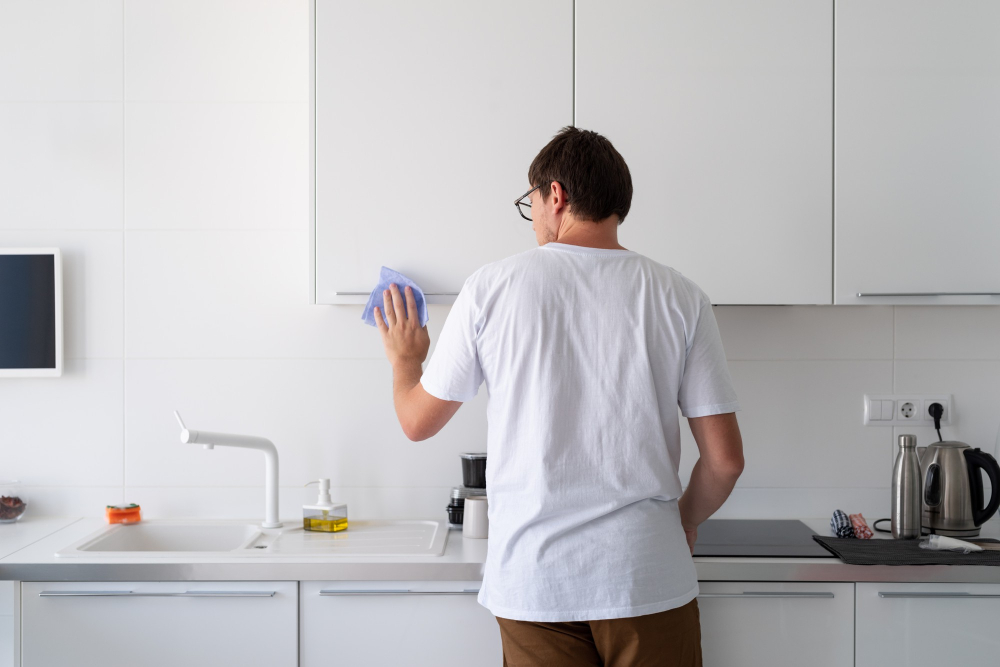
Have you ever looked up at the space above your kitchen cabinets and wondered how to spruce it up? It’s a common dilemma for many homeowners who want to add some personality and style to their kitchen. Luckily, there’s an easy solution that doesn’t require a complete renovation – painting! Painting above your kitchen cabinets can be a simple DIY project that adds depth and character to your space.
In this article, we’ll walk you through the steps on how to paint above kitchen cabinets like a pro. So grab your paintbrushes, let’s get started!
What's Inside
Preparing the Area
This will help ensure that the paint goes on smoothly and evenly, and that you don’t accidentally get any paint on surfaces or items that shouldn’t be painted.
Firstly, remove all items from the top of your cabinets. This includes dishes, decorations or anything else sitting up there.
You can place them temporarily in another room until you’re finished with painting.
Next step is to cover countertops and appliances with drop cloths or plastic sheets to protect them from accidental spills of paint. Also consider covering floors if necessary as well as nearby furniture pieces.
Finally make sure there is enough ventilation in the space where you’ll be working by opening windows if possible or using a fan for air circulation.
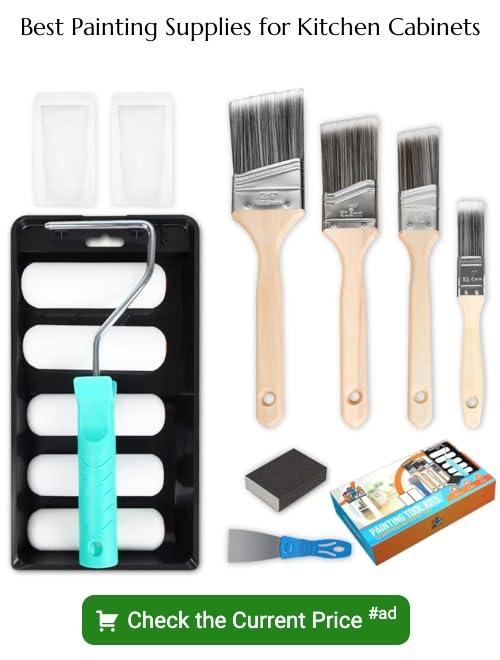
Tools and Materials Needed
Here’s a list of what you’ll need:
- Ladder or step stool
- Drop cloths or plastic sheeting
- Painter’s tape
- Sandpaper (medium grit)
- Tack cloth or damp rag for cleaning surfaces
- Primer
- Paintbrushes (angled brush recommended)
- Roller with extension pole for larger areas
When choosing your paint, consider using a semi-gloss finish as it is durable and easy to clean. It also reflects light well which can help brighten up the space above your cabinets.
Having all these tools on hand will make the process much smoother and efficient.
Safety Measures
First and foremost, make sure that you have a sturdy ladder or step stool that can support your weight. Avoid standing on chairs or other unstable surfaces as they can easily tip over.
Wear protective gear such as gloves and goggles to protect yourself from paint splatters and fumes. If possible, open windows for ventilation or use a fan to circulate air in the room.
Lastly, keep children and pets away from the area while you’re working with paint chemicals. Store all materials out of reach when not in use.
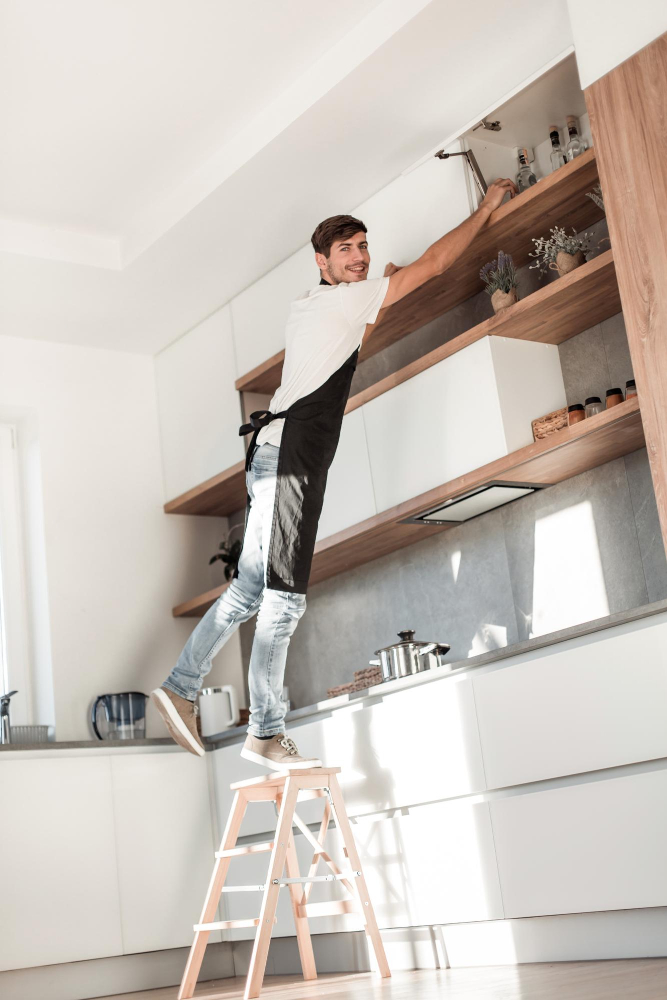
Managing Space Constraints

It can be difficult to reach and maneuver around tight spaces, especially if you have limited mobility or a small kitchen. To make things easier, consider using a step ladder or stool to help you access hard-to-reach areas.
If your cabinets are located in an area with low ceilings, it’s important to take extra precautions when painting. Make sure that your ladder or stool is stable and secure before climbing up to paint.
You may also need to use an extension pole for your brush so that you can reach high corners without having to climb too high.
Another option for managing space constraints is removing the cabinet doors altogether before starting the project. This will give you more room and flexibility while painting above them.
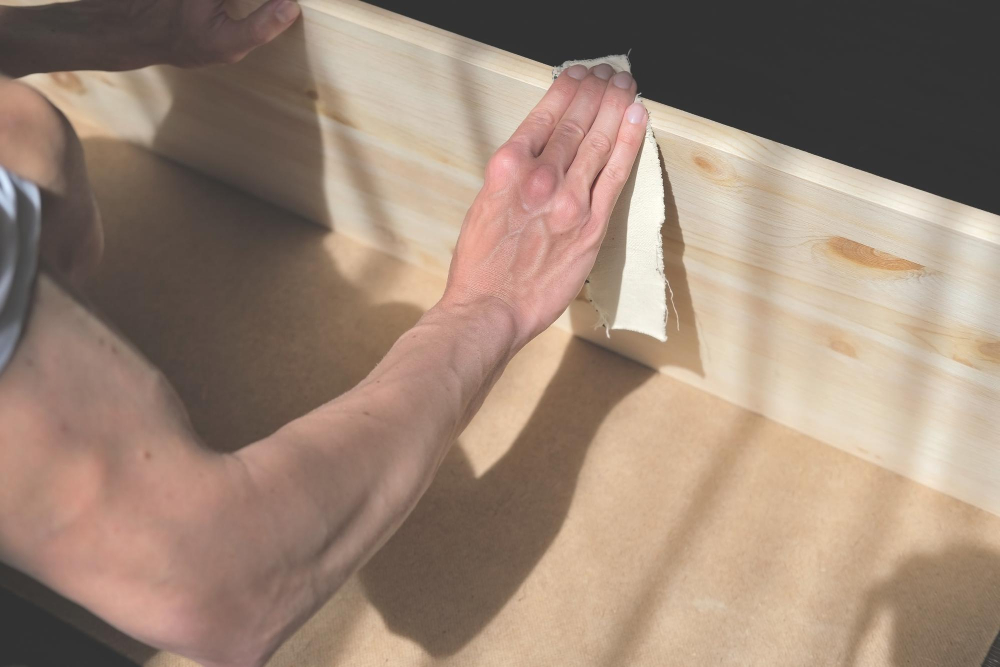
Cleaning the Surfaces
Over time, dust and grease can accumulate on these surfaces, making it difficult for paint to adhere properly. To ensure a smooth finish that lasts longer, use a degreaser or all-purpose cleaner to remove any dirt or grime from the surface.
Start by wiping down the area with a damp cloth and then apply your cleaning solution of choice using another clean cloth. Be sure to follow manufacturer instructions when using any cleaning products as some may require dilution before use.
Once you’ve applied the cleaner evenly across all areas above your cabinets, rinse off with water and let dry completely before proceeding with priming or painting. This step is crucial in ensuring that there are no bumps or bubbles on the surface which could affect how well paint adheres later on.
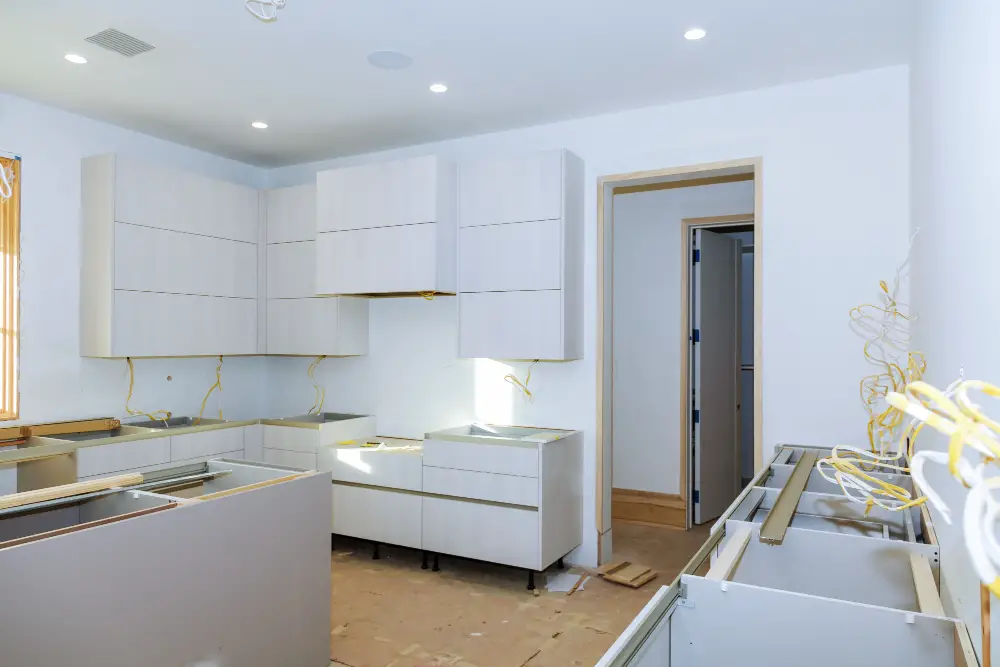
Preparing the Cabinets
This will ensure that the paint adheres well and lasts longer. Begin by removing any items on top of your kitchen cabinets and wiping them down with a clean cloth or sponge to remove dust and debris.
Next, use painter’s tape to cover any areas that you don’t want painted such as the ceiling or walls adjacent to the cabinet tops. Be sure not to leave gaps in between pieces of tape as this can result in uneven lines.
If there are any stains or grease marks on your cabinets, use a degreaser solution followed by sanding with fine-grit sandpaper until smooth. Wipe away all dust from sanding before proceeding.
Inspect for cracks or holes in the surface of your cabinet tops; if found fill them using wood filler according to manufacturer instructions then allow time for drying before continuing with priming step.
Masking and Taping
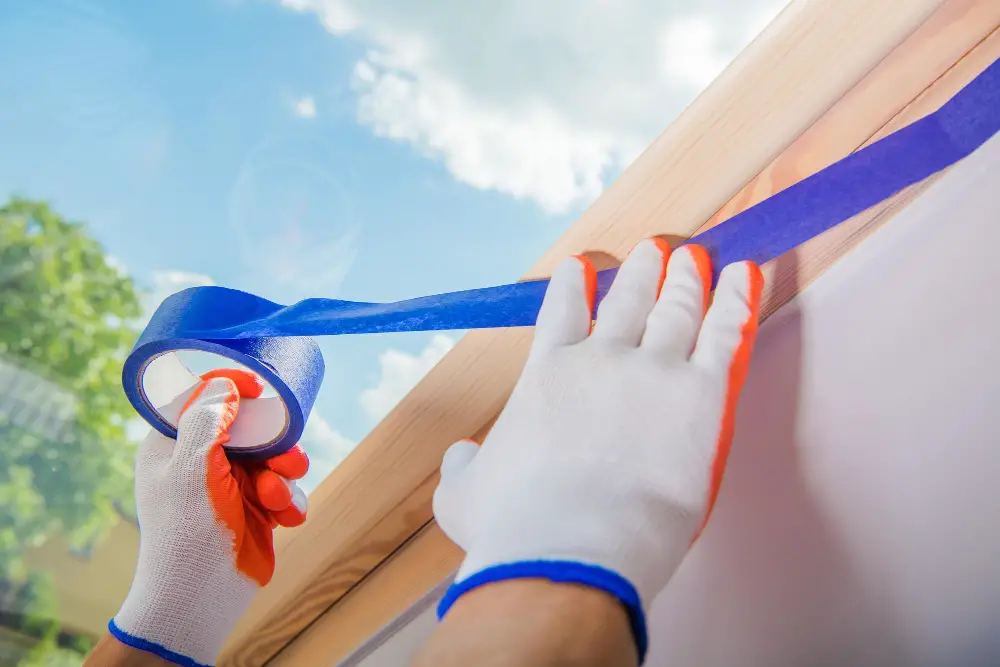
It’s important to protect the areas you don’t want to paint, such as the ceiling or walls, from accidental splatters or drips. To do this, use painter’s tape and masking paper to cover these surfaces.
Start by applying painter’s tape along the edges of your cabinets where they meet with other surfaces like walls or ceilings. Make sure that it is straight and secure so that no paint can seep through underneath it.
Next, use masking paper to cover any areas around your cabinets that you don’t want painted. This could include countertops or appliances near the cabinet area.
Be sure not to leave any gaps between pieces of masking paper as this will allow for unwanted paint coverage on those surfaces.
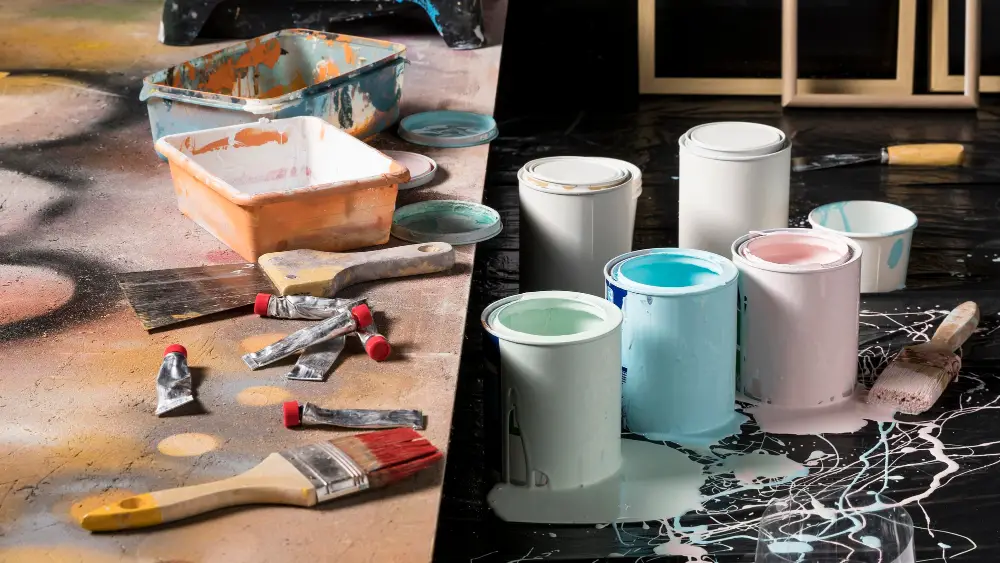
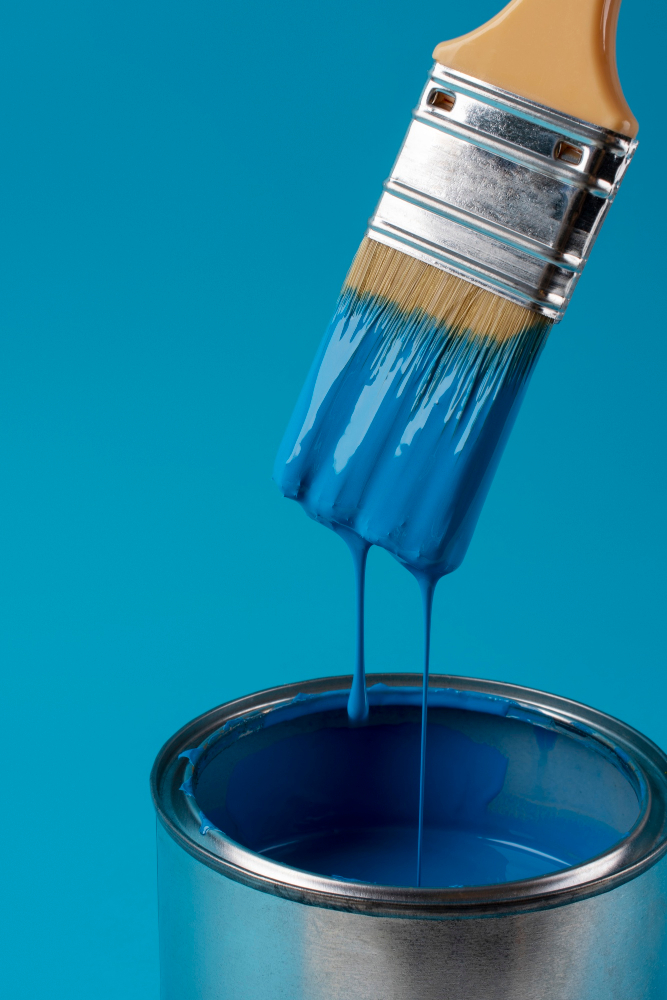
Choosing the Right Paint
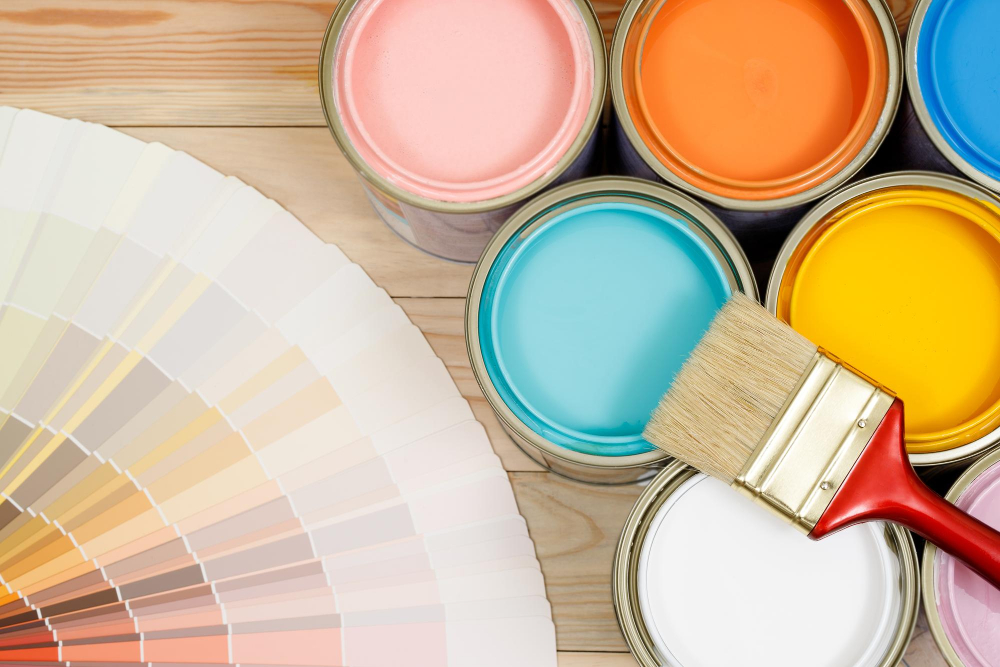
You want a paint that will adhere well to surfaces and provide long-lasting durability. There are two main types of paints you can choose from: oil-based or water-based.
Oil-based paints are known for their durability and resistance to wear and tear, making them ideal for high-traffic areas like kitchens. However, they also have a strong odor and require solvents for cleanup.
Water-based paints, on the other hand, offer easy cleanup with soap and water but may not be as durable as oil-based options. They also tend to dry faster than oil-based alternatives.
When selecting your paint color, consider factors such as lighting in your kitchen space or existing decor elements that you want to complement or contrast with. Once you’ve chosen your preferred type of paint (oil vs water), make sure it’s suitable for use on wood surfaces if applicable.
Priming the Cabinets

Priming helps the paint adhere better and provides a smooth surface for an even finish. Choose a primer that is specifically designed for your cabinet material, whether it’s wood or laminate.
To begin priming, use a brush to apply primer on any areas that are difficult to reach with a roller. Then use the roller to cover larger surfaces evenly.
Be sure not to overload your brush or roller with too much primer as this can cause drips and uneven coverage.
Allow the first coat of primer ample time (usually 24 hours) before applying another coat if necessary. Sand lightly between coats using fine-grit sandpaper until you achieve an even surface texture.
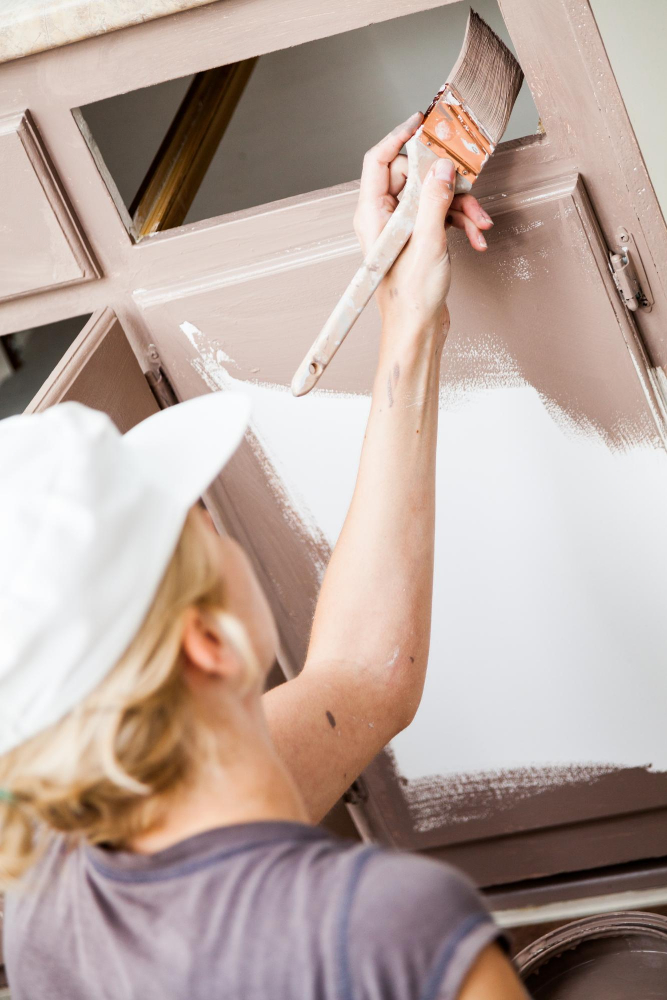
How To Reach Above Your Kitchen Cabinets to Paint

Don’t worry, there are several ways to make this task easier and safer.
One option is to use a ladder or step stool. Make sure the ladder is sturdy and placed on a flat surface before climbing up.
If you’re using a step stool, choose one with non-slip feet for added stability.
Another option is to use an extension pole with your paintbrush or roller. This tool allows you to reach high areas without having to climb up on anything.
Whichever method you choose, always prioritize safety first! Avoid overreaching or leaning too far out from your support base as this could cause accidents that may lead not only damage but also injuries.
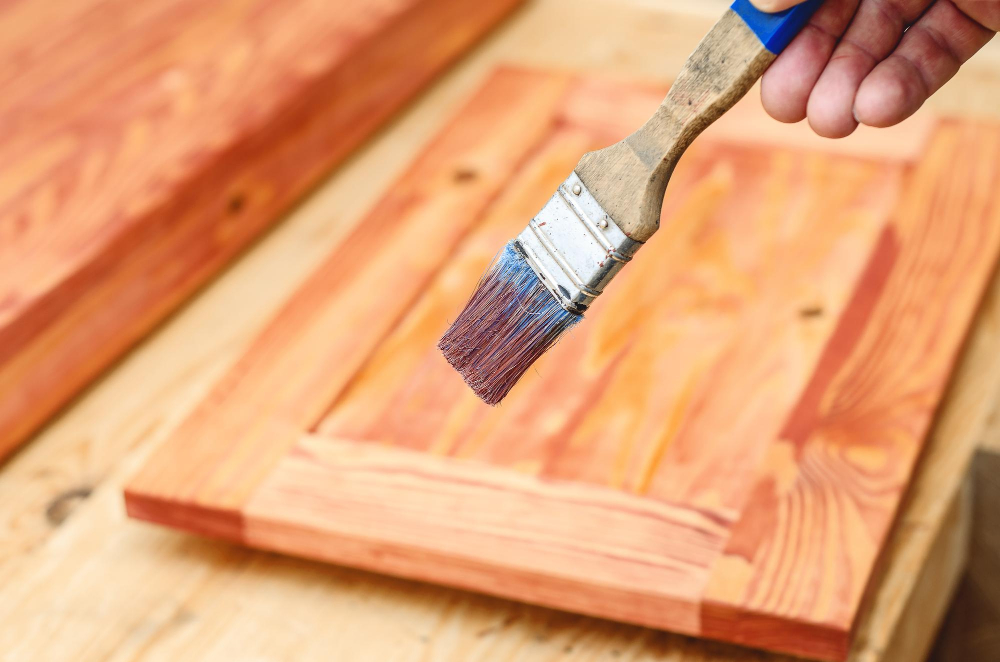
Choosing the Right Brush
A good quality brush will help you achieve a smooth and even finish, while a poor-quality one can leave behind unsightly streaks and marks.
For this project, we recommend using a high-quality synthetic bristle brush that’s specifically designed for use with latex paint. These brushes are durable and easy to clean, making them perfect for multiple uses.
The size of your brush will depend on the size of your cabinets. For smaller areas or tight spaces between objects on top of the cabinet like vases or jars, choose a small angled sash brush which allows you to get into corners easily without leaving any drips behind.
On larger surfaces such as flat tops or sides of cabinetry where there is more space available for movement when painting – consider using wider brushes like 2-3 inch wide ones which cover more area in less time but still provide control over application thickness so that no drips occur during application process!
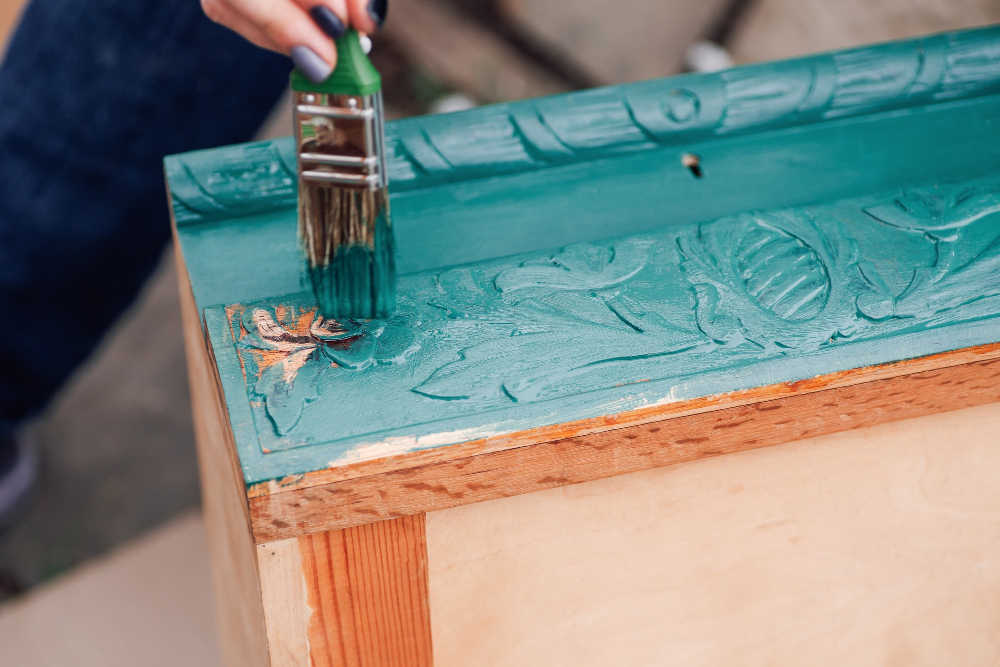
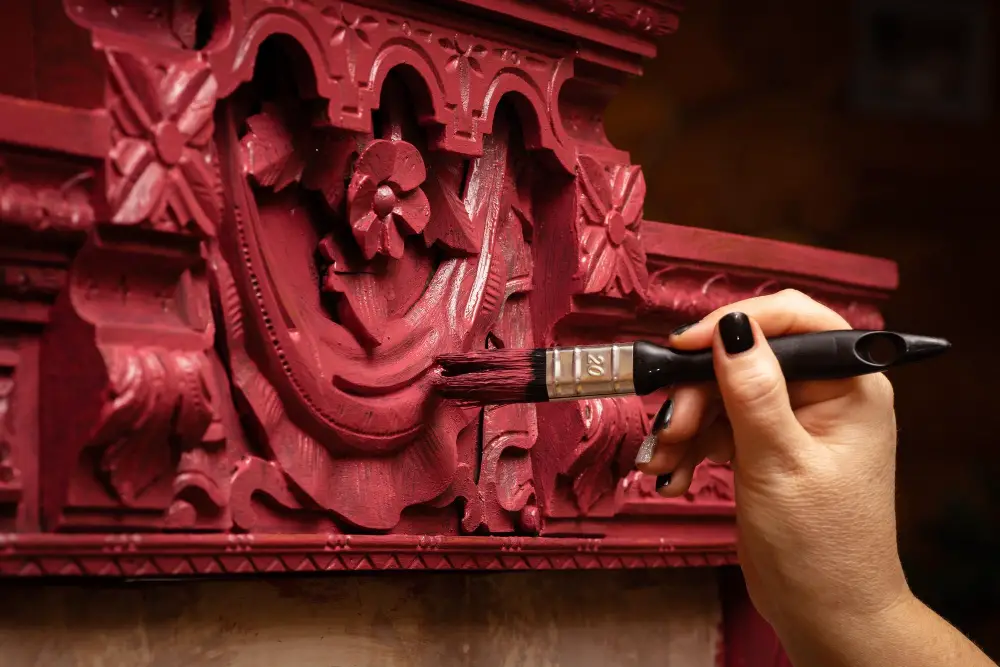
Painting Techniques
Before you begin, it’s important to know some basic painting techniques that will help you achieve a smooth and even finish.
Firstly, always use long strokes when applying paint. This helps prevent brush marks from forming on the surface of your cabinets.
Start at one end of the cabinet and work your way towards the other end in a continuous motion.
Secondly, avoid overloading your brush with too much paint as this can cause drips or uneven coverage. Instead, dip just enough paint onto your brush so that it covers evenly without dripping.
Thirdly, try not to go back over areas that have already been painted as this can cause streaks or smudges in the finish. If necessary though for touch-ups or missed spots wait until after each coat has dried completely before going back over any areas again.
Tips for a Smooth Finish
Before you begin, here are some tips to help ensure a smooth finish:
1. Use long strokes: When applying paint with your brush or roller, use long strokes in one direction rather than short back-and-forth movements.
2. Don’t overload your brush or roller: Too much paint on your tool can cause drips and uneven coverage.
3. Work in sections: Divide the area into manageable sections so that you can focus on one part at a time without feeling overwhelmed.
4. Keep an eye out for drips: Check frequently for any drips or runs and wipe them away immediately with a clean cloth.
5. Sand between coats: After each coat has dried completely, lightly sand the surface before applying another coat of paint to create an even smoother finish.
Applying the First Coat
Begin by applying the first coat of paint using a brush or roller. It’s important to use long, even strokes in one direction for a smooth finish.
Start at the top of your cabinets and work your way down towards the bottom.
Be sure not to overload your brush or roller with too much paint as this can cause drips and uneven coverage. Instead, apply thin coats of paint evenly across each surface.
If you’re using a roller, be mindful that it may leave texture on flat surfaces such as cabinet tops if not used correctly; therefore brushing is recommended for these areas.
Allow ample drying time between coats before moving onto sanding or applying another layer of paint – usually 2-4 hours depending on humidity levels in your home.
Drying Time

Drying times can vary depending on factors such as humidity and temperature, so be sure to check your paint can for specific instructions. As a general rule of thumb, most paints will require at least 24 hours between coats.
During this time, it’s important to keep the area well-ventilated and free from dust or debris that could settle onto your freshly painted surfaces. You may also want to consider using fans or dehumidifiers in particularly humid environments.
Remember that patience is key when painting above kitchen cabinets – rushing through drying times could result in uneven coverage or even damage to your newly painted surfaces.
Sanding Between Coats
This is where sanding between coats comes in. Sanding helps create a smooth surface for your second coat of paint and ensures that any imperfections are removed.
To start, use fine-grit sandpaper (220 grit or higher) and lightly sand the entire surface area that was painted with your first coat. Be sure to remove any dust or debris from the sanded area before applying another layer of paint.
Sanding between coats may seem like an extra step, but it can make all the difference in achieving a professional-looking finish.
Applying the Second Coat

This step is crucial in achieving a smooth and even finish. Before starting, make sure that you have enough paint left for this final layer.
Using your brush or roller, apply the second coat of paint following the same technique as before. Be careful not to overload your brush or roller with too much paint as this can cause drips and unevenness on your surface.
As you work through each section of cabinets, check for any missed spots or areas that need touch-ups from the first coat. Use a small brush to fill in these gaps before moving on to another area.
After applying all sections with a second layer of paint, let it dry completely according to manufacturer instructions before removing masking tape and plastic sheets from surrounding surfaces.
Final Touch-ups
This step is crucial in ensuring that your kitchen cabinets look flawless and professional. Take a close look at the surfaces and check for any missed spots or uneven areas.
Use a small brush to carefully fill in any gaps or imperfections.
If you notice any drips or smudges, use fine-grit sandpaper to gently smooth them out before applying another layer of paint. Be sure not to over-sand as this can damage the surface.
After completing all necessary touch-ups, allow ample drying time before removing masking tape and plastic sheets from surrounding areas.
Painting above your kitchen cabinets is an easy way to give your space a fresh new look without breaking the bank on expensive renovations.
Clean Up and Maintenance
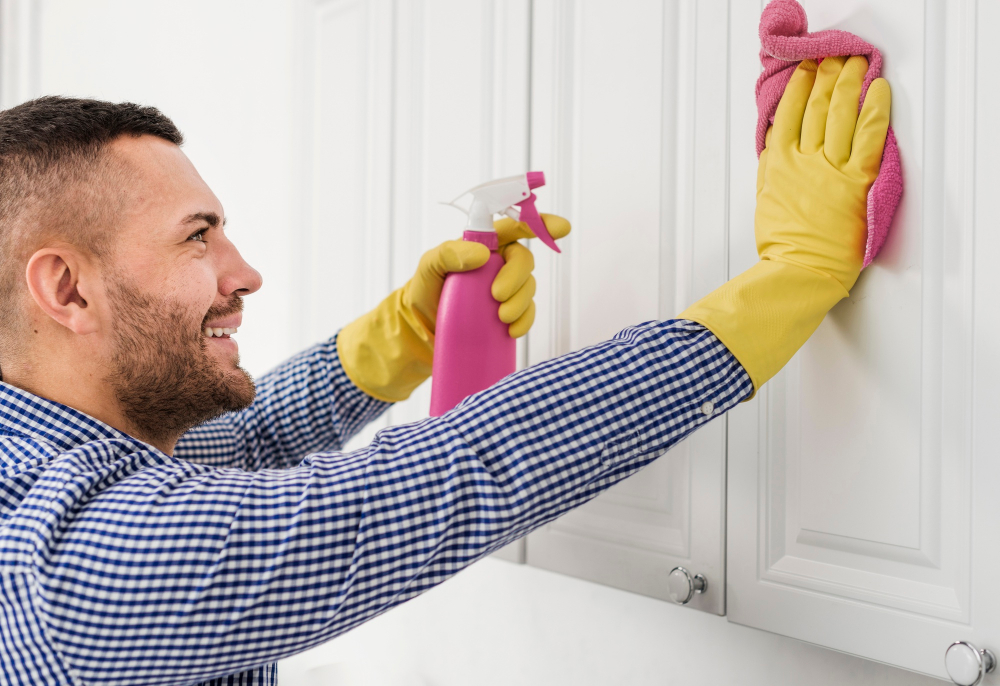
Remove all masking tape and drop cloths carefully to avoid any damage or mess. Dispose of used paint cans, brushes, rollers, and other materials according to local regulations.
To keep your newly painted space looking fresh for years to come, regular maintenance is key. Wipe down the surfaces with a damp cloth as needed but avoid using harsh chemicals that can damage the paint finish over time.
If you notice any chips or scratches in the paintwork after some time has passed since painting above your kitchen cabinets – don’t worry! Simply touch up those areas with a small brush dipped in matching paint color.
By following these simple steps for cleaning up after painting above your kitchen cabinets and maintaining them regularly afterward – you’ll be able to enjoy a beautiful new look in this often-overlooked space without much effort at all!
FAQ
How do you cover kitchen cabinets when painting ceiling?
To cover kitchen cabinets when painting the ceiling, use a drop cloth and painter’s tape to protect the cabinets and other surfaces.
How do you fill gaps between cabinets and ceilings?
To fill gaps between cabinets and ceilings, install trim along the top of upper cabinets for a cohesive, built-in look and to reduce dust accumulation.
Do you decorate above kitchen cabinets?
Yes, decorating above kitchen cabinets is an excellent way to display favorite items and maintain necessary supplies within reach, suitable for both large and small spaces.
What type of paint is best suited for the area above kitchen cabinets?
Semi-gloss or satin paint is best suited for the area above kitchen cabinets.
What precautions should be taken to protect the cabinet surfaces while painting?
To protect cabinet surfaces while painting, cover them with plastic sheets or painter’s tape to avoid unintentional paint spills or splatters.
What are some design ideas for painting the space above your kitchen cabinets to enhance the room’s aesthetic appeal?
Some design ideas for painting the space above your kitchen cabinets include using contrasting colors, a stencil pattern, or a faux finish to create visual interest and enhance the room’s aesthetic appeal.


