Last updated on
Sprucing up your home’s appearance is as easy as painting shiplap cracks, a task you’ll master in no time because this article is packed with foolproof, step-by-step instructions to guide you through the process.
Navigating the nuanced world of shiplap maintenance, especially when it comes to painting over those pesky cracks, can be a journey of trial and error without the right guidance. Bringing your shiplap back to its former glory is all about mastering a few key steps—from making sure the surface is pristine and addressing any deeper issues to selecting the perfect primer and paint for a lasting finish.
Whether you’re dealing with minor hairline cracks or more pronounced gaps, this guide lays out a foolproof strategy that ensures your shiplap walls become the centerpiece of any room, once again. Stick with us to dive deep into a step-by-step process that will elevate your DIY project to professional standards.
Key takeaways:
- Assess the condition of shiplap cracks and address underlying issues.
- Gather necessary supplies: caulking, sandpaper, paintbrushes, primer, paint, etc.
- Clean the shiplap surface thoroughly before proceeding.
- Sand the cracks for a smooth finish using medium and fine-grit sandpaper.
- Apply primer if necessary and choose high-quality paint suitable for shiplap.
What's Inside
Assess the Condition of Shiplap Cracks
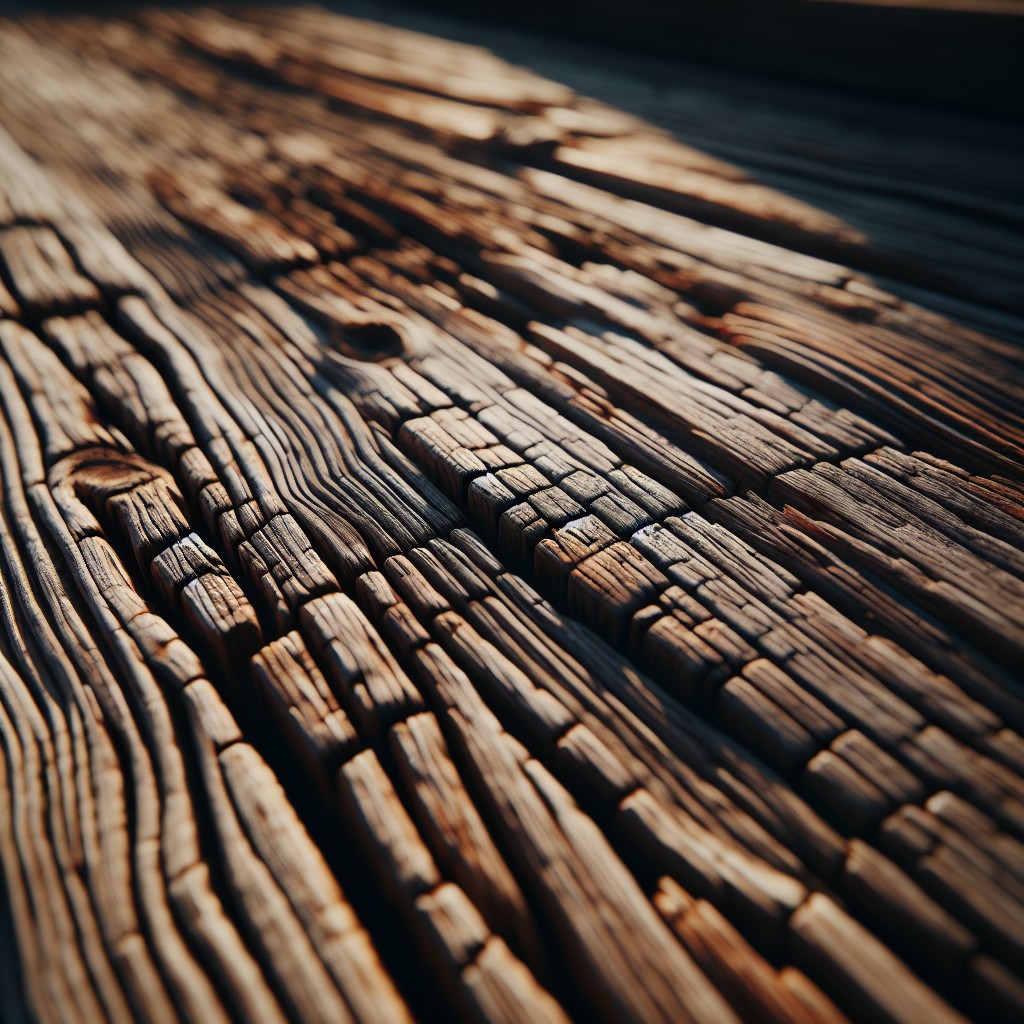
Begin by closely examining the shiplap for any signs of damage. Look for variations in crack widths and depths, as these will dictate your approach. Shallow, hairline fissures might only need a simple touch-up, while wider or deeper gaps could necessitate wood filler before painting.
Check for underlying issues that may have caused the cracking, like moisture or settling. Address any foundational problems first to prevent further damage down the line.
Feel the texture around the cracks. If you notice rough edges, these areas will need sanding to ensure a smooth base for painting. Also, be on the lookout for loose or peeling paint around the cracks, as it will need removal prior to the painting process.
Finally, observe if the shiplap has been previously painted and whether additional prep work, such as priming, might be needed to help the new paint adhere properly and last longer.
Gather Necessary Supplies and Tools
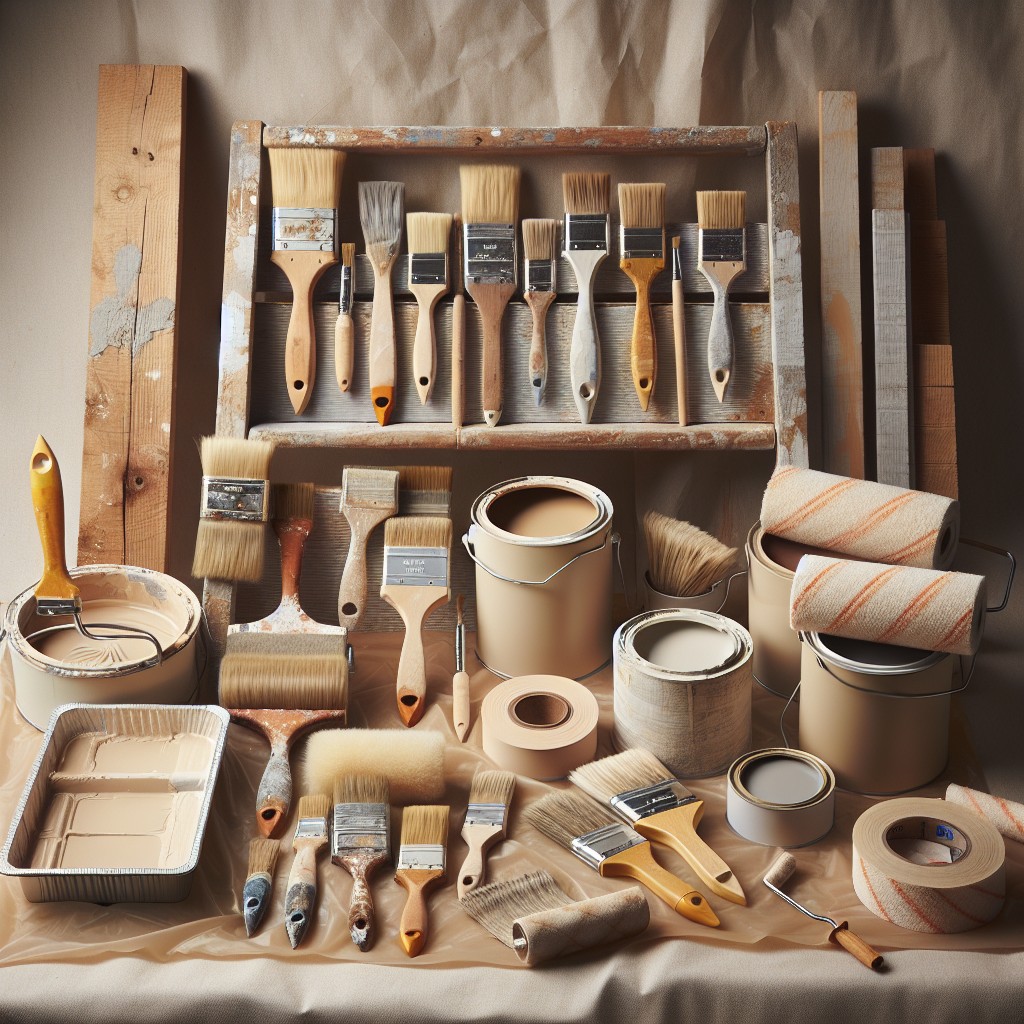
Before starting your shiplap painting project, having the right supplies and tools on hand ensures a smooth process:
- Caulk: For filling the cracks, a paintable caulk that can flex with the wood’s movement is essential.
- Caulk Gun: A necessary tool for applying caulk precisely and with ease.
- Sandpaper: Medium to fine grit paper prepares the surface by smoothing out any rough edges after caulking.
- Tack Cloth: This sticky cloth removes all residual dust post-sanding, providing a clean surface for painting.
- Paintbrushes: Angled brushes in various sizes enable precision in getting paint deep into the cracks and covering the shiplap surface evenly.
- Painter’s Tape: Used to mask off any areas adjacent to the shiplap to keep the work neat.
- Primer (if necessary): An essential foundation for some painting projects, especially if the shiplap has stains or is being painted a significantly lighter color.
- Paint: High-quality acrylic latex paint is typically recommended for its durability and ease of clean-up.
- Drop Cloths: To protect your floors and furniture from drips or spills.
Ensure that each item is accounted for before you begin to avoid any interruptions during the painting process.
Clean Shiplap Surface
Before you dive into repairing any cracks, it’s essential to start with a clean slate. Dust and cobwebs can get in your way, while grime and leftover residues can hinder the adherence of paint and filler. Use a soft-bristle brush to gently sweep away surface dust.
For tougher areas, dampen a clean cloth with mild soapy water and wipe down the surfaces, being careful not to soak the wood. Rinse with a clean, slightly damp cloth to remove soap residue. For any sticky spots or stains, a bit of isopropyl alcohol on a rag can be effective.
Allow the shiplap to dry thoroughly before proceeding with sanding and painting; moisture trapped beneath paint can lead to peeling or mold. Remember, working with a clean slate ensures the other steps in your project go smoothly, resulting in a professional-looking finish that lasts.
Sand the Cracks for a Smooth Finish
Prior to sanding, ensure your shiplap is completely dry after cleaning. Starting with a medium-grit sandpaper, such as 120-grit, work your way into the cracks and crevices. This initial sanding removes the larger splinters and evens out protruding surfaces. Be gentle—shiplap’s appeal often lies in its subtle textures and you don’t want to lose that.
Afterward, switch to a fine-grit sandpaper, around 220-grit, to smooth the surface to the touch. This step is crucial for creating a surface that paint can adhere to without issues, reducing the likelihood of peeling or chipping in the future. Remember to remove all dust with a tack cloth or a soft brush to ensure a clean, grit-free surface for painting.
Apply Primer, If Necessary
Before introducing color to your shiplap, it’s crucial to determine whether a primer is needed. Unfinished or bare wood usually requires a primer to seal the surface and ensure even paint absorption. Even if previously painted, a primer can help cover stains or dark colors, providing a fresh canvas for lighter shades. Opt for a stain-blocking primer if knots in the wood are likely to bleed through the paint. Note that some modern paints come with a primer included; check your chosen paint to see if this applies, potentially saving you a step.
If you’re working with exterior shiplap, choose a primer formulated for outdoor use to guard against weathering. For the best results, let the primer dry completely according to the manufacturer’s instructions before proceeding to paint application.
Choose Paint and Sheen Suitable for Shiplap
When selecting paint for your shiplap, opt for high-quality acrylic latex paint. This type provides flexibility and allows for the natural expansion and contraction of wood without cracking. A semi-gloss or satin finish is recommended as it offers an ideal balance between a subtle shine and easy maintenance, helping to hide imperfections while still being cleanable.
For a more rustic look, matte or chalk paint can be used, but keep in mind these finishes may require more frequent touch-ups. Always bear in mind the existing decor and lighting in your space, as they can affect the appearance of the paint once applied.
Technique: Brushing Paint Into Cracks
Having sanded the surface and ensured the primer is set, you’re now ready to tackle the delicate task of painting the shiplap’s signature feature: its cracks. For optimal results, use a tapered or angled paintbrush, which gives you more control to get into the nooks and crannies.
Dip your brush into the paint, but don’t overload it—this can cause drips. Instead, aim for a moderate amount of paint on the brush to achieve a smooth stroke. Start by painting from the top of the shiplap and work your way down, using the brush to push paint into the cracks.
It’s important to maintain a steady hand and apply even pressure, allowing the paintbrush bristles to penetrate deeply into the cracks for uniform coverage. If you encounter any excess paint seeping out of the cracks, a quick swipe with a dry brush can tidy up any spills before they dry.
Patience is key here. This step may feel meticulous but taking your time ensures that those distinctive lines remain crisp and clear, showcasing the shiplap’s unique charm. Once you’ve painted the cracks, step back and review your work, performing touch-ups as needed before moving on to the next section of wall.
Apply Additional Coats As Needed
Once the initial coat of paint has thoroughly dried, inspect it carefully. Look for any areas where the color appears uneven or where the shiplap cracks are still visible.
A second or even a third layer may be required to achieve a perfectly smooth, uniform appearance. Remember, thin, even layers are key. Rushing the process by applying paint too thickly can result in drips and an unprofessional finish.
Allow adequate drying time between each coat to ensure the best results. Patience here will pay off in the long run with a more professional and durable finish.
Finish With Sealant for Durability (Optional)
While sealant is not always necessary, applying it can extend the lifespan of your paint job and make future cleaning easier. Consider a water-based polyurethane for its clear finish and minimal odor.
Remember, a little goes a long way – use a fine-bristle brush to apply a thin, even layer and follow the manufacturer’s instructions for drying times.
For those in high-moisture environments or with shiplap in kitchens or bathrooms, sealant can be particularly beneficial in protecting against water damage and mold.
Remember to ventilate the area well while using these products and keep an eye on the weather, as high humidity can extend drying time.
Tips for Maintaining Painted Shiplap Cracks
Maintaining the integrity of your painted shiplap can extend its life and keep it looking pristine:
– Regular Cleaning: Dust and vacuum painted shiplap walls to prevent dirt buildup in the cracks. – Touch-up Kit: Keep extra paint and a small brush on hand for quick fixes to chips and scratches. – Monitor Humidity: Install a dehumidifier or use air conditioning to control moisture levels that may cause painted surfaces to warp or crack further. – Avoid Harsh Chemicals: Clean with gentle soaps and avoid abrasive materials that can strip paint or damage the wood. – Inspect Seasonally: Look for signs of wear or damage, particularly after extreme weather, and address issues promptly to prevent further deterioration.By following these maintenance steps, you can help ensure that your shiplap’s appearance remains as timeless and inviting as the day it was painted.
FAQ
Do you paint the grooves in shiplap?
Yes, when painting shiplap, it is crucial to paint the grooves as well, ensuring every part of the wall is covered for a uniform appearance.
How do you hide shiplap seams?
To hide shiplap seams, ensure all gaps and edges are filled with caulk to maintain clean lines and a finished appearance.
What are the best paint types and tools for finishing shiplap?
The best paints for finishing shiplap are acrylic and oil-based paints, and key tools include small paintbrushes for detail works, paint rollers for larger surfaces, and grit sandpaper for surface preparation.
How to effectively prep shiplap for painting?
To effectively prep shiplap for painting, you should start by cleaning the surface, lightly sanding it to improve adhesion, fill in any gaps or holes with putty, and then apply a quality primer to create a smooth and reliable surface for paint.
Is there a specific technique to paint shiplap horizontally or vertically?
Painting shiplap horizontally or vertically does not require a specific technique; rather, it’s essential to follow general painting guidelines such as cleaning the surface, priming if necessary, and using a high-quality brush or roller for even application.


