Last updated on
Discover simple yet effective methods to safeguard the backsplash behind your stove, ensuring a clean and well-maintained kitchen space.
Cooking is an art that requires creativity, skill, and passion. As a home chef, you know the importance of having a well-designed kitchen that inspires you to create delicious meals.
One essential element of any kitchen is the backsplash behind the stove. Not only does it add aesthetic value to your cooking space, but it also protects your walls from heat, grease splatters, and other cooking mishaps.
In this article, we’ll share some tips on how to protect your backsplash behind the stove so you can keep your kitchen looking great and functioning at its best. So let’s get started!
Key takeaways:
- Protect backsplash behind stove with heat-resistant materials.
- Choose ceramic tile, glass tile, stainless steel, or stone for durability.
- Use easy-to-clean materials like glass or stainless steel for convenience.
- Install backsplash properly to ensure longevity and proper protection.
- Use stove liners, splatter screens, and proper ventilation for added protection.
What's Inside
Importance of Backsplash Protection
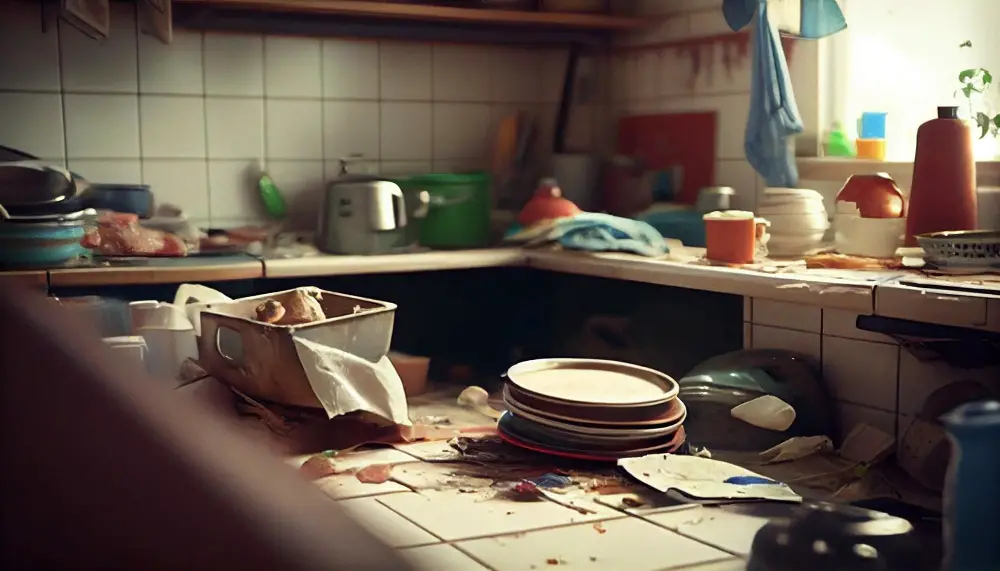
The backsplash behind your stove is an essential element of your kitchen that serves both functional and aesthetic purposes. It protects the wall from heat, moisture, grease splatters, and other cooking mishaps while adding a stylish touch to your cooking space.
Without proper protection, the wall behind the stove can become stained or damaged over time due to exposure to high temperatures and food debris.
Moreover, cleaning a dirty backsplash can be challenging as it requires scrubbing off stubborn stains that may have seeped into porous materials like grout or unsealed tiles. This process not only takes up valuable time but also wears down on the material’s surface.
Therefore protecting your backsplash is crucial in maintaining its longevity while keeping it looking clean and new for years to come.
Types of Backsplash Materials
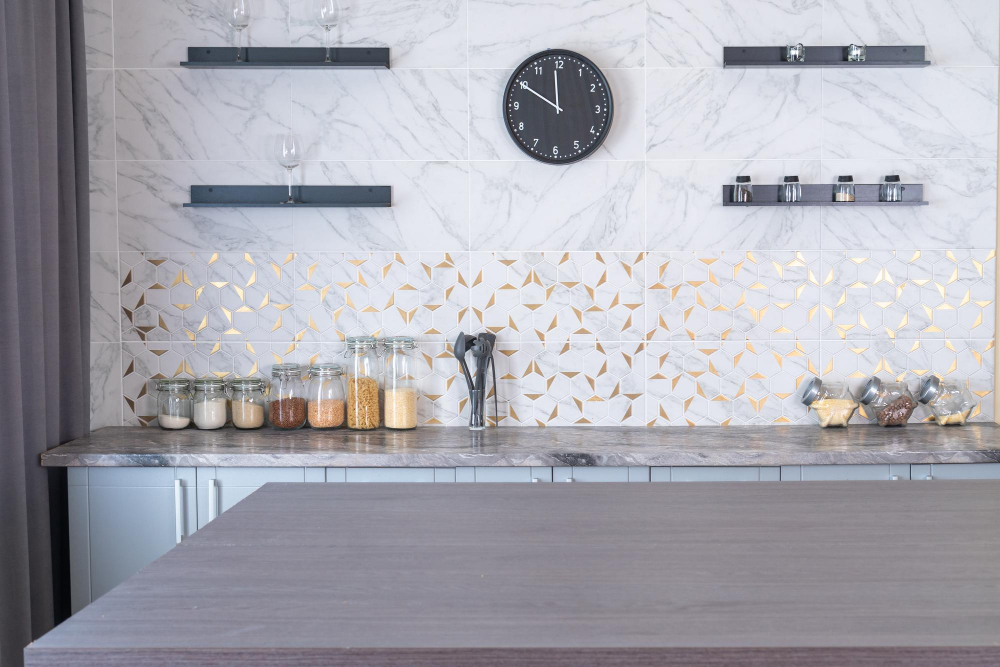
Each material has its unique features and benefits that cater to different needs and preferences. Some of the most popular types of backsplash materials include ceramic tile, glass tile, stainless steel, stone or brick.
Ceramic tiles are a classic choice for kitchen backsplashes due to their durability and versatility in design options. They come in various colors, shapes and sizes which make them easy to customize according to your style preference.
Glass tiles offer a sleek modern look with endless color options that add depth and dimensionality while reflecting light throughout the room.
Stainless steel is an excellent option for those who want a contemporary industrial look as it is durable against heat damage while being easy-to-clean with just soap water or vinegar solution.
Stone or brick offers natural beauty with earthy tones that create warmth within any space they occupy. These materials require more maintenance than other options but provide long-lasting protection against heat damage when properly sealed.
Heat-resistant Backsplash Options
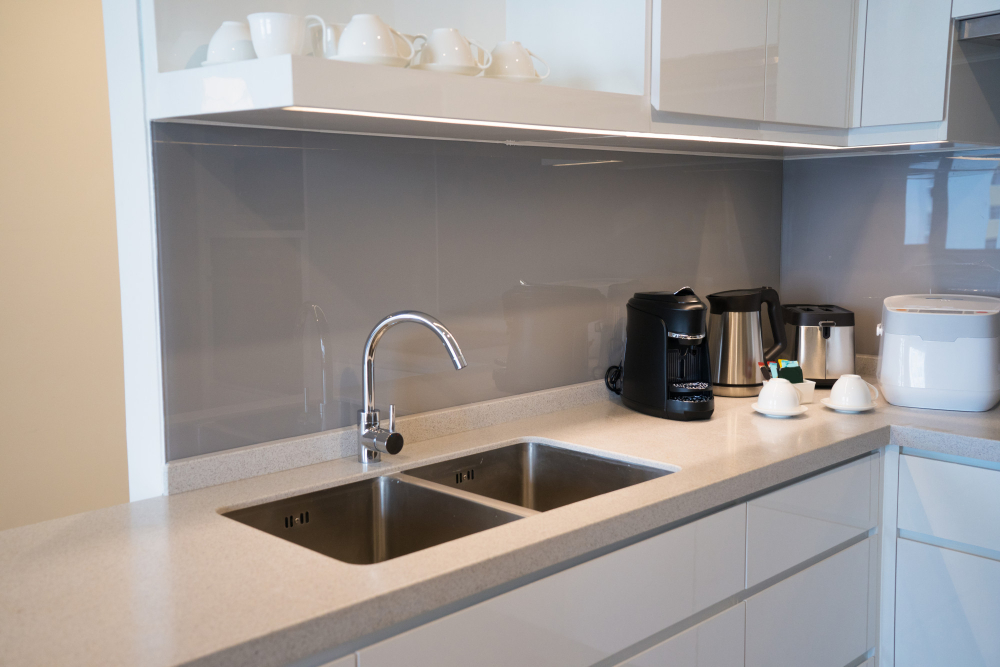
Heat-resistant backsplash options are an excellent choice for those who love to cook and want to keep their kitchen looking great. Some of the most popular heat-resistant materials include ceramic tiles, glass tiles, stainless steel sheets, and natural stone.
Ceramic tile is a classic option that offers both durability and style. It’s easy to clean and maintain while providing excellent protection against heat damage.
Glass tile is another popular choice for its sleek look and ability to reflect light in the kitchen space. It’s also highly resistant to stains, scratches, moisture damage as well as being able to handle high temperatures.
Stainless steel sheets are perfect if you’re going for an industrial or modern look in your kitchen design. They’re incredibly durable against wear-and-tear while offering superior resistance against extreme temperature changes.
Natural stone such as granite or marble provides not only beauty but also exceptional durability when it comes down resisting intense heats from cooking appliances like stoves.
Easy-to-clean Backsplash Materials
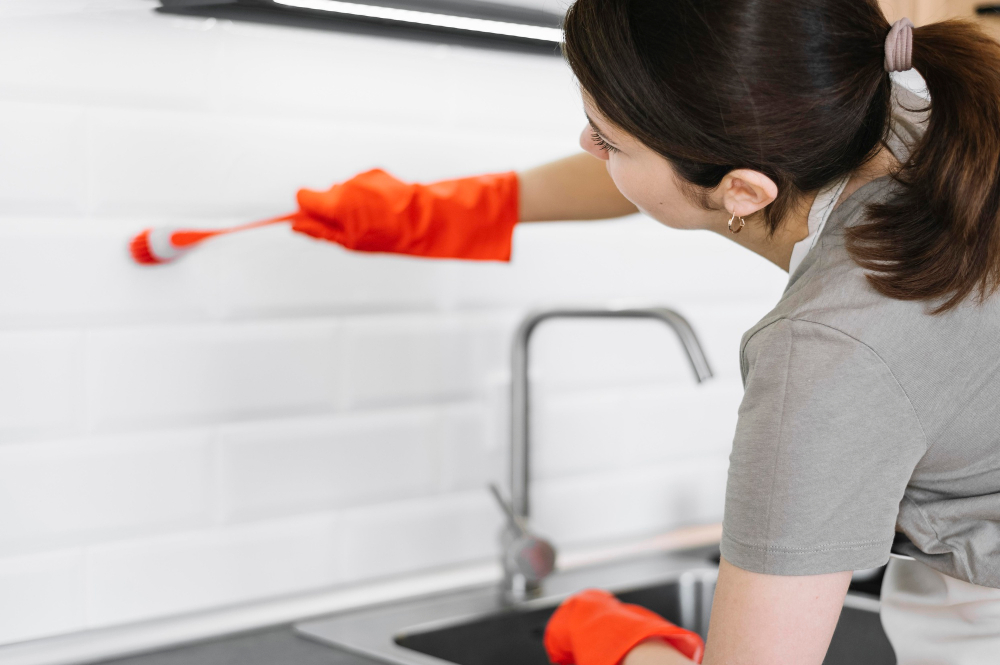
Grease splatters and food stains can quickly accumulate on your backsplash, making it look dirty and unappealing. Fortunately, there are many materials available that are not only durable but also easy to clean.
One popular option for an easy-to-clean backsplash is a glass tile or panel. Glass surfaces have a smooth texture that makes them effortless to wipe down with soap and water or any other cleaning solution of your choice.
They’re also resistant to heat damage from stovetop cooking.
Another great option for an easily maintainable kitchen space is stainless steel tiles or panels which offer both durability and style while being incredibly simple to clean up after cooking messes.
Ceramic tiles are another excellent choice as they come in various colors, patterns, shapes & sizes; they’re affordable yet stylish options that require minimal maintenance efforts compared with other materials like natural stone.
Ceramic Tile Backsplash
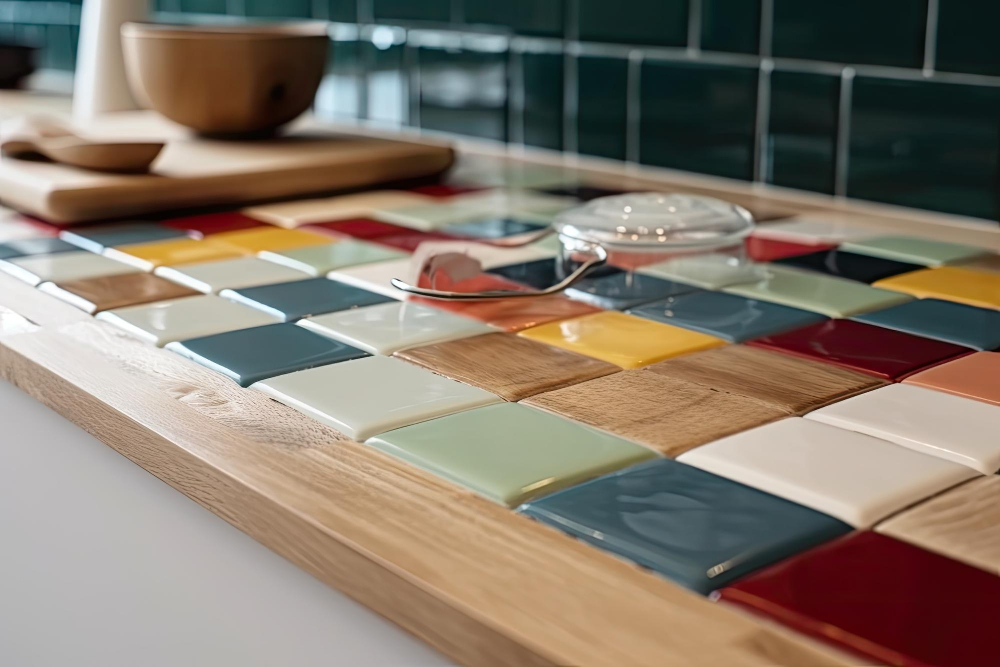
They come in various sizes, shapes, colors and patterns that can complement any kitchen design. Ceramic tiles are also easy to clean with just soap and water or mild cleaning solutions.
When choosing ceramic tile for your backsplash behind the stove area, it’s essential to select heat-resistant options that can withstand high temperatures without cracking or discoloring. You should also consider using larger-sized tiles as they require fewer grout lines which means less maintenance.
Installing a ceramic tile backsplash is relatively easy if you have some DIY skills; however hiring an expert may be necessary if you’re not confident in your abilities. Proper installation of the ceramic tile will ensure its longevity while protecting your walls from cooking mishaps.
Glass Tile Backsplash
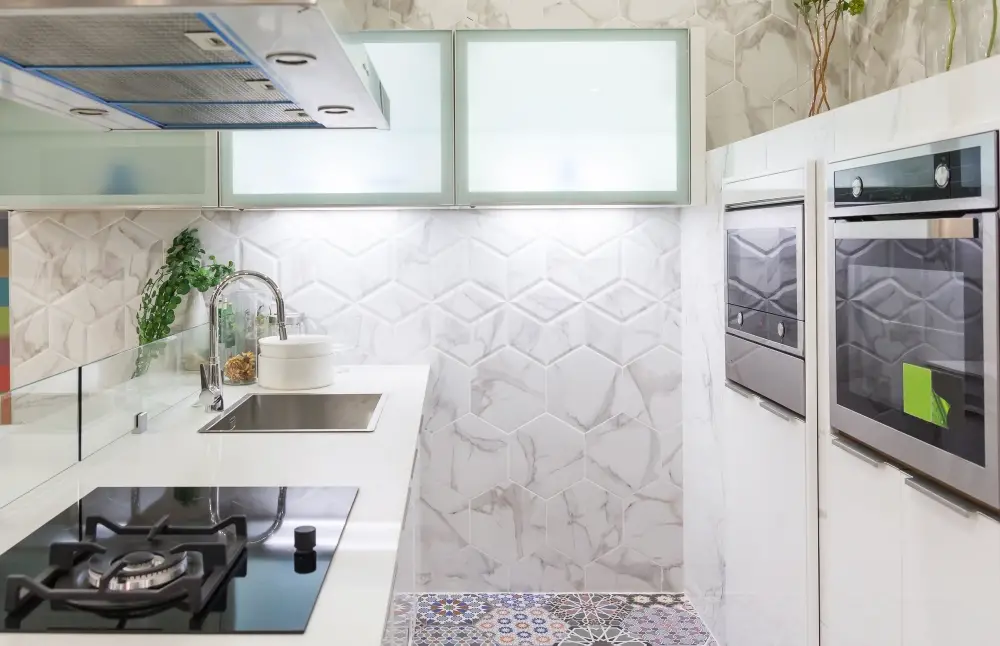
Not only does it add a touch of elegance to your kitchen, but it’s also easy to clean and maintain. Glass tiles come in various colors, shapes, sizes, and finishes that can complement any kitchen design.
One advantage of using glass tiles as your backsplash material is its reflective properties. It reflects light around the room making the space appear brighter and more spacious than it actually is.
Another benefit of using glass tile as your backsplash material is its durability. Unlike other materials like ceramic or stone that may crack or chip over time due to heat exposure from cooking activities on the stove; glass tiles are resistant to heat damage.
When installing a glass tile backsplash behind your stove area ensure you use tempered safety glasses which are designed specifically for high-heat areas such as behind stoves.
Stainless Steel Backsplash
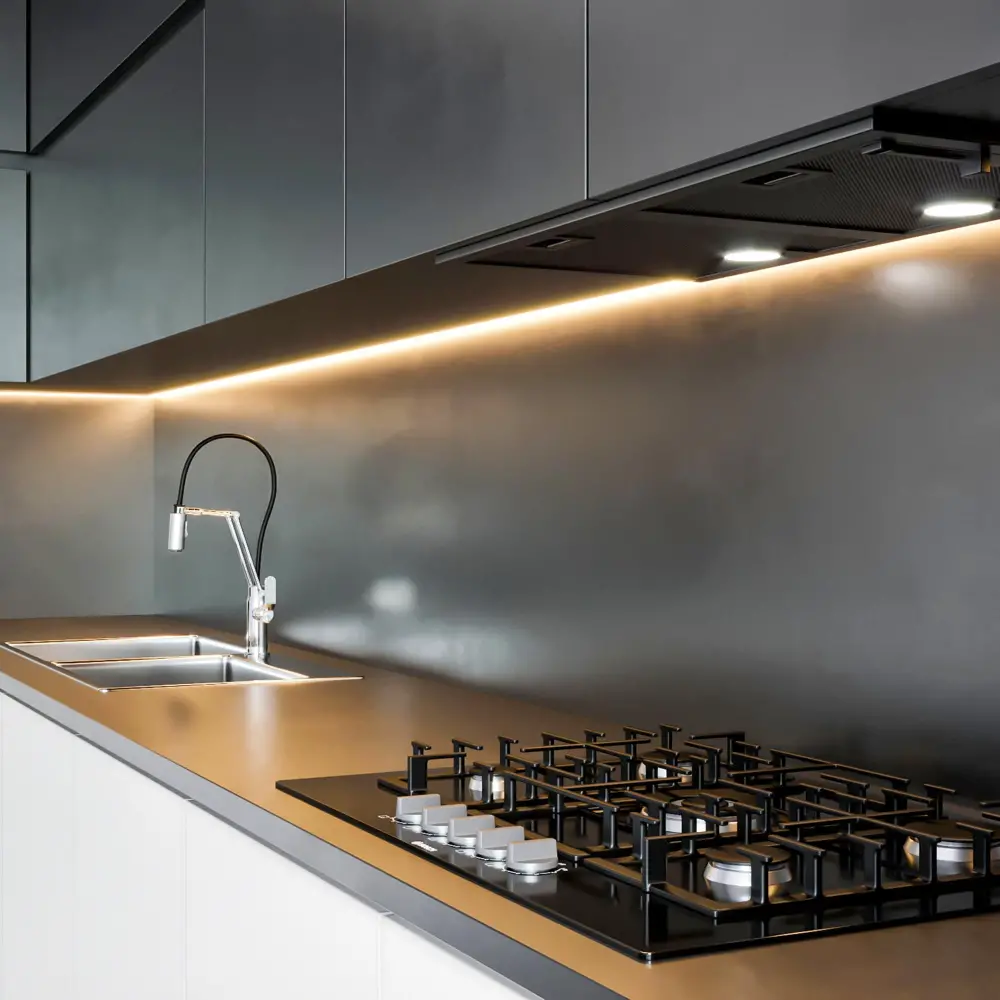
Not only does it add a contemporary touch to your kitchen, but it’s also incredibly durable and easy to clean. Stainless steel is resistant to heat, stains, and water damage making it perfect for the area behind the stove.
One of the benefits of using stainless steel as a backsplash material is that it reflects light well which can make small kitchens appear larger. It’s also versatile enough to complement any color scheme or design style in your kitchen.
When installing a stainless-steel backsplash behind your stove, ensure that you use high-quality materials such as heavy-duty adhesive or screws so that they don’t come loose over time due to exposure from heat or moisture.
Stone and Brick Backsplash
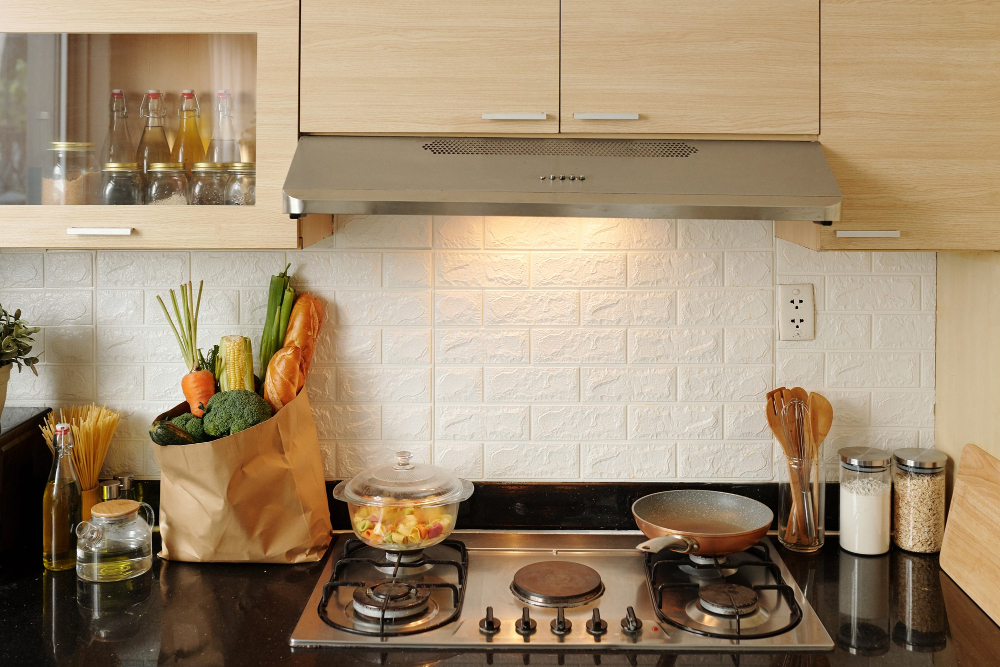
These materials are durable, heat-resistant, and easy to clean. They also add texture and depth to your cooking space.
When choosing a stone or brick backsplash material, consider the color scheme of your kitchen as well as the size of the tiles. Larger tiles can make smaller kitchens feel cramped while smaller tiles can create an illusion of space in larger kitchens.
Installing a stone or brick backsplash requires some skill but it’s not impossible to do on your own if you have experience with DIY projects. However, hiring professionals is always recommended if you want flawless results.
Installing a Tile Backsplash
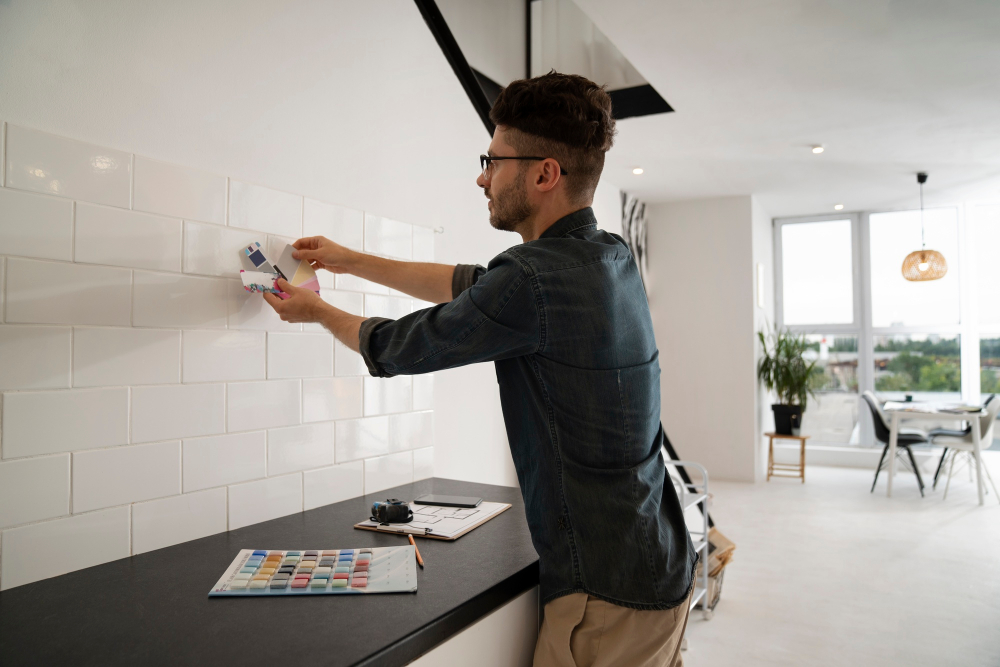
Installing a tile backsplash can be done in just a few simple steps with the right tools and materials.
Firstly, measure the area where you want to install your tile backsplash. This will help you determine how much material you need to purchase.
Next, prepare the surface by cleaning it thoroughly and removing any debris or old adhesive.
Once your surface is clean and dry, apply thin-set mortar using a notched trowel over small sections of the wall at once. Then press each tile firmly into place on top of this layer of mortar before moving onto another section until all tiles have been installed.
After allowing time for drying (usually 24 hours), apply grout between each individual tile using an appropriate tool such as rubber float or squeegee while wiping away excess grout with damp sponge after every pass until no more haze remains on tiles’ surfaces.
Installing a tiled backsplash behind your stove is an excellent way to protect against heat damage while adding aesthetic value to your kitchen space.
Installing a Metal Backsplash
They’re also incredibly durable and easy to clean, making them a practical option for busy kitchens. Installing a metal backsplash is relatively simple, but it does require some basic DIY skills.
Firstly, measure the area where you want your metal backsplash installed and purchase enough material accordingly. You can choose from various types of metals such as stainless steel or copper depending on your preference.
Next, prepare the wall surface by cleaning it thoroughly with soap and water then sanding it lightly so that the adhesive will stick better.
Apply construction adhesive onto the back of each panel using either caulk gun or trowel then press firmly against the wall starting at one corner working across until all panels are in place.
Finally use silicone sealant around edges where necessary ensuring there’s no gap between panels which could allow moisture behind causing damage over time. Installing a metal backsplash is an excellent way to protect your walls while adding style and functionality to your kitchen space.
Installing a Glass Backsplash
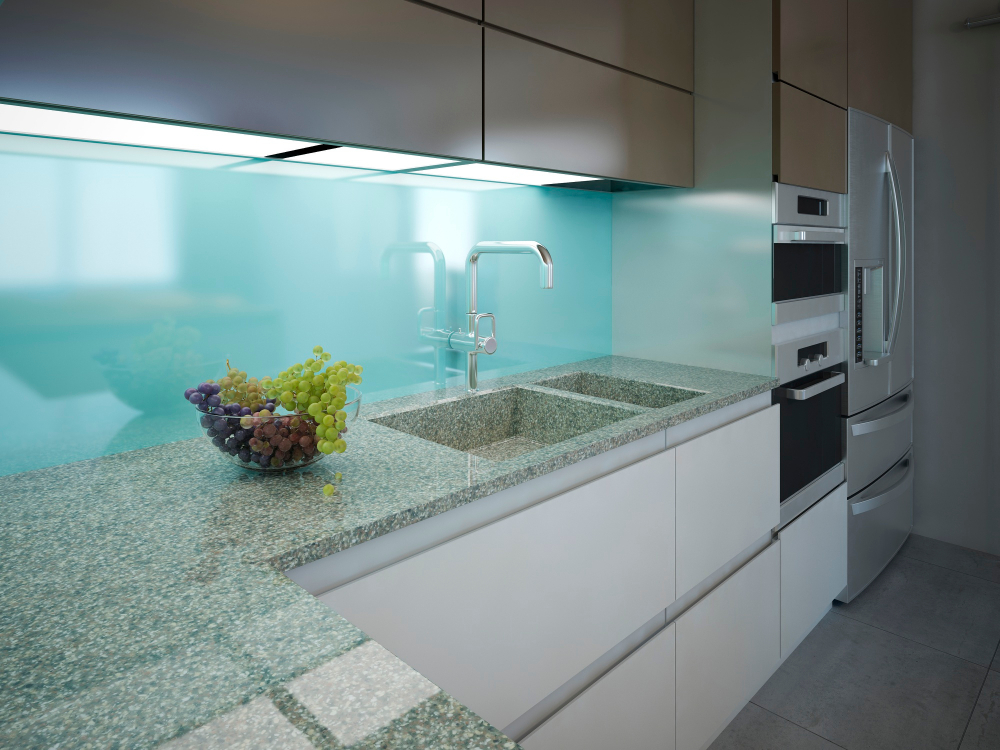
They are also easy to clean, making them an ideal option for busy home chefs. Installing a glass backsplash is relatively simple and can be done in just a few steps.
First, measure the area where you want to install the glass backsplash carefully. Then, purchase tempered or laminated safety glass that fits your measurements from your local hardware store or online retailer.
Next, prepare the wall surface by cleaning it thoroughly with soap and water. If there is any existing tile on the wall that needs removal before installing new tiles of any kind then remove it first using appropriate tools like hammer drill etc.
Apply adhesive glue evenly over small sections of the wall at one time using notched trowel; this will ensure proper adhesion between each piece of tile as well as prevent air pockets from forming behind them during installation process which could cause cracking later down line if left unchecked too long after installation has been completed successfully without issue!
Installing a Stone Backsplash
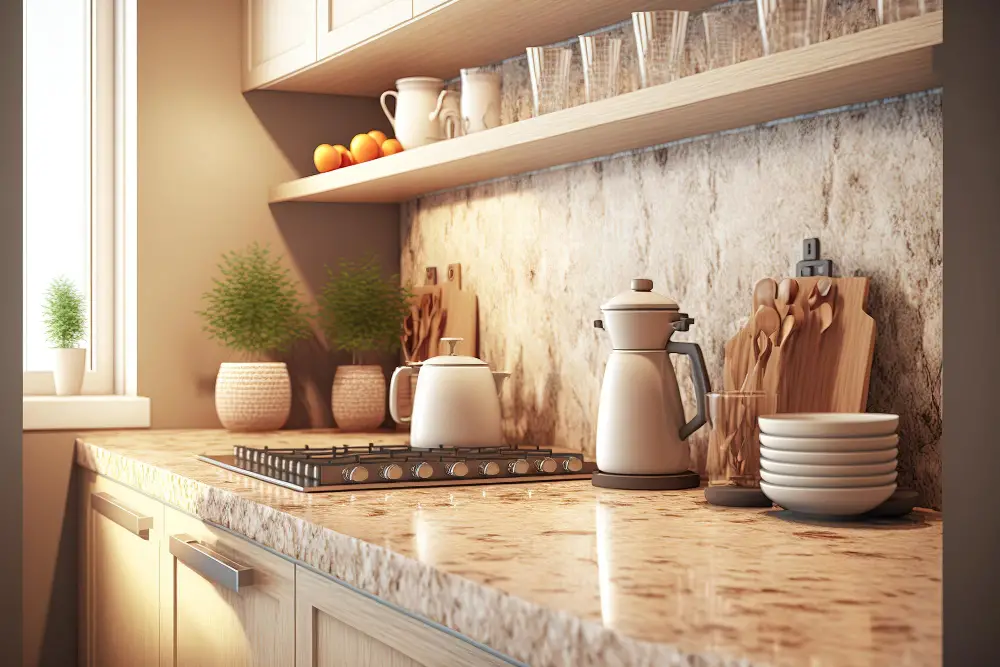
Installing a stone backsplash is not as difficult as it may seem, but it does require some preparation and attention to detail.
First, you need to choose the type of stone that best suits your style and budget. Some popular options include granite, marble, slate or travertine.
Once you have selected your preferred material, measure the area where you want the backsplash installed.
Next step is preparing the surface by cleaning it thoroughly with soap water or any other recommended cleaner depending on what kind of wall surface there is behind your stove. After that apply thin-set mortar onto small sections at once using trowel then press each tile firmly into place making sure they are levelled properly before moving on.
Adhesive or Peel-and-Stick Backsplash
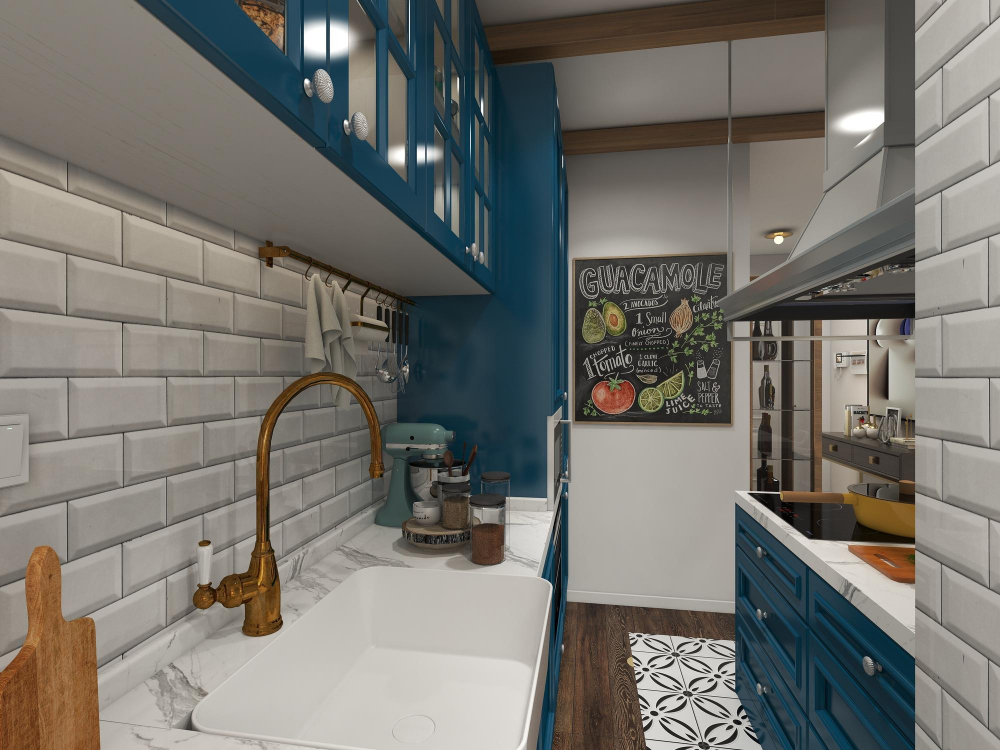
These types of materials are affordable, low-maintenance, and can be installed without professional help.
Peel-and-stick tiles come in various designs and colors that can match any kitchen decor. They are made from durable vinyl material that is heat-resistant and easy to clean.
Installing them is as simple as peeling off the backing paper and sticking them onto your wall.
One advantage of using peel-and-stick tiles is their flexibility; they can easily be removed if you want to change up your kitchen’s look without damaging the wall underneath. However, it’s important to note that these types of backsplashes may not last as long compared with other materials like ceramic tile or stainless steel.
When installing a peel-and-stick backsplash behind your stove, make sure there’s enough space between the range hood venting system so air flows freely through it while cooking on high heat settings. This will prevent damage caused by excessive moisture buildup over time.
Proper Ventilation Techniques
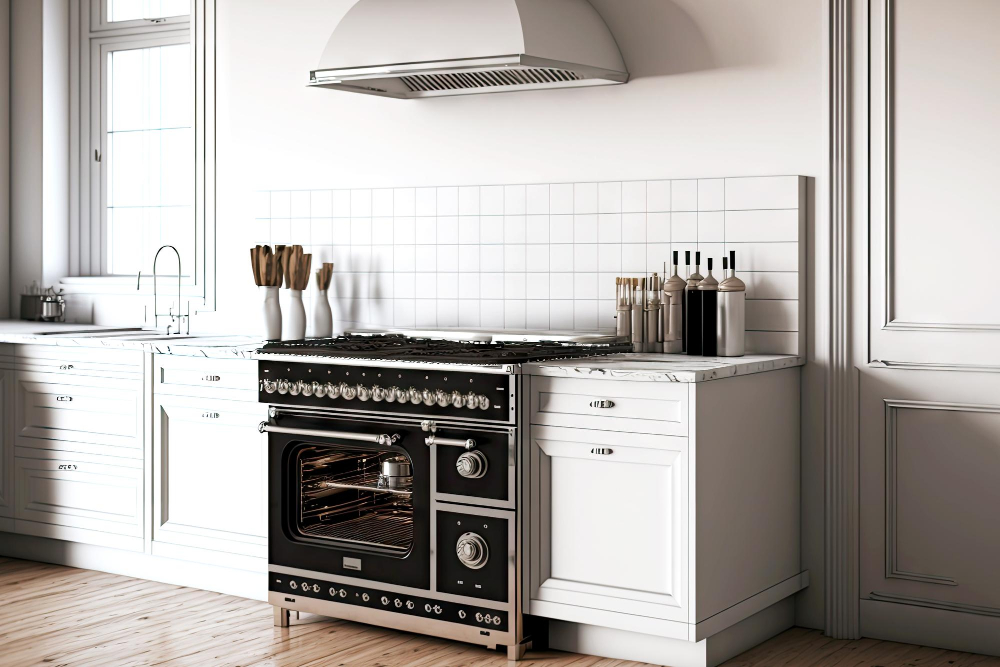
Without adequate ventilation, steam and smoke from cooking can cause damage to your walls and backsplash over time. Installing a range hood or exhaust fan above your stove is an effective way to prevent this.
Range hoods come in different sizes, styles, and power levels. Choose one that fits well with the size of your kitchen space and has enough suction power for efficient air circulation.
Make sure it’s installed at least 24 inches above the cooktop surface so that it captures all steam, grease splatters, smoke or fumes produced during cooking.
If you don’t have access to a range hood or exhaust fan installation option due to budget constraints or other reasons such as renting an apartment where modifications are not allowed by landlords; consider using portable fans near windows while cooking which will help circulate fresh air into space while pushing out hot humid air outside through open windows.
Use a Stove Liner
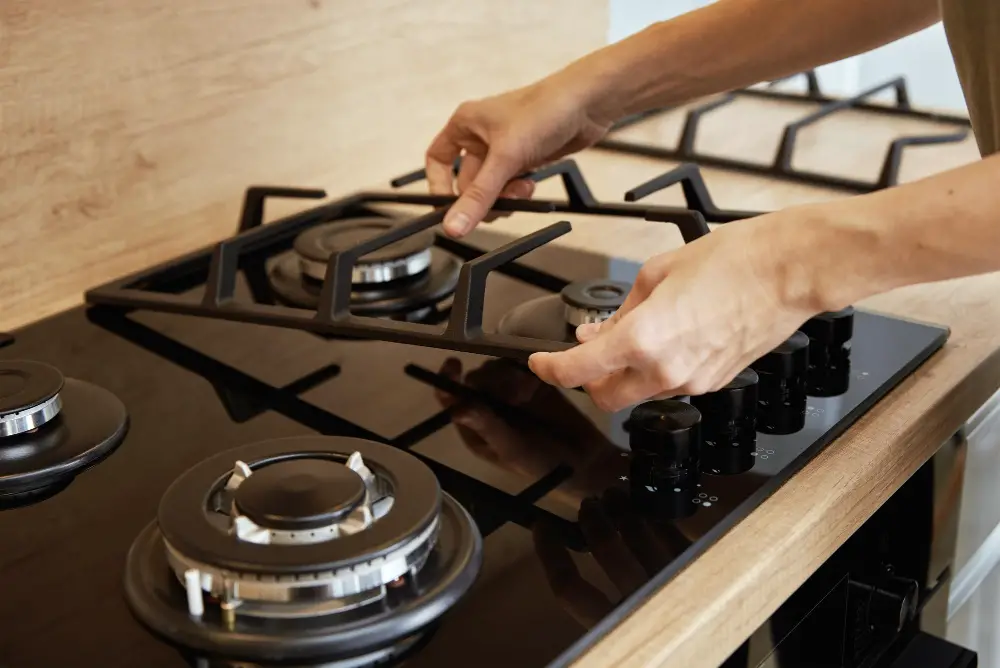
These liners are made of heat-resistant materials and can be placed on top of the stovetop or under burners. They catch any spills, splatters, or drips that may occur during cooking and prevent them from reaching your walls.
Stove liners come in different sizes and shapes to fit various types of stoves. They are easy to clean with soap and water or can be put in the dishwasher for hassle-free maintenance.
When using a stove liner, make sure it fits snugly around each burner so that no food particles escape underneath it. Also, avoid placing anything directly on top of the liner as this could cause damage over time.
Use a Splatter Screen
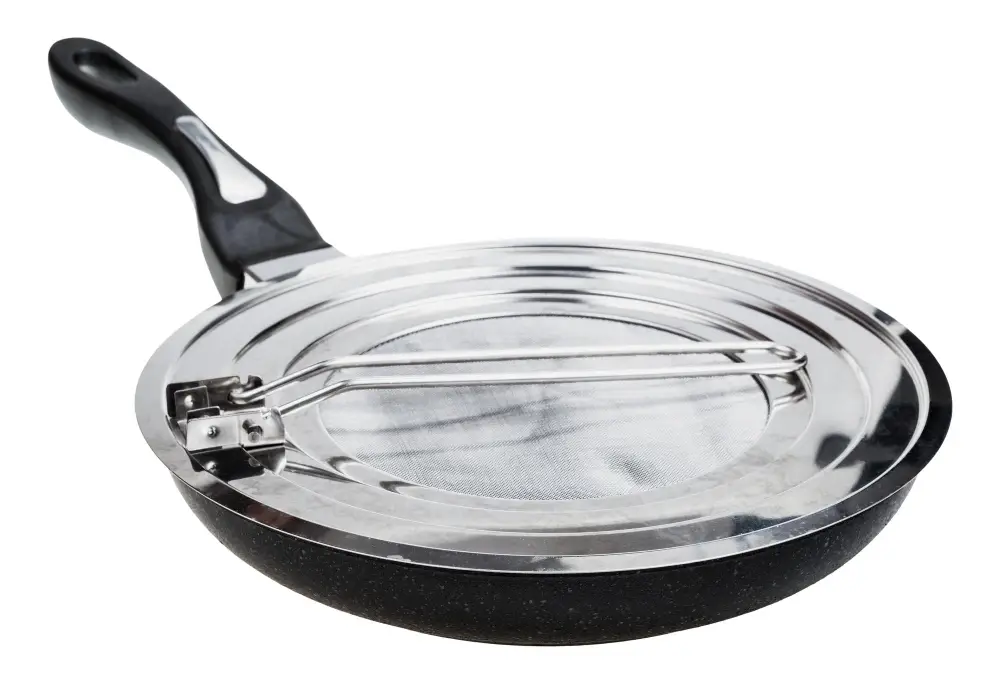
It’s a mesh or perforated metal shield that fits over the top of your frying pan or saucepan, allowing steam to escape while keeping hot liquids contained. By using a splatter screen, you can prevent stains and damage to your walls caused by cooking mishaps.
To use a splatter screen, simply place it over the top of your pan before cooking. Make sure it’s securely in place so that no liquid escapes around the edges.
As you cook, keep an eye on what’s happening inside the pan – if anything starts to bubble up too high or boil over onto the stove-top surface itself (which could also cause damage), adjust heat accordingly.
Splatter screens are available in various sizes and materials such as stainless steel mesh or silicone rubber with handles for easy removal from pans without burning yourself! They’re affordable kitchen gadgets that will save you time cleaning up after meals while protecting against potential wall damages behind stoves due to spills during meal preparation.
Wipe Up Spills Immediately

Whether it’s a sauce that splatters or grease that drips, leaving these messes on your backsplash for too long can cause stains and damage. Not only will this make cleaning more difficult in the long run, but it could also lead to permanent discoloration or even mold growth.
To prevent this from happening, keep a clean cloth nearby while cooking and use it to quickly wipe down any spills as soon as they happen. This will not only help protect your backsplash but also ensure that your kitchen stays hygienic and free of bacteria.
Be sure not to use harsh cleaners when wiping down your backsplash – stick with mild soap and water instead. Harsh chemicals can damage certain types of materials used for backslashes such as stone or brick tiles.
Don’t Use Harsh Cleaners
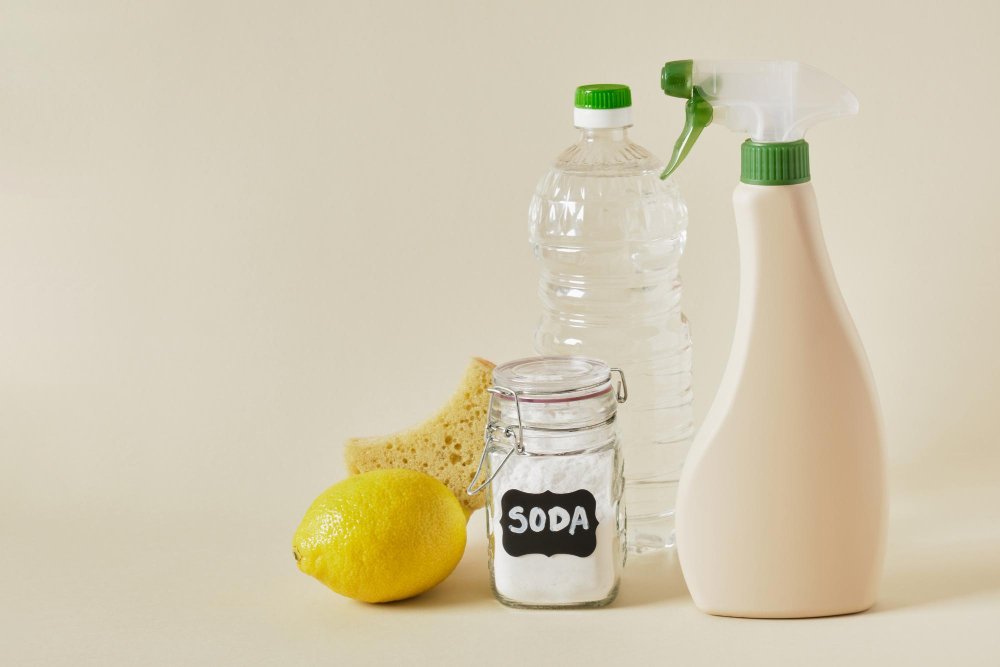
These can damage the surface of your backsplash and cause discoloration or scratches that are difficult to remove. Instead, opt for gentle cleansers like dish soap and warm water, vinegar solution, or baking soda paste.
If you’re dealing with tough stains on your backsplash behind the stove, try soaking a cloth in hot water mixed with a mild detergent before wiping down the area gently. Avoid scrubbing too hard as this can scratch delicate surfaces like glass tiles.
Remember that prevention is always better than cure when it comes to keeping your kitchen clean and well-maintained. Wipe up spills immediately after they occur so they don’t have time to dry onto the surface of your backsplash behind the stove.
Perform Regular Maintenance

This includes wiping down the surface regularly with a damp cloth or sponge to remove any grease or food splatters that may have accumulated over time. You can also use mild soap and water for tougher stains.
It’s important to avoid using harsh chemicals or abrasive cleaners on your backsplash as they can damage the material and cause discoloration. Instead, opt for gentle cleaning solutions that are specifically designed for your type of backsplash material.
In addition to regular cleaning, you should also inspect your backsplash periodically for any signs of wear and tear such as cracks, chips, or loose tiles. If you notice any issues with your backsplash during these inspections, it’s important to address them promptly before they become bigger problems.
Common Mistakes in Protecting the Wall Behind the Stove
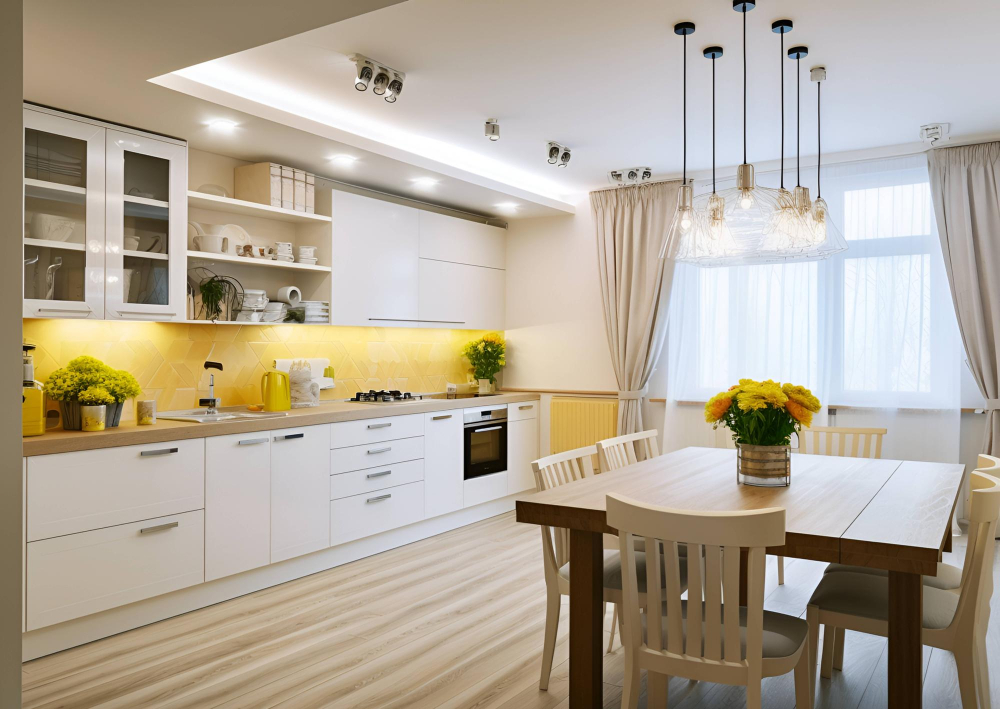
One of the most significant errors is using materials that are not heat-resistant or easy to clean. For instance, wallpaper and paint may look great in other parts of your kitchen but can quickly become damaged by heat and grease splatters from cooking.
Another mistake people make is failing to install a proper ventilation system in their kitchen. Without adequate ventilation, smoke and steam can accumulate on your walls over time, leading to discoloration and damage.
Many homeowners forget about regular maintenance for their backsplash protection methods. Neglecting cleaning or replacing worn-out liners or screens can lead to permanent stains on the wall behind your stove.
By avoiding these common mistakes and following our tips for protecting your backsplash behind the stove correctly, you’ll be able to maintain a beautiful kitchen space while also ensuring its longevity over time!
FAQ
How do I protect my backsplash from grease splatter?
To protect your backsplash from grease splatter, apply a strong sealant on the stone surface and grout lines, making it resistant to water, food, and grease while also easing the cleaning process.
How do I protect my kitchen splashback?
To protect your kitchen splashback, apply a sealant to both the tiles and grout, creating a barrier against food; reseal periodically if necessary.
What materials are best for heat-resistant stove backsplash protection?
Materials such as ceramic tile, stainless steel, and tempered glass are best for heat-resistant stove backsplash protection.
How can I clean and maintain my backsplash to keep it looking pristine?
To keep your backsplash looking pristine, clean it regularly with a mild detergent and warm water, and wipe it dry to reduce the chance of stains.
Are there any removable backsplash options for easy upkeep and protection?
Yes, there are removable backsplash options such as adhesive tiles and peel-and-stick panels for easy upkeep and protection.
