Last updated on
Learn the practical steps to refinish your cabinets with a fresh, updated look through this straightforward guide.
Key takeaways:
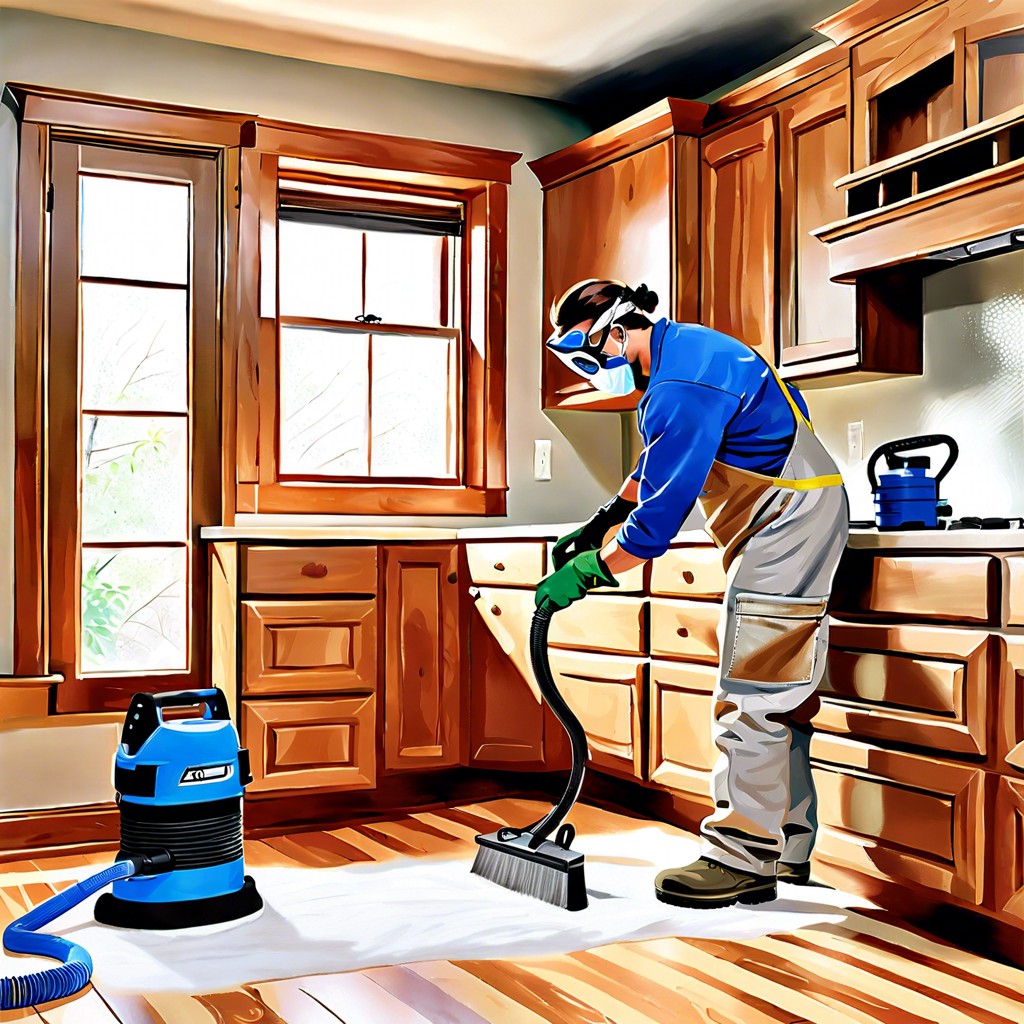
- Prioritize safety: Wear protective gear, ventilate workspace, avoid fire hazards.
- Gather necessary supplies: Paintbrush/sprayer, sanding equipment, paint/stain, drop cloths.
- Clean surfaces thoroughly: Use degreaser and mild soap to remove residue.
- Sand cabinets smooth: Start with medium-grit sandpaper, finish with fine-grit.
- Apply stain/paint with brush/sprayer: Follow instructions, use even layers, apply sealant.
What's Inside
Safety Considerations for Refinishing Kitchen Cabinets
Before diving into the physical transformation of your cabinets, prioritizing safety is essential to ensure a smooth and hazard-free project. First and foremost, equip yourself with protective gear. This includes wearing gloves to shield your hands from chemicals, a mask to avoid inhaling dust or fumes, and safety goggles to keep your eyes free from debris.
In addition, make sure your workspace is well-ventilated. Refinishing materials can be volatile and emit strong odors that are harmful if inhaled in enclosed spaces. Open windows, use fans, or work outdoors if the weather permits. Adequate airflow will not just protect your health but also help the finish dry more consistently.
Be mindful of fire hazards. Many stains, strippers, and finishes are flammable. Keep them away from any open flames or potential heat sources like stoves or heaters. Also, dispose of used rags and any flammable materials properly, as they can spontaneously combust if left in a pile.
Lastly, carefully read and follow the instructions on all products. Each chemical has its own safety recommendations and required precautions. Ensure you understand the proper handling, application, and disposal to keep yourself and your home safe.
Gather Necessary Supplies
Before diving into the transformation of your cabinets, assembling your toolkit is crucial. You’ll need a high-quality paintbrush or a paint sprayer for even application, whichever suits your preference and skill level. Don’t underestimate the value of a good brush; it can make a world of difference in finish quality.
Sanding equipment is next on the checklist. Consider an electric sander to save time and effort but have sandpaper on hand for nooks and crannies. Go for varied grits – starting with a coarser grade to strip away old finish and moving to a finer one for smoothing.
The choice of paint or stain will anchor your project. Opt for products designed for cabinetry; they’re tailored to withstand the wear and tear of kitchen life. If you’re painting, a primer is a must for better adhesion and coverage.
Drop cloths or plastic sheeting will protect your countertops and floors from spills and splatters. Masking tape is equally important to safeguard areas you don’t want painted or stained, such as hardware or countertops.
Speaking of hardware, if you plan to keep your current handles and pulls, set aside some cleaning solution and a good scrub brush to give them a new lease on life. Otherwise, new hardware can be the perfect finishing touch to your cabinetry overhaul.
Remember, proper preparation prevents poor performance. These supplies are the building blocks to give your cabinets a high-quality, professional-looking finish.
Clean Surfaces Thoroughly
When embarking on cabinet refinishing, cleanliness is not just a virtue, it’s a necessity. Residue from cooking oils, food splatters, and general grime create a layer that hinders adhesion of new finishings. So, grab a degreaser and a lint-free cloth to start the process right.
Gentle scrubbing is vital, particularly on areas around handles and corners where grit tends to accumulate. Don’t forget the nooks and crannies—cabinet detailing can trap dirt that disrupts a smooth finish.
Once you’ve cut through the grease, a pass with mild soap and water ensures no degreaser residue is left behind. Rinse with a clean, damp cloth and allow the cabinets to dry completely. This isn’t just a cursory wipe-down; a thorough cleaning sets the stage for a refinishing job that lasts.
Remember, any remaining contaminants can compromise the quality of your work, so take your time with this step. It may seem tedious, but it’s the foundation for professional-looking results.
Sand Cabinets Smooth
Achieving a smooth surface is crucial for an even finish on your cabinets. Begin with a medium-grit sandpaper to strip away old paint or varnish without damaging the wood. This prepares the surface for finer sanding, which is essential for creating a surface that will hold new paint or stain evenly.
Work your way up to a fine-grit paper, which refines the wood and removes any scratches from previous sanding. Sand in the direction of the wood grain to avoid creating cross-grain marks. For intricate cabinet details, use a sanding sponge that can mold to shapes and get into crevices.
After sanding, remove all dust with a tack cloth or a vacuum with a soft brush attachment. Remaining particles can mar your finished surface, so this step is as critical as the sanding itself. Once the cabinet surfaces are impeccably clean and smooth, they’re ready to accept new stain or paint. Remember, patience in sanding pays off in the professional look of your refinished cabinets.
Apply Stain or Paint With Brush or Sprayer
Choosing between stain and paint hinges on your desired aesthetic. Stain accentuates wood grain for a natural look, while paint offers a wider array of colors and a more solid, uniform appearance. Both require different application techniques for optimal results.
For staining, use a brush designed specifically for stains, and apply using the direction of the wood grain for a smoother finish. Wipe away excess stain with a clean rag to avoid blotches. Stains generally require more coats compared to paint, with adequate drying time between each.
In contrast, if you prefer painting, a foam roller can quickly cover flat surfaces, while a brush is perfect for corners and detailed areas. For a professional, smooth finish, consider using a paint sprayer. It ensures even coverage and can save time on larger cabinet jobs. However, it’s vital to practice with the sprayer first to get the hang of its operation and to ensure a consistent spray pattern.
Whichever method you choose, work in a well-ventilated area and follow up with a sealant—polyurethane for stained cabinets and a non-yellowing protective topcoat for painted ones to protect your hard work from wear and tear. Remember, thin, even layers are key; heavy-handed application can lead to drips and an uneven finish. It’s the meticulous execution of this step that transforms the look of your kitchen and showcases your DIY prowess.


