Last updated on
Discover the straightforward steps to efficiently remove a kitchen island, transforming your space with ease and precision.
Are you tired of your kitchen island taking up precious space and hindering movement in your kitchen? Or maybe you’re just ready for a change in your kitchen’s layout? Whatever the reason, removing a kitchen island can be a daunting task. But fear not, with the right tools and techniques, it can be done efficiently and effectively.
In this article, we’ll walk you through the steps to safely remove your kitchen island without causing damage to your floor or cabinets. So grab your tool belt and let’s get started!
Key takeaways:
- Assess the island structure and locate attachments.
- Clear the area and turn off utilities before starting.
- Gather necessary tools: screwdrivers, pliers, etc.
- Safely lift and remove cabinets, drawers, and legs.
- Patch and repair flooring, dispose of materials, and clean the area.
What's Inside
Assessing the Island Structure

The first step in removing a kitchen island is to assess its structure. This will help you determine the best approach for dismantling and removing it.
Start by examining how the island is attached to the floor and cabinets, as well as any support brackets or legs that may be holding it up.
If your kitchen island has been installed recently, there’s a good chance that it was secured with screws or bolts directly into the floor. In this case, you’ll need to locate these fasteners before attempting removal.
On older islands, however, there may not be any visible attachments holding them down. Instead of being bolted down like newer models are today; they were often built right on top of existing flooring materials such as tile or hardwood floors without securing them properly.
Preparation for Removal

First, clear out any items stored in the cabinets or drawers of the island. This will make it easier to remove them later on.
Next, protect your flooring by laying down a drop cloth or cardboard boxes around the perimeter of where you’ll be working. This will prevent scratches and damage from tools or debris during removal.
It’s also important to turn off all utilities connected to your kitchen island before starting work. Shut off electricity at the circuit breaker and disconnect water supply lines if necessary.
Gather all necessary tools for dismantling cabinets such as screwdrivers, pliers, pry bars among others depending on what type of fasteners are used in securing parts together.
Gathering Necessary Tools

Having all the right tools on hand will make this process much smoother and efficient. Here are some essential tools that you’ll need:
- Screwdrivers – both flathead and Phillips head
- Pliers or wrenches
- Hammer or mallet
- Pry bar or crowbar
- Electric drill with screwdriver bits
- Reciprocating saw (if needed)
- .Utility knife
Make sure to have these items readily available before starting any work on your kitchen island removal project as they will be crucial in dismantling cabinets, removing countertops, disconnecting utilities, detaching support brackets among other tasks involved in removing a kitchen island safely without causing damage to surrounding areas.
Clear the Area

This will ensure that you have enough space to work and prevent any accidents or damage to surrounding items. Start by removing all appliances, dishes, and other objects from the countertop and cabinets.
Next, remove any chairs or stools around the island. If there are nearby walls or cabinets that could be damaged during removal, cover them with protective materials such as cardboard or drop cloths.
It’s also a good idea to lay down a protective covering on your flooring in case of accidental scratches or spills during removal. A thick blanket can do the trick if you don’t have anything else available.
Disconnecting Utilities
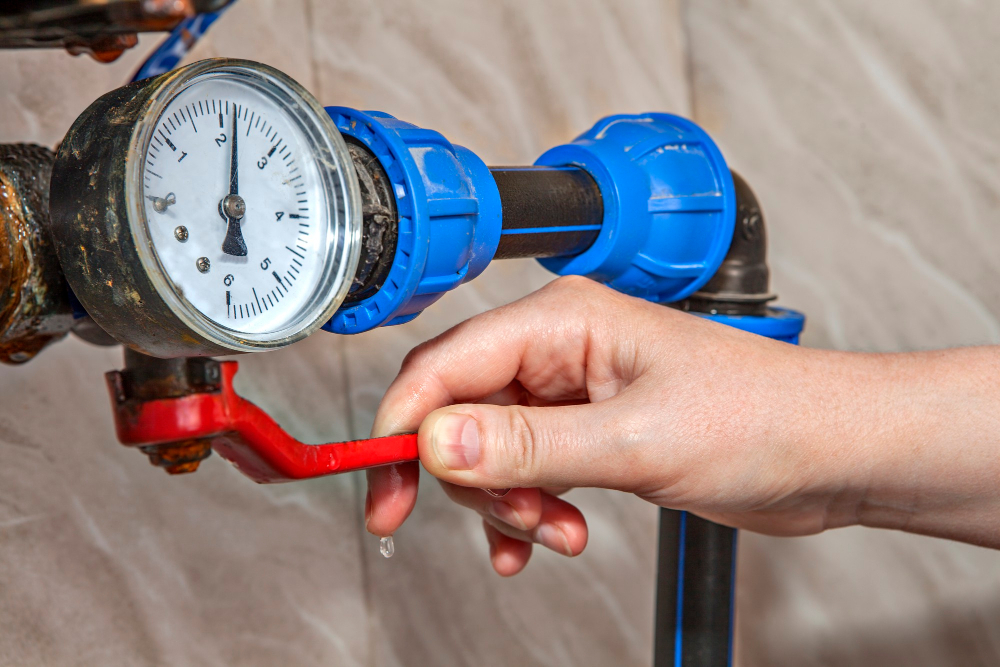
This includes electricity, gas lines (if applicable), and water supply. Start by turning off the power source at the circuit breaker box and shutting off any valves for gas or water supply.
If there are electrical outlets on your kitchen island, remove their covers with a screwdriver and unplug any cords connected to them. If you’re unsure which circuit breaker controls the outlet(s), use a voltage tester to identify it.
For gas lines, turn off the valve located near where they connect to your home’s main line or propane tank if that is what powers them.
Lastly, shut down all water sources leading into pipes under or behind cabinets in preparation for removal of plumbing fixtures such as sinks.
Disconnect Electricity and Water Supply
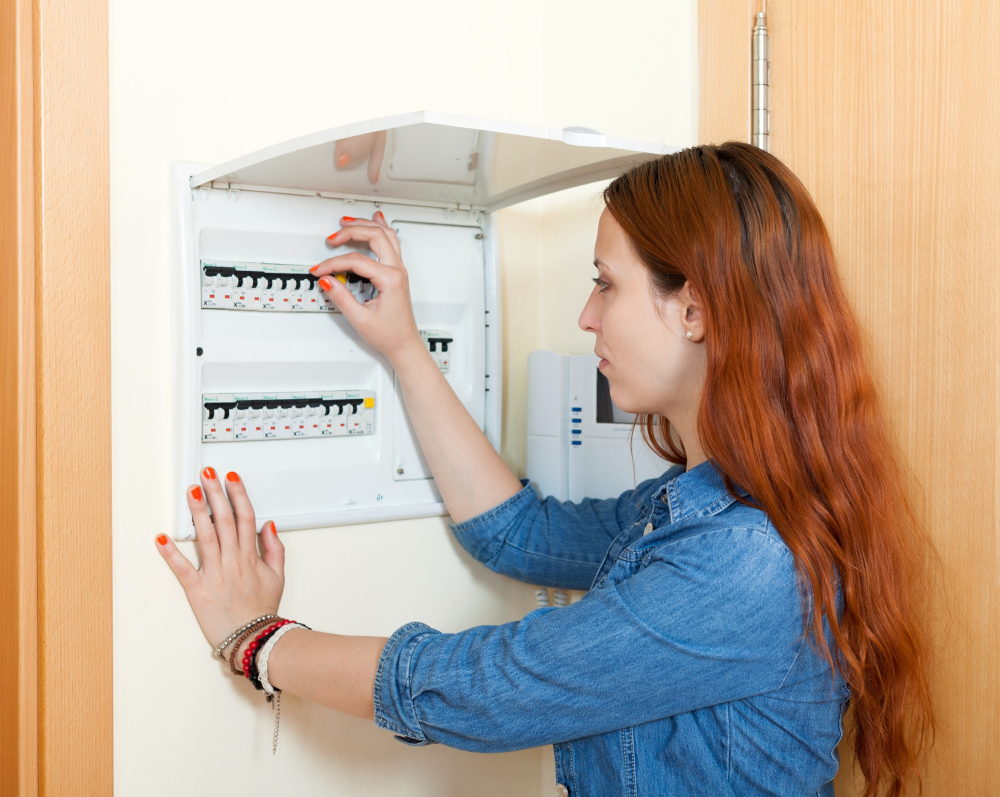
This step is essential for safety reasons and will prevent any accidents from occurring during the removal process. Start by turning off all electrical power sources connected to your kitchen island, including lights, outlets or appliances that may be attached to it.
Next, turn off the water supply valves under the sink if there are any pipes running through or around your kitchen island. If you’re unsure which valve controls this area of plumbing in your home, consult with a professional plumber before proceeding.
Remove Molding
Molding is typically used to cover gaps between cabinets or walls and the island structure. Removing it will make dismantling your kitchen island easier.
To remove molding, use a pry bar or a hammer with a flathead screwdriver attachment. Carefully insert the tool behind one end of the molding and gently pry it away from its position on top of your cabinets.
Work slowly along each section until all pieces are removed completely. Be sure not to damage any surrounding surfaces as you work through this step in removing your kitchen island.
Removing Countertop

The first step is to locate any screws or bolts that are holding it in place and unscrew them using a screwdriver or wrench. If there are no visible screws, check underneath for brackets that may be securing it.
Next, use a utility knife to cut through any caulking between the countertop and cabinets. This will help loosen its grip on top of your kitchen island.
With all fasteners removed, gently lift up on one end of your countertop while someone else holds down the other side so as not to damage anything below.
If you’re having trouble lifting off your counter due to adhesives used during installation (such as silicone), try using a putty knife or scraper tool along with some elbow grease until everything comes loose enough for removal without causing damage elsewhere in your space!.
Remove Kitchen Island Top

This step is crucial as it will make dismantling the rest of the island much easier. Start by checking how your countertop is attached to your cabinets or base structure.
Most countertops are screwed in from underneath, so you’ll need a screwdriver or drill with a screwdriver bit to remove them.
Before removing screws, ensure that all appliances on top of your countertop are unplugged and moved out of harm’s way. Once everything has been cleared off and unplugged, locate where each screw attaches from below using a flashlight if necessary.
Carefully unscrew each one until they’re all removed before lifting up on one side while someone else lifts up on another side simultaneously until it comes loose completely.
If there aren’t any visible screws holding down your countertop surface (which can happen with some custom-built islands), then check for adhesive instead – this may require more effort but can be done by gently prying at different points around its perimeter using putty knives or other flat tools like scrapers until loosened enough for removal without damaging anything beneath it.
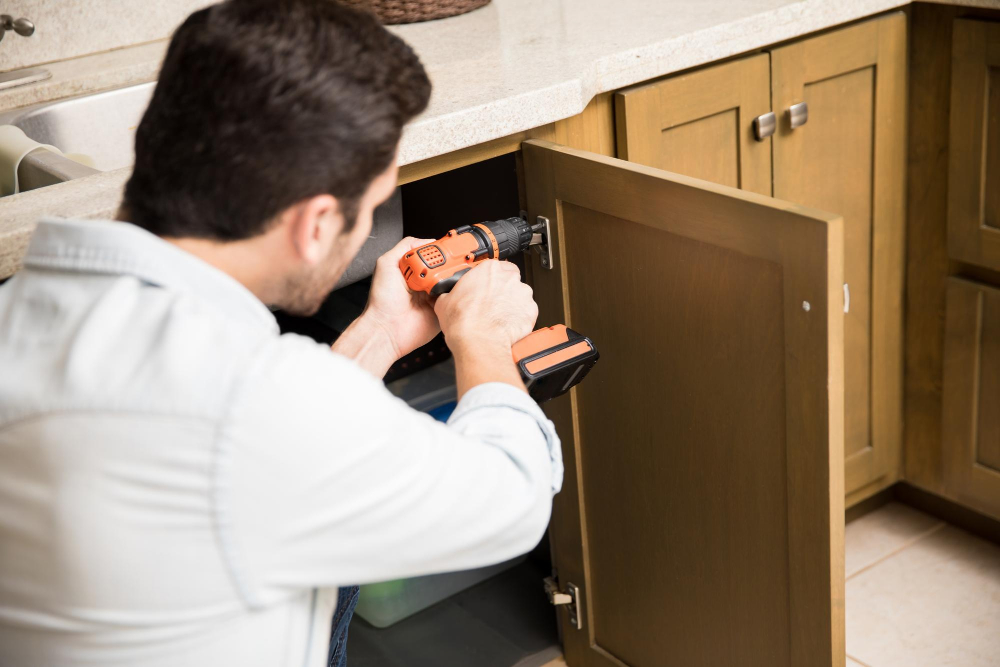
Dismantling Cabinets

Start by removing all drawers and emptying them of their contents. Then, using a screwdriver or drill, remove any screws that are holding the cabinets in place.
Be sure to keep track of these screws as they will be needed when reinstalling your kitchen island or repurposing its parts.
Next, carefully detach each cabinet from one another by unscrewing any connecting hardware such as brackets or hinges. If there is glue holding them together, use a putty knife to gently pry apart.
As you work on dismantling each cabinet piece-by-piece make sure not to damage surrounding areas like walls and floors while doing so.
Remove Cabinets and Drawers

Start by removing all of the contents from each cabinet and drawer. Then, using a drill or screwdriver, unscrew any screws that are attaching the cabinets to one another or to other parts of your kitchen island.
Next, carefully lift out each cabinet one at a time. If there are drawers in your kitchen island, remove them before taking out their corresponding cabinets.
Be sure not to force anything as this can cause damage both to your cabinetry as well as surrounding areas.
Detaching Support Brackets
These brackets are usually located on either side of the island and help keep it stable. To remove them, use a screwdriver or drill to unscrew any screws that attach them to both the floor and underside of your kitchen island.
It is important to note that some islands may have additional support structures such as metal bars or beams running underneath. If this is the case for your kitchen island, make sure you also remove these before attempting to lift or move it.
Remove Kitchen Island Legs
First, locate where the legs are attached to the base of your kitchen island. Then, carefully cut through any screws or nails that are holding them in place.
Once you have removed all four legs from your kitchen island, it’s time to move on to removing any support brackets that may be holding up the countertop. These brackets can usually be found underneath and at each corner of your countertop.
It’s important not to rush this process as it could cause damage if done incorrectly. Take care when using power tools and always wear protective gear such as gloves and safety glasses.
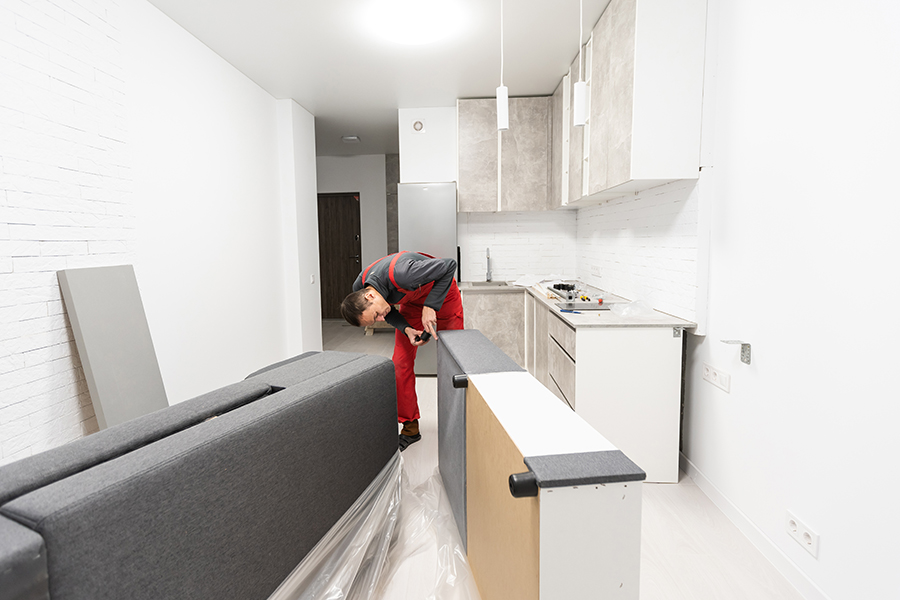
Safely Lifting the Island
This is a crucial step that requires careful attention to avoid any damage or injury. Before lifting, ensure that there are enough people available for assistance as kitchen islands can be heavy and awkwardly shaped.
To safely lift your kitchen island off the floor, place one person at each corner of the structure. Make sure everyone has a firm grip on their designated area before slowly lifting it up in unison.
As you lift your island from its position on the floor, keep an eye out for any loose screws or nails that may have been left behind during disassembly. These could cause scratches or punctures in flooring if not properly handled.
Loosen Island From Floor

This step requires careful attention to avoid damaging your flooring or any other surrounding structures.
To begin, use a pry bar or crowbar to gently lift up one corner of the island until you can see underneath it. Then, slide wooden shims under each leg of that corner until they are snugly in place.
Repeat this process for all four corners of your kitchen island so that there is enough space between each leg and its corresponding shim.
Next, use a reciprocating saw with a metal-cutting blade to cut through any nails or screws attaching the legs of your kitchen island to its base plate on top of your flooring.
Using gentle force and assistance if necessary from another person(s), carefully lift up on one side at a time while someone else slides out each shim as needed until all four legs are free from their respective shims.
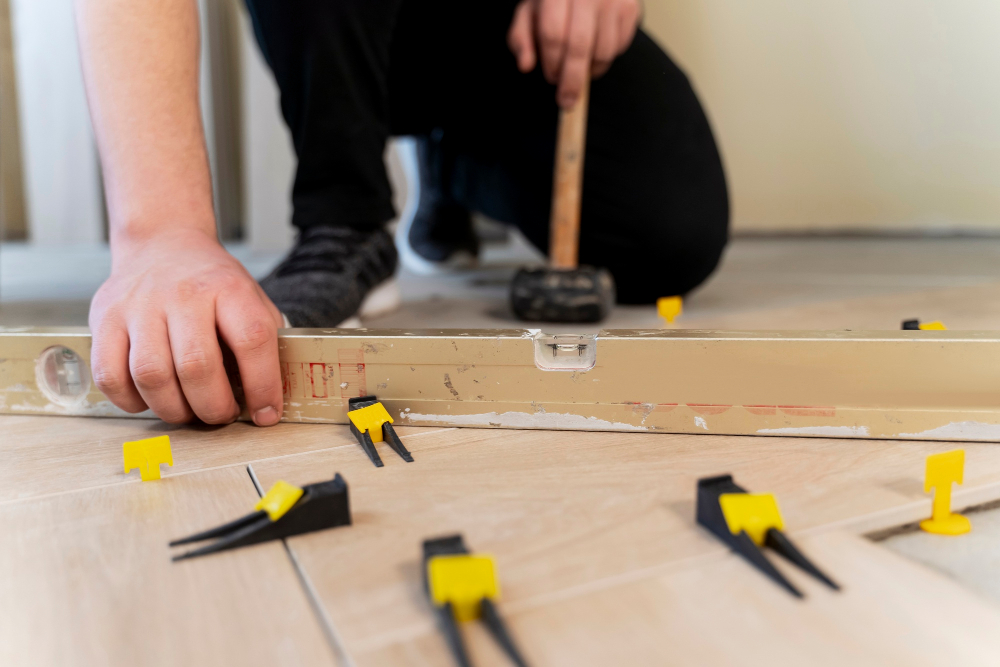
Handling the Flooring
If your kitchen has hardwood or tile floors, there may be gaps where the island was attached. To fix this issue, use wood filler for hardwood floors and grout for tile floors to fill in any gaps.
If your flooring is damaged from removing the island legs or brackets, you will need to repair it before installing a new piece of furniture in its place. For minor damage such as scratches or dents on hardwood floorboards, sanding and refinishing can do wonders.
For more significant damage like holes left by screws used to attach support brackets into concrete subfloors; patching compound can be used with a trowel until level with surrounding areas then sanded smooth once dry.
Patching and Repairing

If your flooring has been damaged during the removal process, patching up the floor is essential. Begin by removing any debris or leftover adhesive from where the island was located.
Next, use a leveling compound to fill in any gaps or holes in your flooring.
If there are scratches on hardwood floors or tiles that need replacing, now is also an excellent time to address those issues before installing new cabinets or furniture.
Patch Up the Floor
This step is crucial in ensuring that your kitchen looks seamless and polished after the removal process. Begin by cleaning any debris or dust from the area where the island was located.
Next, assess if there are any holes or gaps in your flooring that need to be filled.
If you have hardwood floors, use wood filler to fill in any gaps left behind by removing nails or screws used for securing support brackets and legs of the island. For tile floors, use a grout mix to fill in spaces between tiles where cabinets were attached.
After filling all necessary areas with appropriate materials let them dry completely before sanding down excess material until flush with surrounding flooring surface using fine-grit sandpaper.
Clean up all remaining debris and dust from around patched-up areas before applying a matching finish coat over repaired spots on hardwoods (or resealing grout lines on tiled surfaces).
Disposing of Materials
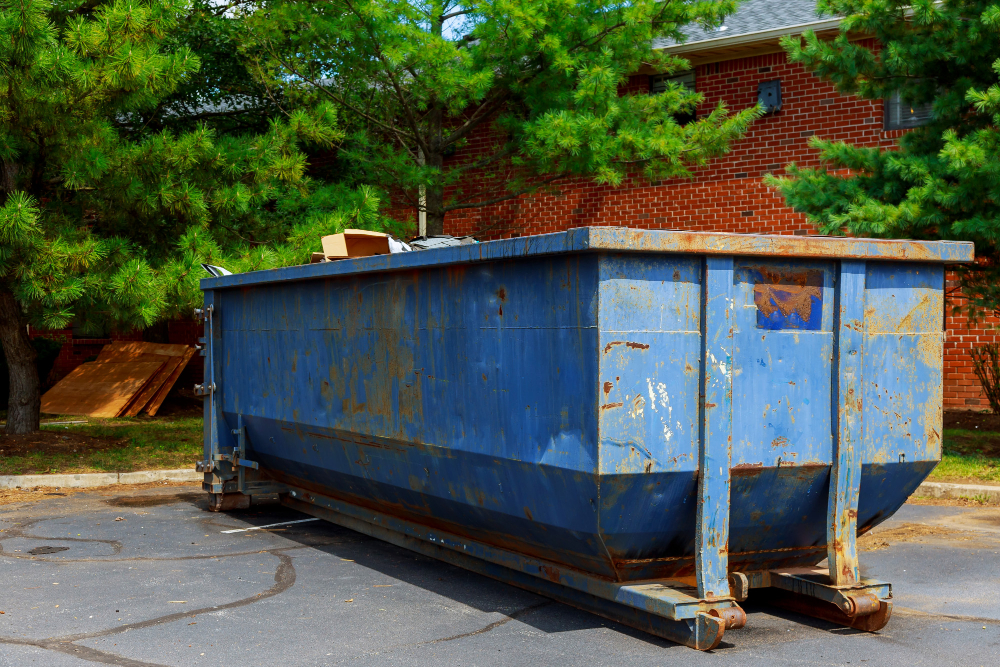
Depending on the size and weight of your island, this may require some heavy lifting or a few trips to the dump. If possible, try to recycle any materials that can be reused such as wood or metal components.
For larger items like cabinets and countertops, consider donating them if they are still in good condition.
If you’re unsure about how to properly dispose of certain materials such as hazardous chemicals or electronic appliances found within your kitchen island (e.g., garbage disposal), check with local waste management facilities for guidance on safe disposal methods.
Remember that proper disposal is not only important for environmental reasons but also ensures safety during transportation and handling.
Cleaning the Area
You may find that there is dust and debris left behind from the removal process. Begin by sweeping or vacuuming any loose dirt and debris from the floor.
Next, use a damp cloth or mop to wipe down any surfaces that were previously covered by the island. This includes countertops, cabinets, and flooring.
If you notice any scratches or scuffs on your flooring after removing the island, consider using a touch-up kit to repair them. These kits can be found at most home improvement stores and are relatively easy to use.
Dispose of all materials properly according to local regulations. If possible recycle as much material as possible instead of throwing everything away in order not only keep our environment safe but also reduce waste disposal costs for yourself.
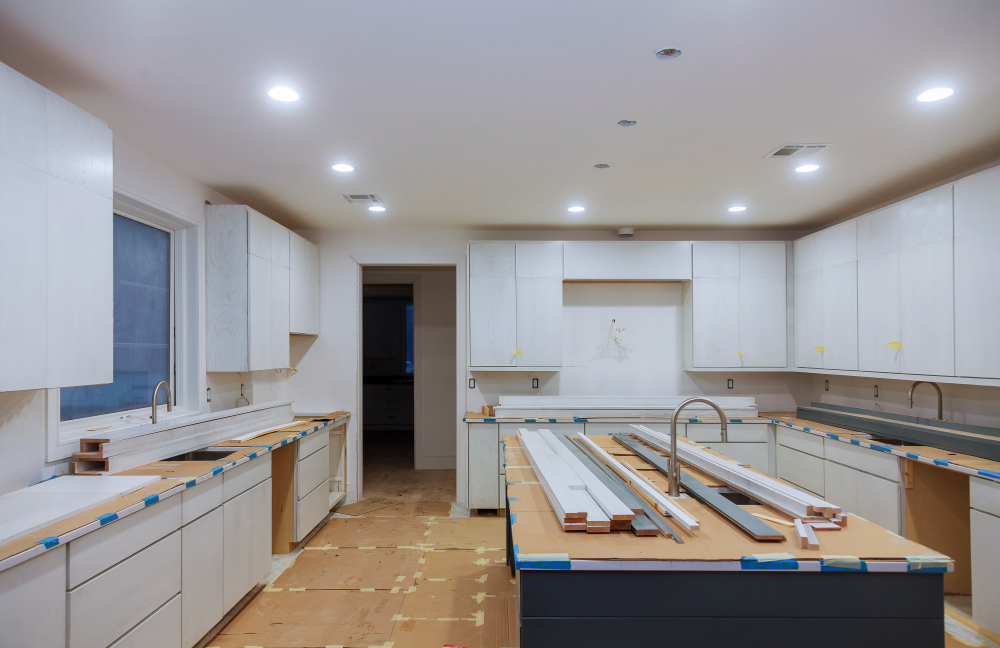
With these simple steps completed you’ll be able enjoy your newly transformed space without worrying about leftover messes!.
FAQ
How much does it cost to remove a kitchen island?
The cost to remove a kitchen island ranges from $400 for a professional demo, increasing with job complexity, and an additional $150 to $500 for junk removal of the old countertop and cabinets.
How is kitchen island attached to floor?
A kitchen island is attached to the floor by nailing a 2″ x 4″ to the floor and securing the cabinet to the 2″ x 4″ to prevent movement or toppling over during use.
Is an kitchen island attached to a wall?
No, a kitchen island is not attached to a wall, as it is a freestanding structure in contrast to a peninsula which is attached to a wall.
What are the necessary tools and materials for removing a kitchen island?
Necessary tools and materials for removing a kitchen island include a pry bar, hammer, screwdriver, wrench, gloves, and safety goggles.
What precautions should be taken when removing a kitchen island to avoid damage to the floor?
To avoid damaging the floor when removing a kitchen island, ensure to protect the flooring with a drop cloth or plywood, detach any fasteners, and use proper lifting techniques.
Can a kitchen island be repurposed or reused after removal, and what are some ideas for its new use?
Yes, a kitchen island can be repurposed or reused after removal, with ideas such as transforming it into an outdoor bar, a home office desk, or a crafting station.


