Last updated on
Learn how to remove a faucet aerator quickly and easily with this step-by-step guide.
Key takeaways:
- Faucet aerators mix air with water to prevent splashing.
- You’ll need pliers or a wrench to remove the aerator.
- Use a rubber jar opener or towel for a better grip.
- Soak the aerator in vinegar to remove deposits.
- If the aerator is beyond repair, replace it with a new one.
What's Inside
What Is an Aerator?
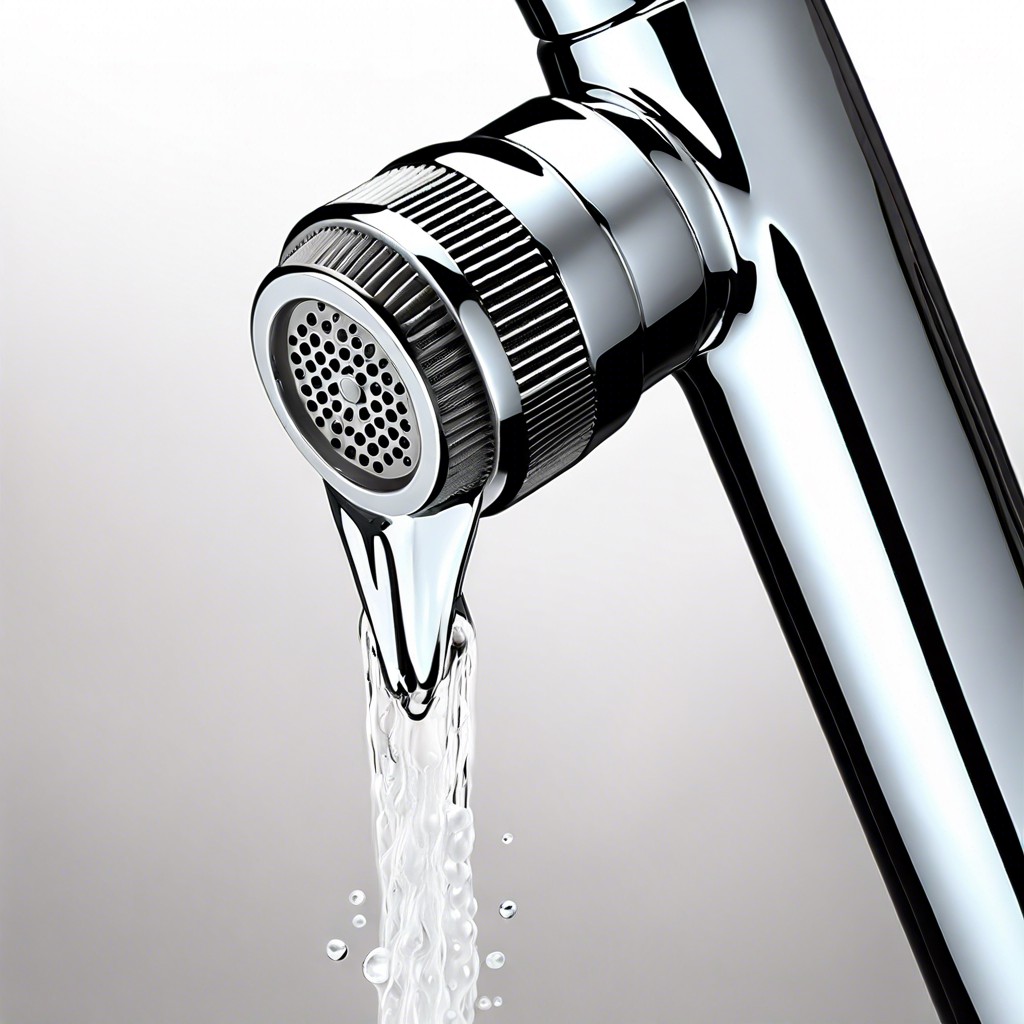
If you’ve ever peered into the tip of a sink faucet, you’ve likely seen a small screen—that’s the aerator. Functioning as a sieve, it mixes air with the water, preventing a hard, unruly splash in your basin. Beyond controlling the water flow, aerators serve to conserve water and reduce utility bills. They’re clever little devices that break up the stream, giving you the sensation of more water while actually using less. Plus, they’re friends to the environment by curbing unnecessary water wastage. Most homeowners don’t give aerators a second thought until water spray starts going rogue, or flow slows to a trickle. Then, it’s time to take a closer look.
What You’ll Need
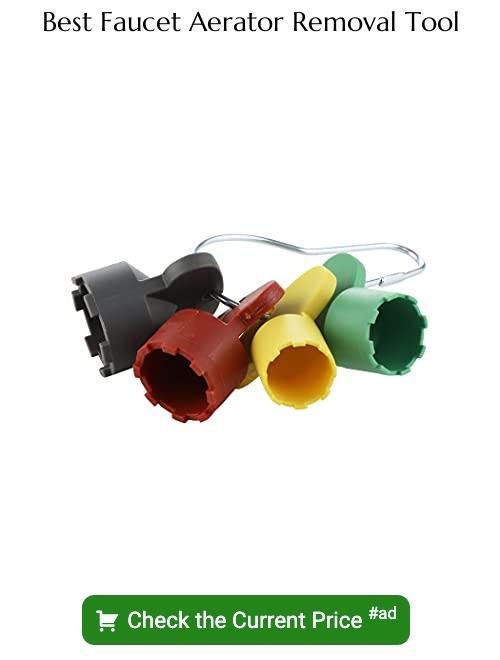
Diving right in, let’s get our toolkit ready. Imagine yourself as a culinary maestro gearing up for a masterful dish. Only this time, it’s your faucet that’s hungry for a little TLC. You’ll want to have pliers or a wrench on hand—these are your utensils to loosen the aerator. Think of an adjustable wrench as a trusty Swiss Army knife; it’s versatile for various sizes.
Now, to prevent your sink from scratches similar to a non-stick pan after using metal utensils, you’ll need a rag or some protective tape. A trusty old towel will also do the trick—something to guard the aerator’s finish as you twist and shout (or, more accurately, twist off the piece).
Lastly, don’t overlook the possible need for a little extra muscle. If the aerator’s playing hardball, penetrating oil can be your secret ingredient. A few drops can break down any mineral deposits acting like super glue.
So, gather your gear and ready yourself for what might just be the most satisfying maintenance task you’ll tick off your to-do list today.
Instructions
Firstly, determine if your aerator needs a tool for removal. Some simply unscrew by hand, while others may require pliers or a wrench.
Grip the aerator carefully, insert a rubber jar opener or a towel around it if using tools, to protect the finish. Rotate counterclockwise. If it resists, apply gentle pressure – think firm but diplomatic handshake, not arm-wrestling championship.
Once removed, take note of the components’ arrangement – this is critical for reassembly. A quick snap with your phone can save you a game of memory later.
If your aerator is being stubborn, a penetrating oil like WD-40 can be your knight in shining armor. Apply, let it work its magic for a few minutes, and try again.
Inspect for deposits or debris clinging to the aerator. Lime build-up is a common freeloader in these scenarios. A good soak in vinegar might be just the ticket to evict those unwanted guests.
After cleaning, reassemble the aerator components in their original order and screw it back onto the faucet. Hand-tight should suffice – after all, this isn’t a “the more torque, the better” situation. If you overtighten, you may find yourself back to square one, and nobody wants a repeat performance.
Clean the Aerator
Once you’ve removed the aerator, you’ll likely notice a buildup of sediment. This is the perfect time for a thorough clean. Gently brush off debris from the screen and other parts with an old toothbrush under running water. Stubborn mineral deposits call for a little soaking action in white vinegar, which works wonders to dissolve the gunk—just make sure to give it some time to work its magic, say, about 30 minutes should do the trick.
Rinse everything off with water once you’ve finished. If any bits remain, a pin or needle can be used to carefully dislodge them from the screen holes. A little elbow grease and attention to detail can make your aerator function like it’s fresh out of the box. Remember, this simple act of cleaning not only improves water flow but also contributes to more consistent water pressure and overall faucet performance.
Replace the Aerator If Necessary
Sometimes, despite your best efforts to clean it, the aerator may be beyond salvation. It could be corroded, clogged beyond repair, or its threads stripped. That’s your cue to get a new one.
Before dashing off to the hardware store, remember to take the old aerator with you. Matchmaking in this context isn’t about finding the perfect date, but about ensuring your new aerator threads align perfectly with your faucet. You wouldn’t want to play a threading game of mismatch, would you?
Installing your shiny new aerator is a breeze. Screw it onto the faucet. Hand-tightening should do the trick but grab those pliers for a snug fit. Don’t go Hulk on it though; over-tightening can damage the threads. Give it a gentle, affectionate twist – just enough to prevent leaks.
Turn on the faucet. The water should flow smoothly, like a serene river, not gush out like a rogue fire hydrant. Adjust if necessary. Voila, you’ve not only fixed the problem, but you’ve possibly improved water efficiency. A pat on the back is in order!


