Last updated on
Removing a kitchen faucet nut can be a tricky task, but with clear, step-by-step guidance, you’ll learn the most effective methods to detach it with ease.
Key takeaways:
- Clear out space under the sink to access the nut.
- Shut off the water supply before starting.
- Gather necessary tools: basin wrench, adjustable wrench, pliers, penetrating oil, headlamp, bucket/towels.
- Use a basin wrench for hard-to-reach nuts.
- Call a professional plumber if encountering severe corrosion, stripped threads, tight space limitations, multiple failed attempts, or leaking issues post-removal.
What's Inside
Clear Out the Space Under the Sink

Before tackling the nut under the faucet, it’s essential to ensure you have ample room to work. Remove the various cleaning supplies, trash bins, and any stored items from underneath the sink.
This offers two benefits: it gives you clear access to the plumbing and protects your belongings from water damage in case of any spills while working.
Keep a flashlight handy to illuminate the workspace, as cabinet areas are typically poorly lit.
This preparation step is not only practical but can also save you from the frustration of working in a cluttered space.
Shut Off the Water Supply
Before diving into the wrench-turning action, it’s crucial to prevent any potential water mishaps. Locate the valves under the sink; you’ll usually find them on the pipes leading to the faucet. Give them a firm twist clockwise to halt the water flow.
If the valves are stiff or haven’t been used in a while, a little spray of WD-40 can do wonders. Ensure the faucet is indeed off by turning it on and checking for the absence of water. A dry work area not only prevents flooding but also makes the job much smoother.
If, by chance, the valves under the sink don’t work, you may need to turn off the main water supply to the house. Always have a bucket on hand just in case you encounter any trapped water in the lines as you disassemble the faucet. Safety first – a dry and controlled environment is key when handling plumbing fixtures.
Gather Necessary Tools
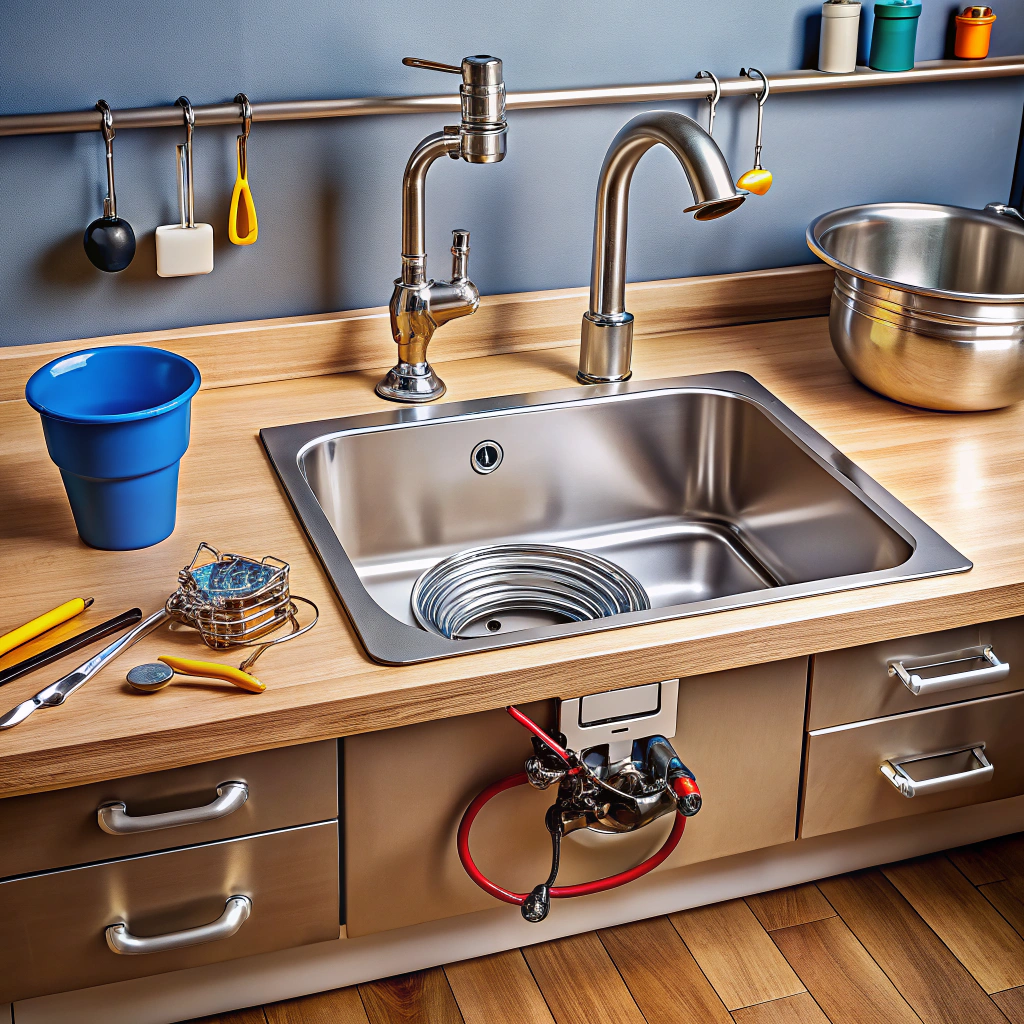
Before tackling the faucet nut, having the right tools on hand is essential. You’ll need a basin wrench, which is specifically designed for removing nuts in tight spaces beneath the sink. Adjustable wrenches and pliers can also be helpful for grip and leverage. Additionally, have some penetrating oil, like WD-40, on standby. This can help loosen a nut that’s corroded or stuck due to mineral buildup. If the space is dim, a headlamp or a flashlight will ensure you can see what you’re doing. And don’t forget a small bucket or towels to catch any residual water that may drip from disconnected lines. These simple preparations will streamline the process, helping you to avoid unnecessary frustration.
Use a Basin Wrench for Hard-to-Reach Nuts
A basin wrench, with its long shaft and swiveling jaw, is the MVP when you’re working in the tight quarters under a sink. Its design allows you to grab hold of nuts that standard wrenches can’t easily reach.
Here’s how to harness its potential:
- Position the wrench: Adjust the wrench head to clamp onto the faucet nut. Ensure the jaws are snug against the nut.
- Turn the wrench: Work the handle from below, turning it counterclockwise. The long handle gives you the needed leverage.
- Keep a steady grip: As you apply pressure, make sure the jaws stay in place. You may need to readjust if the wrench slips.
- Continue the motion: Once the nut starts turning, continue with a smooth, consistent motion until the nut is loose enough to remove by hand.
This tool might feel awkward at first, but remain patient. Mastery comes swiftly and with it a freed faucet nut!
When to Call a Professional Plumber
There are times when it’s wise to hand the reins over to an expert. If you encounter any of the following scenarios, don’t hesitate to reach out to a professional plumber:
1. Corroded Fasteners: If the nuts are severely corroded, their structural integrity might be compromised, making them far more challenging to remove without causing damage.
2. Stripped Threads: Aggressive attempts to loosen the nut might strip the threads, at which point you’ll need specialized tools and techniques to proceed.
3. Tight Space Limitations: Sometimes, the design of your sink can make access nearly impossible without special equipment. A plumber will have the right tools to tackle tight spaces.
4. Multiple Failed Attempts: If you’ve tried everything and the nut won’t budge, continuing could cause more harm than good. A professional will likely have alternative methods to solve the issue.
5. Leaking Issues Post-Removal: Should you successfully remove the nut but then face leaks that you can’t resolve, it could be a sign of a bigger problem.
Remember, there’s no shame in calling for backup when the job gets too complex or risky!


