Last updated on
Discover the effective steps to easily eliminate mold from your kitchen sink caulk, ensuring a cleaner and healthier cooking space.
Welcome to my latest blog post on home decorating! Today, we’re going to tackle a common problem that many homeowners face: mold in the kitchen sink caulk. This unsightly and potentially dangerous issue can be a real headache, but don’t worry – I’ve got you covered.
In this article, I’ll provide you with step-by-step instructions on how to remove mold from your kitchen sink caulk and prevent it from coming back. So put on your gloves and let’s get started!
What's Inside
Identifying Mold in Kitchen Sink Caulk
The first step in removing mold from your kitchen sink caulk is to identify the problem. Mold can grow anywhere there is moisture, and your kitchen sink provides the perfect environment for it to thrive.
You may notice black or green spots on the caulk around your sink, a musty odor emanating from the area, or even experience respiratory problems when you’re near it.
It’s important to note that not all discoloration on caulking is mold; sometimes it could be dirt buildup or mineral deposits. However, if you suspect that what you see might be mold growth due to its appearance and smell then take action immediately.
If left untreated for too long, mold can spread quickly and cause health issues such as allergies and respiratory problems.
Importance of Removing Mold
Not only does mold look unsightly, but it can also pose health risks to you and your family. Mold spores are known to cause respiratory problems such as allergies, asthma attacks, and other serious health issues.
Removing mold from your kitchen sink caulk is essential for maintaining a clean and healthy cooking space. It’s important not only for aesthetic reasons but also for preventing the spread of harmful bacteria that could contaminate food or surfaces around the area.
Moreover, if left untreated over time, mold growth can weaken caulking material leading to water leaks which may result in costly repairs down the line. Therefore removing any signs of mold should be done immediately upon discovery so that you don’t have bigger problems later on.
Safety Precautions and Protective Gear

Mold can be harmful to your health, especially if you have allergies or respiratory issues. Therefore, it’s essential that you protect yourself while working on this project.
Firstly, make sure that the area is well-ventilated by opening windows and doors or using a fan. This will help prevent inhaling any airborne spores during the cleaning process.
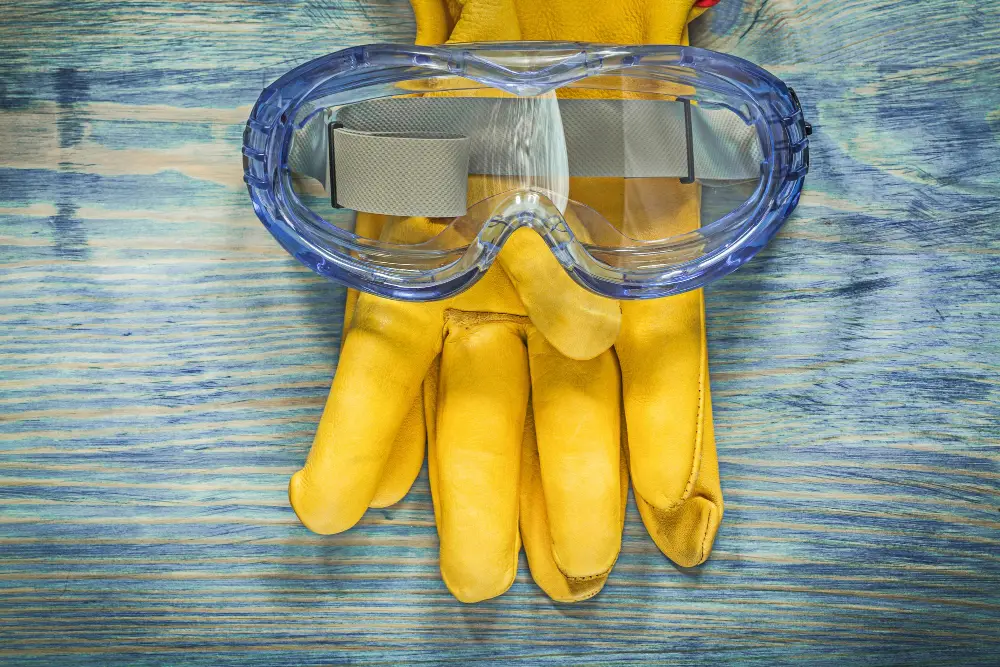
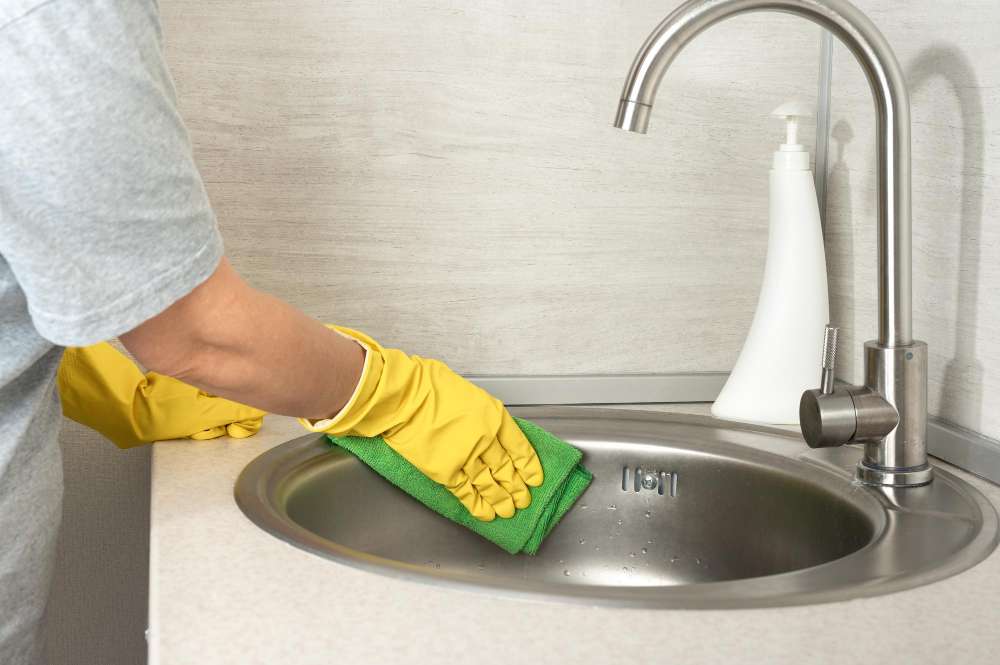
Secondly, wear protective gear such as gloves and a mask to avoid direct contact with moldy surfaces and inhalation of spores respectively.
Lastly but not least importantly ensure children are kept away from work areas for their own safety.
Gathering Essential Tools and Materials
You don’t need anything fancy or expensive – just a few basic items that you probably already have at home.
Firstly, make sure to wear protective gear such as gloves, goggles, and a mask. This will protect your skin from harsh chemicals and prevent inhalation of mold spores.
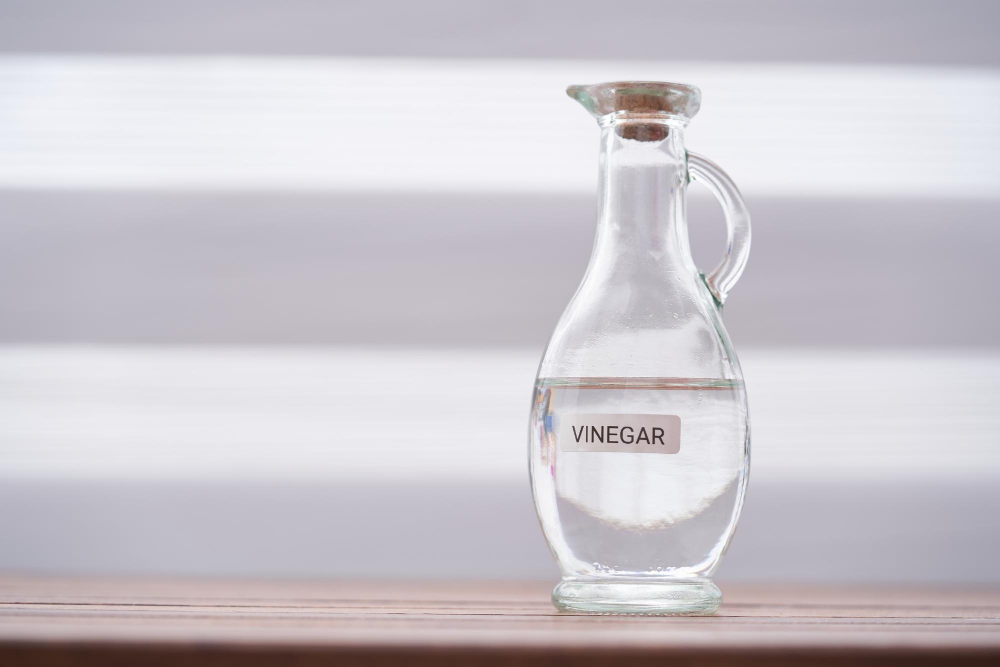
Next up is gathering the necessary tools: A utility knife or razor blade for cutting through old caulk; pliers for removing any remaining bits of caulking; a scraper tool with replaceable blades (or an oscillating multi-tool) to help loosen stubborn areas of moldy caulking; cleaning rags or paper towels; vinegar solution (1 part water + 1 part white vinegar); baking soda paste (3 parts baking soda + 1 part water); commercial cleaner specifically designed for removing mold from bathroom surfaces if natural solutions do not work well enough.
Preparing the Work Area
This will help ensure that the process goes smoothly and safely. First, clear out any items around your sink to create a clean workspace.
You don’t want anything getting in the way or accidentally getting contaminated with moldy caulk.
Next, cover nearby surfaces with plastic sheeting or old towels to protect them from any cleaning solutions or debris that may come loose during removal. Make sure you have good ventilation by opening windows and turning on fans if possible.
It’s also essential to wear protective gear such as gloves and a mask when working with moldy materials as they can be harmful if ingested or inhaled.
Softening and Loosening the Caulk

This will make it easier to pull away from the surface without damaging your sink or countertop. There are several ways to do this, but one of the most effective is using a heat gun or hairdryer.
To start, put on protective gear such as gloves and goggles before heating up the caulk with a heat gun or hairdryer set on high temperature for about 30 seconds. Be careful not to overheat as this may damage surrounding surfaces.
Once heated enough, use a utility knife or scraper tool (carefully)to gently pry off any loose bits of softened caulk that come away easily without applying too much pressure which could cause scratches in your sink’s surface.
Removing Moldy Caulk

Use a utility knife or a putty knife to carefully cut along both sides of the caulk line. Be sure not to damage any surrounding tiles or surfaces while doing so.
Next, use pliers or your fingers (protected with gloves) to gently pull out as much of the old caulking as possible. If there are stubborn areas that won’t come off easily, try using a scraper tool.
Be patient and take your time during this step – rushing can lead to mistakes and further damage. Once all of the old caulking has been removed, clean up any remaining debris with a damp cloth before moving on to disinfecting and drying out your sink area in preparation for new caulking installation.
Cleaning the Area
Use a damp cloth or sponge and a mild detergent to wipe down the sink and surrounding surfaces. Be sure to remove any remaining traces of mold or caulk residue.
For stubborn stains, you can use vinegar or baking soda mixed with water as an effective natural cleaning solution. Apply this mixture on affected areas using a soft-bristled brush and let it sit for 10-15 minutes before rinsing off with warm water.
After cleaning, allow the area to dry completely before proceeding with new caulking installation. This will ensure that your new caulking adheres properly without any moisture trapped underneath.
Remember that proper cleaning is crucial in preventing future mold growth in your kitchen sink area.
How to Remove Mold Using Natural Solutions
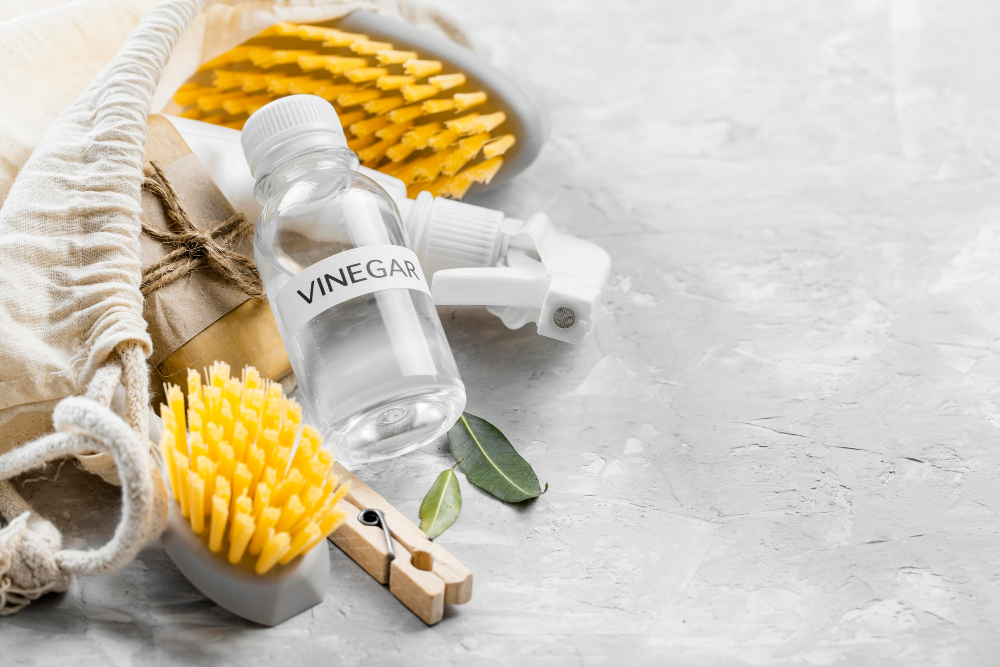
One of the most popular is vinegar, which has antimicrobial properties and can kill up to 82% of mold species. To use vinegar, mix equal parts white distilled vinegar and water in a spray bottle and apply it directly onto the affected area.
Let it sit for an hour before scrubbing with a brush or sponge.
Another effective natural solution is baking soda paste. Mix one part baking soda with two parts water until you have a thick paste consistency.
Apply this mixture onto the moldy caulk using a toothbrush or small brush, then let it sit for at least 30 minutes before rinsing off with warm water.
Tea tree oil is also known for its antifungal properties and can be used as an alternative to bleach-based products if you’re looking for something more eco-friendly. Mix one teaspoon of tea tree oil into one cup of water in a spray bottle and shake well before applying directly onto the affected area.
How to Remove Mold Using Commercial Products

Look for a product specifically designed for removing mold and mildew in bathrooms or kitchens. These products usually contain bleach or other chemicals that kill the spores and prevent them from growing back.
To use these products, follow the instructions on the label carefully. Wear gloves and protective eyewear to avoid skin irritation or eye damage.
Apply the product generously over the affected area using a brush or sponge, making sure to cover all of the moldy spots.
Let it sit for at least 10-15 minutes before rinsing with water thoroughly until all traces of cleaner have been removed. Dry off any excess moisture with a clean towel before proceeding with re-caulking.
Applying Disinfectant
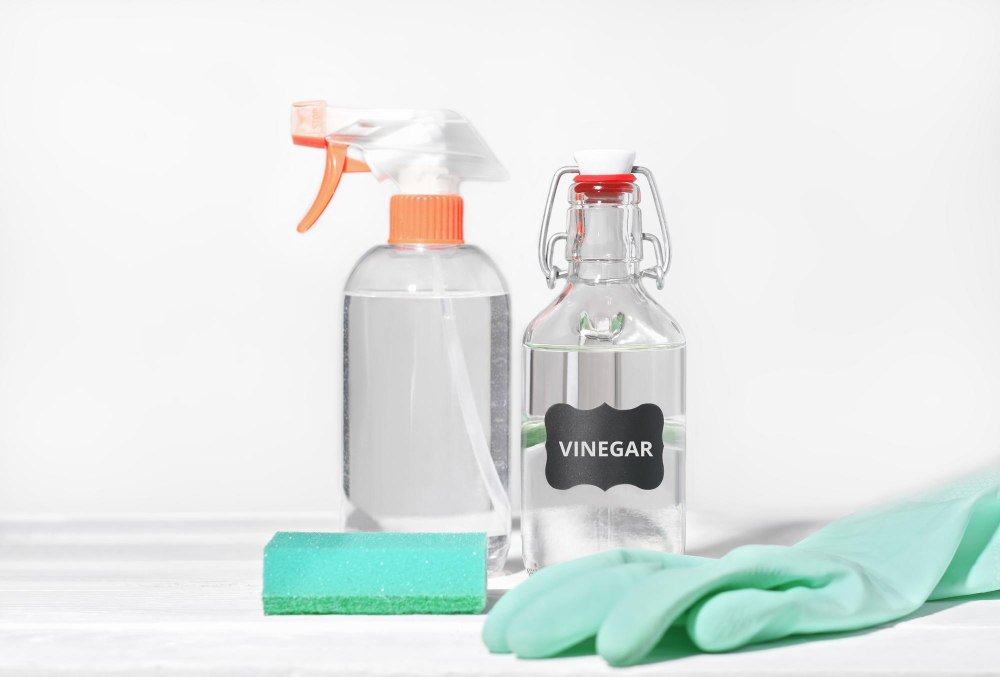
This step is crucial in preventing future mold growth. You can use a commercial disinfectant or make your own by mixing equal parts of water and white vinegar in a spray bottle.
Spray the solution onto the affected area and let it sit for at least 10 minutes before wiping away with a clean cloth. Be sure to wear gloves during this process as some disinfectants can be harsh on skin.
Once you’ve applied the disinfectant, allow ample time for everything to dry completely before proceeding with re-caulking your kitchen sink.
Drying the Sink
This will ensure that no moisture is trapped underneath, which can lead to future mold growth.
To dry your sink, use a clean towel or rag to wipe away any excess water. Then let it air-dry for at least an hour or two.
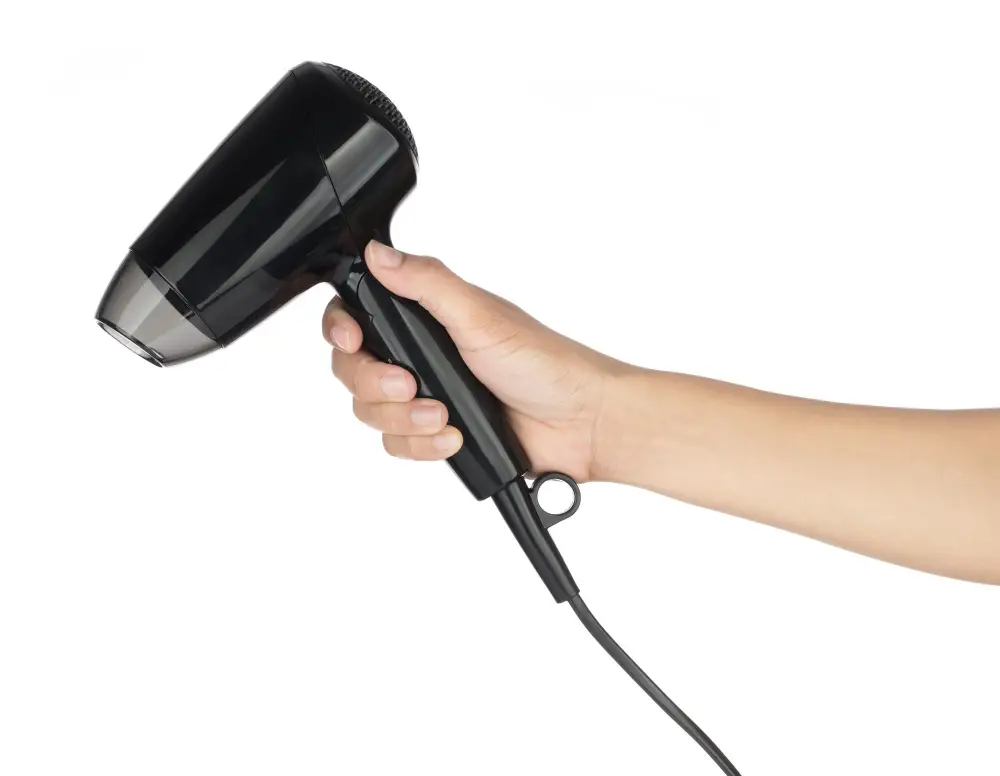
If you’re in a hurry and need to speed up the drying process, you can use a hairdryer on low heat setting.
Make sure that every part of your sink is completely dry before proceeding with caulking. Any remaining moisture could cause problems later on down the line.
Preparing for New Caulk
Before applying new caulk, make sure that the area is completely dry and free of any debris or residue. Use a clean cloth to wipe down the surface and remove any remaining traces of mold or old caulking.
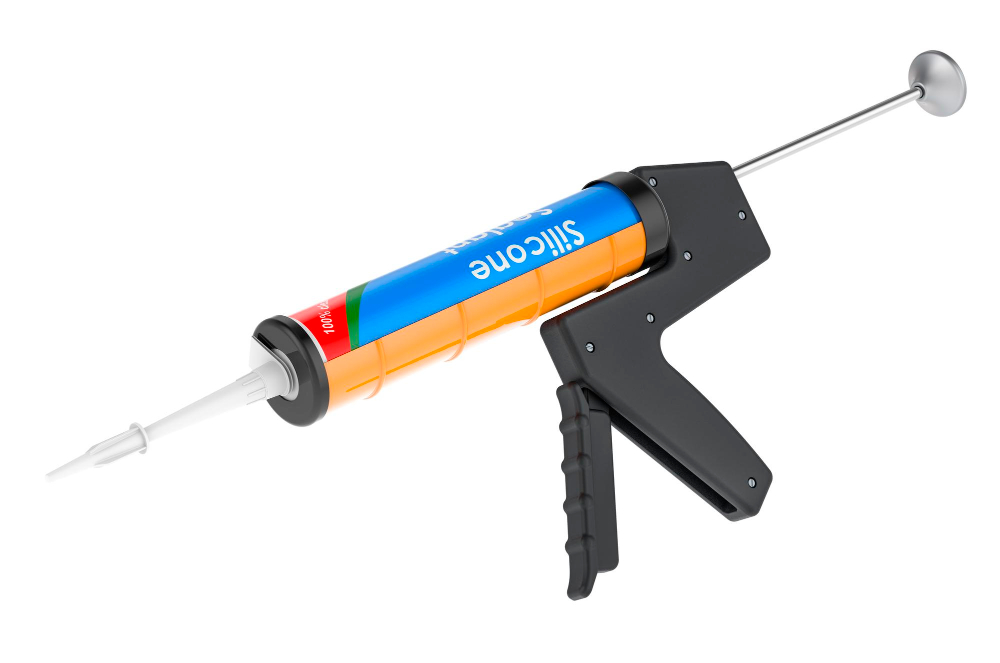
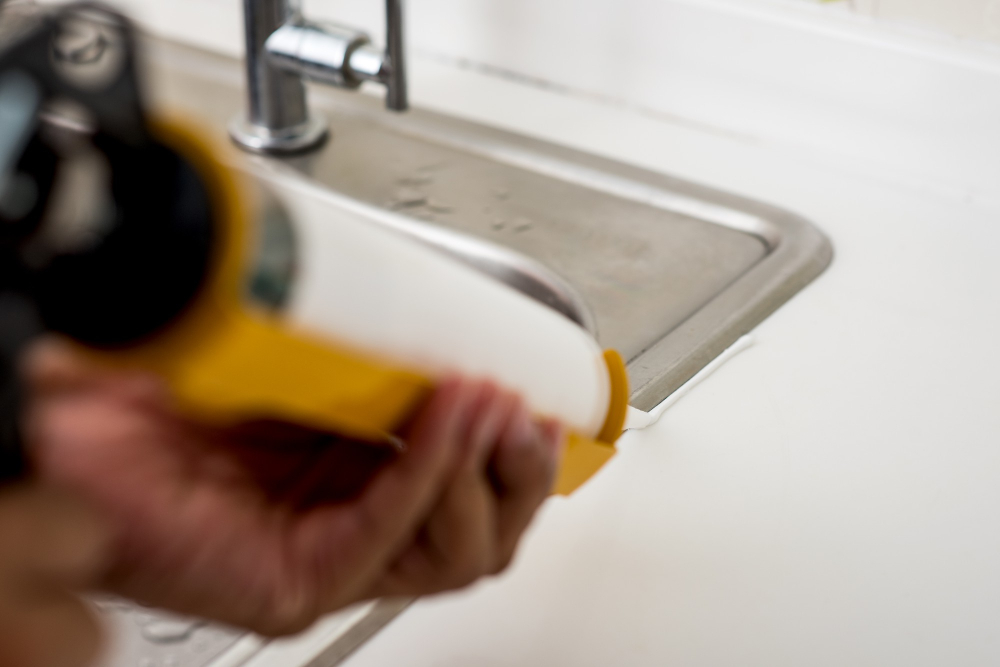
Next, use a silicone-based caulk that is specifically designed for kitchen sinks as it will be more resistant to moisture and mildew growth. Cut off the tip of your tube at an angle so that you can apply an even bead along your sink’s edge.
To ensure a smooth application, use painter’s tape on both sides of where you want to apply your new sealant line; this will help keep things neat while also providing some protection against accidental smudging during application.
Allow ample time for drying before using your sink again – typically 24 hours should suffice but check with manufacturer instructions if unsure.
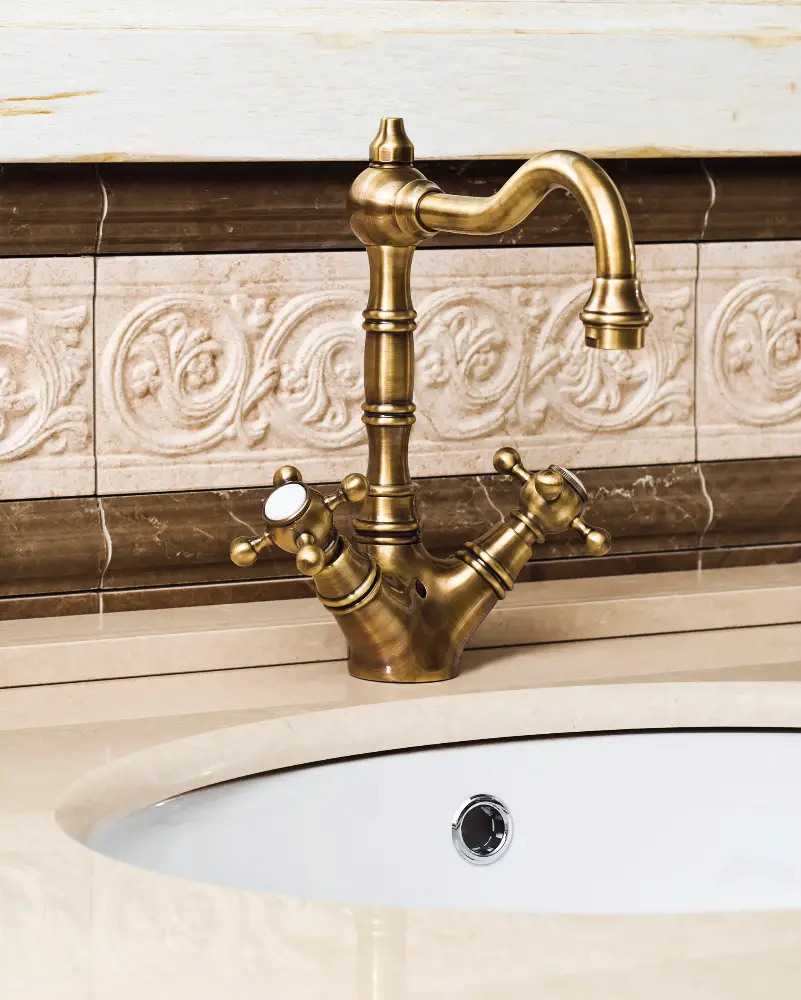
Replacing the Kitchen Sink Caulk
This is an important step in preventing future mold growth and maintaining a clean kitchen sink area.
To begin, make sure that the surface is completely dry before applying new caulk. Use a hairdryer or let it air dry for several hours to ensure that there is no moisture left on the surface.
Next, apply a thin layer of silicone caulk around the edges of your sink using a caulking gun. Be sure to work slowly and carefully so that you don’t accidentally apply too much or create any gaps in your seal.
Smooth out any bumps or ridges with your finger or a damp cloth until you achieve an even finish. Allow at least 24 hours for the silicone to cure before using your sink again.
Preventing Future Mold Growth
Here are some tips:.
1. Keep the area dry: After using the sink, wipe down any excess water around and under it.
2. Ventilate: Make sure there is proper ventilation in your kitchen by opening windows or turning on a fan while cooking or washing dishes.
3. Fix leaks: If you notice any leaks in your plumbing system, fix them immediately as they can create moisture that promotes mold growth.
4. Use non-toxic cleaners: Avoid harsh chemicals when cleaning your sink and surrounding areas as they can damage surfaces and harm indoor air quality.
5. Regular maintenance checks: Inspect caulking regularly for signs of wear or damage so that you can replace it before mold has a chance to grow again.
Regular Maintenance Tips
Regular maintenance is key in keeping your sink area clean and healthy.
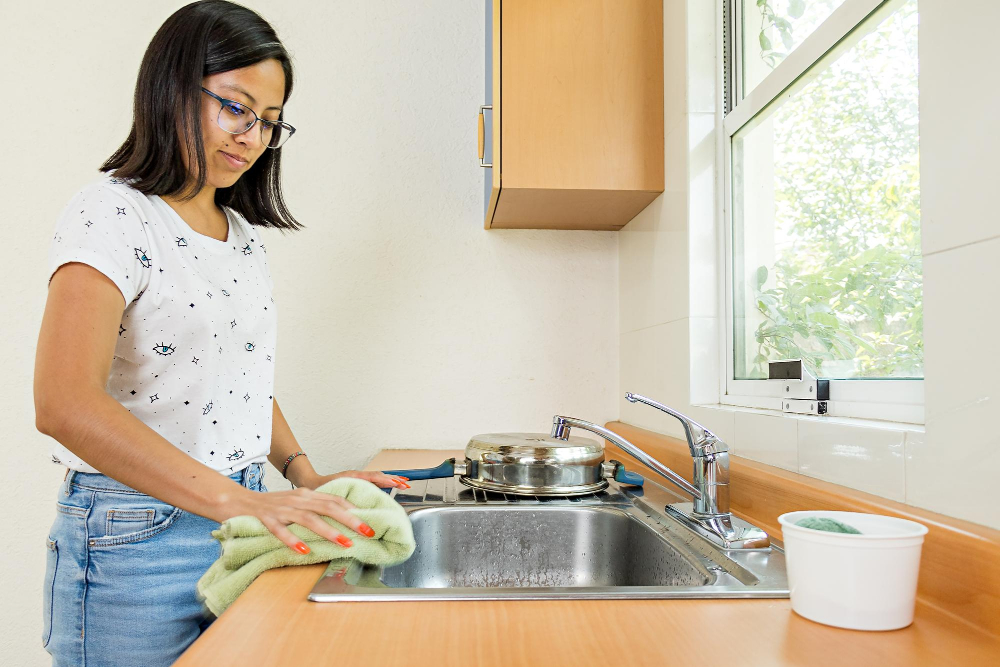
One of the easiest things you can do is wipe down your sink after each use. This will help prevent moisture buildup, which can lead to mold growth.
You should also make sure that there are no leaks or drips in the faucet or pipes under the sink.
Another helpful tip is to periodically inspect and replace any worn-out caulking around your kitchen sink. Over time, caulk can crack or shrink, creating gaps where water and bacteria can accumulate.
Consider using a natural disinfectant like vinegar or hydrogen peroxide on a regular basis instead of harsh chemicals that may be harmful for both humans and pets alike.
Using Non-Toxic Mold Killers
One of the most popular options is white vinegar. Simply mix equal parts of water and vinegar in a spray bottle and apply it directly to the affected area.
Let it sit for about an hour before scrubbing with a brush or sponge.
Another effective natural solution is tea tree oil, which has antifungal properties that can kill mold spores on contact. Mix one teaspoon of tea tree oil with one cup of water in a spray bottle and shake well before applying it to the affected area.
Hydrogen peroxide is also an excellent non-toxic option for removing mold from your kitchen sink caulk. Mix equal parts hydrogen peroxide and water in a spray bottle, then apply directly onto the affected area.
Maintaining a Mold-Free Kitchen Sink Area
Here are some tips for maintaining a mold-free kitchen sink area:.
1. Keep the area dry: After using the sink, make sure to wipe down any excess water with a towel or sponge.
2. Fix leaks promptly: If you notice any leaks in your faucet or pipes, have them repaired as soon as possible.
3. Use ventilation: Turn on an exhaust fan or open a window while cooking and cleaning in order to reduce moisture levels.
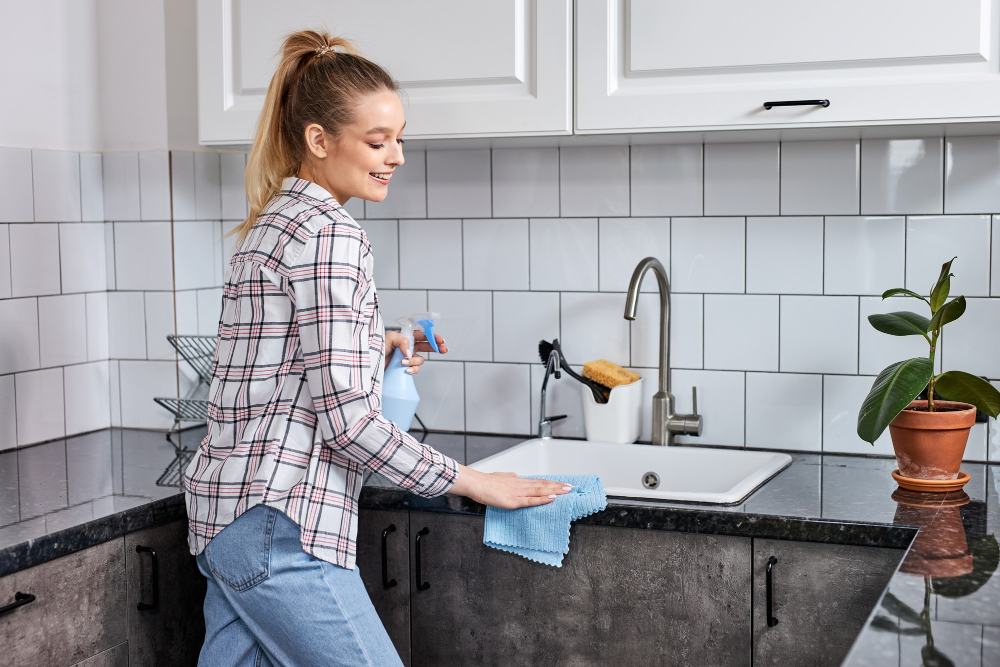
4. Clean regularly: Regularly clean your sink and surrounding areas with soap and water, paying special attention to corners where mold can grow unnoticed.
5. Use non-toxic cleaners: Avoid harsh chemicals that can damage surfaces and harm indoor air quality by opting for natural solutions like vinegar or hydrogen peroxide instead of bleach-based products.
Warnings

Mold can be harmful to your health, especially if you have allergies or respiratory problems. Make sure that the area is well-ventilated and wear protective gear such as gloves and a mask.
Avoid using bleach on colored caulking as it may cause discoloration or damage the surface. Also, never mix bleach with other cleaning products like ammonia because this can create toxic fumes.
If you have a severe mold problem in your kitchen sink caulk that doesn’t seem to go away after several attempts of removals or if there are signs of structural damage around the area affected by mold growth (such as cracks), then consider calling a professional for help.
When to Call a Professional

A mold remediation specialist will have access to specialized equipment and techniques that can effectively eliminate even stubborn mold growth. If you suspect that there is a larger issue at play – such as water damage or poor ventilation – a professional assessment may be necessary.
It’s important not to ignore persistent mold growth, as it can pose serious health risks for you and your family. Symptoms like coughing, wheezing, headaches or skin irritation could indicate exposure to toxic molds.
While removing kitchen sink caulk with visible signs of mildew is something most homeowners should be able do on their own by following these simple steps; sometimes calling an expert might save us from bigger problems down the road!.
FAQ
How do you remove black mold from caulking?
To remove black mold from caulking, apply a bleach solution, let it soak in to kill the mold, then scrub and rinse the area thoroughly.
Can mold be removed from silicone caulk?
Yes, mold can be removed from silicone caulk by applying a paste made of 1 cup vinegar and 2-3 tsp baking soda, letting it sit for 5-10 minutes, and then wiping it off.
What are the most effective natural remedies for eliminating mold from kitchen sink caulk?
To eliminate mold from kitchen sink caulk effectively, use natural remedies like a mixture of vinegar, water, lemon juice, and baking soda.
How can you prevent mold growth on kitchen sink caulking in the long run?
To prevent mold growth on kitchen sink caulking in the long run, ensure proper ventilation, regularly clean and dry the area, and use high-quality, mold-resistant caulk.
Is it necessary to replace the caulk after mold removal, and what are the best mold-resistant alternatives?
Yes, it is necessary to replace the caulk after mold removal, and some of the best mold-resistant alternatives include silicone, latex, and anti-microbial caulks.


