Last updated on
Discover the simple and efficient ways to clean your kitchen’s exhaust fan without removing it, ensuring a spotless, odor-free cooking space in no time.

Exhaust fans play a crucial role in keeping our kitchens fresh and odor-free. They tirelessly work to remove smoke, grease, and unpleasant odors from the air, ensuring a comfortable cooking environment.
However, over time, these hardworking appliances can accumulate dust and grime, which can affect their efficiency. The thought of cleaning an exhaust fan might seem daunting at first, especially if you’re worried about removing it from its mount.
But fear not! In this article, we will guide you through the process of cleaning your kitchen exhaust fan without having to remove it. So grab your cleaning supplies and let’s get started on giving your exhaust fan the TLC it deserves!
What's Inside
“Understanding the Importance of Clean Kitchen Exhaust Fans”
As we embark on our journey to clean the kitchen exhaust fan without removing it, it’s essential to understand why this task is so important. Picture this: you’re in the middle of preparing a delicious meal for your loved ones when suddenly, an overpowering smell of burnt food fills the air.
Not only does it ruin your appetite, but that lingering odor can also seep into other areas of your home.
This is where a clean and well-maintained kitchen exhaust fan comes to the rescue. By effectively removing smoke, grease particles, and unpleasant odors from cooking activities, these fans help maintain a fresh and inviting atmosphere in your kitchen.
But here’s the catch – over time, as you cook up culinary masterpieces day after day (or even just whip up simple meals), grease and grime start accumulating on every surface imaginable – including your trusty exhaust fan. This buildup not only hampers its performance but also poses potential fire hazards due to clogged vents.
Regularly cleaning your kitchen exhaust fan ensures optimal functionality while preventing any unwanted surprises down the line.
“Identifying the Type of Exhaust Fan”
Different types of exhaust fans may require slightly different cleaning methods or have specific components that need attention.
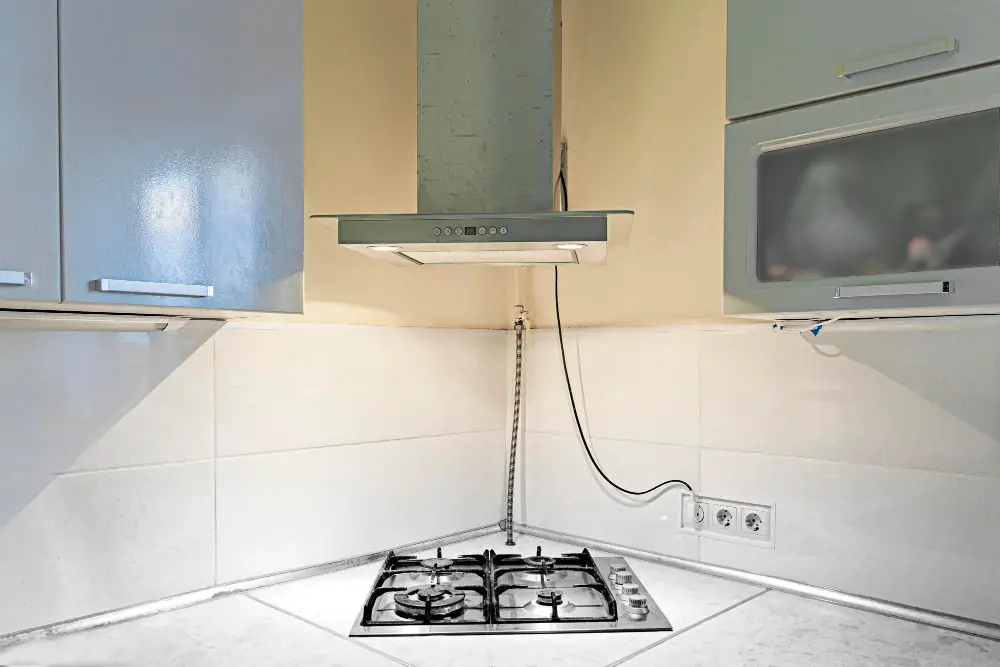
Take a moment to examine your kitchen exhaust fan closely. Is it a wall-mounted fan, ceiling-mounted fan, or an under-cabinet range hood? Understanding its design and installation will help you determine how best to approach the cleaning process.
For wall-mounted fans and under-cabinet range hoods, there are usually removable grease filters that can be easily accessed for cleaning. These filters play a crucial role in trapping grease particles and preventing them from accumulating inside the fan unit.
Cleaning these filters regularly is essential for maintaining optimal performance.
Ceiling-mounted fans often have removable covers or grilles that allow access to internal components such as blades and motors. Identifying how these covers are attached will help ensure safe removal without causing any damage.
By identifying the type of exhaust fan you have in your kitchen, you’ll be better equipped with knowledge on which areas require special attention during the cleaning process.
“Safety Precautions Before Cleaning The Exhaust Fan”
Taking a few precautions will ensure that you can clean your kitchen exhaust fan without any mishaps or accidents. Safety should always be our top priority when dealing with electrical appliances.
First and foremost, make sure to turn off the power supply to the exhaust fan before starting any cleaning procedures. This step is crucial as it eliminates the risk of electric shock while working on or near the fan.
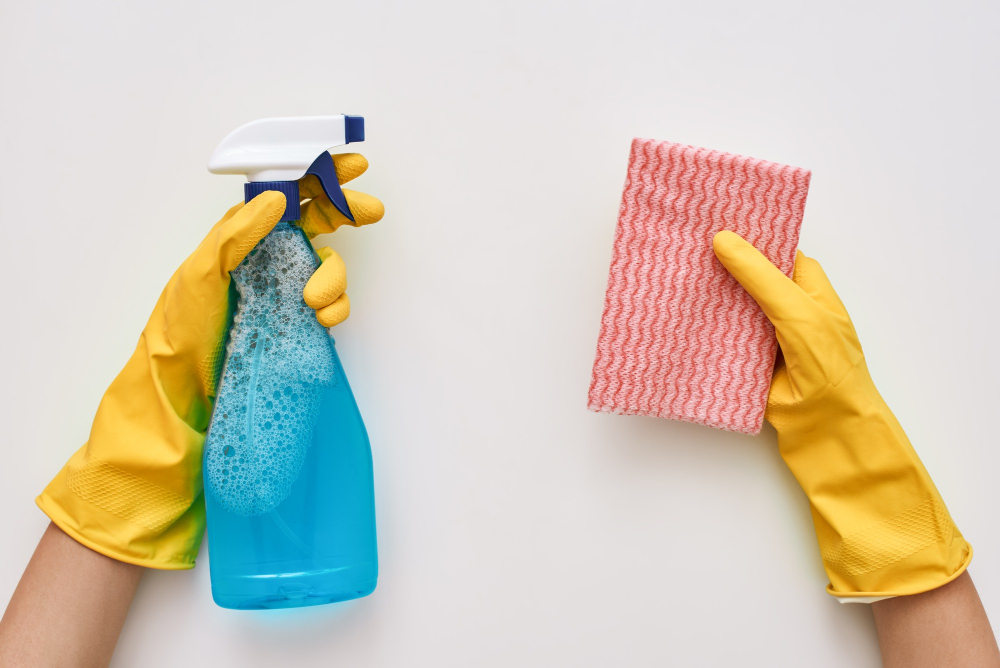
Next, gather all necessary tools and supplies for cleaning in advance. This way, you won’t have to leave your work area unattended searching for items later on.
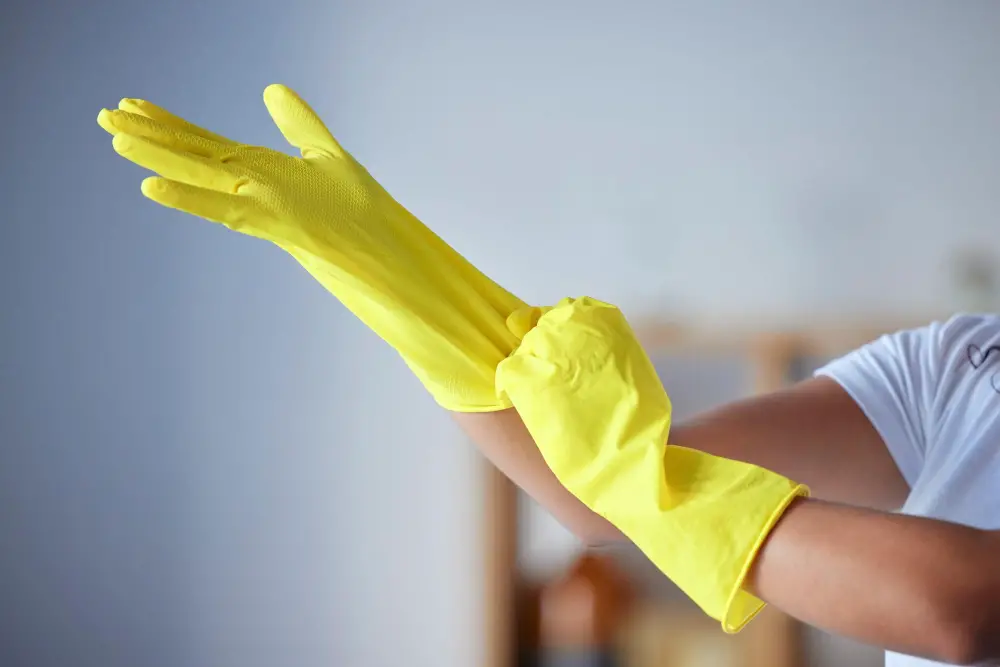
Consider wearing protective gear such as gloves and safety goggles during this process. Gloves will protect your hands from dirt and chemicals used in cleaning solutions while goggles will shield your eyes from dust particles that may dislodge during maintenance.
Lastly, if you’re unsure about any aspect of safely handling or accessing parts of your exhaust fan system (such as reaching high areas), don’t hesitate to seek assistance from a professional technician who can guide you through proper techniques or perform maintenance themselves if needed.
“Preliminary Safety Steps”
Safety should always be a top priority when working with any electrical equipment.
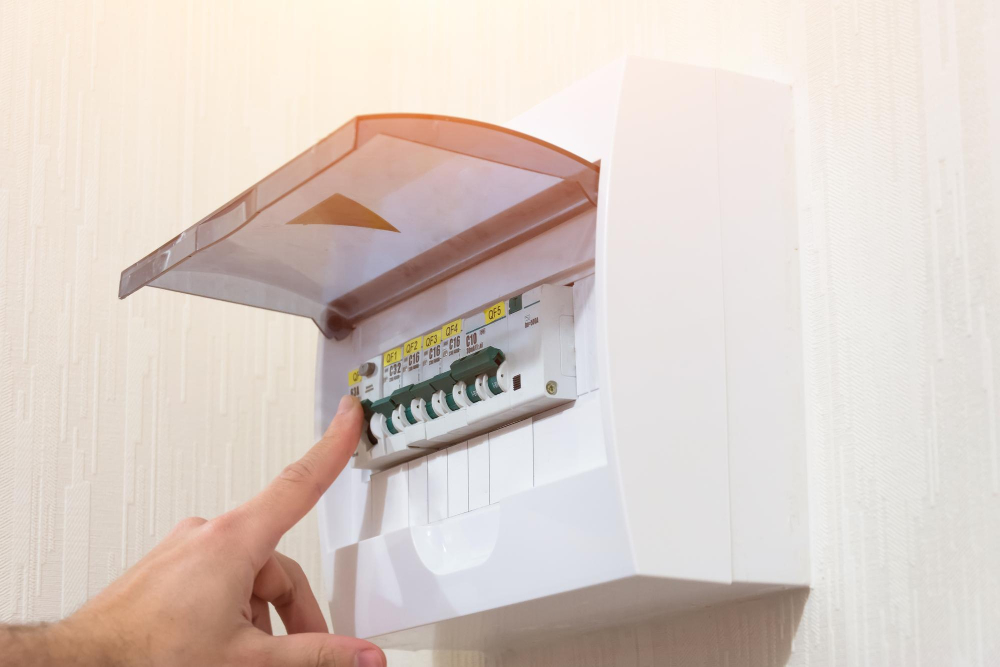
Firstly, make sure you turn off the power supply to the exhaust fan. This can usually be done by flipping the switch on your circuit breaker or unplugging it from its power source if accessible.
Double-check that there is no electricity flowing through before proceeding.
Next, gather all necessary tools and supplies for cleaning. This includes gloves to protect your hands from chemicals or sharp edges, a step ladder if needed for reaching higher areas of the fan, and a flashlight for better visibility in tight spaces.
It’s also advisable to cover nearby surfaces with old newspapers or plastic sheets as an added precaution against any potential mess during cleaning.
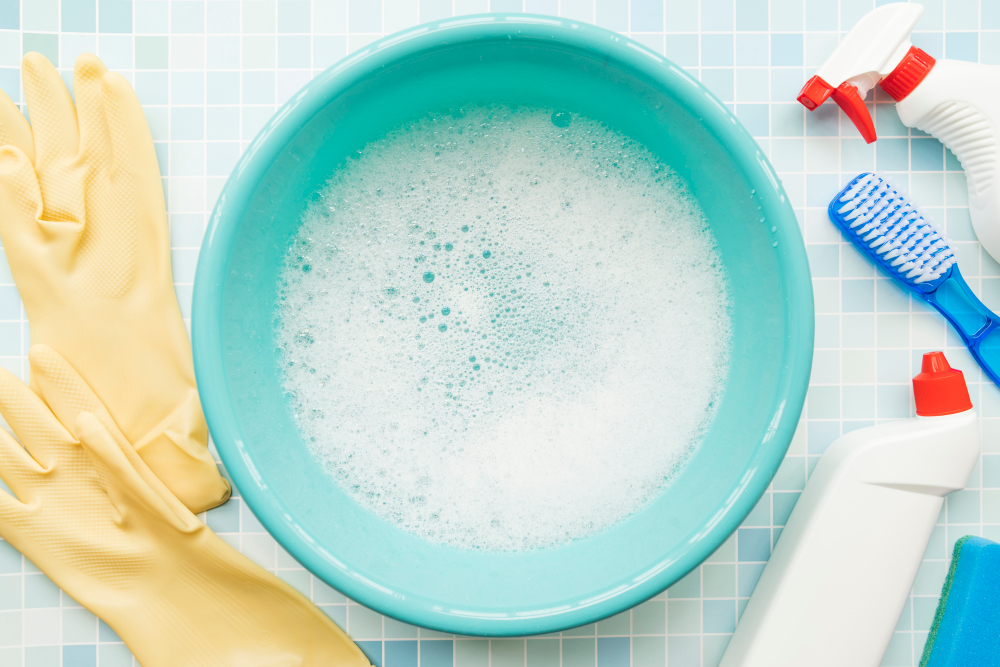
“Gathering Necessary Cleaning Supplies”
Having everything you need at hand will make the process smoother and more efficient.
Firstly, grab a step ladder or a sturdy chair to help you reach the exhaust fan comfortably. Safety should always be a priority when working at heights, so ensure that your chosen support is stable and secure.
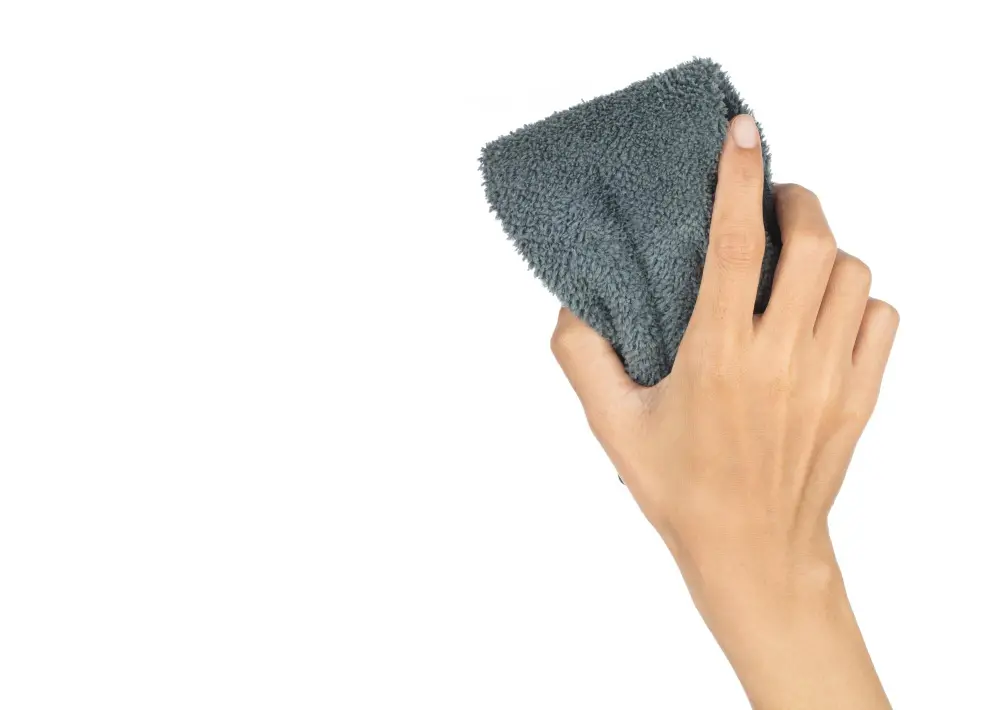
Next, gather some microfiber cloths or soft rags for wiping down surfaces. These materials are gentle yet effective in capturing dust and grime without scratching or damaging any parts of your exhaust fan.
You’ll also need an all-purpose cleaner suitable for use on metal surfaces. Look for one specifically designed to cut through grease as this will be particularly useful in tackling any built-up residue on your fan blades and cover.
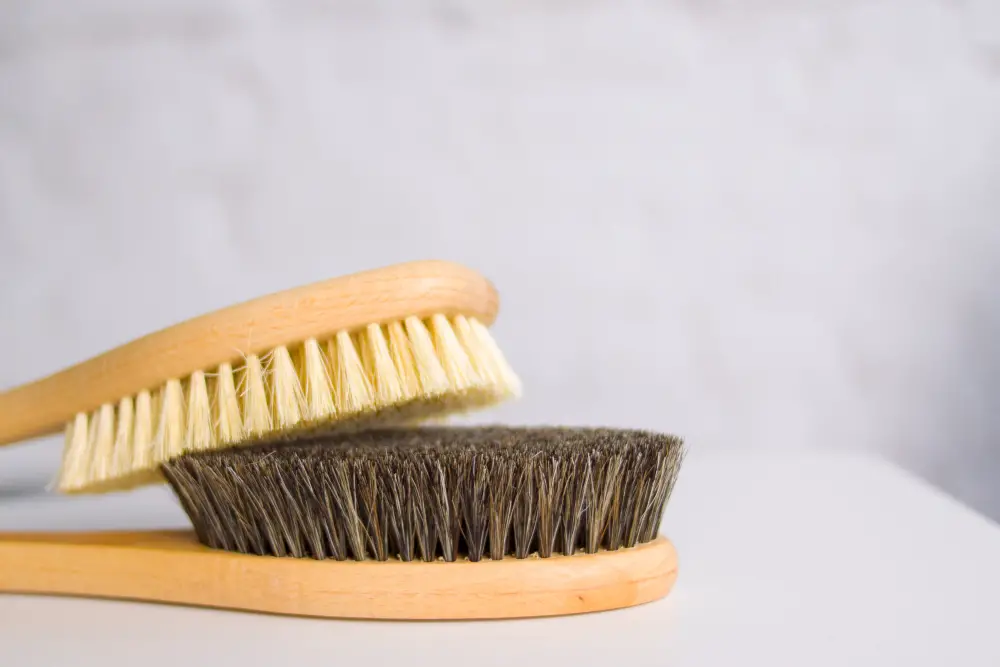
For those hard-to-reach areas where dirt tends to accumulate, consider using a small brush with soft bristles. This tool can help dislodge stubborn debris from crevices before wiping them away with a cloth.
Lastly, don’t forget about safety goggles and gloves! Cleaning products can sometimes contain strong chemicals that may irritate skin or eyes if accidentally splashed during use. Protect yourself by wearing these essential safety gear items throughout the cleaning process.
“Turning Off the Exhaust Fan”

This step is crucial as it prevents any accidents or mishaps while you’re working on cleaning the fan.
To turn off the exhaust fan, locate its power switch or circuit breaker. In most cases, you’ll find a dedicated switch near your kitchen hood or on a nearby wall.
Flip this switch to “off” position and make sure that there is no power running through the fan.
By turning off the exhaust fan before starting your cleaning process, you eliminate any risk of injury from moving parts and electrical hazards. It also allows for easier access to all areas of the appliance without worrying about accidental activation.
Remember that safety should always be a top priority when dealing with electrical appliances in our homes.
“Inspecting the Kitchen Exhaust Fan”
This step will help you identify any potential issues or areas that require special attention. Start by turning off the power supply to ensure safety during inspection.
Take a close look at the exterior of your exhaust fan. Check for any visible signs of dirt, dust, or grease buildup on the surface and around its edges.
Pay attention to corners and crevices where grime tends to accumulate.
Next, examine the grease filter if your exhaust fan has one. Remove it carefully and inspect its condition.
If you notice excessive grease buildup or damage such as tears or holes in the filter material, consider replacing it with a new one for optimal performance.
Now shift your focus towards the blades of your kitchen exhaust fan. Use a flashlight if needed to get a clear view inside without removing them completely (as we’ll cover this later).
Look out for any thick layers of dust clinging onto each blade as well as signs of rusting or damage that may affect their functionality.
Lastly, check whether there are any loose screws or parts within reach while keeping an eye out for unusual noises when running on low speed settings – these could indicate mechanical problems requiring professional assistance.
“Removal of External Dust and Grime”

Over time, dust particles can accumulate on the exterior surfaces of your exhaust fan, making it look dull and reducing its overall efficiency.
To begin this process, start by turning off the exhaust fan to ensure safety. Then take a soft cloth or microfiber duster and gently wipe down all visible surfaces of the fan.
Pay close attention to areas where dirt tends to accumulate more heavily such as corners or crevices.
For stubborn dirt or grime that doesn’t come off easily with a dry cloth, you can dampen a clean cloth with warm water mixed with mild dish soap. Wring out any excess liquid before wiping down these areas carefully.
Remember not to use abrasive cleaners or harsh chemicals as they may damage sensitive parts of your exhaust fan. Avoid spraying water directly onto electrical components for obvious safety reasons.
“How to Use Degreasing Solution On the Fan”
This is where a degreasing solution comes in handy.
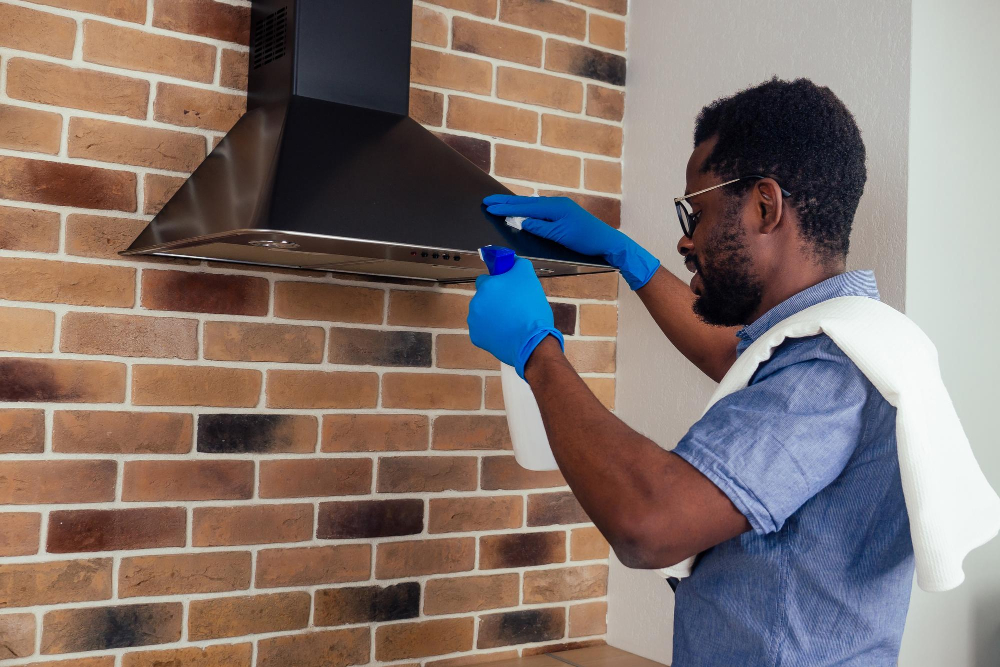
To use a degreasing solution on your fan, start by ensuring that the power to the exhaust fan is turned off for safety purposes. Then, take your chosen degreaser and apply it directly onto a clean cloth or sponge.
Gently wipe down all surfaces of the exhaust fan with the dampened cloth or sponge, paying extra attention to areas where grease tends to build up such as around the motor housing and blades. The powerful properties of a good quality degreaser will help break down tough grease stains effectively.
Remember not to oversaturate any electrical components with liquid during this process as it can cause damage. Use just enough solution on your cleaning tool for effective cleaning without excessive moisture.
After wiping down all surfaces thoroughly with the degreasing solution, take another clean cloth or sponge dampened with water (or follow manufacturer instructions) and wipe away any residue left behind from both sides of each surface until they are completely clean.
“Preparing a Homemade Cleaning Solution”
Creating your own cleaning solution not only saves money but also ensures that you’re using safe and non-toxic ingredients.
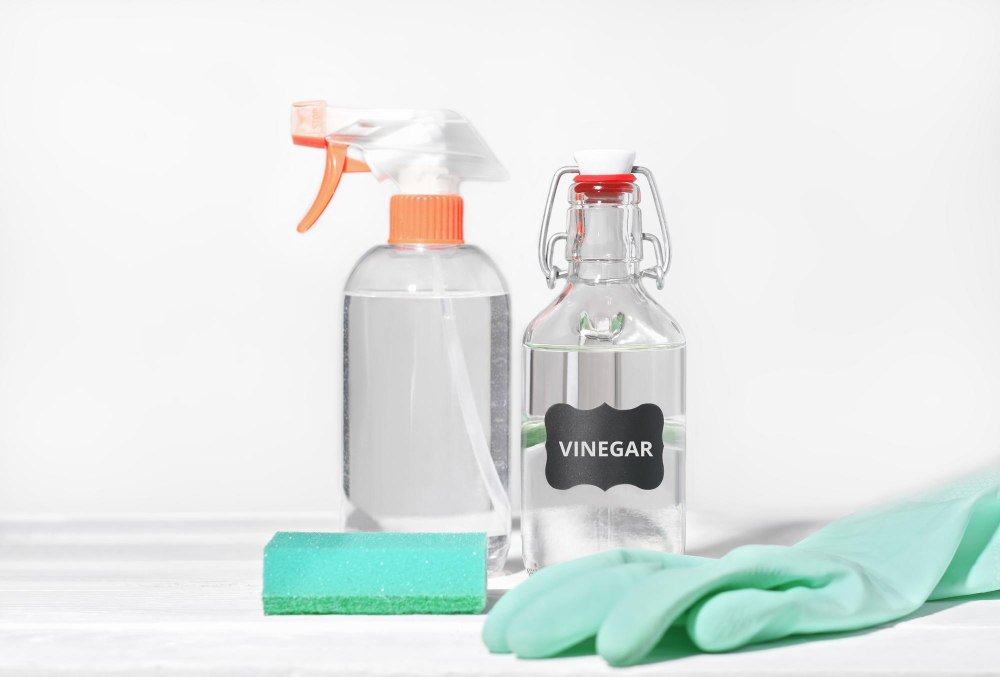
To make a simple yet effective homemade cleaner, start by mixing equal parts of warm water and white vinegar in a spray bottle. Vinegar is known for its natural degreasing properties and ability to cut through stubborn residue.
The warm water helps to enhance the effectiveness of the solution.
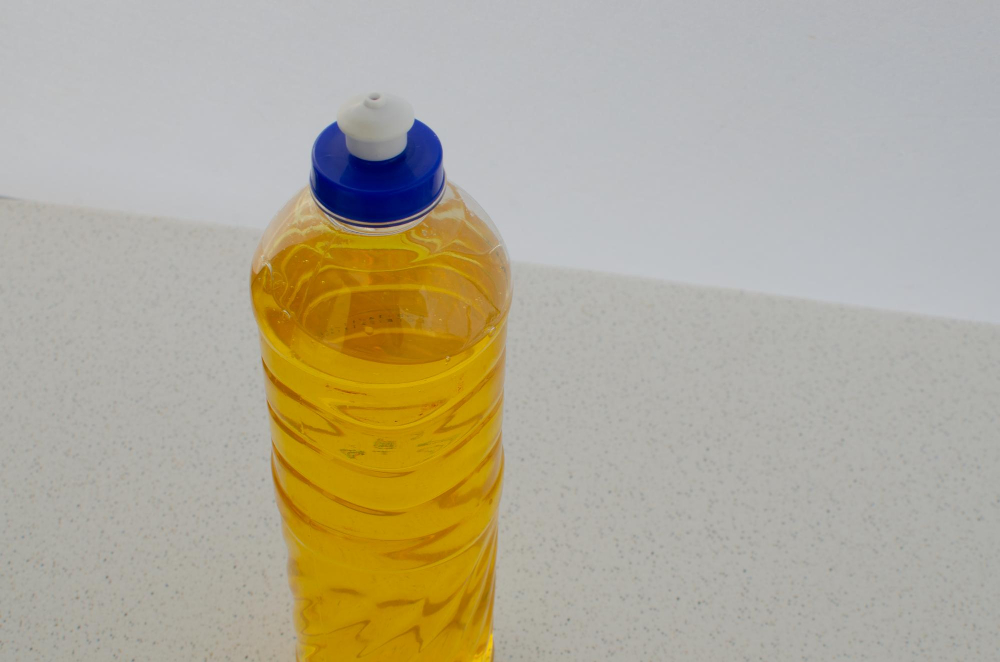
If you prefer an alternative to vinegar, another option is using dish soap mixed with warm water. Dish soap contains grease-cutting agents that can help break down accumulated grease on the exhaust fan surfaces.
Whichever option you choose, be sure to shake or mix well before use so that all ingredients are thoroughly combined. This ensures maximum efficiency when tackling dirt and grime during the cleaning process.
“Cleaning the Grease Filter Without Removal”
The grease filter is an essential component of your exhaust fan as it traps grease particles and prevents them from clogging up the system. Cleaning this filter regularly will ensure that your exhaust fan operates efficiently.
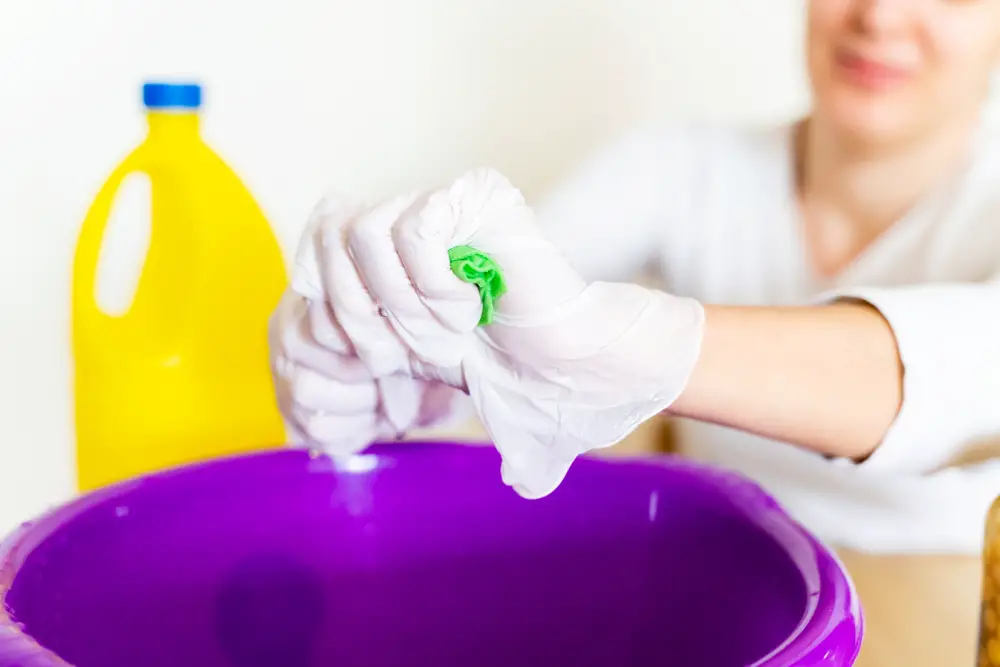
To clean the grease filter without removing it, start by preparing a mixture of warm water and dish soap in a basin or sink. Gently remove the greasy filters from their slots in the hood or housing unit of your exhaust fan.
Place one or two filters at a time into the soapy water solution, making sure they are fully submerged. Allow them to soak for about 10-15 minutes to loosen any built-up grime.
Using a soft-bristle brush or sponge, gently scrub both sides of each filter to remove any remaining dirt and grease particles. Pay extra attention to areas with stubborn stains or buildup.
Once you’ve thoroughly cleaned each side of all filters, rinse them under running water until no soap residue remains. Shake off excess water and pat dry with a clean towel before reinserting them back into their respective slots on the hood or housing unit.
Remember that different types of filters may require specific cleaning methods; refer to manufacturer instructions if available for best results.
“Procedure for Cleaning the Fan Blades”
The procedure for cleaning the fan blades may vary depending on the type of exhaust fan you have, but here are some general steps to follow.
Firstly, make sure that your exhaust fan is turned off and disconnected from any power source before proceeding with this step. Safety should always be a top priority when working with electrical appliances.
Next, take a soft brush or cloth and gently remove any loose dust or debris from the surface of the blades. Be careful not to apply too much pressure as this could damage them.
For more stubborn dirt or grease buildup on metal blades, you can use a mild degreasing solution diluted in water. Apply this solution using a clean cloth or sponge and carefully wipe down each blade until they are free from grime.
If your exhaust fan has plastic blades, avoid using harsh chemicals as they can cause damage. Instead, opt for warm soapy water and gently scrub away any dirt using a soft brush or sponge.
After cleaning each blade thoroughly, rinse them with clean water to remove any residue left behind by cleaning agents. Ensure that all soap or degreaser is completely washed away before moving forward.
Lastly, allow sufficient time for drying before reassembling your kitchen’s exhaust system. You can either air-dry them naturally by leaving them in an open space until fully dry or use a clean towel to pat dry each blade individually if needed.
Remember that regular maintenance is key in keeping your kitchen’s exhaust system functioning optimally over time.
“Cleaning the Exhaust Fan Cover”
The cover is often exposed to grease splatters and dust accumulation, making it an essential part of your cleaning routine.
To clean the exhaust fan cover, start by removing any visible debris or loose particles with a soft brush or vacuum cleaner attachment. This will help prevent scratching or damaging the surface during the cleaning process.
Next, prepare a mixture of warm water and mild dish soap in a bucket or sink. Dip a microfiber cloth into this soapy solution and gently scrub both sides of the exhaust fan cover.
Pay close attention to areas where grease buildup may be more prominent.
For stubborn stains or grime that won’t come off easily with just soap and water, you can use a non-abrasive kitchen cleaner specifically designed for removing grease. Apply this cleaner sparingly onto a sponge or cloth before gently scrubbing away any remaining residue on both sides of the cover.
After thoroughly cleaning all surfaces of your exhaust fan cover, rinse it well with clean water to remove any leftover soap residue. Make sure not to submerge electrical components if they are attached directly to your specific model’s design – consult manufacturer instructions if unsure about detachability.
Dry off excess moisture from both sides using another clean microfiber cloth before reattaching it back onto your kitchen’s exhaust system securely.
“Wiping Down the Exhaust Fan”
This step ensures that all remaining dirt and cleaning solution residue are completely removed, leaving your exhaust fan looking sparkling clean.
To begin, dampen a clean cloth or sponge with warm water. Make sure not to soak it too much as excess water can drip into the electrical components of the fan.
Gently wipe down all surfaces of the exhaust fan, including both sides of the cover and any visible areas where dust may have accumulated.
Pay special attention to corners and crevices where dirt tends to hide. Use a toothbrush or small brush dipped in warm soapy water if necessary for those hard-to-reach spots.
Once you’ve wiped down every surface, take another dry cloth or paper towel and carefully dry off any moisture left behind on your kitchen exhaust fan. This step is crucial in preventing rusting or damage caused by prolonged exposure to moisture.
Remember that safety should always be a priority when working with electrical appliances like an exhaust fan. Ensure that everything is completely dry before turning on your kitchen’s ventilation system again.
“Using Vinegar Solution for Stubborn Grime”

One effective solution for cutting through tough grease and grime is vinegar. Vinegar is a natural cleaning agent that can help break down buildup without causing damage to your exhaust fan.
To create a vinegar solution, mix equal parts of white vinegar and water in a spray bottle. Spray this mixture onto the areas with stubborn grime on your exhaust fan, focusing on the blades, cover, and filter if applicable.
Allow the vinegar solution to sit for a few minutes so it can penetrate the dirt and grease effectively. Then use a soft brush or cloth to gently scrub away any remaining residue.
Be sure not to apply excessive pressure or scrub too vigorously as this could potentially damage delicate components of your exhaust fan.
Afterward, wipe down all surfaces with clean water using another cloth or sponge until no traces of vinegar remain. This step will ensure that there are no lingering odors from the cleaning process.
Using a vinegar solution is an excellent way to remove stubborn grime from your kitchen’s exhaust fan without resorting to harsh chemicals or abrasive cleaners.
“Technique for Drying the Exhaust Fan”
Dampness can lead to the accumulation of dust and even mold growth, which can compromise the efficiency of your fan. To effectively dry your exhaust fan, follow these simple techniques.
Firstly, use a clean microfiber cloth or paper towels to gently wipe down all the surfaces of the fan. Pay close attention to any areas where moisture might have accumulated during cleaning.
Next, allow some time for natural air drying. Open windows or turn on fans in the kitchen area to promote air circulation and help speed up drying time.
If you want an extra level of assurance that no moisture remains trapped within your exhaust fan components, you can use a hairdryer set on low heat or cool setting (avoid using high heat as this may damage sensitive parts). Hold the hairdryer at a safe distance from the appliance while directing airflow towards all areas including blades, motor housing, and filters.
Remember not to rush through this step; take sufficient time for thorough drying before proceeding with reassembly. Once you are confident that everything is completely dry inside out – free from any residual dampness – carefully put back together all detachable parts according to their original positions as per manufacturer instructions.
“Reassembling the Exhaust Fan”

Reassembling the exhaust fan is a relatively straightforward process that requires careful attention to detail.
Start by placing the clean fan blades back onto the motor shaft, ensuring they are aligned properly. Gently push them down until they fit snugly into place.
Next, reattach any screws or clips that were removed during disassembly to secure the blades in position.
After securing the blades, carefully put back any removable parts such as grease filters or covers. Make sure they are correctly aligned and securely fastened before moving on.
Once all components are in place, double-check that everything is tightly secured and properly positioned. This step is crucial for optimal performance and safety reasons.
Turn on your exhaust fan to test its functionality after reassembly. Listen for any unusual noises or vibrations while observing if air circulation appears normal without obstruction.
“Regular Maintenance Tips for Kitchen Exhaust Fan”

By following these simple tips, you can prolong the life of your exhaust fan and ensure its optimal performance.
1. Schedule Regular Cleaning: Make it a habit to clean your kitchen exhaust fan at least once every three months or more frequently if needed.
Regular cleaning prevents the buildup of grease, dust, and debris that can hinder its functionality.
2. Clean or Replace Filters: The filters in your exhaust fan play a crucial role in trapping grease particles and preventing them from entering the ventilation system.
Depending on the type of filter you have (mesh or charcoal), they may need either cleaning or replacement periodically.
3. Check for Loose Connections: Over time, vibrations from daily use can loosen connections between various components of the exhaust fan system.
Periodically check all electrical connections to ensure they are secure and functioning properly.
4. Inspect Fan Blades: Take a moment during each cleaning session to inspect the condition of your fan blades carefully.
Look out for any signs of damage such as cracks or excessive wear that could affect their efficiency over time.
5.Clean Surrounding Areas: Don’t forget about keeping not only just inside but also around your kitchen’s exhaust hood clean too! Wipe down any visible dirt on surfaces surrounding the vent hood regularly as this will prevent grime buildup which could potentially find its way into internal parts causing blockages later on.
“Tips On How to Prolong the Life of Your Exhaust Fan”

By following these simple tips, you can keep your exhaust fan running smoothly for years to come.
Firstly, make it a habit to clean the grease filter regularly. This component plays a crucial role in trapping grease particles and preventing them from clogging the fan blades or ductwork.
Depending on usage, aim to clean or replace the filter every 1-3 months.
Secondly, be mindful of what you cook and how much smoke is generated in your kitchen. Excessive smoke can lead to an accumulation of residue on both the exterior and interior parts of the exhaust fan over time.
Minimizing smoke production by using proper ventilation techniques will reduce strain on your appliance.
Consider installing a range hood cover or splash guard above your stove area if one is not already present. These accessories act as barriers against splatters and direct airflow towards the exhaust fan more effectively while protecting it from excessive moisture exposure.
Regular inspection is also key – check for any signs of wear such as loose screws or damaged wiring connections that may affect its functionality over time. If any issues are detected during inspections (such as unusual noises), address them promptly by contacting a professional technician who specializes in kitchen appliances repair.
Lastly but importantly: avoid using harsh chemicals when cleaning both internal components like motor housing and external surfaces like covers; opt for mild detergents instead which won’t damage delicate parts nor leave behind harmful residues that could impact performance negatively.
“Ensuring the Exhaust Fan’s Efficiency After Cleaning”
After all, we want our exhaust fans to continue working effectively and keeping our kitchens fresh for years to come.
One crucial step is to check the fan blades for any signs of damage or wear. Inspect them closely and make sure they are clean and free from any remaining dirt or grime.
If you notice any bent or damaged blades, consider replacing them as this can affect the overall performance of your exhaust fan.
Next, pay attention to the grease filter. This component plays a vital role in trapping grease particles that can accumulate over time.
Clean it regularly by following manufacturer instructions or using mild dish soap and warm water if applicable.
Keep an eye on how well air flows through your newly cleaned exhaust fan after reassembling it. Ensure that there are no obstructions blocking airflow such as furniture or other objects placed too close nearby.
Lastly, establish a regular maintenance routine for your kitchen’s exhaust fan going forward. Set reminders every few months (or more frequently depending on usage) so you don’t forget about its upkeep again! Regular cleaning will prevent excessive buildup of dust and grease which could hinder its efficiency over time.
By taking these simple steps after cleaning your kitchen’s exhaust fan without removing it, you’ll be able to maintain optimal performance while enjoying a fresh-smelling cooking space every day.
FAQ
How do you clean a fan without taking it apart?
To clean a fan without disassembling it, use a hairdryer on the coolest setting or compressed air to blow away dust from the surface of the blades, keeping the hairdryer approximately six to ten inches away from the blades.
How do you clean the inside of a kitchen exhaust?
To clean the inside of a kitchen exhaust, you should spray the hood with a basic degreaser such as Method Heavy Duty Degreaser, Citra Solv or Krud Kutter, let it sit for 10 to 15 minutes, then wipe it down with a sponge or, if needed, use a stiff bristled scrubbing brush.
How do you clean oil and dust out of an exhaust fan?
To clean oil and dust out of an exhaust fan, dust the outside using a vacuum cleaner or clean cloth, disassemble the fan, remove the fan mesh covering the fan blades, optionally detach the fan unit from the motor and housing, and then wipe away the dust from the fan blades and motor using a vacuum cleaner or damp microfiber cloth.
What are some safe and effective homemade cleaners for kitchen exhaust fans?
Safe and effective homemade cleaners for kitchen exhaust fans include a mixture of baking soda, vinegar, and warm water.
How do you maintain a clean exhaust fan in the kitchen after a thorough cleaning?
Maintain a clean kitchen exhaust fan after a thorough cleaning by regularly wiping the exterior, checking for grease buildup, and cleaning the filter as needed.
How often should you clean a kitchen exhaust fan to prevent build up?
Kitchen exhaust fans should be cleaned at least every 3 to 6 months to prevent build up.


