Last updated on
Discover the steps to easily remove a sink faucet so you can update your kitchen or bathroom with confidence.
Key takeaways:
- Grab the right tools for the job.
- Turn off the water supply.
- Disconnect the water supply tubes.
- Loosen the mounting nuts with a basin wrench.
- Gently remove the faucet body from the sink.
What's Inside
Tools Required to Remove a Kitchen Faucet
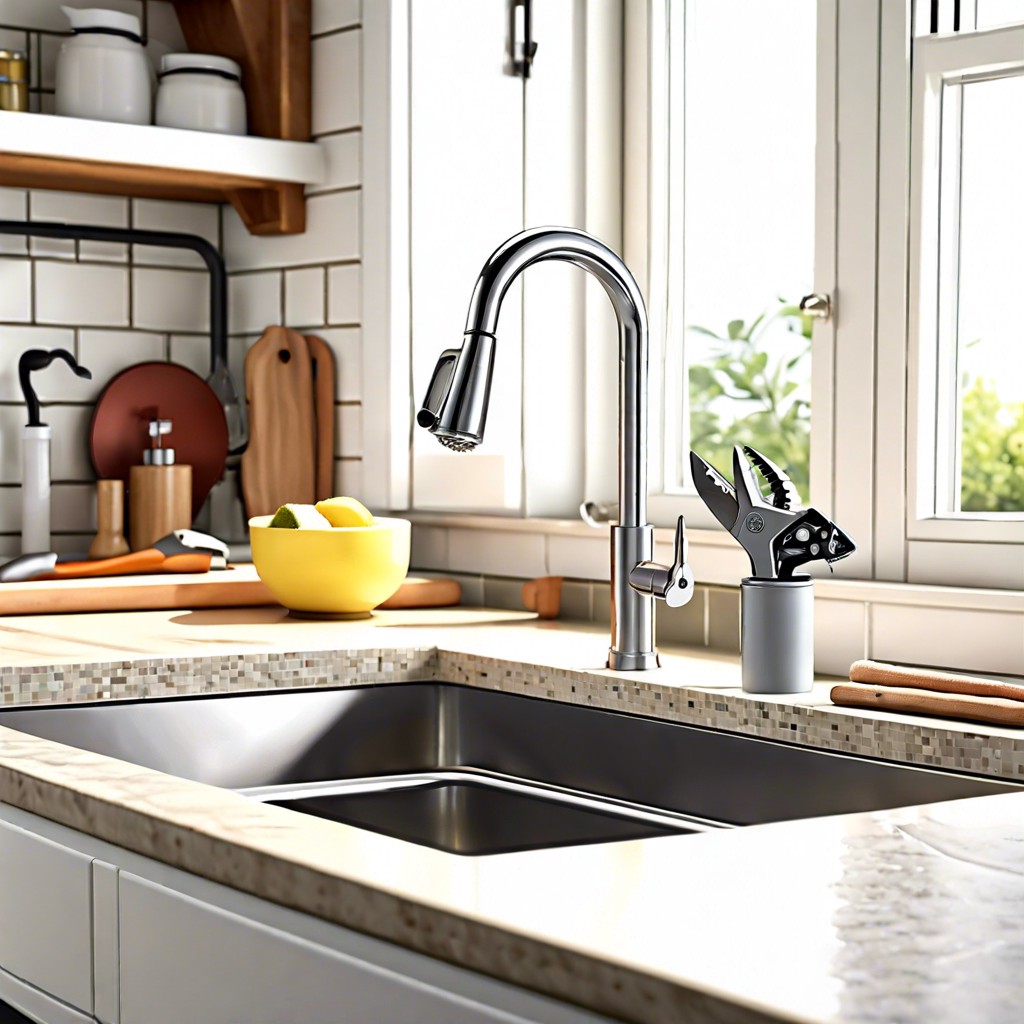
Diving straight in, you’ll need a few handy-dandy items to tackle this project like a pro. First up, grab an adjustable wrench; it’s the Swiss Army knife of plumbing. It will help you twist off those stubborn nuts and bolts like a charm. Next, a basin wrench will be your best buddy in those cramped under-sink spaces, perfect for reaching nuts that seem to play hide and seek.
Also, have some channel locks or a pair of pliers on hand—they provide that extra grip and leverage when the going gets tough. If you come across any obstinate connections, penetrating oil can work wonders. Just give it a few minutes to seep into the threads, then take another crack at it.
A flashlight or a headlamp can be a game-changer, too. It’ll light up the under-sink area like it’s a stage and the main act is… well, your faucet. Lastly, keep a small bucket or rags at arm’s reach to catch any drips or residual water once you disconnect the supply lines. Not only does this save you from an unintended swim, but it also keeps the cleanup to a minimum.
In short, with these tools in your arsenal, you’ll knock this task out of the park. It’s about having the right gear to make the job go smoothly, as smooth as your new faucet’s water flow will be!
Shutting Off the Water
Before diving into faucet removal, first things first: turn that water off! Twist those oval-shaped shutoff valves under your sink to the right — “righty-tighty,” as the saying goes. If they’re playing hardball and won’t budge, a shot of WD-40 should loosen their grip. No valves? No problem. You’ll just need to shut off the main water supply into your home. Usually found in the basement or outside, this might take some detective work, but it’ll do the trick. And hey, remember to clear out the pipes by opening the faucet and letting any water left inside make a quick escape. Better to deal with a little dribble now than a miniature Niagara Falls later!
Disconnect Water Supply Tubes
After you’ve successfully cut off the water flow, it’s time to tackle the supply lines. These pipes can be stubborn, but with the right approach, they’ll play nice.
To make this a cinch, slide a basin wrench up to the supply line fittings. This magical tool is like a superhero for tight spaces. Give the fittings a gentle but firm turn counterclockwise and they should start to sing you the song of their people by coming loose.
Sometimes, though, they act like they’ve been there since the dawn of time. If they put up a fight, a spritz of penetrating oil can persuade them to let go. Take a breather, let the oil work its magic for a few minutes, and then give it another shot.
Keep a bucket handy because even with the water off, there’s always that one unexpected dribble that likes to make an exit, much like a house guest that doesn’t know when to leave.
Once loose, detach the tubes with a sense of accomplishment. They’ve done their job well, but now it’s time to part ways.
Loosen Mounting Nuts
Alright, let’s dive into the nitty-gritty. Grab your basin wrench—this trusty tool will be your best friend for the next few minutes. Slide under the sink and shine your flashlight up to spot the mounting nuts. These rascals are what’s keeping your faucet anchored to the sink.
Now, heads up. If these nuts have been sitting there for ages, they might have become best buddies with corrosion, which means they won’t budge easily. A little spray of penetrating oil can work wonders here. Give it a few minutes to do its magic, and then get your wrench on those nuts.
You’ll want to turn the wrench counter-clockwise—remember, “lefty-loosey”. Keep a steady grip and use firm, controlled movements. As you work, you might find that you need to switch positions a few times. Your goal is to generate enough leverage to loosen each nut.
If you hit a snag, try a different angle or adjust the wrench head for a better fit. Patience is the key! Once you feel the mounting nuts give way, cheer quietly, but save the victory dance for later—a bit more work awaits!
Remove Faucet Body
With the mounting nuts history, your faucet’s about to make its grand exit. Gently wiggle the faucet body to loosen it from its former throne on the sink. This shouldn’t feel like pulling a rabbit out of a hat; if resistance is met, check for any hidden clips or fasteners that might still be hanging on for dear life. Those can be sneaky. Once detached, lift the faucet up and out of the sink, bidding it a polite farewell. Remember, if it’s stuck faster than a cat on a curtain, a gentle back-and-forth motion should do the trick, not a yank that could turn into a plumbing tale of woe. Keep an eye out for old plumber’s putty or gaskets; these might need a nudge to break free from the sink’s surface. Finally, clean up the area, readying it for the new faucet, like setting the stage for the next big act.


