Last updated on
Removing a tile backsplash can be a straightforward DIY project, and this guide will walk you through the steps to do it efficiently and safely.
Key takeaways:
- Safety is crucial: gloves and eye protection are essential.
- Be prepared: turn off power, identify wall type, plan for disposal.
- Gather the necessary tools: safety glasses, gloves, utility knife, etc.
- Remove caulk and loosen grout carefully.
- Remove tiles with a putty knife, be patient and avoid damage.
- Repair wall surface by removing adhesive and smoothing the area.
What's Inside
Before You Begin
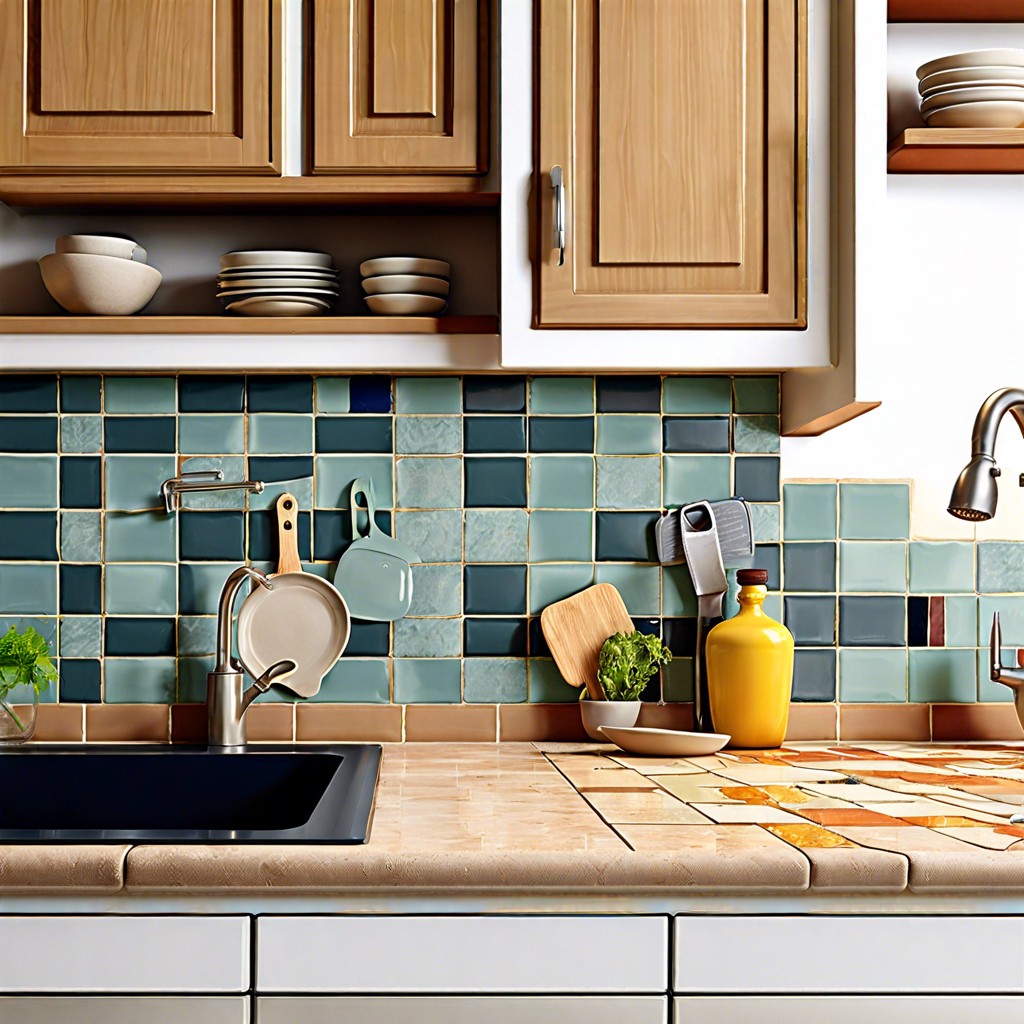
Embarking on a DIY project to remove a tile backsplash can revamp your space dramatically. It’s crucial to recognize that preparation is the foundation to a smooth removal process.
Safety is paramount; protect yourself with gloves and eye protection to guard against sharp tile shards and debris. Ensure the work area is clear of appliances and your countertops are covered to shield them from potential damage.
Identify the type of wall behind your tile—drywall or cement board—as this determines the delicacy required during the removal process. If working with drywall, be especially cautious not to gouge the underlying surface as it’s quite forgiving.
Before diving in, turn off power to the area to prevent any electrical accidents, as you’ll be working close to outlets. Double-check the power is off with a voltage tester for safety.
Lastly, have a plan for tile disposal. Remove tile creates quite a bit of rubble, so having a disposal strategy, such as a rented dumpster or designated bins, can save you a headache down the line. With these preparatory steps out of the way, you’ll be set for a more efficient and safer tile removal process.
What You’ll Need
Equipping yourself properly is crucial for a smooth and safe project. Here’s a handy list of tools and materials you’ll need:
- Safety Glasses: Protect your eyes from flying debris.
- Dust Mask: Keep those fine particles out of your lungs.
- Gloves: A set for grip and protection.
- Drop Cloth or Plastic Sheeting: Catch all the mess and make cleanup easier.
- Utility Knife: To cut through caulk and any adhesives.
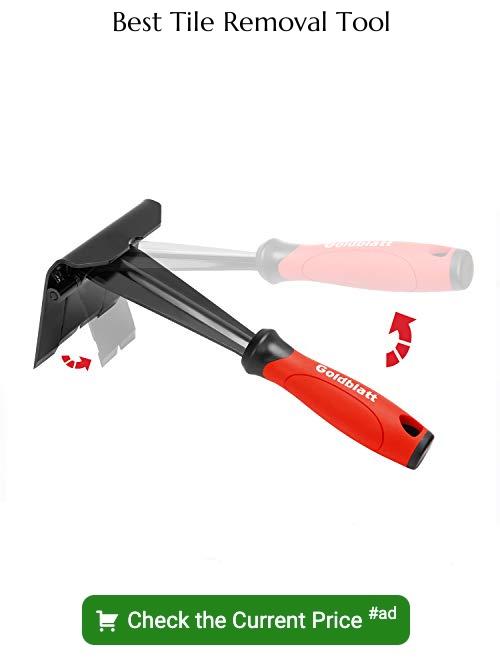
- Hammer: For gentle persuasion of stubborn tiles.
- Chisel or Grout Removal Tool: For precision work around tile edges and grout lines.
- Pry Bar or Putty Knife: To slide behind tiles and help pop them off.
- Bucket: Keep one nearby for debris.
- Sponge and Water: For a quick wipe-down and clean up.
- Joint Compound or Spackle: To patch and smooth the wall post-tile removal.
Having these items at the ready streamlines the process, helping you avoid frustrating interruptions. Each tool plays its part in ensuring the tile removal goes smoothly and your wall remains in the best possible condition for whatever comes next.
Remove Caulk and Loosen Grout
Starting the removal process requires precision and patience. Heat up the caulk with a hairdryer to soften it, making it easier to scrape away with a putty knife. Apply steady pressure, but be gentle to avoid damaging the drywall.
Next, focus on the grout. Use a grout saw or rotary tool with a grout removal attachment to carefully grind away the grout between the tiles. Aim to create space and loosen the tiles without applying excessive force that might break them, in case you’re planning to reuse or recycle the materials. Remember, safety glasses and gloves are essential to protect against flying debris. Keep your movements controlled and the work area clean to maintain visibility and accuracy throughout this step.
Remove Tiles
After loosening the grout and caulk, it’s time to carefully remove the tiles. Equip yourself with a putty knife or a thin flat tool to slide under the tiles. Gently pry the tiles away from the wall at an angle, exerting even pressure to avoid breaking them—this is especially important if you’re planning to reuse the tiles.
For tiles that are stubbornly clinging on, you may use a hammer and chisel to tap and carefully dislodge them. Always start from the outer edge and work your way in to minimize damage to the drywall beneath. Position the chisel at the bottom of the tile and tap lightly, moving it around the tile’s edge to slowly release the adhesive bond.
In cases where tiles are excessively stuck, using a heat gun can soften hardened adhesive, making the process smoother. Keep the heat gun moving to avoid damage from prolonged exposure to high heat.
As you advance, clear away pieces of tile and adhesive to keep your workspace uncluttered and safe. Be mindful of sharp edges and use heavy-duty gloves to protect your hands. Remember, patience is key. Rushing the job can result in more wall damage, creating extra repair work later.
Repair Wall Surface
After you’ve removed the tiles, you will likely encounter adhesive residue, small chunks of grout, or even minor wall damage. Preparing the wall for a fresh backsplash or a coat of paint is essential for a smooth finish.
Here’s a step-by-step guide to help you achieve a crisp, clean wall surface:
- Adhesive Removal: Use a wide putty knife or a paint scraper to gently remove any remaining adhesive. Careful, methodical strokes will help minimize wall damage. For stubborn spots, apply a heat gun to soften the adhesive, but be cautious not to overheat and damage the drywall.
- Surface Smoothing: Any dents or gouges left behind can be filled with spackling compound. Once it dries, sand the area until it’s flush with the wall. For a smooth surface, make sure to feather the edges of any filled spots.
- Cleaning: Before you consider the wall ready for its new finish, wipe it down with a damp sponge to remove dust from sanding and any leftover debris.
- Primer Application: If you’re planning to paint or install new tiles, applying a primer is a critical step. It will ensure better adhesion and a more uniform finish.
Each of these steps ensures your wall will be prepped and primed for whatever comes next, be it painting or the installation of a fresh, new backsplash.


