Last updated on
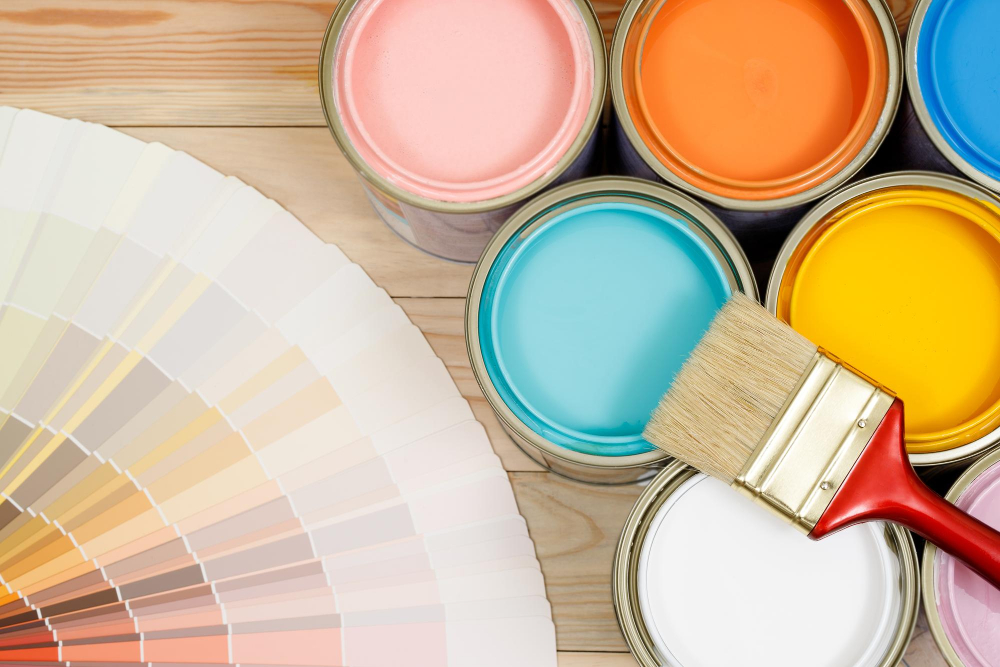
Discover the efficient way to give your kitchen cabinets a fresh new look without the hassle of sanding, following our easy step-by-step guide.
Are you tired of looking at your dull and outdated kitchen cabinets? Repainting them can give your entire kitchen a fresh new look, but the thought of sanding them down can be daunting. Luckily, there is a way to repaint your kitchen cabinets without sanding! In this article, we will walk you through the steps to achieve a beautiful and long-lasting finish on your cabinets without all the hassle of sanding.
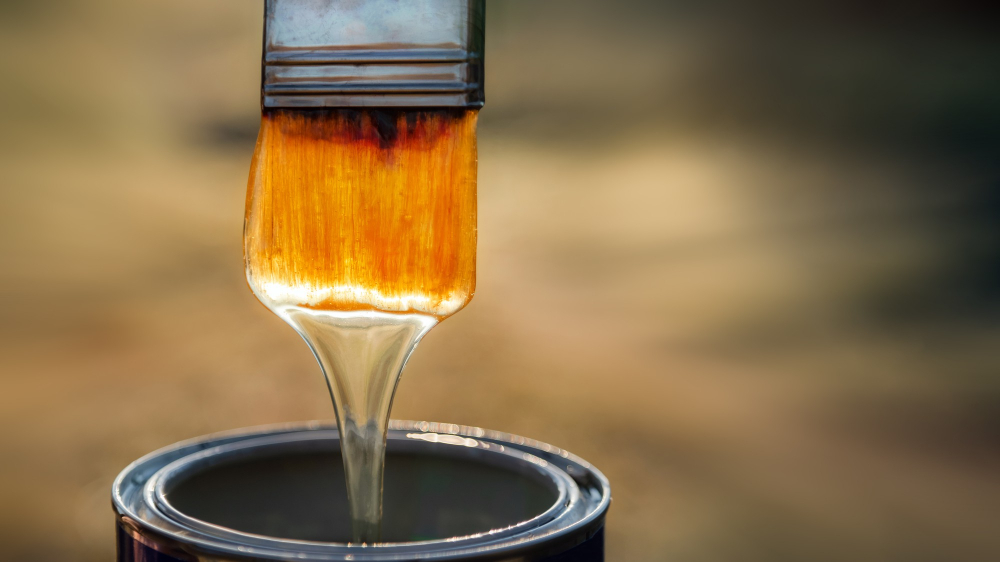
So grab your paintbrush and let’s get started!
What's Inside
Benefits of Repainting Cabinets Without Sanding

First and foremost, it saves you time and effort. Sanding down cabinets is a labor-intensive process that requires specialized tools and equipment, not to mention the mess it creates in your home.
By skipping this step, you can complete the project faster with less hassle.
Another advantage of repainting without sanding is that it’s more eco-friendly than traditional methods. Sanding generates dust particles which can be harmful to both humans and the environment if not disposed of properly.
Moreover, repainting without sanding allows for greater flexibility in terms of color choices since some paints adhere better than others on sanded surfaces only.
Preparing the Workspace
This will help ensure that the painting process goes smoothly and that you achieve a professional-looking finish.
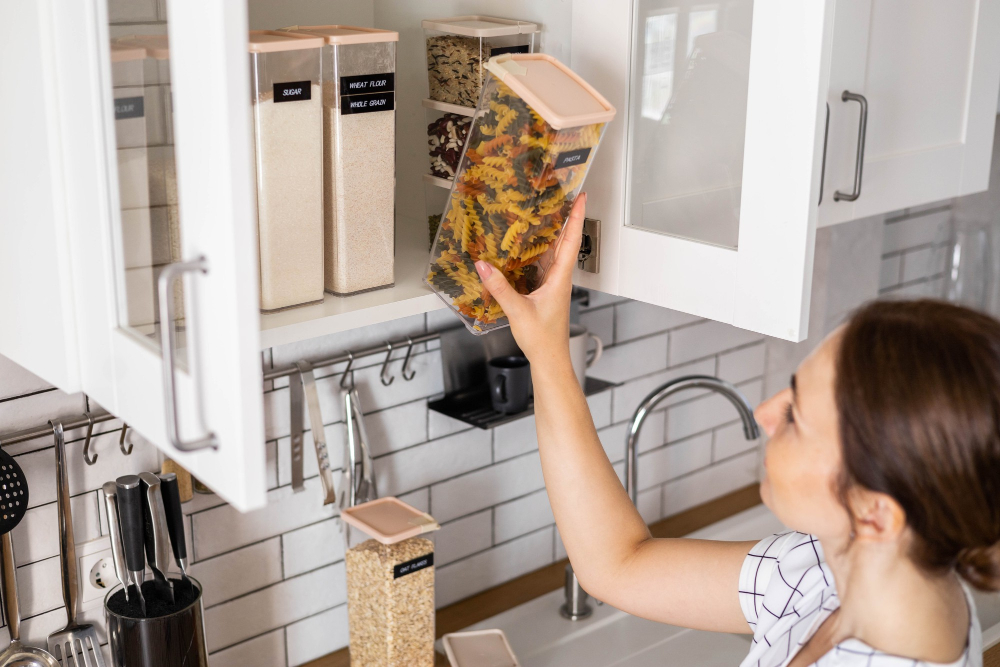
Firstly, clear out all items from your cabinets and drawers. You don’t want any paint splatters or dust getting on them during the painting process.
Next, cover countertops with drop cloths or plastic sheeting to protect them from drips and spills.
It’s also important to create a well-ventilated area for painting by opening windows or using fans if possible. Proper ventilation helps prevent fumes from building up in your workspace while allowing fresh air in.
Lastly, make sure you have enough space for all of your tools and equipment nearby so that they are easily accessible throughout the project.
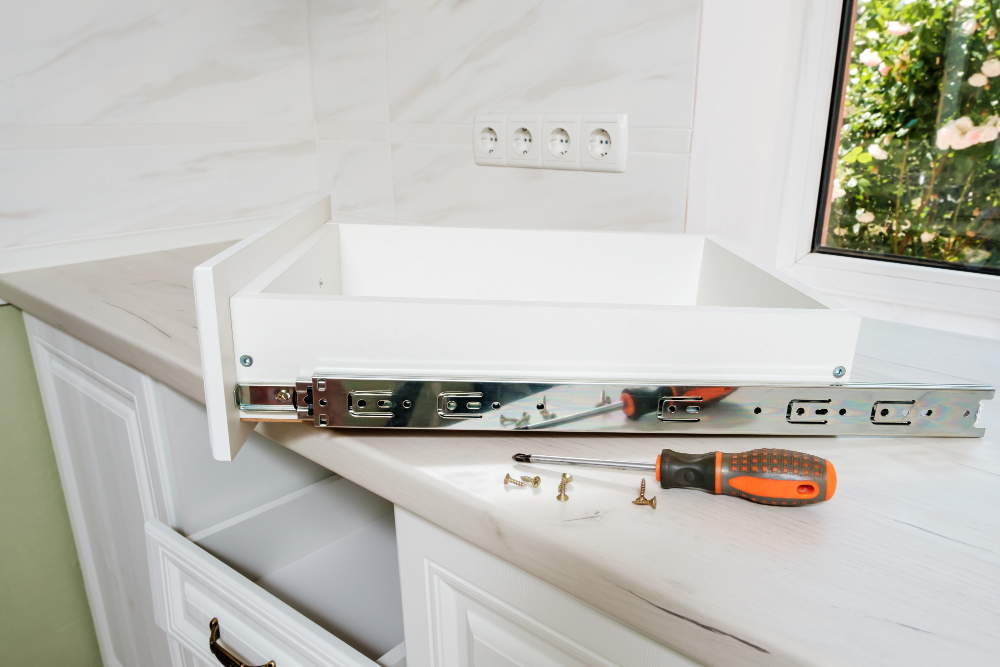
Removing Cabinet Doors and Hardware
This will make it easier to paint the surfaces evenly and ensure that you don’t accidentally get paint on any of the hardware or hinges.
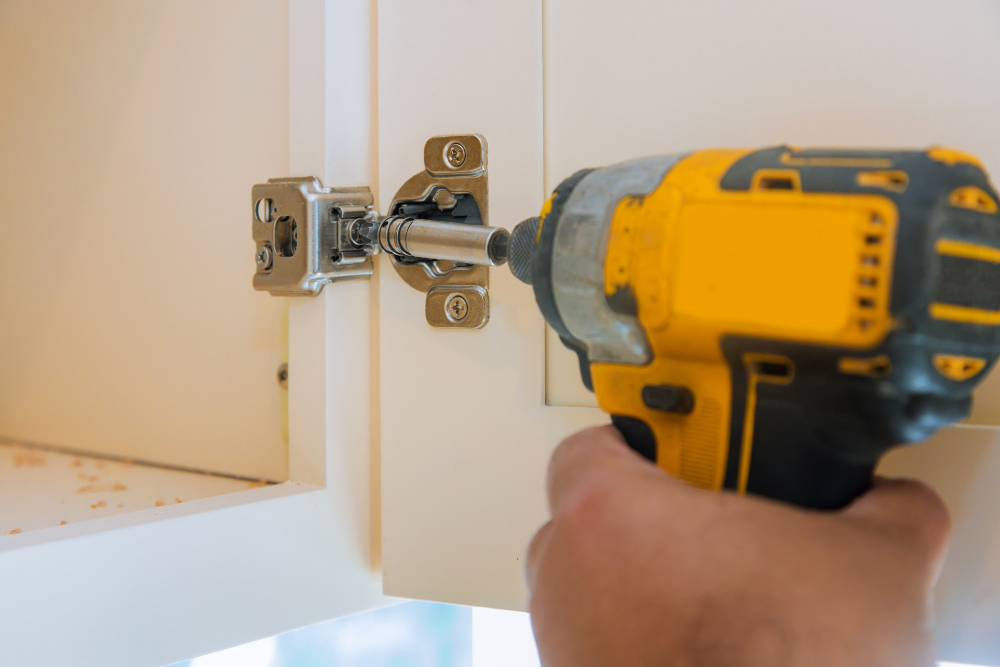
To start, use a screwdriver to remove all of the screws holding each door in place. Be sure to keep track of which screws go where so that you can easily reattach everything later on.
Once all of the doors are removed, take off any knobs, handles or other hardware from both sides using a drill or screwdriver. Place them into labeled bags so they don’t get lost during painting.
Labeling and Organizing Cabinet Parts
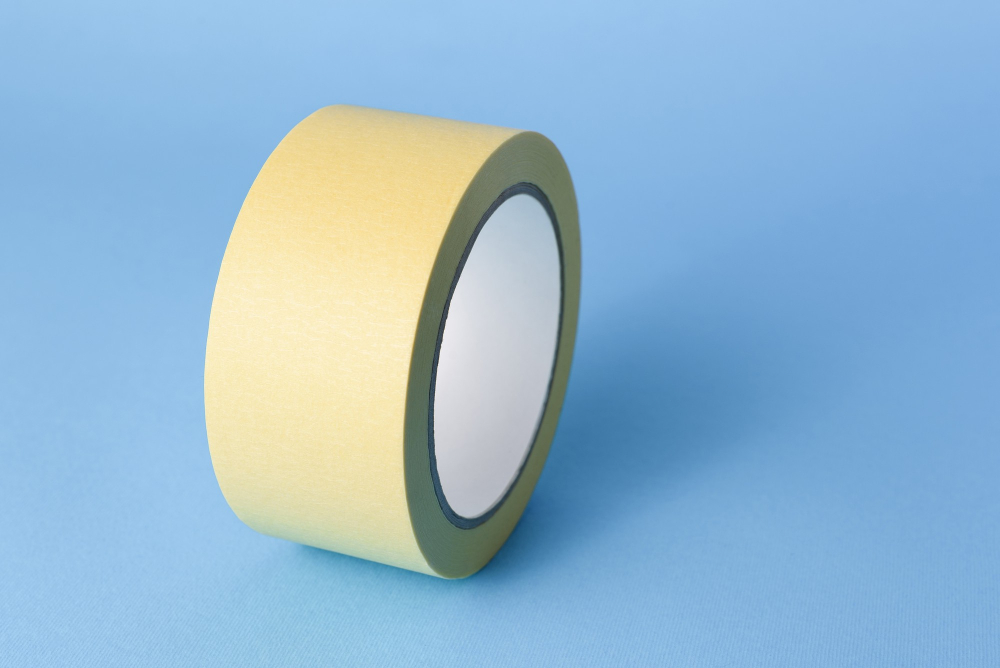
This step will save you time and frustration when it comes to reassembling them later. You can use masking tape or sticky notes to label each cabinet door, drawer front, and hardware with a corresponding number or letter.
Then create a diagram of your cabinets’ layout so that you know where each part belongs.
Once everything is labeled and organized, remove the doors from their hinges along with any drawers from their tracks carefully. Place them on a flat surface in an area where they won’t be disturbed during the painting process.
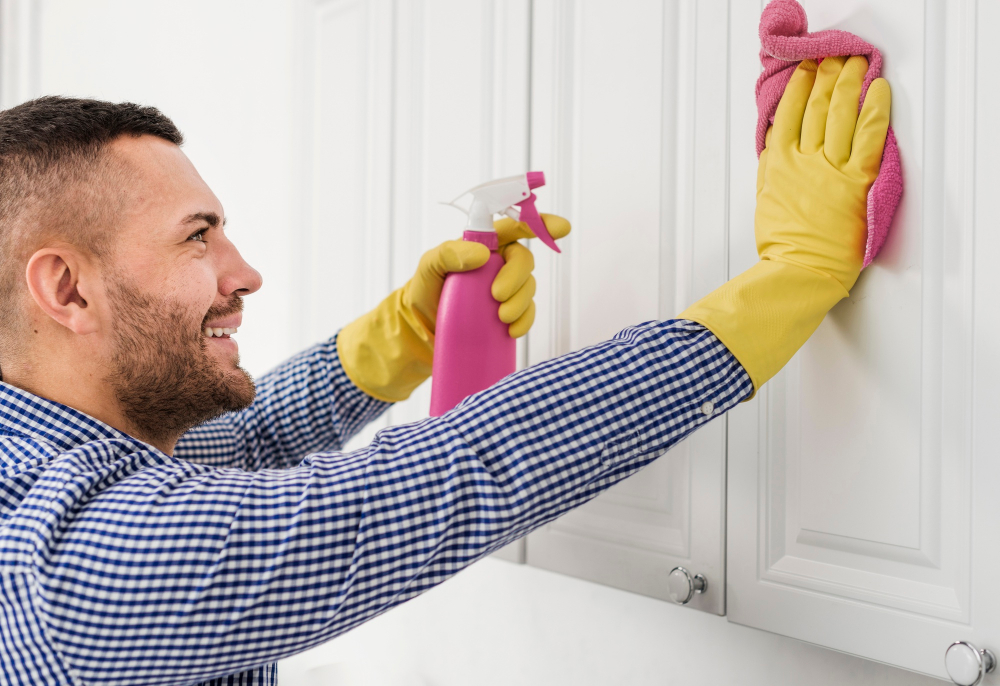
Cleaning the Cabinet Surfaces
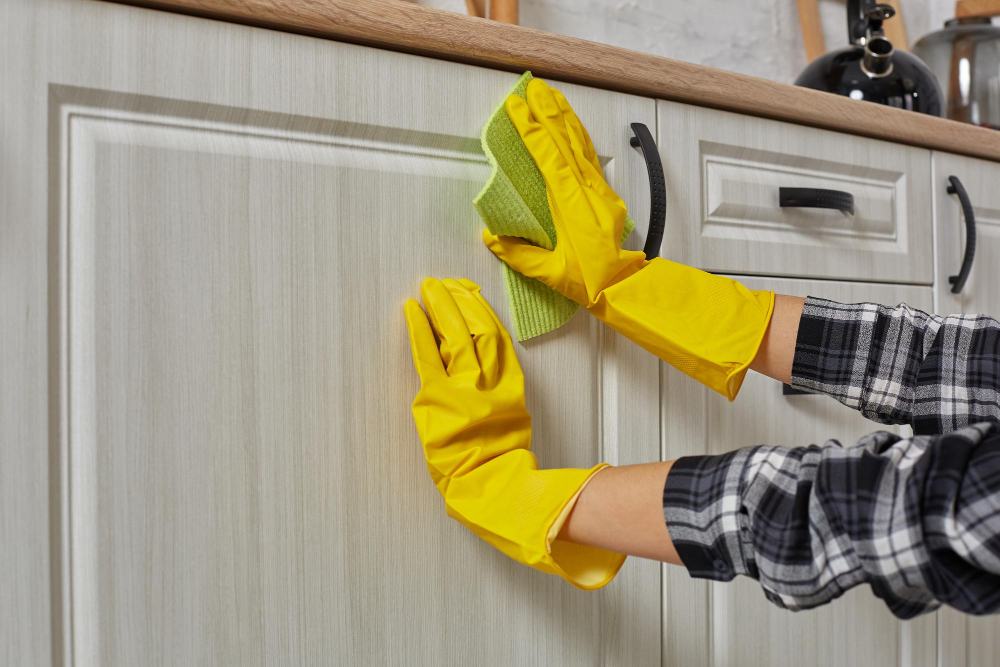
This step is crucial because any dirt or grease left on the cabinet surface can affect the paint’s adhesion and cause it to peel off over time.
To clean your cabinets, use a mixture of warm water and mild dish soap. Dip a sponge or cloth into this solution and gently scrub all areas of each cabinet door, drawer front, and frame.
Pay special attention to areas that are frequently touched like handles as they tend to accumulate more grime.
If there are stubborn stains or grease buildup on your cabinets’ surfaces, you may need something stronger than soapy water. In such cases, use a degreaser specifically designed for cleaning kitchen surfaces.
Using a Deglosser
This is where a deglosser comes in handy. A deglosser is a chemical solution that removes the glossy finish from your cabinets, allowing for better adhesion of primer and paint.
To use a deglosser, start by removing all cabinet doors and hardware. Then apply the solution with an abrasive pad or cloth according to manufacturer instructions.
Be sure to wear gloves and work in a well-ventilated area as some products can be harsh on skin and emit strong fumes.
After applying the deglosser, wipe down all surfaces with clean water using another abrasive pad or cloth until there are no traces left behind. Allow ample time for drying before proceeding with priming.
Applying a Primer
A good quality primer will help the paint adhere better and provide an even base for your topcoat. Choose a primer that is specifically designed for use on cabinets and follow the manufacturer’s instructions carefully.
Using a brush or roller, apply an even coat of primer to all surfaces of your cabinets. Be sure to cover any areas you don’t want painted with painter’s tape or plastic sheeting.
Allow the first coat of primer to dry completely before applying another one if necessary. Depending on how dark your original cabinets are and what color you plan on painting them, two coats may be needed for full coverage.
Once you’ve finished priming all surfaces, allow them ample time (at least 24 hours) to dry before moving onto painting with your chosen color.
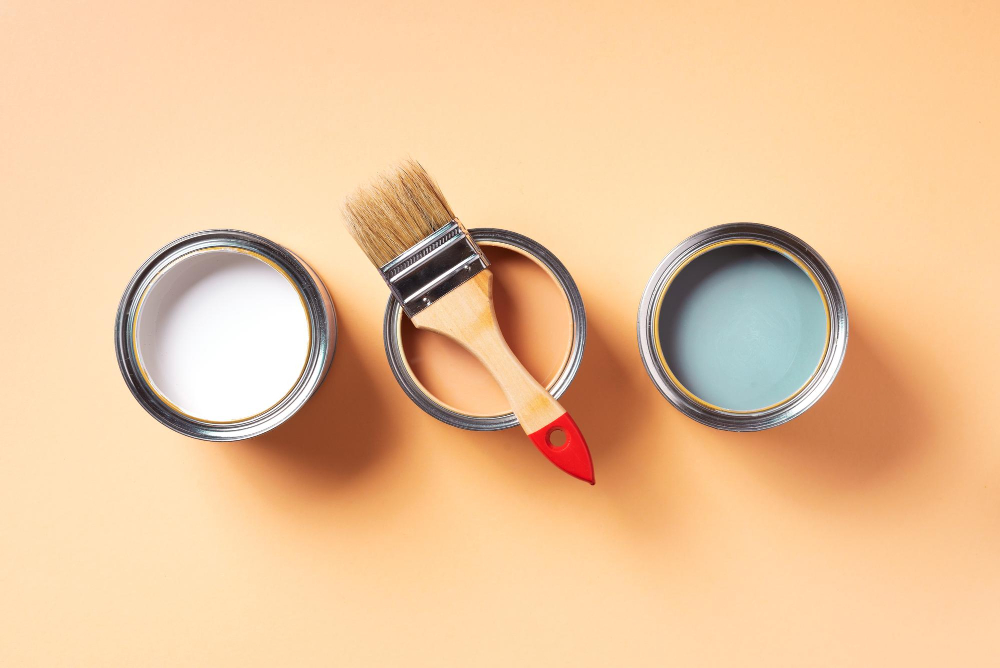
Choosing the Right Paint
You want a paint that will adhere well to the surface and provide a durable finish that can withstand daily wear and tear.
For best results, choose a high-quality enamel or acrylic latex paint with a semi-gloss or gloss finish. These types of paints are easy to clean and resist moisture, making them ideal for use in kitchens where spills and splatters are common.
It’s also important to select the right color for your cabinets. Lighter colors can make small kitchens feel more spacious while darker shades add drama and depth.
Before purchasing any paint, be sure to read reviews from other homeowners who have used it on their kitchen cabinets without sanding. This will give you an idea of how well it performs over time.
Tools and Equipment Needed

Here are some of the essential items you will need:
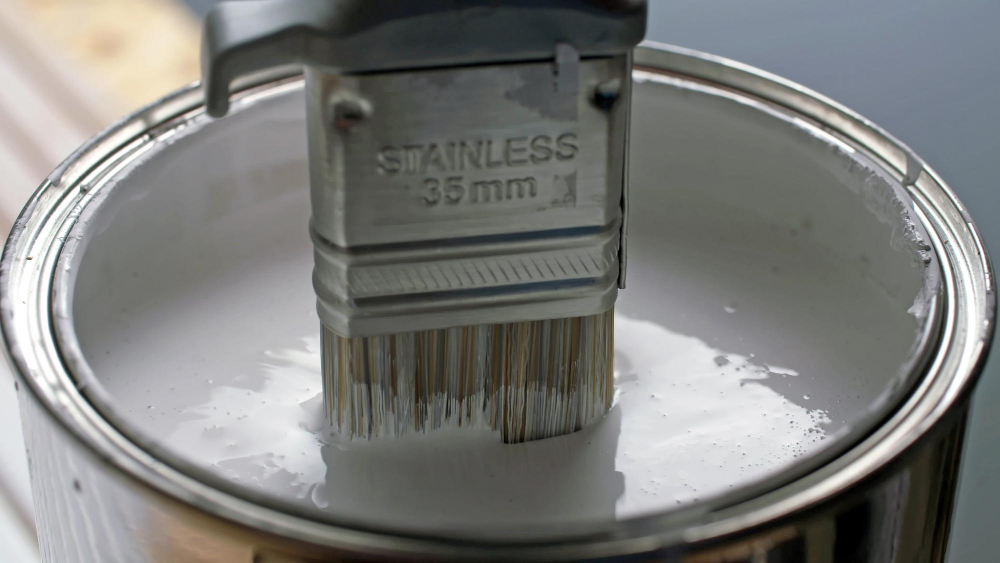
1. Paintbrushes: Choose high-quality brushes in various sizes to ensure smooth application.
2. Roller: A small roller can be used on larger flat surfaces such as cabinet doors.
3. Painter’s tape: Use painter’s tape to protect areas that should not be painted, such as hinges or glass inserts.
4. Drop cloths or plastic sheeting: Cover floors and countertops with drop cloths or plastic sheeting to prevent paint splatters from damaging them.
5. Deglosser solution: This is a crucial step in preparing cabinets for painting without sanding; deglosser helps remove any dirt, grime, grease buildup on cabinet surfaces before applying primer coats.
6.Primer coat : Apply a good quality primer coat after using deglosser solution.
7.Paints : Select paints according to your preference but make sure they are suitable for kitchen cabinetry.
Painting Techniques and Tools
Painting kitchen cabinets without sanding requires some specific techniques and tools that will help you achieve a smooth finish.
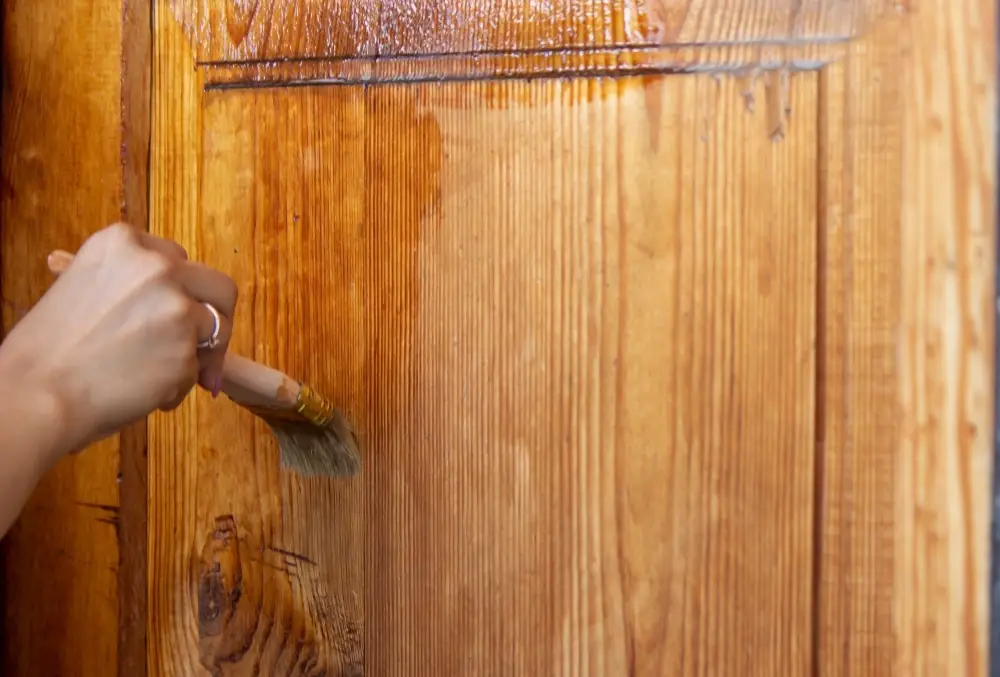
When it comes to painting techniques for kitchen cabinets, there are two main options: using a paintbrush or using a paint sprayer. A high-quality brush can give you excellent results if used correctly but may take longer than spraying.
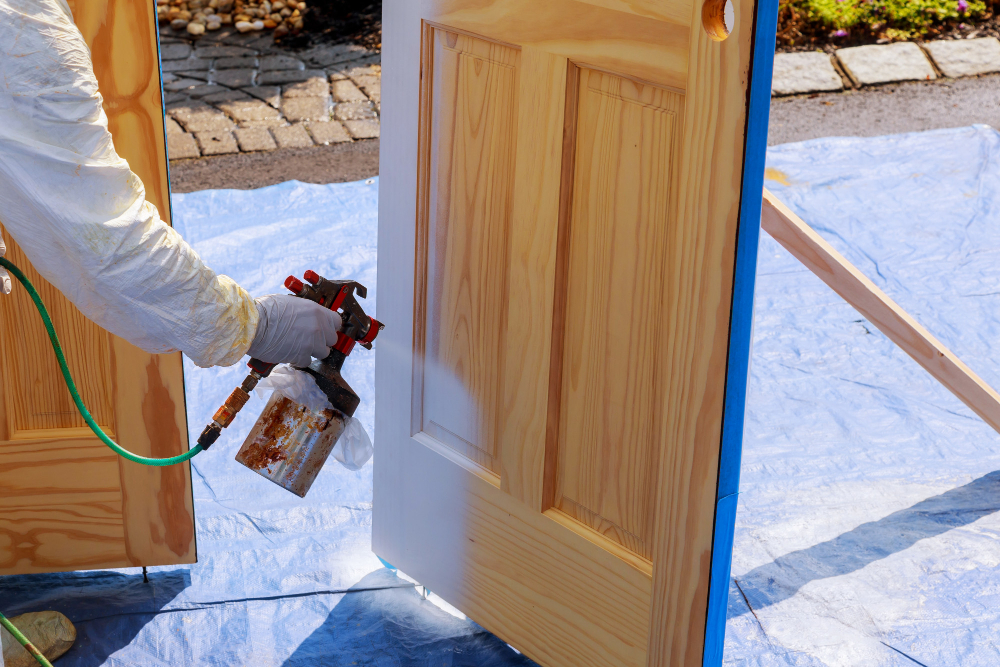
On the other hand, spraying is faster but requires more equipment upfront.
If you decide on brushing as your method of choice for repainting kitchen cabinets without sanding; use long strokes in one direction while applying light pressure with each stroke. This technique helps prevent brush marks from appearing on the surface of your newly painted cabinetry.
Alternatively, if opting for spray-painting instead of brushing; make sure that all surrounding areas are covered with plastic sheets or drop cloths before starting work so as not to damage any nearby surfaces accidentally. In terms of tools needed when repainting kitchen cabinets without sanding – besides brushes or sprayers – rollers can also be useful when working on larger flat areas such as cabinet doors’ fronts.
Selecting the Right Number of Coats
How many coats of paint do you need? The answer depends on a few factors, such as the color and type of paint you are using and the condition of your cabinets. In general, two coats should be enough to achieve full coverage and a smooth finish.
However, if you are using a lighter color over dark wood or an oil-based paint over latex primer (or vice versa), additional coats may be necessary for complete coverage. It’s always better to apply multiple thin layers rather than one thick coat that can lead to drips or unevenness.
Before applying each coat of paint, make sure that the previous layer is completely dry according to manufacturer instructions. Rushing this step can result in peeling or cracking later on.
Drying and Curing Times

Drying time refers to the amount of time it takes for the paint on your cabinets to become touch-dry, while curing time is how long it takes for the paint film on your cabinets to fully harden.
Typically, latex paints take around 24 hours or less for drying and up to a week or more for curing. On the other hand, oil-based paints can take longer – up 48 hours or more – before they are dry enough not be damaged by dust particles.
It’s essential that you follow manufacturer instructions regarding drying times between coats as well as overall curing times before using any cleaning products on newly painted surfaces. Rushing this process could result in damage such as peeling and chipping of fresh paint.
Reassembling Cabinets and Drawers
Start by removing any painter’s tape or protective coverings from the cabinet frames. Then, carefully reattach each door using a screwdriver or drill.
Make sure to align each door properly before tightening the screws fully. If you labeled your doors and hardware during disassembly, this process should be relatively straightforward.
Next, slide each drawer back into its proper place in the cabinet frame. Make sure that they are level and aligned correctly before pushing them all of the way in.
Attach any knobs or handles that you removed earlier using a screwdriver or drill. Take care not to over-tighten these pieces as it can cause damage to both them and your newly painted cabinets.
Reattaching Cabinet Hardware
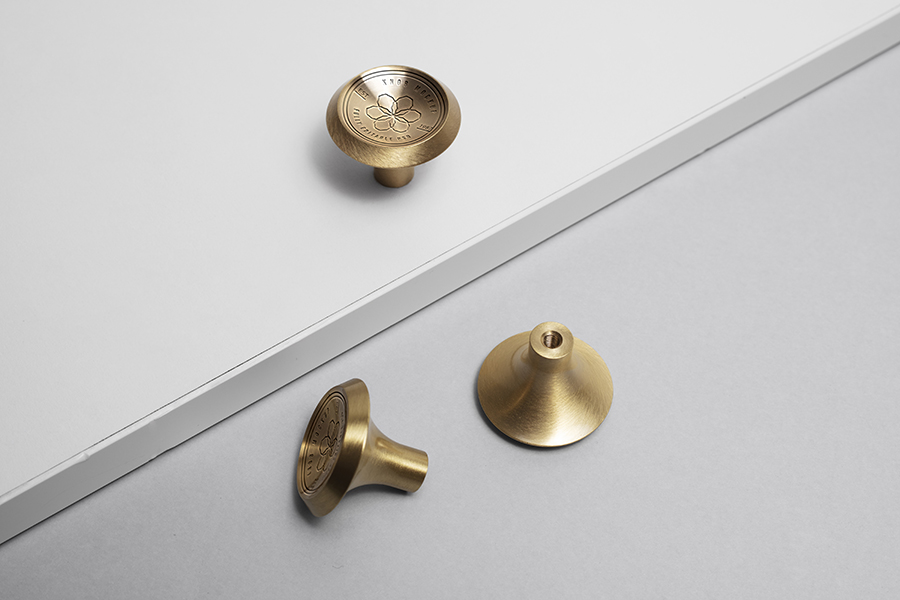
Make sure you have all of your labeled pieces organized and ready to go. Use a screwdriver or drill with a screwdriver bit to attach each piece back onto its corresponding spot on the cabinets.
If you’re replacing old hardware with new ones, make sure they fit properly before drilling any holes. You don’t want to end up with extra holes in your freshly painted cabinets! If necessary, fill any old holes using wood filler before painting.
Take care not to over-tighten screws as this can cause damage or cracking in the newly painted surface.
Cleaning and Maintenance Tips
Here are some cleaning and maintenance tips to keep your newly painted cabinets looking fresh:
- Avoid using harsh chemicals or abrasive sponges when cleaning the surface of the cabinets.
- Use a soft cloth or sponge with warm water and mild soap to clean any spills or stains on the cabinet surfaces.
- Wipe down cabinet doors and drawers regularly with a damp cloth to remove dust buildup.
- Be careful not to scratch the paint when opening and closing cabinet doors by installing bumpers on door handles if necessary.
- Keep an eye out for any chips, scratches, or peeling paint that may occur over time due to wear-and-tear; touch up these areas as needed.
Cabinet Painting Do’s and Don’ts
These tips will help ensure that your newly painted cabinets look great for years to come.
Do:
- Use high-quality paint and materials.
- Follow the manufacturer’s instructions for drying times between coats.
- Apply thin coats of paint instead of one thick coat.
- Paint in a well-lit area with good ventilation.
- Label all cabinet parts before removing them.
Don’t:
- Rush the process. Take your time so that each step is done correctly
- Neglect cleaning or deglossing surfaces before painting
- Skip using primer as it helps with adhesion
- Forget about safety precautions such as wearing gloves, goggles, etc., when handling chemicals or tools
By following these simple do’s and don’ts, you can avoid common mistakes while repainting kitchen cabinets without sanding.
Troubleshooting Common Repainting Issues
Here are some common problems you may encounter during the process and how to troubleshoot them:
1. Paint Bubbles: This issue is usually caused by moisture or air trapped under the paint surface.
To fix it, wait for the paint to dry completely before lightly sanding down any bubbles that have formed on top of your cabinet surfaces.
2. Uneven Finish: If your painted cabinets appear blotchy or uneven in color, this could be due to improper application techniques such as using too much paint at once or not allowing enough drying time between coats.
3. Peeling Paint: When new layers of paint do not adhere properly over old ones, peeling can occur after a few days or weeks post-application.To avoid this problem make sure that all previous coatings are removed before applying new ones.
4.Cracking/Flaking : Cracks in dried up paints indicate poor adhesion which might be due to insufficient cleaning prior painting ,using wrong type of primer,paints etc .To solve this issue remove all loose flakes/cracks from surface then apply a fresh coat.
When to Call a Professional

If you have little experience with painting or woodworking, or if your cabinets require extensive repairs before they can be painted, it may be wise to hire a professional painter or carpenter.
If you’re short on time and need the job done quickly and efficiently, hiring a pro is likely your best bet. They will have all of the necessary tools and equipment needed for the job at hand.
Another reason to consider calling in an expert is if you want a more complex finish than just solid paint. For example, glazing techniques that create unique textures on cabinet surfaces require specialized knowledge that most homeowners don’t possess.
FAQ
Can you paint over painted cabinets without sanding?
Yes, you can paint over painted cabinets without sanding if the surface is stable and in good condition, but proper cleaning, deglossing, and using good-quality cabinet paint are essential.
Can I just paint over my kitchen cabinets?
Yes, you can paint over kitchen cabinets made of wood, wood laminate, veneer, fiberboard, and metal, but plastic laminate and thermofoil cabinets may require special paints and techniques for proper adhesion.
What happens if you don t sand kitchen cabinets before painting?
If you don’t sand kitchen cabinets before painting, there is a risk that the new paint job will chip almost immediately after drying, as creating a smooth, even surface is a crucial part of the project.
Can you paint over painted cabinets?
Yes, you can paint over painted cabinets, but ensure to remove hardware, take doors off hinges, clean, sand, prime and then paint to avoid issues with thickness and proper functioning.
What is the best primer to use on kitchen cabinets before painting without sanding?
The best primer to use on kitchen cabinets before painting without sanding is a high-quality, stain-blocking, oil-based primer.
Are there any specific paint types recommended for repainting cabinets without sanding?
Chalk paint and milk paint are recommended paint types for repainting cabinets without sanding.
What steps should be followed to ensure a smooth and durable finish when painting kitchen cabinets without sanding?
To ensure a smooth and durable finish when painting kitchen cabinets without sanding, one should clean the surfaces thoroughly, apply a high-quality primer, choose the right paint, and apply it in thin, even layers.


