Last updated on
Discover the essential steps to effectively repair damaged kitchen cabinet doors and restore their original beauty in no time.
Kitchen cabinets are an essential part of any home, and they can make or break the overall look of your kitchen. However, over time, wear and tear can take a toll on your cabinet doors, leaving them scratched, dented or even broken.
While replacing the entire cabinet may seem like the only option in such cases, it can be expensive and time-consuming. The good news is that you don’t have to replace your entire kitchen cabinets just because a few doors are damaged.
In this article, we’ll show you how to repair damaged kitchen cabinet doors easily and affordably so that you can restore their original beauty without breaking the bank.
Key takeaways:
- Assess and prioritize damaged areas on cabinet doors.
- Determine the cause of damage, such as wear and tear or moisture exposure.
- Decide whether to repair or replace based on severity and budget.
- Gather necessary tools and materials for repairs.
- Follow specific techniques for fixing scratches, chipped veneer, broken glass panels, warped doors, loose hinges, misaligned doors, and loose knobs.
- Consider adding bumpers to prevent banging doors.
- Perfect door alignment by adjusting hinges and depth/side screws.
- Repair or replace drawer slides and lubricate sticking drawers.
- Fix broken drawer boxes and secure loose hardware.
- Fill and repair stripped screw holes and touch up paint/stain for a seamless finish.
What's Inside
Assessing Cabinet Door Damage
The first step in repairing damaged kitchen cabinet doors is to assess the extent of the damage. This will help you determine whether a simple repair or a complete replacement is necessary.
Start by examining each door carefully, looking for scratches, dents, chips or cracks on the surface and edges. Check if any glass panels are broken or missing and inspect hinges and hardware for signs of wear and tear.
If your cabinets have veneer surfaces, check if they are peeling off at any point along their edges. Warped cabinet doors can also be an issue that needs attention as they may not close properly due to misalignment.
Once you’ve identified all areas of damage on your kitchen cabinet doors, make a list so that you can prioritize repairs based on severity. Some minor scratches may only require touch-up paint while more significant damages like chipped veneers might need filling with wood filler before sanding down smooth again.
Reasons for Kitchen Cabinet Door Damage
One of the most common causes is regular wear and tear, which occurs over time due to frequent use. This can lead to scratches, dents, and other forms of damage that affect the appearance and functionality of your cabinets.
Another reason for kitchen cabinet door damage is moisture exposure. Moisture from cooking or cleaning activities can seep into the wood or veneer on your cabinets, causing them to warp or swell over time.
This type of damage not only affects how your cabinets look but also their ability to open and close properly.
Accidents happen in every home – a pot falling out from a shelf onto a door could cause significant harm; children playing around may accidentally break glass panels on cabinet doors; pets scratching at wooden surfaces could leave deep gouges behind.
Repair Vs Replacement: Evaluating Options
While replacing your entire cabinets may seem like a quick fix, it can be expensive and time-consuming. On the other hand, repairing your cabinet doors can save you money and give them a new lease on life.
Before deciding which option is best for you, assess the extent of damage on your kitchen cabinet doors. If they are severely damaged beyond repair or if they are outdated and no longer match with your home decor style, then replacement may be necessary.
However, if only a few parts of the door need fixing such as scratches or dents that don’t affect its functionality significantly; then repairs will suffice. Additionally consider factors such as budget constraints when making this decision.
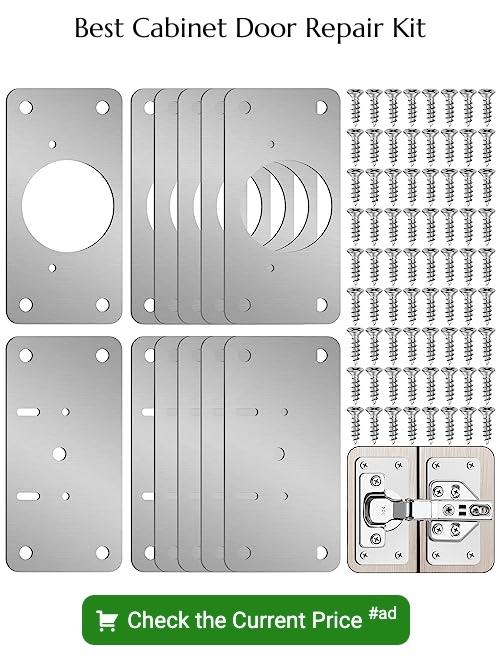
Gathering Repair Tools and Materials
This will ensure that you have everything on hand when you need it, saving time and preventing frustration during the repair process.
The specific tools and materials required for repairing your kitchen cabinet doors may vary depending on the type of damage they have sustained. However, some basic items that are likely to be needed include wood filler or putty knife for filling in scratches or gouges; sandpaper for smoothing out rough spots; a hammer or mallet for tapping loose pieces back into place; screws, nails or glue to reattach broken parts; replacement glass panels if applicable.
It’s also important to wear protective gear such as gloves and safety glasses while working with power tools like drills.
Fixing Scratches and Gouges
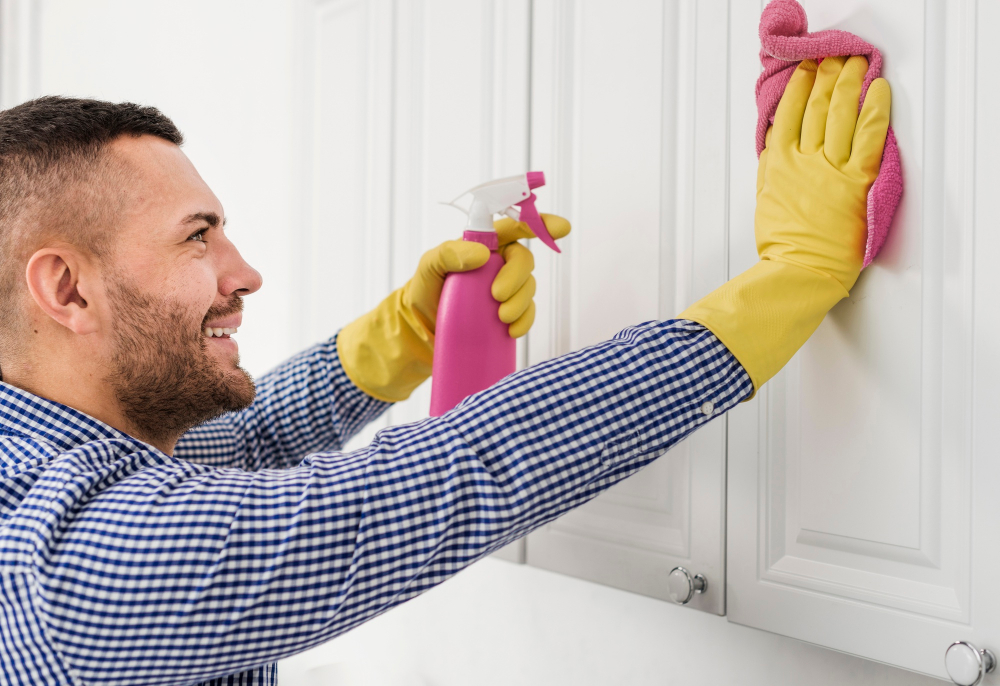
Fortunately, repairing them is a relatively easy process that you can do yourself with the right tools. To fix scratches on wooden cabinet doors, start by cleaning the affected area with a soft cloth to remove any dirt or debris.
Then use wood filler to fill in the scratch or gouge until it’s level with the surrounding surface.
Once dry, sand down any excess filler using fine-grit sandpaper until smooth. For deeper scratches or gouges, you may need to repeat this process several times until it’s completely filled in.
After filling in all of your scratches and letting them dry overnight if necessary, lightly sand over each repair spot again before applying paint or stain as needed for touch-ups.
Repairing Chipped or Peeling Veneer
The first step is to remove the damaged veneer using a putty knife and sandpaper. Once you’ve removed all the loose pieces of veneer, clean the surface with a damp cloth and let it dry completely.
Next, cut a new piece of wood veneer that matches your existing cabinets’ color and grain pattern. You can find pre-glued wood veneers at most home improvement stores or online retailers.
Carefully place the new piece of wood over the damaged area while aligning its grain pattern with that on surrounding surfaces. Use an iron set to medium heat to activate glue on pre-glued sheets or apply contact cement adhesive if using unglued sheets.
Press down firmly on top of newly placed sheet for 30 seconds before removing any excess glue from around edges by wiping it off gently with a damp cloth. Use fine-grit sandpaper (220 grit) to smooth out any rough spots in repaired areas before applying paint/stain as needed for finishing touch-ups.
Replacing Broken Glass Panels
Replacing broken glass panels is a relatively simple process that can be done in just a few steps. First, remove any remaining pieces of broken glass from the frame using gloves and pliers.
Then measure the size of your opening and purchase replacement tempered or safety glass that matches those dimensions.
Next, apply clear silicone caulk around the edges of your new piece of tempered or safety glass before inserting it into place within your cabinet door frame. Use glazier points to hold everything securely in place while allowing for expansion and contraction due to temperature changes.
Use a putty knife to smooth out any excess caulk around the edges before letting everything dry completely overnight. Once dry, you can reattach hardware such as hinges and handles if necessary.
Fixing Warped Cabinet Doors
Warping is a common problem with wooden cabinets and can be caused by changes in temperature or humidity levels. Fortunately, fixing warped cabinet doors is not as difficult as it may seem.
To fix a warped door, start by removing it from the hinges and laying it flat on a work surface. Place heavy objects such as books or weights on top of the door to apply pressure evenly across its surface for several hours or overnight.
If this doesn’t work, try using heat to straighten out the warp. Use an iron set at low heat and place a damp cloth over the affected area of the door before running the iron back and forth over it until dry.
Another option is to use moisture to help straighten out warps in wood fibers. Dampen both sides of your cabinet door with water using either spray bottle or sponge then lay them flat between two pieces of plywood boards clamped together tightly for 24-48 hours until they’re completely dry.
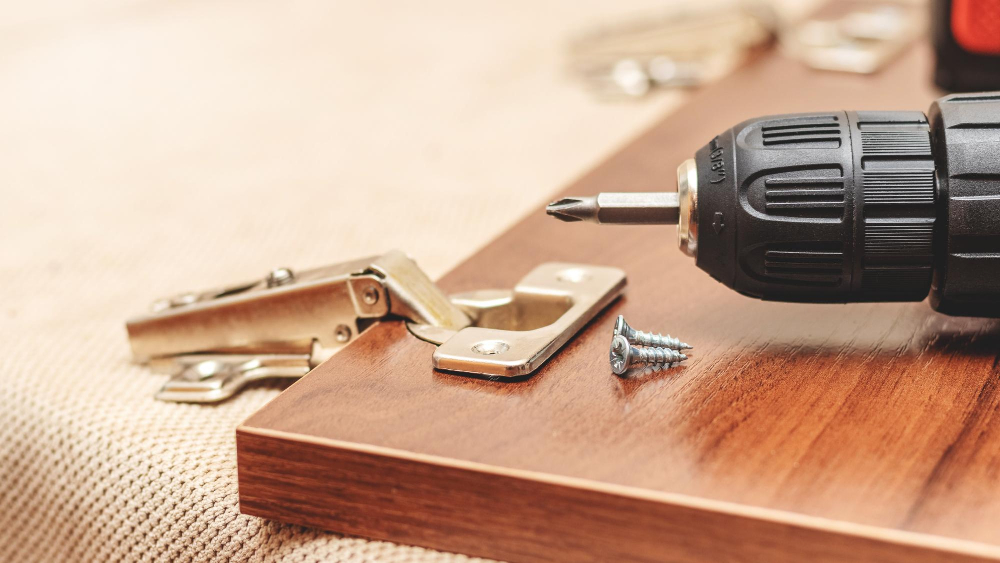
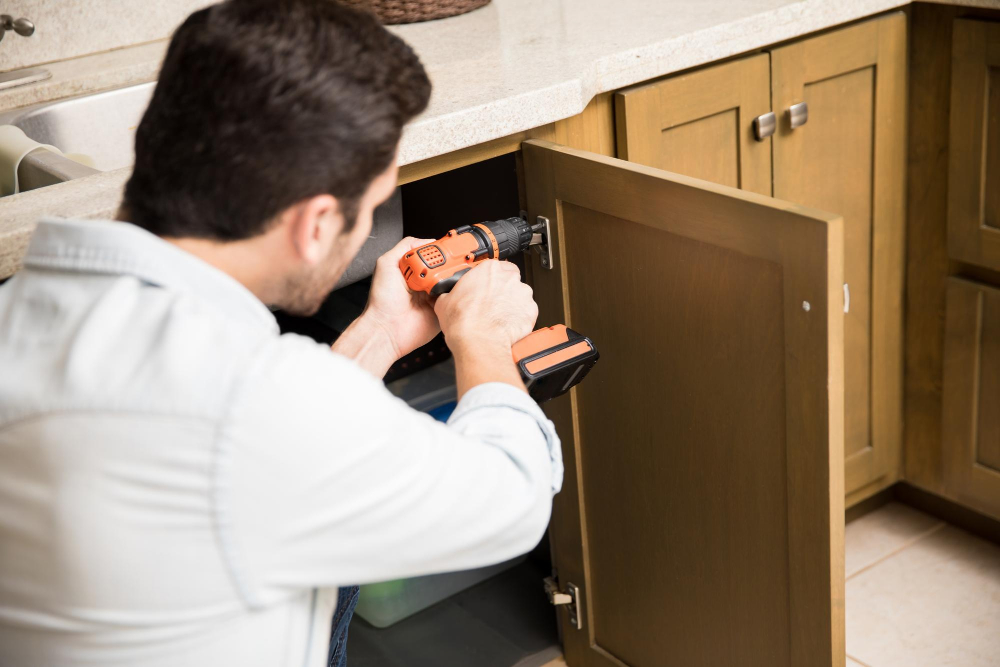
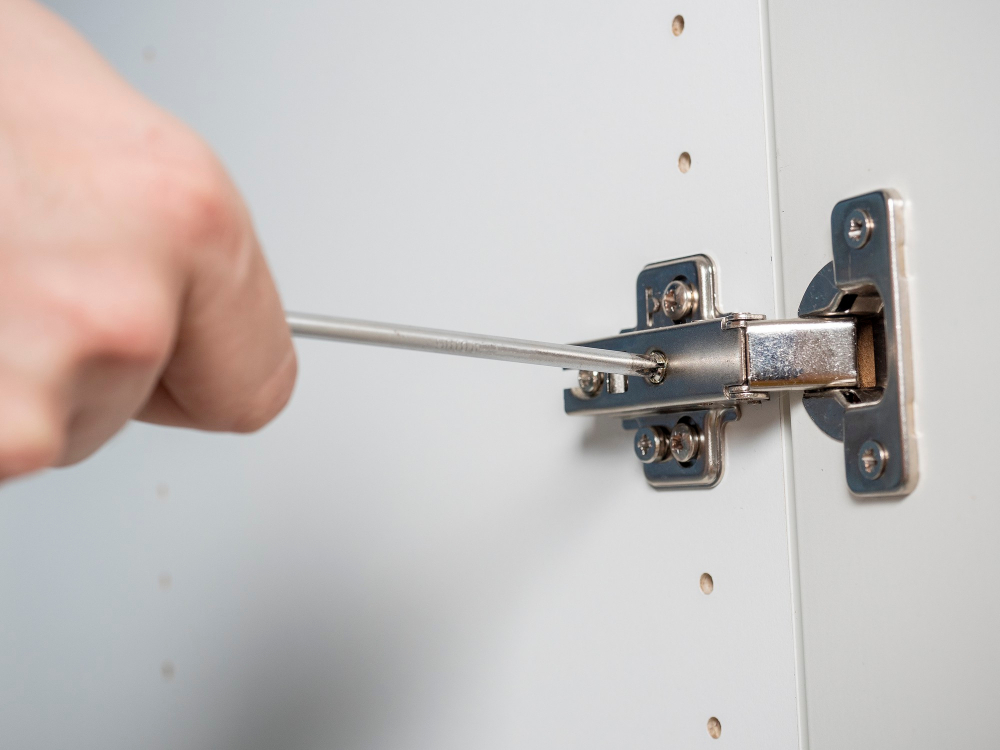
Repairing Hinge and Hardware Issues
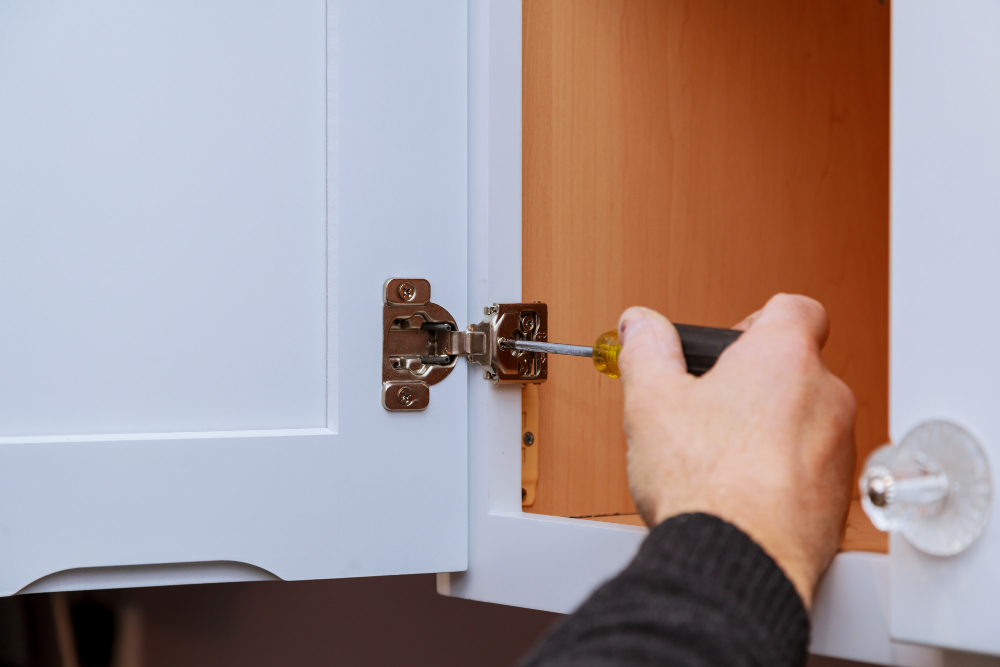
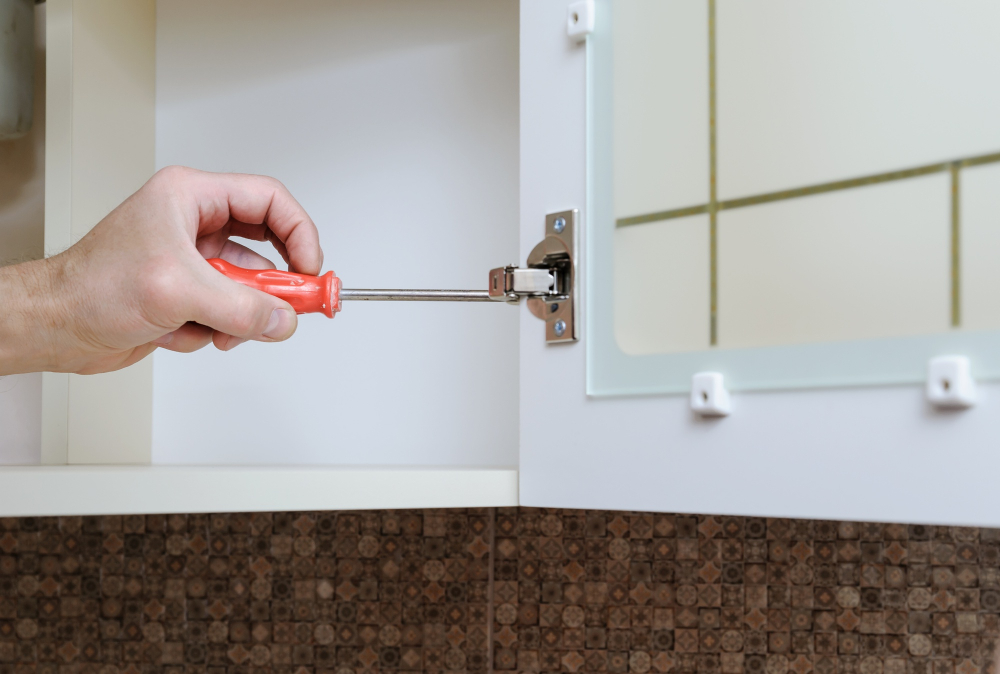
Hinges can become loose over time due to frequent use, causing the door to sag or rub against the frame. Fortunately, repairing hinges is relatively easy and requires only a few basic tools.
To repair loose hinges, start by removing the screws from both sides of the hinge using a screwdriver. Next, apply wood glue to toothpicks and insert them into each screw hole until they’re flush with the surface of your cabinet door or frame.
Then reinsert screws into each hole through toothpicks until tight.
If you have stripped out holes in either side of your hinge (the part attached directly onto either side), remove all existing screws from both sides then fill those holes with wood filler before drilling new pilot holes for new screws after drying completely.
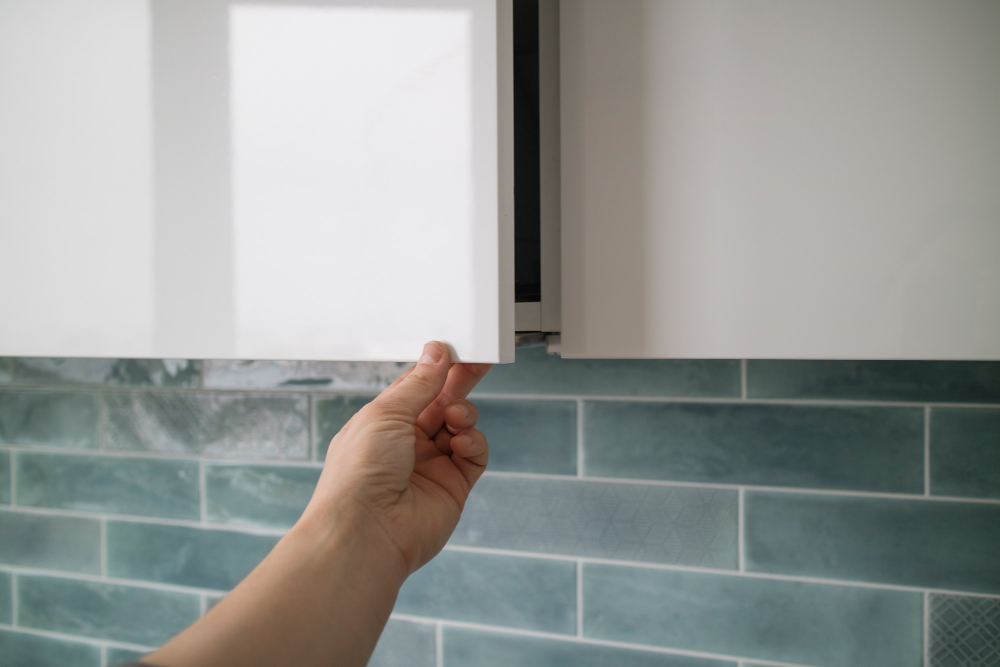
Tackling Misaligned Doors and Hinges
Fortunately, fixing this issue is relatively simple. The first step is to determine the cause of the problem.
Misaligned doors may be caused by loose or damaged hinges, warped wood due to moisture or heat damage, or an uneven floor causing cabinets to shift over time.
To fix a misaligned door due to hinge issues:
- Tighten all screws on both the cabinet frame and door hinges.
- If tightening doesn’t work, remove one screw at a time from each hinge and replace with longer screws that will reach into the framing behind them.
- Adjusting hinge placement may also help realign doors.
For warping issues:
- Remove any items stored inside of affected cabinets
- Place a damp cloth on top of warped areas
- Apply heat using an iron set on high for 30 seconds at a time until warp has been corrected
Fixing Broken Latches and Replacing Catches
Fortunately, fixing these issues is relatively easy and doesn’t require any special skills. The first step is to assess the damage by checking if the latch or catch needs replacement or repair.
To replace a broken latch, you’ll need to remove it from both sides of the door using a screwdriver. Once removed, take note of its size and shape before purchasing an identical one from your local hardware store.
Replacing a catch involves removing screws that hold it in place on either side of the cabinet frame with pliers. Afterward, measure its dimensions before buying an exact match for replacement.
Once you have purchased new latches/catches that match those being replaced in terms of size and shape (or repaired them), install them back into their respective positions using screws provided with each component while ensuring they’re tightly secured but not over-tightened as this could cause further damage down-the-line.
Adjusting Depth and Side Screws
These screws control the position of the door in relation to the cabinet frame, and if they’re too loose or too tight, it can cause misalignment issues. To adjust these screws, you’ll need a screwdriver and some patience.
Start by locating the depth screw at the back of each hinge plate on your cabinet door. Turn this screw clockwise or counterclockwise until you achieve proper alignment with adjacent doors or cabinets.
Next up is adjusting side-to-side movement using a Phillips head screwdriver on each hinge plate’s mounting holes located inside your cabinets’ frames. Loosen them slightly before moving them left/right as needed for better alignment between all doors/cabinets before tightening again securely into place.
Adding Bumpers to Prevent Banging Doors
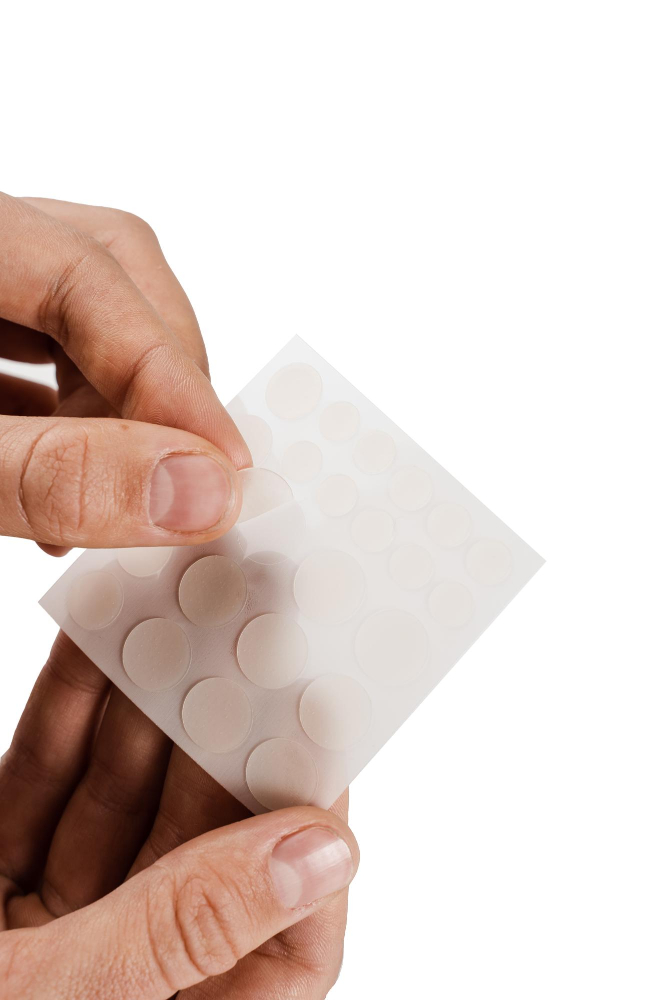
Fortunately, this problem can be easily solved by adding bumpers or cushions to the inside of your cabinet doors. These small adhesive pads are available in various sizes and materials such as rubber or felt.
To add bumpers, start by cleaning the area where you want them placed with rubbing alcohol. Then peel off the backing from one side of each bumper pad and stick it onto a corner on your door’s interior frame (the part that touches against another surface when closed).
Repeat this process for all corners until you have added enough bumpers to prevent banging.
Bumpers not only protect your cabinets from damage but also reduce noise levels in your home while cooking or entertaining guests. They are an affordable solution that can save you money on repairs down the line.
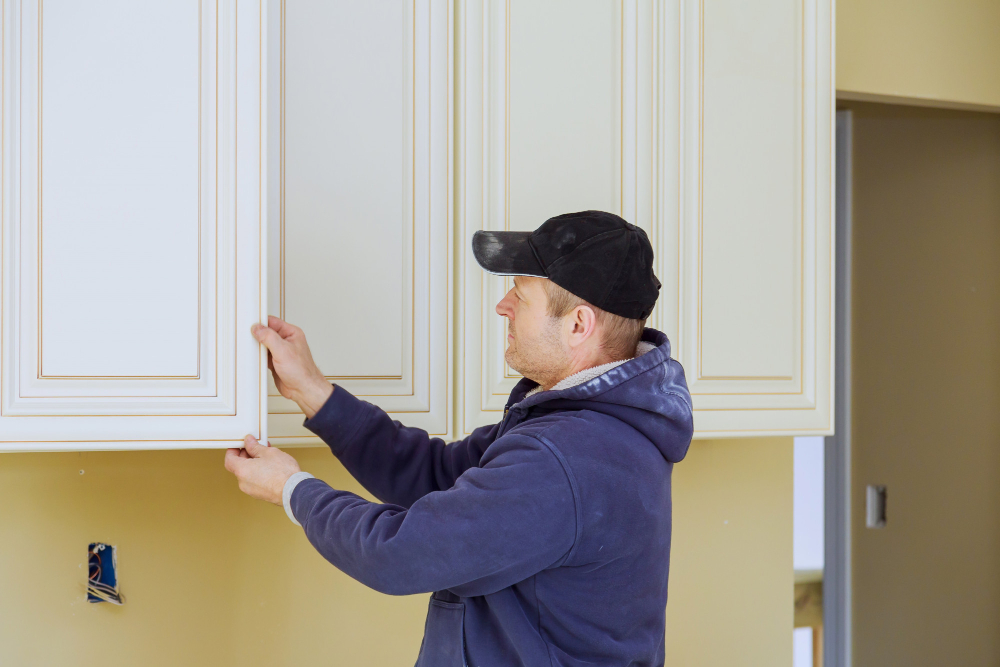
Perfecting Door Alignment
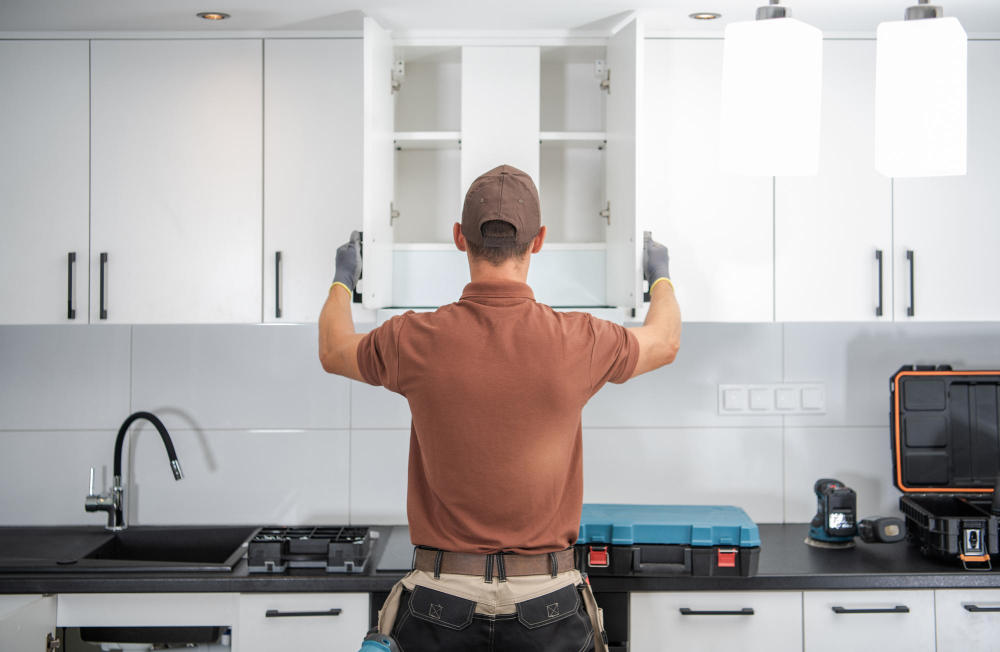
Misaligned doors can be frustrating to deal with, as they can make it difficult to open and close your cabinets properly. Fortunately, fixing this issue is relatively easy.
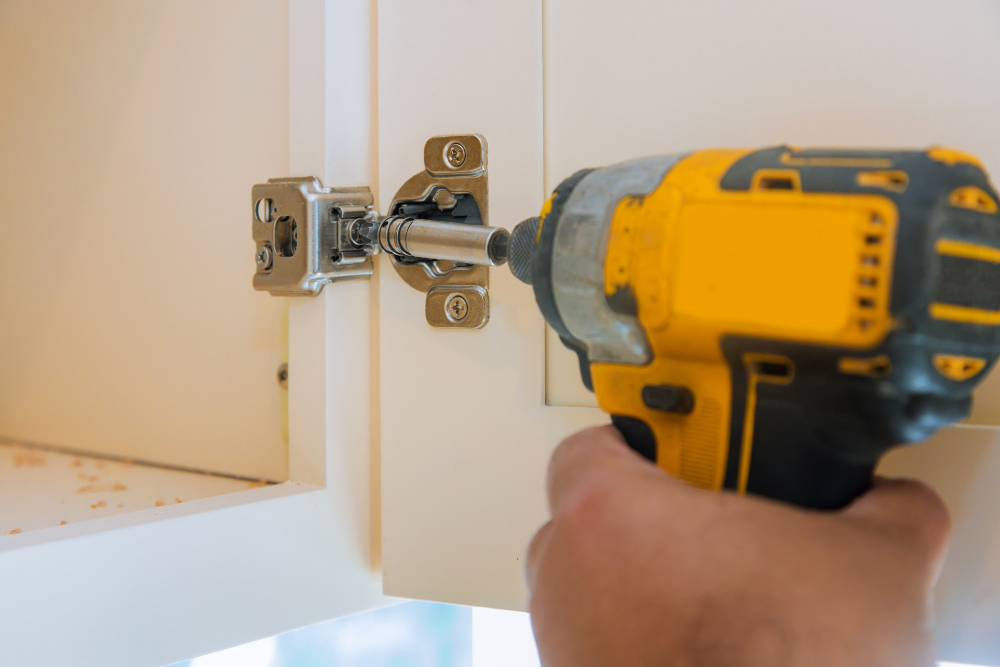
To perfect door alignment, start by checking the hinges on each door. If any screws are loose or missing, tighten them up or replace them as needed.
Next, adjust the hinge position by loosening its screws slightly and moving it up or down until you achieve a proper fit.
If your cabinet has European-style hinges that are adjustable in three directions (up/down/left/right), use a screwdriver to turn their adjustment screws until you get an even gap between all adjacent doors.
Once you’ve adjusted all of your hinges accordingly and ensured that they’re tight enough not to move around when opening/closing the door(s), test out each one individually for smooth operation without rubbing against other parts of the cabinetry structure.
Repairing and Replacing Drawer Slides
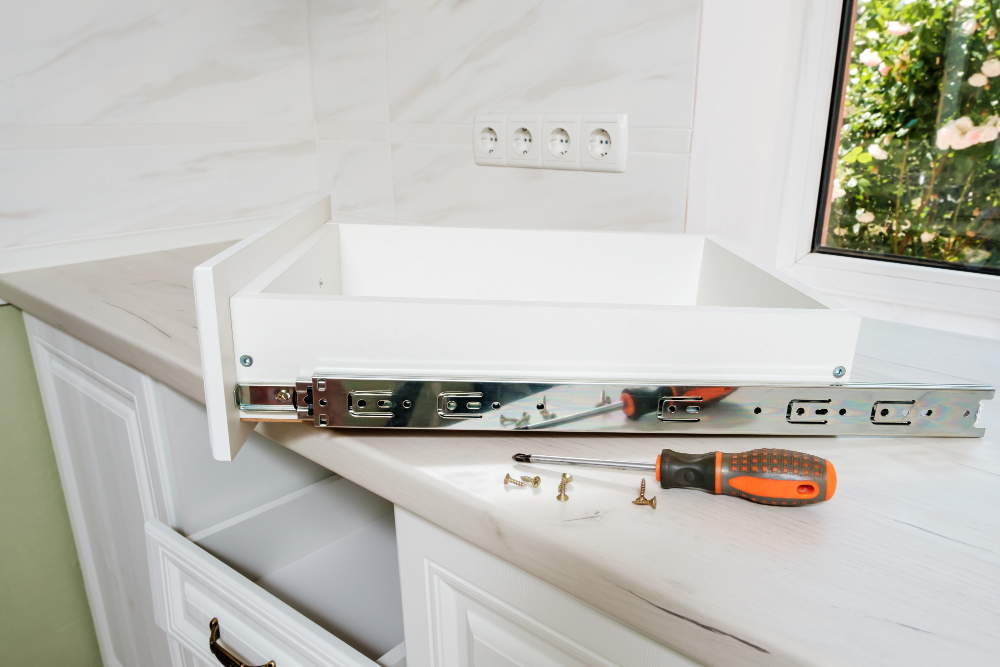
Drawer slides are the metal tracks that allow your drawers to slide in and out of their cabinets. Over time, these tracks can wear down due to regular use and exposure to moisture.
To repair a damaged drawer slide, start by removing the drawer from its cabinet and inspecting both sides of the track for any visible damage such as bends or cracks. If you notice any significant damage on either side of the track, it’s best to replace both sides with new ones.
When replacing old slides with new ones, make sure they match in size and style so that they fit perfectly into place without causing further issues. You’ll also need some basic tools like a screwdriver set and drill machine along with screws for attaching them securely onto your cabinets.
Lubricating Sticking Drawers

Fortunately, lubricating the drawer slides is a simple solution that can make a big difference. Before you begin, remove the drawer from its cabinet and inspect the slides for any damage or debris.
Clean them thoroughly with a soft cloth before applying lubricant.
There are several types of lubricants available on the market such as silicone spray or wax-based products specifically designed for use on wooden surfaces like beeswax polish. Avoid using oil-based products as they may attract dust and dirt over time.
Once you’ve chosen your preferred product, apply it sparingly to both sides of each slide using an old toothbrush or rag to spread it evenly along their length. Be sure not to over-apply as this could cause excess buildup leading back into sticking issues in future.
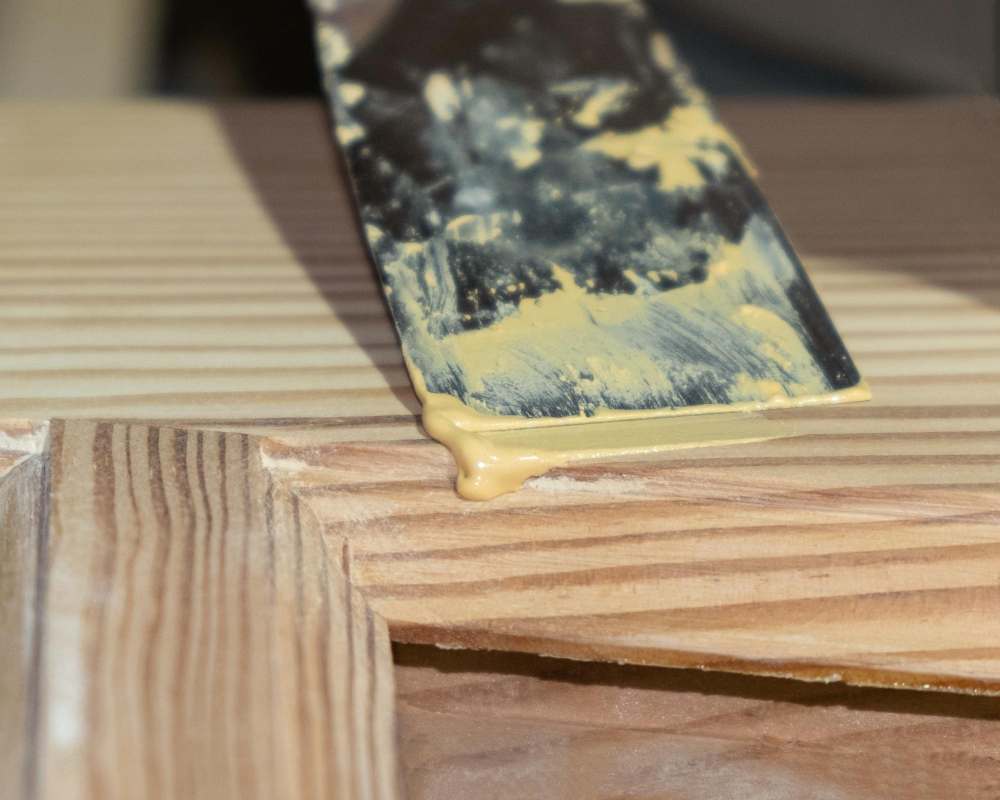
Repairing a Broken Drawer Box
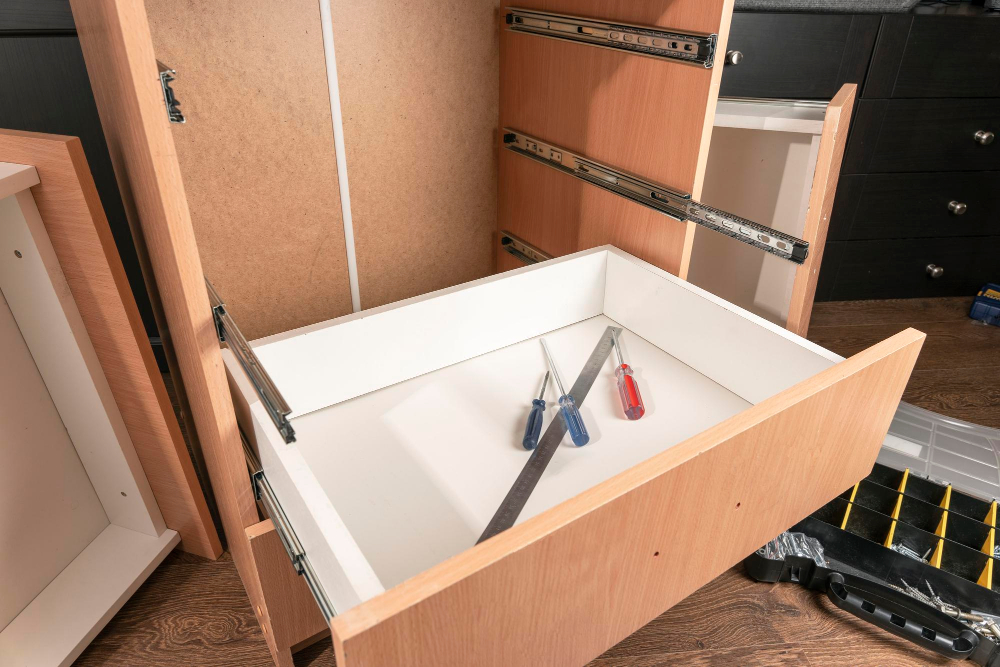
A broken drawer box can be repaired with some basic tools and materials. The first step is to remove the damaged parts from your cabinet carefully.
Then, measure and cut new pieces of wood to fit into place using a saw or jigsaw.
Next, assemble your new pieces by gluing them together with wood glue and clamping them tightly until they dry completely. Once dry, sand down any rough edges or surfaces before reattaching hardware such as slides or handles.
Reinstall your newly repaired drawer back into its original position in the cabinet frame while ensuring that it slides smoothly without sticking or wobbling.
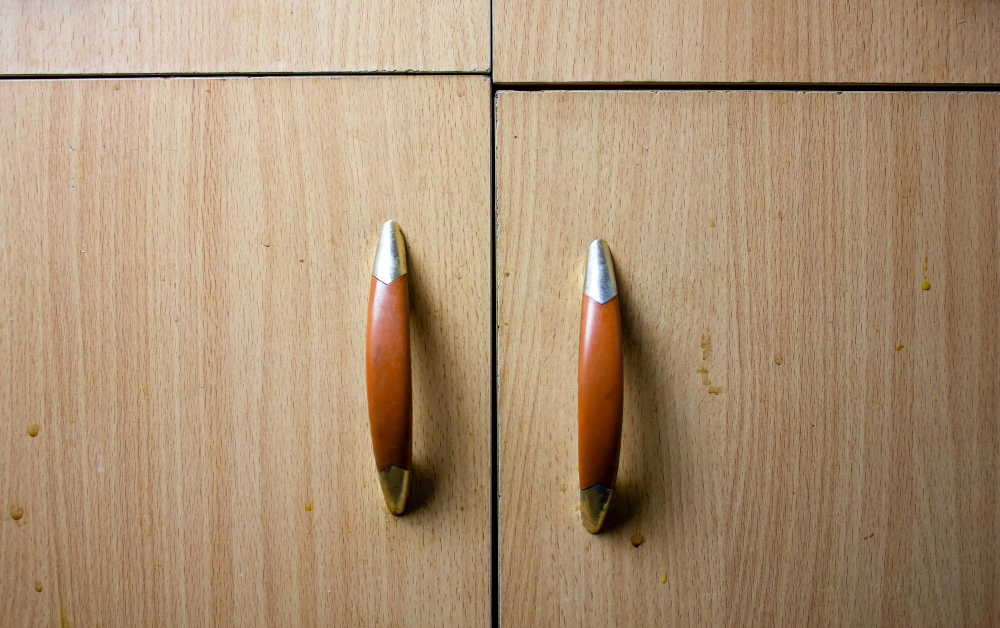
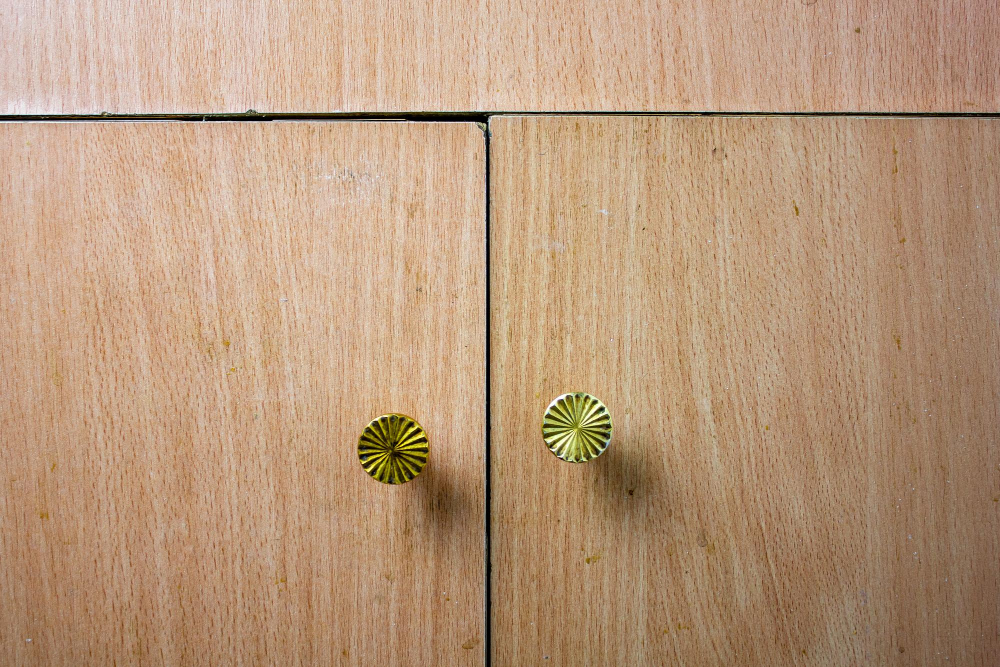
Securing Loose Knobs and Handles
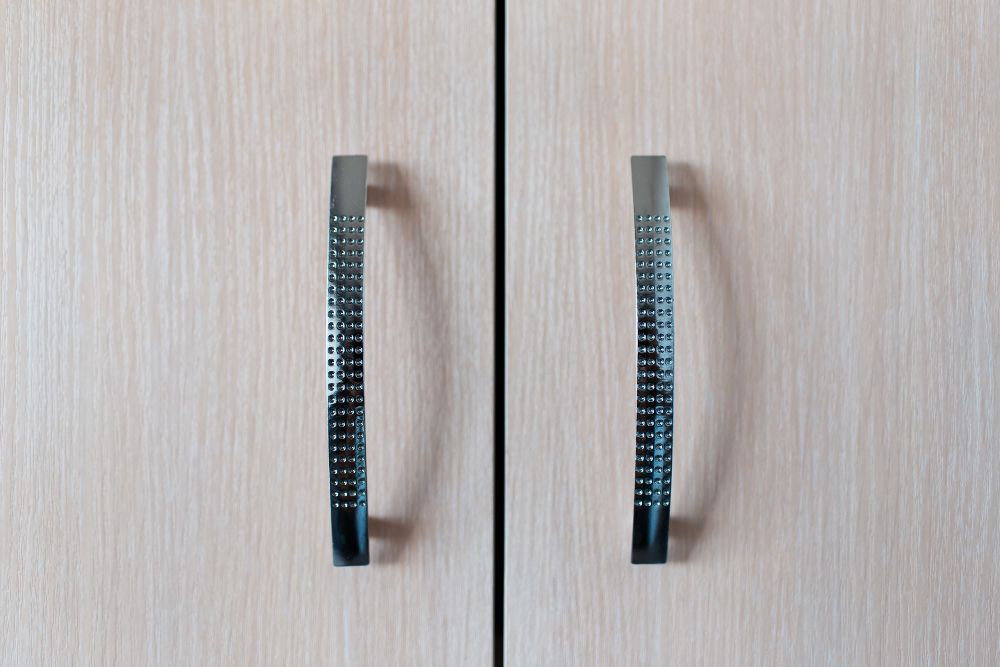
Loose hardware can cause the door to swing open unexpectedly, leading to accidents in the kitchen. Fortunately, securing loose knobs and handles is a simple task that you can do yourself with just a few tools.
To secure loose knobs or handles on your cabinet doors, start by removing them from the door using a screwdriver. Once removed, check if there are any stripped screws or holes in either the knob/handle itself or in the door where it was attached.
If there are stripped screws/hole(s), fill them with wood filler and let dry completely before reattaching hardware. If not damaged but still coming off easily due to wear-and-tear over time then use longer screws for better grip while attaching again.
Filling and Repairing Stripped Screw Holes
Over time, screws can become loose or damaged, causing the hole to widen and lose its grip. This can make it difficult to keep your cabinet doors securely in place.
To fix this problem, you’ll need some wood filler and a putty knife. First, remove any loose debris from around the hole using a small brush or vacuum cleaner attachment.
Then apply wood filler into the stripped screw hole using a putty knife until it’s level with the surface of your door.
Allow ample time for drying before sanding down any excess material that may have risen above flush level on your door surface after filling up holes. Once dry (usually 24 hours), use fine-grit sandpaper to smooth out any rough edges around where you filled in gaps caused by stripping screws so that they blend seamlessly into surrounding areas without being noticeable.
Touching Up Paint and Stain
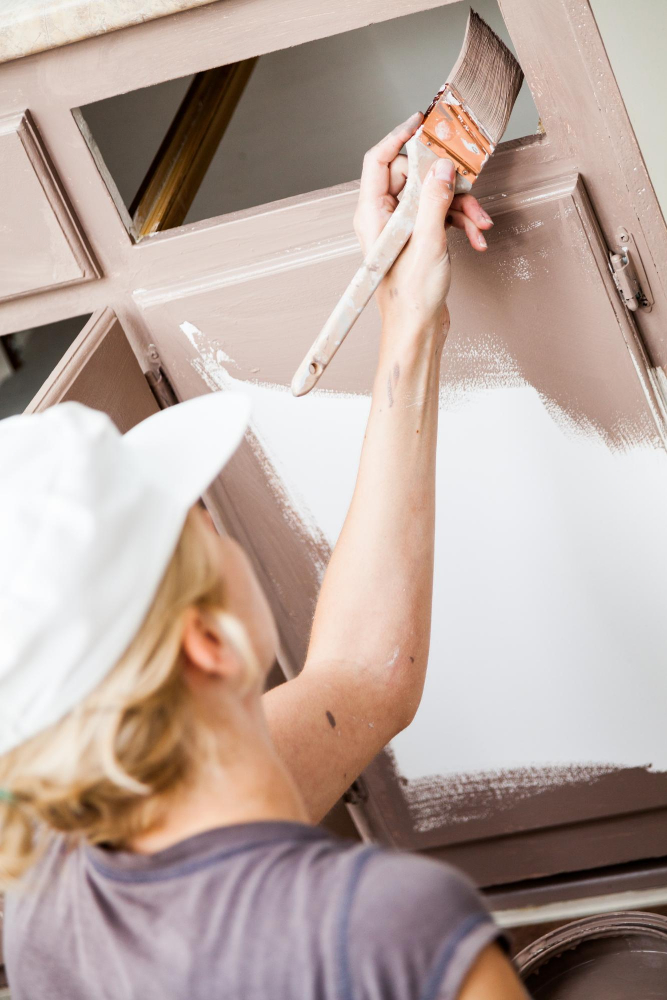
This step is crucial in ensuring a seamless repair job that blends in with the rest of your cabinets.
To start, gather some matching paint or stain and a small brush. If you’re unsure about which color matches best, take one of your cabinet doors to a hardware store for assistance.
Next, apply the paint or stain carefully over the damaged area using light strokes until it blends seamlessly with surrounding areas. Allow it to dry completely before applying another coat if necessary.
If there are any visible brush marks after drying, use fine-grit sandpaper (220 grit) lightly over them until they disappear. Wipe away any dust particles from sanding using a clean cloth dampened with water.
By following these simple steps on how to repair damaged kitchen cabinet doors effectively and affordably while touching up their finish afterward will make them look as good as new again!
FAQ
Can damaged kitchen cabinets be repaired?
Yes, damaged kitchen cabinets can be repaired, but it can be challenging for badly damaged MDF and plywood which require special drying equipment and techniques.
Can kitchen cupboard doors be repaired?
Yes, kitchen cupboard doors can be repaired, including on laminate, gloss, melamine, wood, high-gloss or painted surfaces, addressing issues such as chips, scratches, stains, and burns.
What are the best techniques for fixing scratches and dents on kitchen cabinet doors?
Best techniques for fixing scratches and dents on kitchen cabinet doors include using filler, sanding, and applying matching paint or finish.
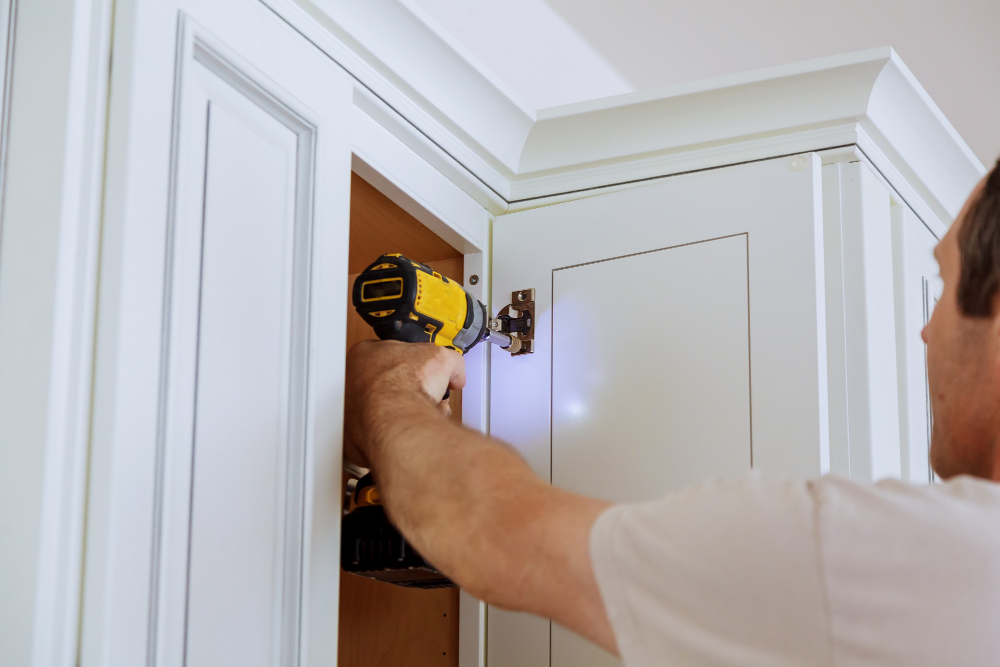
How can broken hinges or handles on kitchen cabinets be replaced?
To replace broken hinges or handles on kitchen cabinets, remove the damaged hardware, purchase suitable replacements, and install them using a screwdriver and the appropriate screws.
Is it possible to restore faded or stained finishes on kitchen cabinet doors?
Yes, it is possible to restore faded or stained finishes on kitchen cabinet doors by using suitable methods and products.


