Last updated on
Discover the essential steps to effectively repair peeling kitchen cabinets and restore their pristine appearance in no time.
Peeling kitchen cabinets can be frustrating and unsightly. If you’re tired of staring at those unsightly patches of peeling paint or laminate, don’t worry! Fixing them is not as difficult as it may seem.
In this article, we’ll guide you through the steps to fix your kitchen cabinets’ peeling problem and restore them to their former glory. So let’s roll up our sleeves and get started!
What's Inside
Identifying the Cause of Peeling
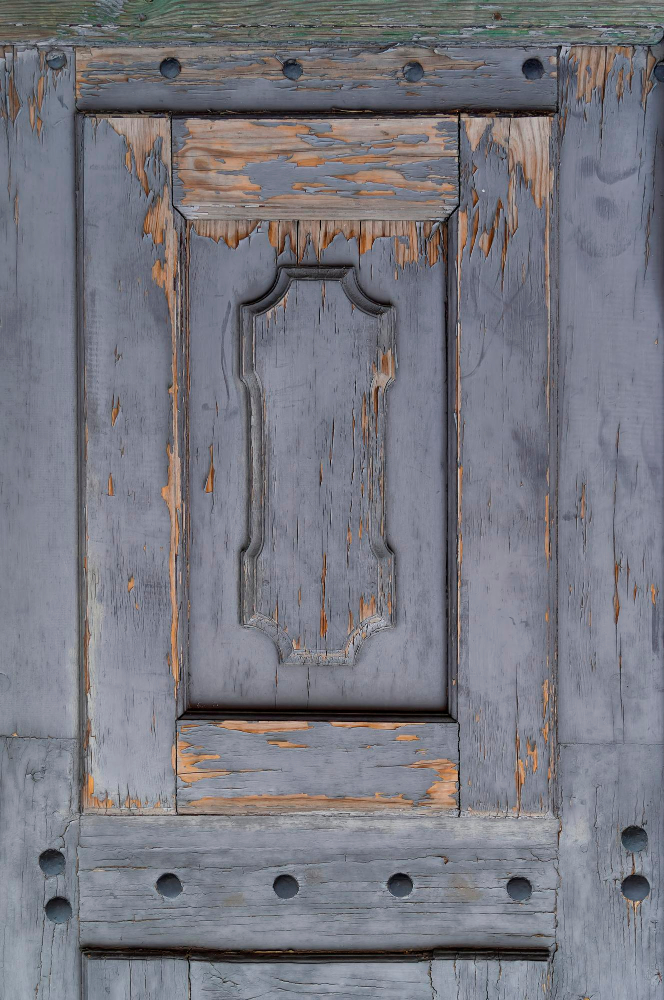
The first step in fixing peeling kitchen cabinets is to identify the root cause of the problem. Peeling can occur due to various reasons, such as exposure to moisture, heat or age-related wear and tear.
If your cabinets are made of laminate or thermofoil materials, they may be more prone to peeling than solid wood ones.
To determine what’s causing your cabinet surfaces’ deterioration, inspect them closely for signs of damage. Check if there are any water stains on the surface that could indicate a leaky faucet or sink nearby.
Also look out for areas where steam from cooking might have accumulated over time.
If you notice that only certain parts of your cabinets are affected by peeling while others remain intact, it could be due to uneven application during installation or poor quality adhesive used in manufacturing.
Safety Considerations
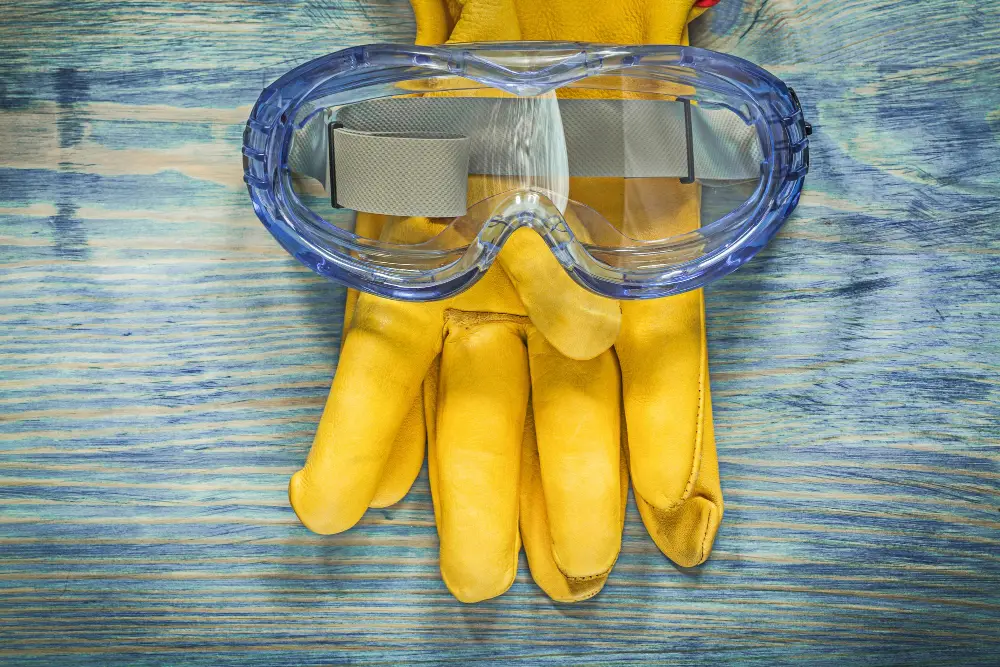
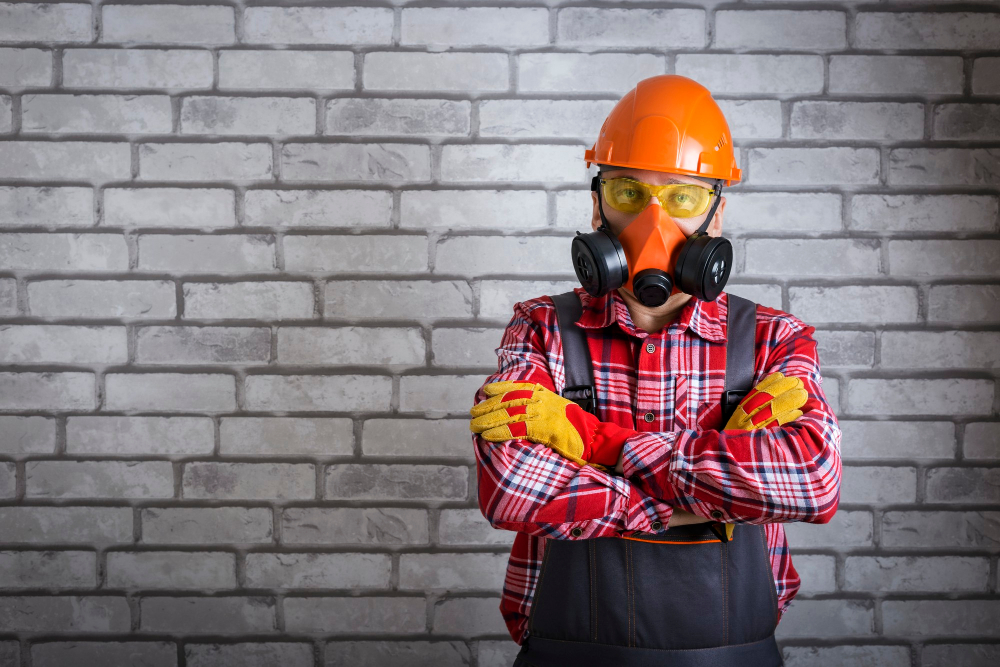
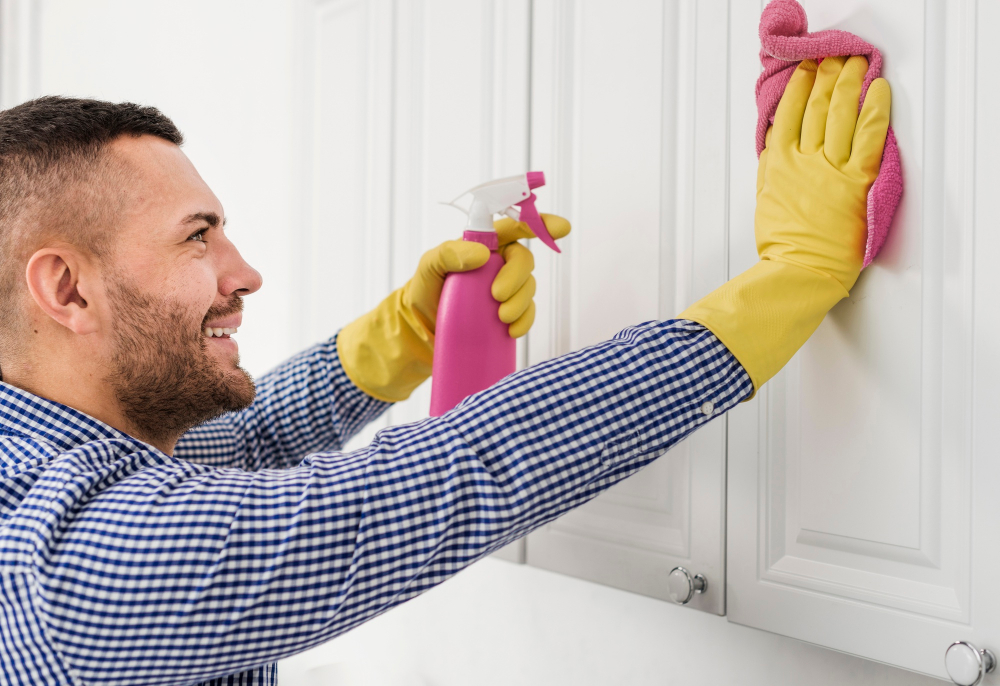
You’ll be working with sharp tools and chemicals that can cause harm if not handled correctly. Therefore, you should wear protective gear such as gloves and goggles when handling any chemical or tool.
Ensure proper ventilation in your workspace by opening windows or using a fan to avoid inhaling fumes from adhesives or solvents used during the repair process.
Also, keep children and pets away from your work area while repairing peeling cabinets. The last thing you want is for them to get hurt accidentally.
What You’ll Need: Equipment and Tools
Here are some of the things you’ll need:
- Safety gear: gloves, goggles, and a dust mask
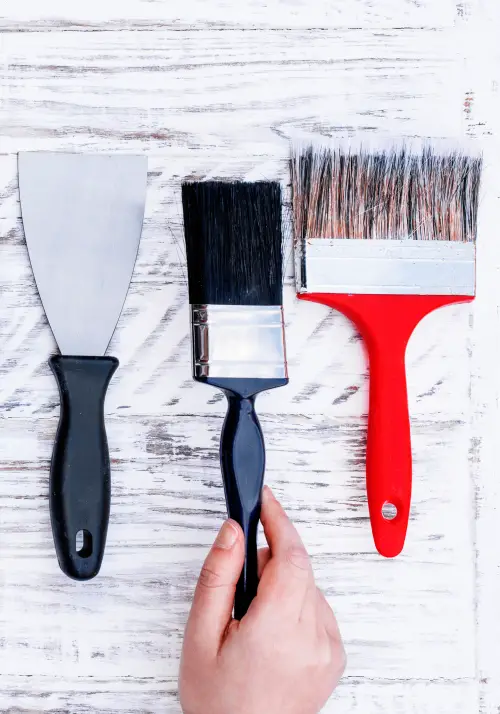
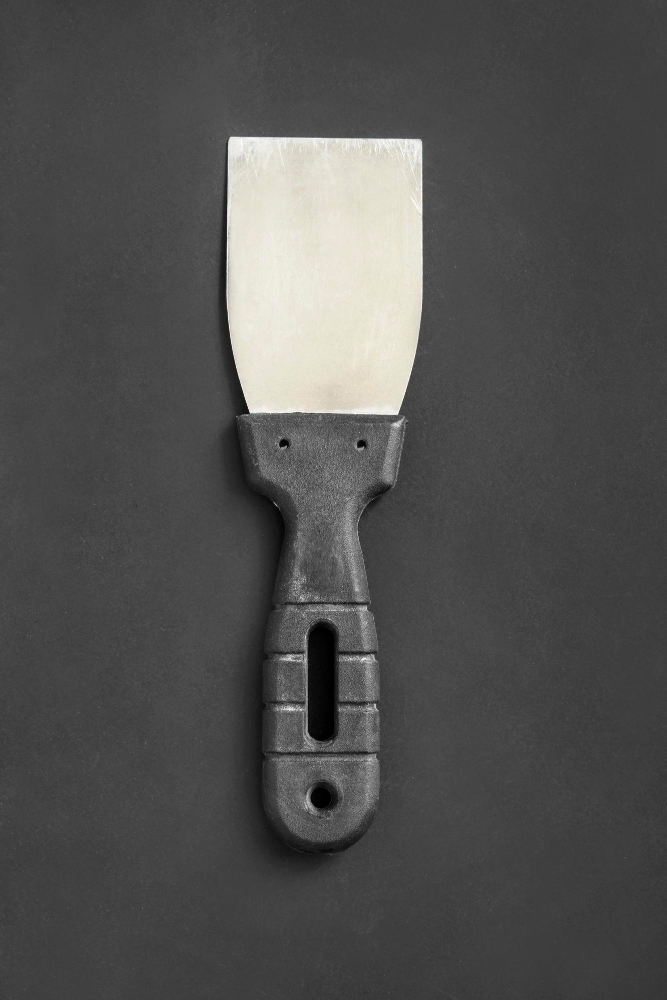
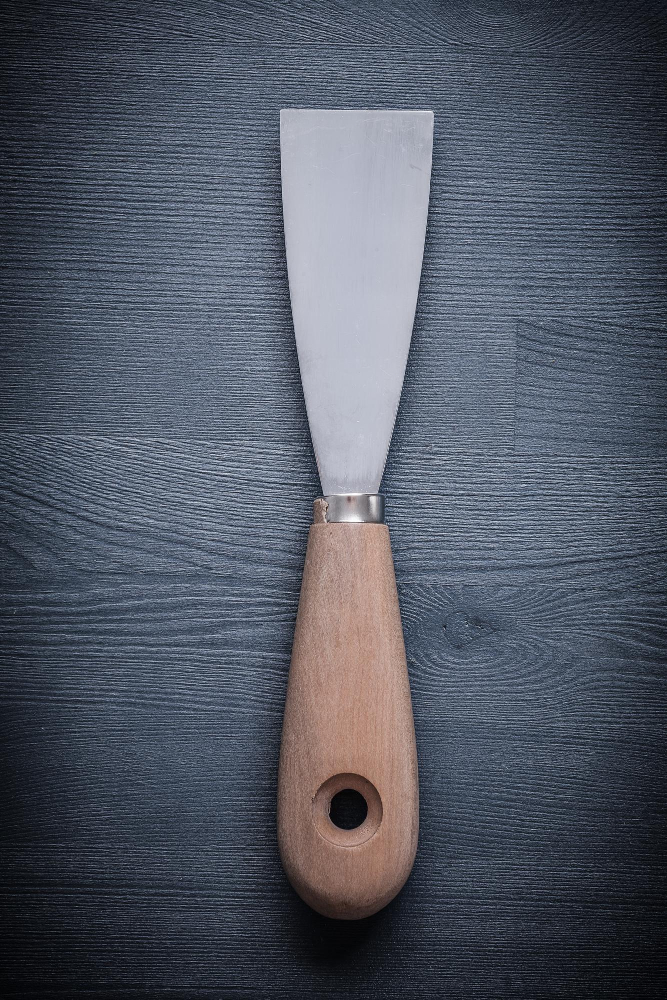
- A putty knife or scraper for removing old adhesive
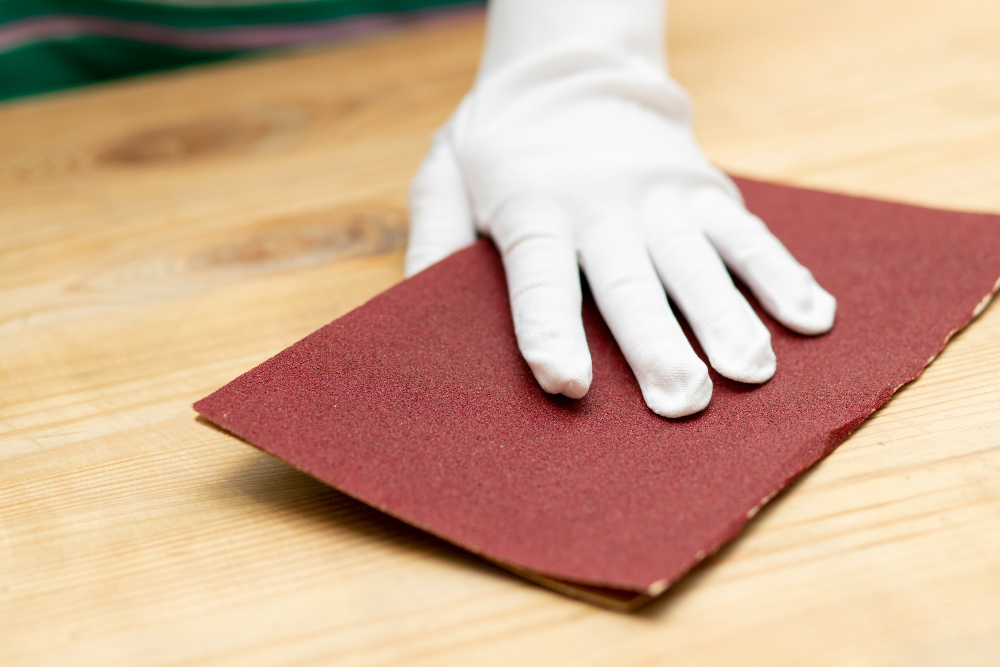
- Sandpaper (medium grit) for sanding down surfaces
- Contact cement or wood glue
- Clamps or pressure rollers to ensure proper adhesion
- A utility knife for trimming excess laminate
Make sure that all your tools are in good condition before starting any repairs as damaged equipment can lead to poor results and even accidents.
Materials Required
Here are some essential items that you’ll need:
- Contact cement
- Paintbrush or roller
- Sandpaper (120-grit)
- Putty knife or scraper
- Clean cloth or rag
You may also require a few additional tools depending on the extent of damage to your cabinets. For instance, if there is any bubbling in the laminate surface, you might need a needle syringe to inject adhesive underneath it.
It’s important to ensure that all materials are clean and free from debris before starting work. This will help prevent any further damage during repairs.
Prepping the Cabinet Surface

This step is crucial as it ensures that the adhesive sticks well and provides a long-lasting solution. Begin by removing all items from inside the cabinet and cleaning its interior with a damp cloth.
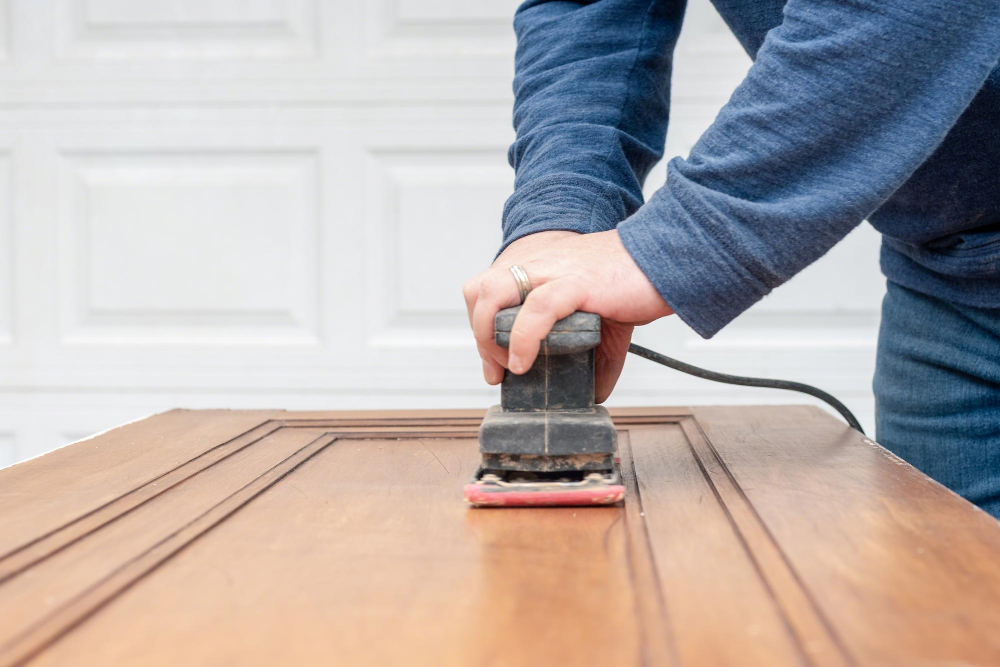
Next, remove any loose or flaking paint or laminate using sandpaper or a scraper tool. Be sure to wear gloves and safety goggles during this process to protect yourself from dust particles.
Afterward, clean off any remaining debris with warm soapy water before rinsing thoroughly with clean water. Once dry, use fine-grit sandpaper (220 grit) to smooth out rough areas on the cabinet surface gently.
Removing the Peeling Laminate
This step is crucial in ensuring that your repair job lasts for a long time.
To begin with, use a putty knife or scraper to gently lift up the edges of the peeling laminate. Be careful not to damage any surrounding areas while doing so.
Once you have lifted enough of it, grab hold of it firmly and pull back slowly until all loose pieces are removed.
If there are stubborn spots that won’t come off easily, use sandpaper or an orbital sander on low speed setting (80-100 grit) to smooth out rough patches before proceeding further.
Cleaning and Sanding the Surface
This step is crucial as it ensures that the adhesive sticks well to your cabinet surface. Start by cleaning off any debris or dust using a damp cloth or sponge.
Then, use fine-grit sandpaper (around 220 grit) to lightly sand down any rough spots on your cabinet’s surface.
Be sure not to oversand as this can damage your cabinets further and make them harder for adhesives to stick onto. Once you’re done with this step, wipe down all surfaces again with a clean cloth or sponge before moving on.
Cleaning and sanding are essential steps in repairing peeling kitchen cabinets because they help create an even base for applying new materials like contact cement and laminate sheets later on in the process.
Pull Back the Thermofoil Layer
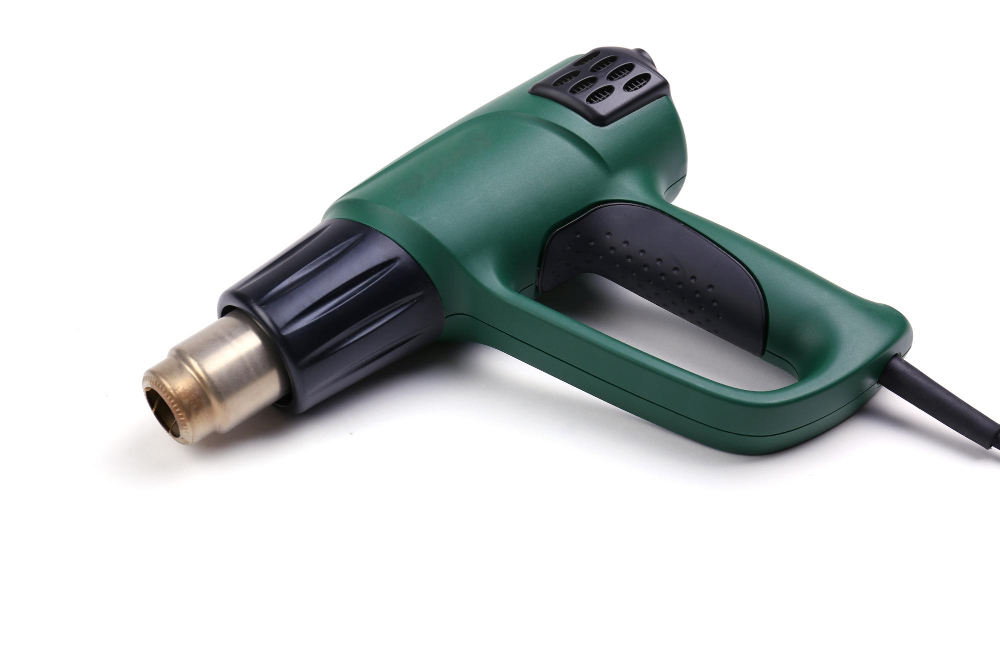
This step is crucial as it will help you determine whether or not there are any other areas that need repair. To do this, use a heat gun or hairdryer to warm up the surface of your cabinet door gently.
As soon as you notice that the adhesive has softened and become pliable, use a putty knife to lift off one corner of the thermofoil layer carefully. Be sure not to apply too much pressure when doing this so that you don’t damage your cabinets’ underlying structure.
Slowly work your way around each edge until all four corners are lifted away from their respective surfaces before pulling back on them simultaneously with even force until they come free entirely.
Scrape Any Old Cement
This step is crucial because if there are any remnants of old adhesive on the surface, it can prevent proper adhesion of the new laminate.
To remove old cement, use a scraper or putty knife and gently scrape away as much as possible. Be careful not to damage the cabinet surface while doing so.
If there are stubborn spots that won’t come off with scraping alone, try using a solvent specifically designed for removing adhesive residue.
Choosing the Right Adhesive
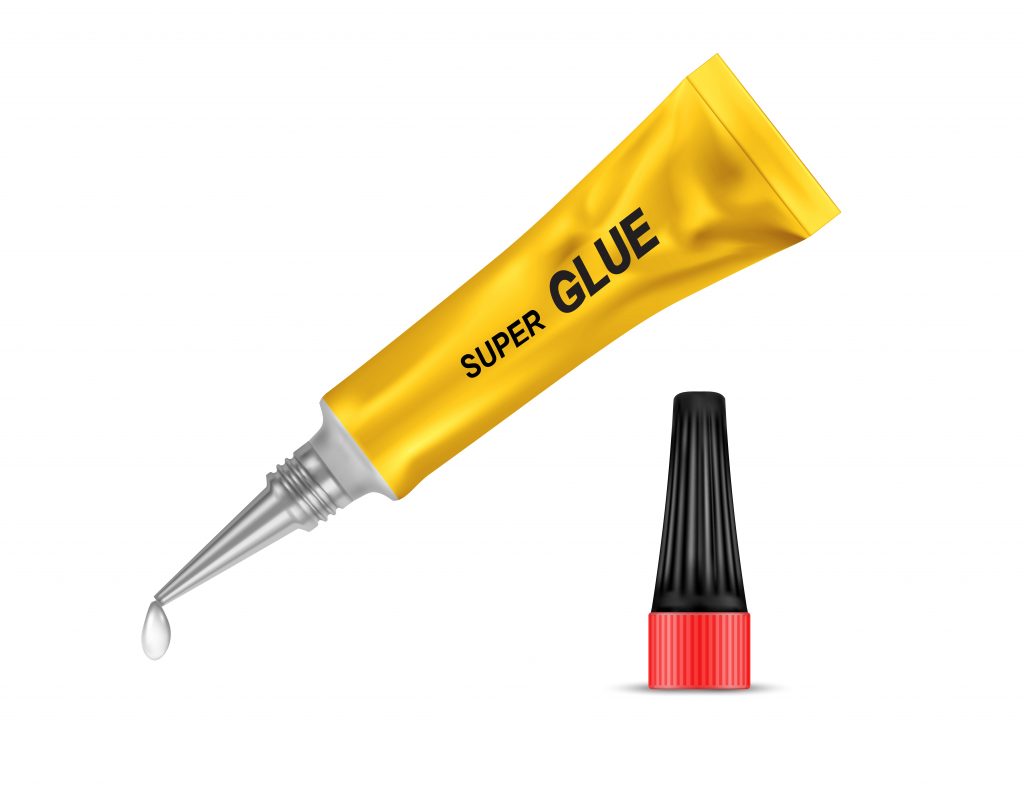
You need an adhesive that can bond well with both surfaces and withstand moisture and heat. The most commonly used adhesives for repairing peeling cabinets are contact cement, PVA glue, epoxy resin or cyanoacrylate (super glue).
Contact cement is a popular choice because of its strong bonding properties and resistance to water damage. It’s also easy to apply using a brush or roller.
PVA glue is another option that works well on wood surfaces but may not be as effective on laminate or thermofoil finishes.
Epoxy resin provides excellent strength but requires more time for curing than other options.
Cyanoacrylate (super glue) dries quickly but may not provide enough holding power for larger areas of peeling.
Before selecting an adhesive, consider your cabinet material type and surface finish carefully.
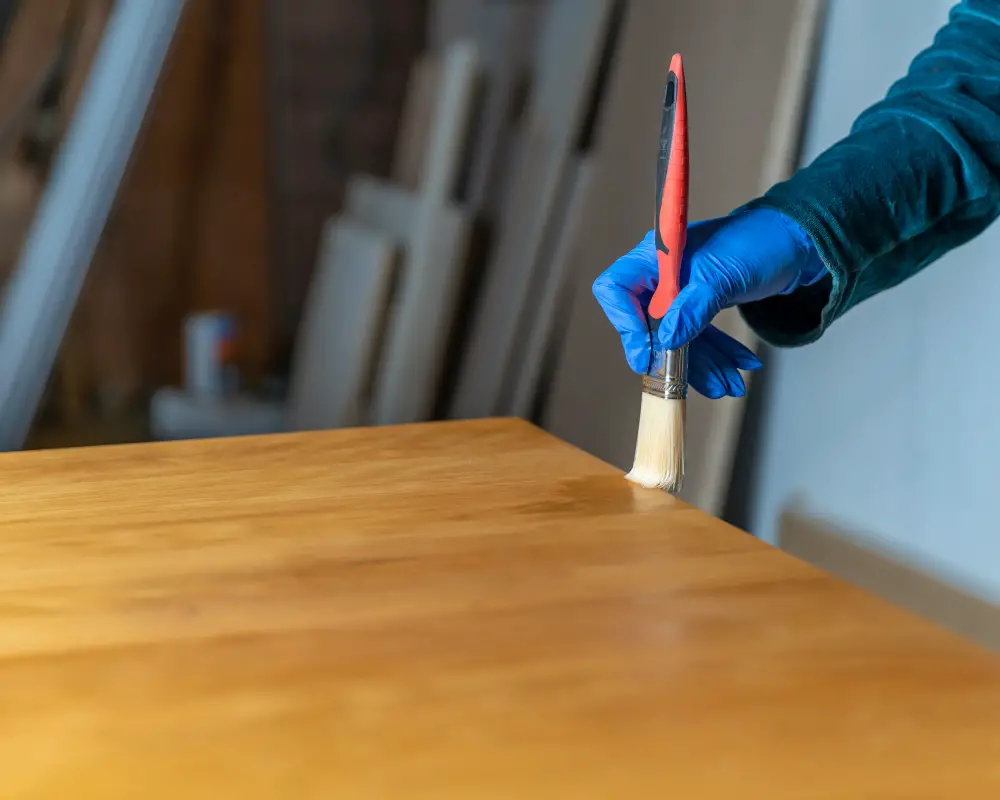
Apply the Contact Cement
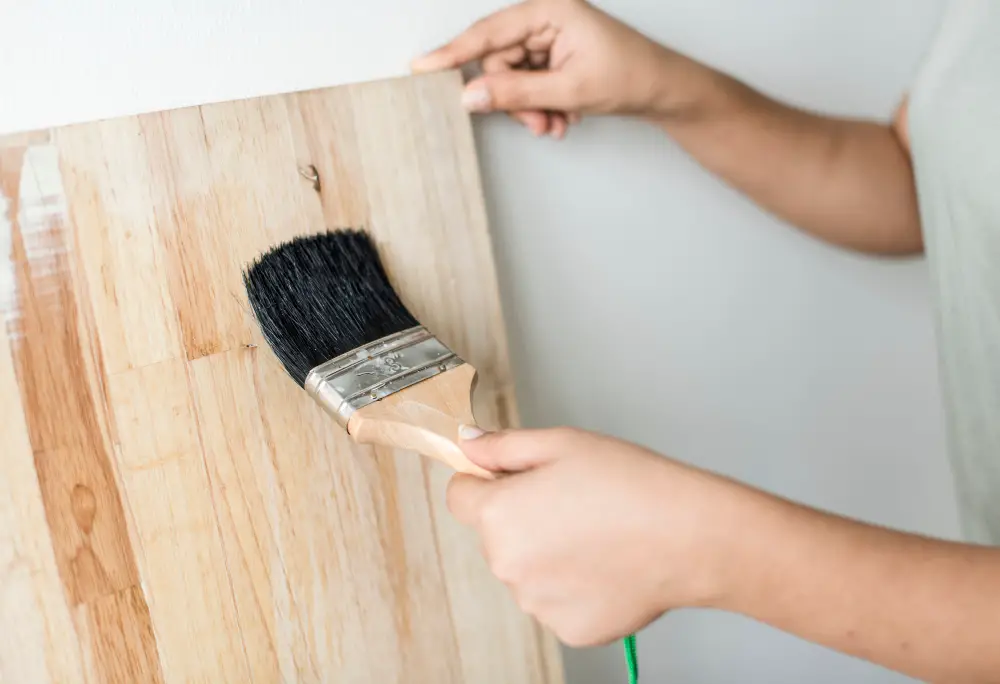
This adhesive is perfect for reattaching laminate because it creates a strong bond that will last for years.
To apply the contact cement, use a brush or roller to spread an even layer on both surfaces – the back of the laminate and cabinet surface. Be sure not to miss any spots as this could cause weak points in your repair job.
Allow both surfaces to dry completely before attempting to attach them together. The drying time can vary depending on humidity levels and temperature but usually takes around 15-20 minutes.
When applying pressure during attachment, make sure you use clamps or heavy objects like books or bricks evenly distributed over all areas of your repair job so that there are no air pockets left behind which could lead later peeling issues down-the-line.
Wait for the Contact Cement to Dry
The drying time can vary depending on factors such as temperature and humidity levels. Typically, contact cement takes around 15-20 minutes to dry fully.
It’s crucial not to rush this step; otherwise, your repair job may fail. If you try attaching the laminate before the adhesive is entirely dry, it won’t bond correctly and will likely peel again soon after.
To ensure that your contact cement has dried thoroughly enough for bonding purposes, perform a simple test by touching its surface with your finger gently.
Reattaching the Laminate
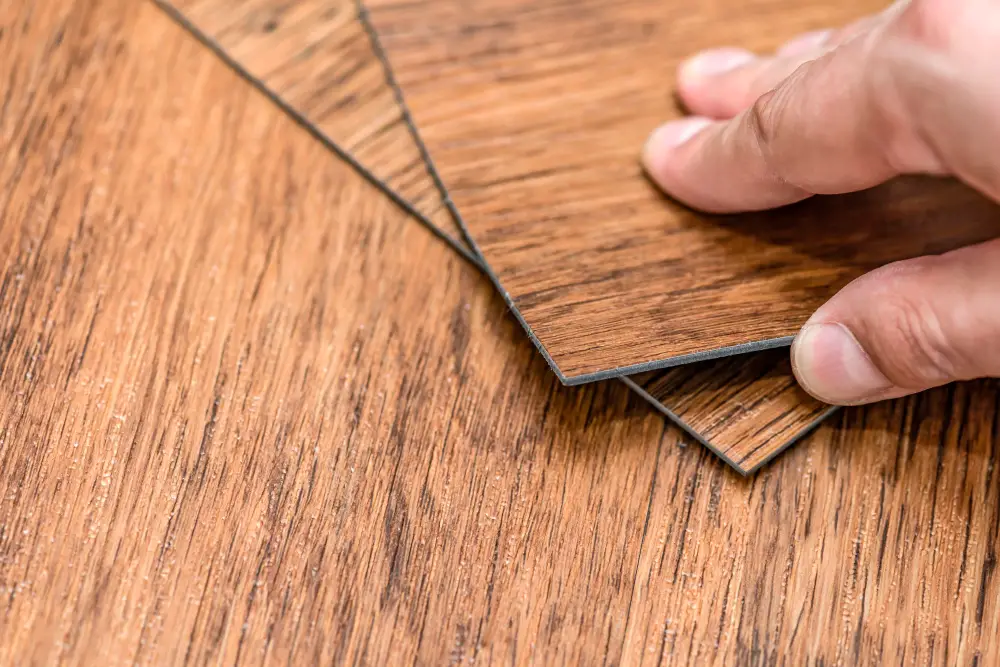
The first step is to apply contact cement on both surfaces – the cabinet and laminate. Be sure to follow manufacturer instructions for drying times as they may vary depending on temperature and humidity levels.
After waiting for the adhesive to dry, carefully align your laminate with your cabinet surface before pressing them together firmly using a roller or clamp. This will ensure that there are no air bubbles trapped between them.
If any excess adhesive oozes out from under the edges of your newly attached laminate, use a razor blade or utility knife to trim it off carefully.
Using Clamp or Pressure for Adhesion
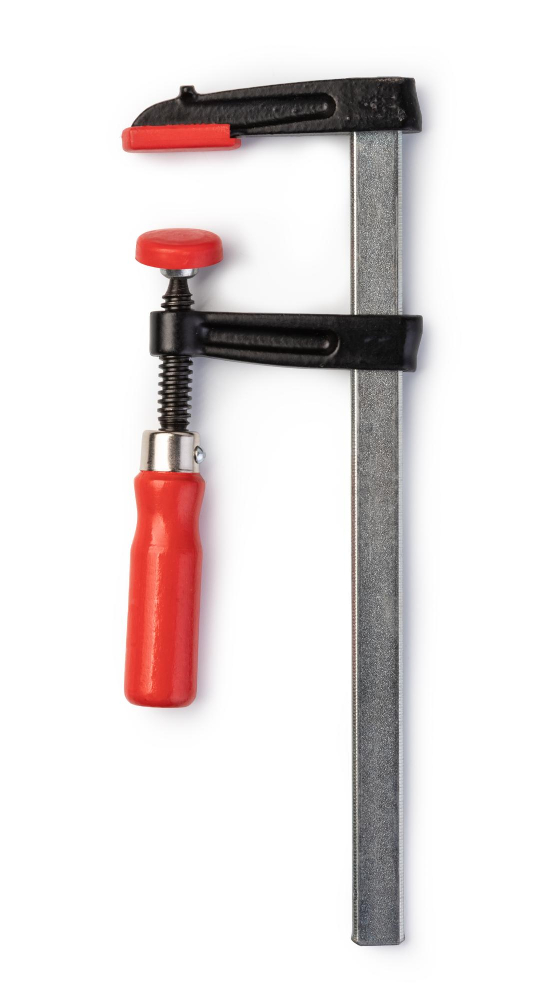
Using clamps or pressure is essential for this step.
Clamping: Use a clamp to hold down the repaired area firmly. Make sure that there are no gaps between the cabinet surface and laminate sheet.
Tighten each clamp until you see adhesive oozing out from all sides of your repair area.
Pressure: If you don’t have clamps, use heavy objects like books or bricks as weights on top of your repair area instead. This will help apply even pressure across its entire surface while allowing enough time for adhesion to occur.
Leave everything in place overnight so that adhesive can dry completely before removing any weight or clamp from repaired areas.
Trimming Excess Laminate
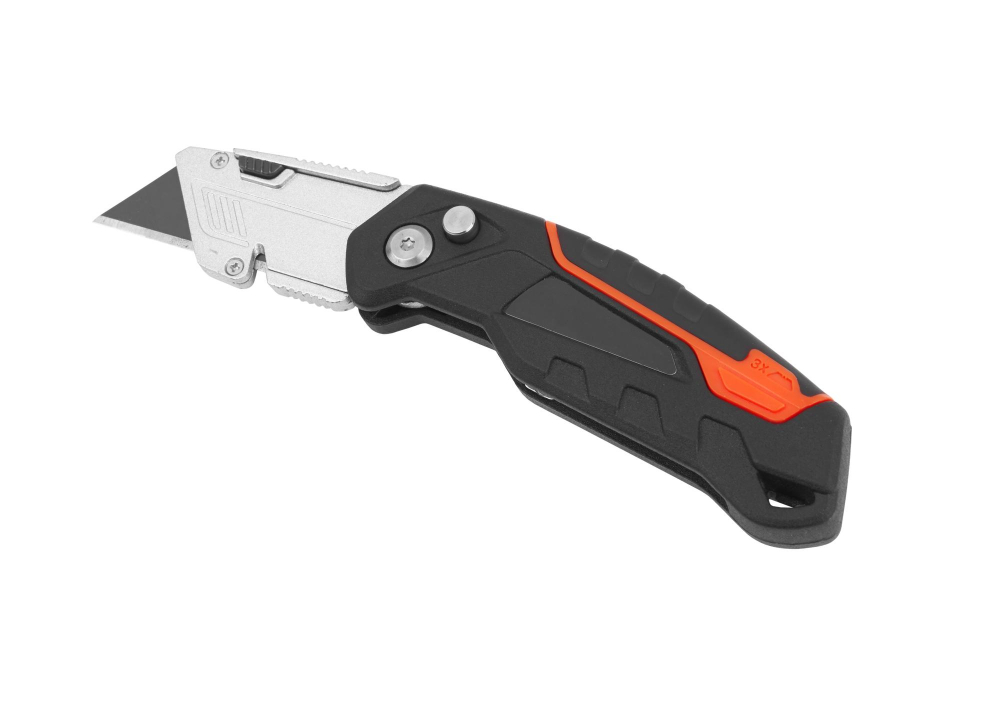
To fix this issue, use a router or a sharp utility knife to trim off any excess material carefully. Be sure to hold your tool steady and make slow cuts along the edge of your cabinet for precise trimming.
If you’re using a router, set it at low speed and use it with caution as high speeds can cause damage to both the laminate and wood surface underneath. On the other hand, if you’re using a utility knife or razor blade cutter instead of a router, be careful not to cut too deep into either surface.
Trimming off any extra bits will give your cabinets an even look while also preventing future peeling issues caused by loose edges catching on clothing or other objects in daily use.
Repairing Minor Bubbling
This is a common issue that can be easily fixed. To repair minor bubbling, use a sharp utility knife to cut an X shape over the bubble and peel back the edges of the laminate or thermofoil layer.
Next, apply some contact cement to both surfaces using a small brush or roller. Wait for it to dry until it becomes tacky before pressing down firmly on the laminate surface with your fingers or using clamps for pressure.
Once you’ve applied enough pressure and allowed time for drying (usually 24 hours), trim any excess material from around the repaired area with a sharp blade.
Minor bubbling may not seem like much of an issue at first glance but if left unattended could lead to more significant problems in future such as peeling paintwork and further damage.
Painting Over Repaired Areas
Painting over the repaired areas will help blend them in with the rest of your cabinets and make them look as good as new.
Before painting, ensure that all surfaces are clean and dry. Sand any rough spots or bumps on the surface until they’re smooth to touch.
Use a primer before applying paint for better adhesion and durability.
When choosing paint colors, consider matching it with your existing cabinet color or opt for something different if you want to add some contrast or personality into your kitchen space.
Remember that proper preparation is key when painting over repaired areas; otherwise, you may end up with uneven results that can be difficult to fix later on.
Preventing Future Peeling
Here are some tips:
- Avoid using harsh chemicals or abrasive cleaners on the cabinet surface.
- Keep the area around your cabinets dry and well-ventilated.
- Don’t place hot items directly on top of laminate surfaces as they can cause damage over time.
- Regularly inspect your cabinets for signs of wear and tear, such as cracks or chips in the finish.
When to Repair Vs. Replace Peeling Cabinets
If your cabinets are old and worn out, or if they have extensive damage beyond just peeling, replacing them may be a better choice. If you’re planning on renovating your entire kitchen soon and want to upgrade the look of your cabinetry altogether, then replacement might be more practical.
However, there are times when repairing is still a viable solution. For instance:
- If only one cabinet door has peeled while others remain in good condition.
- When you don’t have enough budget for an entire cabinet replacement.
- When you love the style of your current cabinets but want to give them a facelift.
In general terms; whether repair or replace depends on several factors such as age of cabinetry (if too old), extent of damage (if too much), cost-effectiveness (repairing vs replacing) among other things.
When to Seek Professional Help

A professional can assess the damage and recommend whether repairing or replacing your cabinets is the best option. They have access to specialized tools and materials that are necessary for a successful repair job.
If you notice any signs of water damage or mold growth on your kitchen cabinets, it’s crucial to call in a professional immediately. Water damage can weaken cabinet structures and lead to further problems down the line.
Fixing peeling kitchen cabinets requires patience and attention to detail but with proper guidance; anyone can do it themselves. However, when in doubt about how severe the problem is or how much work needs doing – don’t hesitate! Call an expert who will provide advice on what steps should be taken next so that everything looks as good as new again!
FAQ
What causes kitchen cabinets to peel?
Kitchen cabinets peel primarily due to improper surface preparation, including inadequate cleaning, sanding, and removal of grease and dust before painting.
How do you repair plastic coated kitchen cabinets?
To repair plastic coated kitchen cabinets, reattach small, loose areas with instant adhesive like Super Glue or Krazy Glue, and paint the cabinets if larger areas are loose.
What is the best method to remove peeling laminate from kitchen cabinets?
The best method to remove peeling laminate from kitchen cabinets is by gently using a heat gun or hair dryer to warm the adhesive, and then carefully peeling off the laminate.
How can you prevent kitchen cabinet peeling in the long run?
To prevent kitchen cabinet peeling in the long run, ensure proper installation, use high-quality materials, and maintain a consistent temperature and humidity level in your home.
Are there any alternative materials to consider when refinishing kitchen cabinets to avoid peeling issues?
Alternative materials to consider when refinishing kitchen cabinets to avoid peeling issues include using high-quality paint or laminate.


