Last updated on
Discover the straightforward process of replacing an undermount kitchen sink with this easy-to-follow guide that ensures a successful and efficient transformation.
Are you tired of looking at your old, stained kitchen sink? It may be time for a replacement. Undermount sinks are a popular choice for their sleek and modern look, but the process of replacing one can seem daunting.
Fear not! In this article, we will guide you through the steps to replace your kitchen sink undermount and give your kitchen a fresh new look. So grab your tools and let’s get started!
Key takeaways:
- Assess your kitchen sink situation before replacing
- Choose the right replacement sink based on size, material, and style
- Gather necessary tools and materials before starting installation
- Prepare for sink removal by clearing the area and disconnecting plumbing
- Follow step-by-step instructions for removing the old sink and installing the new one
What's Inside
Assessing Your Kitchen Sink Situation

Before diving into the process of replacing your kitchen sink undermount, it’s important to assess your current situation. Take a good look at your existing sink and ask yourself some questions.
Is it damaged or stained beyond repair? Does it fit with the overall style of your kitchen? Are you looking for a larger or deeper sink to accommodate bigger pots and pans?
Consider the size and shape of both the old and new sinks. Will they fit in the same space without any modifications needed? If not, are you willing to make adjustments to accommodate a different size or shape?
Assessing these factors will help determine if replacing an undermount kitchen sink is necessary for both aesthetic reasons as well as practicality purposes.
Choosing the Right Replacement Sink

There are several factors to consider when making this decision. First and foremost, measure your current sink’s dimensions so that you can choose a new one that fits perfectly in its place.
Next, think about what material you want for your new sink. Stainless steel is a popular choice due to its durability and easy maintenance, but there are also options like porcelain or granite composite if you’re looking for something more unique.
Consider the style of your kitchen as well – do you want a single bowl or double bowl? A farmhouse-style apron front or an integrated drainboard? These choices will depend on both personal preference and practicality.
Don’t forget about budget! Sink prices can vary greatly depending on size and material. Keep in mind that investing in a high-quality sink now may save money down the line by avoiding costly repairs or replacements later on.
Necessary Tools and Materials
Here is a list of what you’ll need:
Tools:
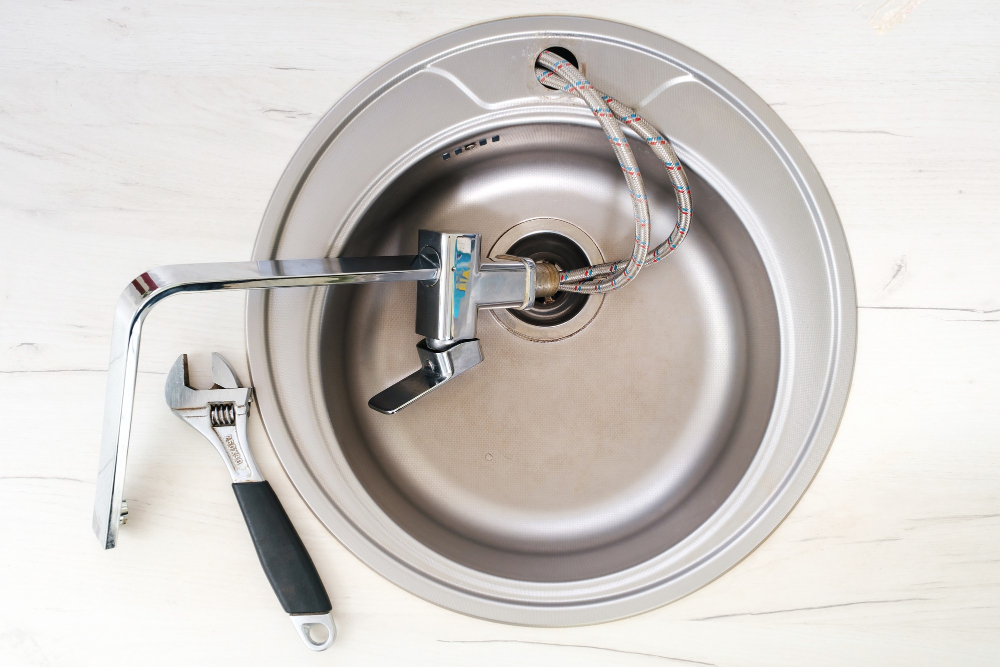
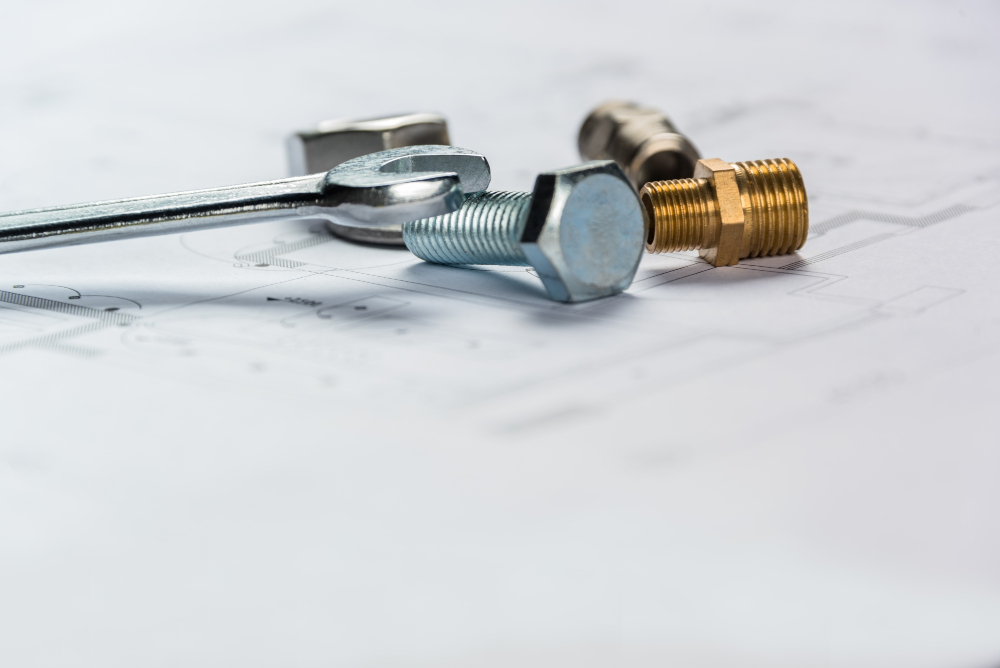
- Adjustable wrench
- Basin wrench
- Screwdriver (flathead and Phillips)
- Putty knife or scraper
- Silicone caulk gun
Materials:
- New undermount sink
- (make sure it fits in your countertop cutout)
- Sink mounting hardware kit
- (check if included with new sink purchase)
- Plumbers putty or silicone sealant
- for sealing around the edges of the new sink.
- Having these tools and materials ready before starting will save time during installation. It’s also important to ensure that all equipment is in good condition, so check for any damages beforehand. With everything set up correctly, let’s move on to preparing for removing your old kitchen sink!
Preparing for Sink Removal

Preparing for sink removal is an essential step in this process to ensure that everything goes smoothly and without any damage to your countertop or plumbing connections.
Start by clearing out the area around your kitchen sink and removing any items stored underneath it. Next, turn off the water supply valves located beneath your sink.
You will also need to disconnect all plumbing connections from both sides of the drain assembly using adjustable pliers.
Once all plumbing has been disconnected, use a utility knife or putty knife to cut through any caulking between the underside of your countertop and existing undermount sink rim. This will help loosen up its grip on top of counter surface so that it can be removed easily without causing damage.
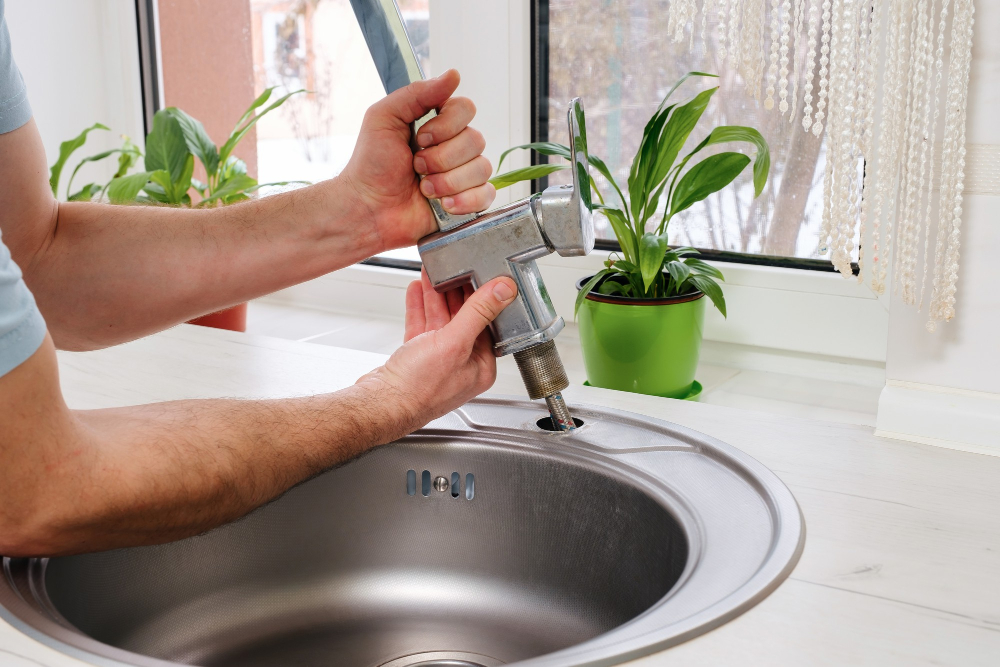
Disconnecting Plumbing Connections

Start by turning off the water supply valves located beneath your sink. Next, place a bucket or towel underneath the P-trap (the curved pipe that connects to your drain) and use pliers to loosen its slip nuts on both ends.
Once you’ve removed the P-trap, detach any remaining pipes or hoses connected to your faucet and garbage disposal unit.
It’s important not to rush this step as improper disconnection can cause leaks or damage other parts of your plumbing system. If you’re unsure about how everything is connected, take pictures before detaching anything so that you have a reference when reconnecting later.
Removing the Old Undermount Sink

Before starting, make sure to turn off the water supply valves and disconnect any plumbing connections.
To begin removing the old undermount sink, use a utility knife or putty knife to cut through any caulking around its perimeter. Then carefully lift out the old sink from below while someone else supports it from above.
If there are clips holding your current undermount in place, unscrew them using a screwdriver or pliers. Be careful not to damage surrounding countertops during this process.
Once you’ve removed all mounting hardware and disconnected plumbing connections, gently lift out your existing kitchen sink with help if needed. Set aside for disposal or recycling according to local regulations.
Cleaning and Prepping Countertop Area
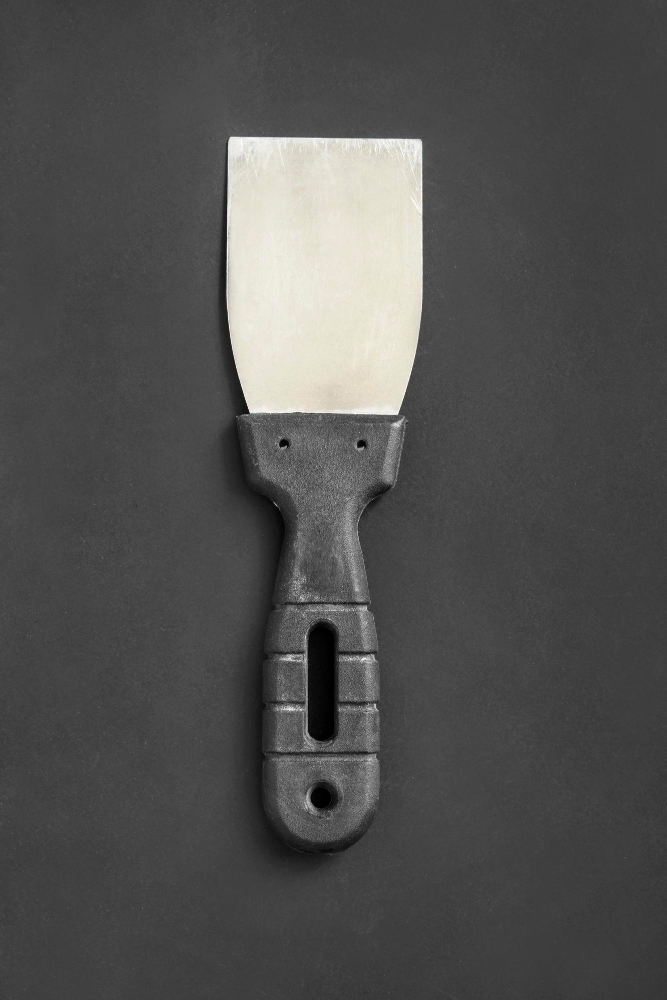
Begin by removing any remaining adhesive or debris from around the cutout in your countertop. Use a putty knife or scraper to gently scrape away any leftover sealant, being careful not to damage your countertops.
Next, thoroughly clean both sides of the countertop with soap and water. Be sure to remove all dirt and grime from around where the old sink was installed as this will ensure proper adhesion for your new undermount sink.
After cleaning is complete, dry off both sides of the counter with a towel or rag before proceeding with installing mounting hardware for securing your new kitchen sink in place.
Installing the Sink Mounting Hardware
The mounting hardware is what will hold your new sink securely in place and prevent any leaks or damage to your countertop.
Start by placing the mounting brackets on each corner of the underside of your new sink. Make sure they are positioned correctly according to manufacturer instructions and that they align with where you want them on top of the countertop.
Next, attach a bolt through each bracket from underneath using a screwdriver or wrench until snug but not too tight. Repeat this process for all four corners.
Now it’s time to position and secure these brackets onto your countertop surface using epoxy adhesive or silicone caulk as recommended by manufacturer instructions. Be sure that everything is level before tightening down bolts completely with a wrench – over-tightening can cause damage!
Aligning the New Sink

This step is crucial for ensuring a proper fit and preventing leaks. Begin by placing the new undermount sink into position on top of the mounting brackets.
Make sure that it sits flush with your countertop and that there are no gaps between them.
Next, use a level to check if your sink is even from all sides. Adjust as necessary until you achieve perfect alignment.
It’s important to note that some sinks come with pre-drilled holes for faucets or accessories such as soap dispensers or sprayers. If this applies to your replacement sink, make sure these holes line up correctly before proceeding further.
Once everything looks good, tighten any remaining screws on the mounting brackets until they’re snug but not overly tight – overtightening can cause damage or cracking in both your countertop and/or new undermount kitchen sink.
Securing the Sink in Place
Begin by tightening the mounting clips or brackets underneath the countertop with a screwdriver. Make sure they are snug but not too tight as this can cause damage to your countertop.
Next, apply pressure on top of the sink and press down firmly around its perimeter to ensure that there is a good seal between the sink and countertop. This will also help distribute any excess adhesive or caulk evenly.
If your undermount kitchen sink comes with an additional mounting bracket, attach it now using screws provided by manufacturer instructions.
Wipe away any excess adhesive or caulk from around edges of your new undermount kitchen sink before allowing everything to dry completely for at least 24 hours before reconnecting plumbing connections and installing faucet fixtures.
Applying Sealant and Caulking
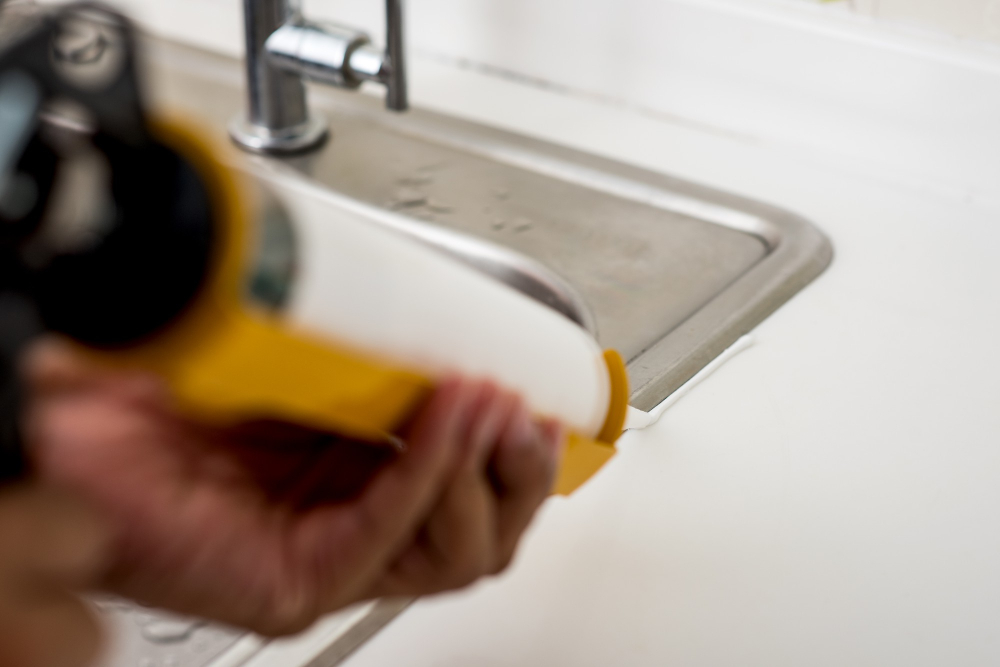
This step is crucial as it prevents water from seeping into the countertop and causing damage. First, clean any excess adhesive or debris around the sink with a putty knife or scraper.
Then, apply a bead of silicone caulk along the edge of the sink where it meets with your countertop surface.
Use your finger to smooth out any bumps or ridges in the caulk for an even finish. Be sure not to leave gaps between your new undermount kitchen sink and counter as this can lead to leaks over time.
Allow ample drying time before using your newly installed kitchen sink undermount – typically 24 hours should suffice but check manufacturer instructions for specific recommendations on drying times.
Reattaching Plumbing Connections
Start by cleaning and inspecting all of the pipes and fittings for any damage or wear. Replace any damaged parts as needed.
Next, attach a tailpiece to each drain opening on your new sink using plumber’s putty or silicone sealant. Then connect each tailpiece to its corresponding P-trap with slip nuts and washers.
Tighten all connections securely but be careful not to overtighten them as this can cause leaks or damage the pipes.
Turn on your water supply valves slowly while checking for leaks at every connection point.
Installing and Connecting the Faucet
Begin by reading the manufacturer’s instructions carefully before proceeding. Most faucets come with a gasket or rubber seal that should be placed between the base of the faucet and countertop surface to prevent water from seeping underneath.
Next, insert any necessary mounting hardware through pre-drilled holes in your sink basin. Tighten nuts or screws on each side of your fixture until snug but not overly tight.
Attach water supply lines according to manufacturer instructions using Teflon tape for added security against leaks. Turn on both hot and cold valves under your sink slowly while checking for drips or other signs of leakage around connections.
Checking for Leaks

Leaks can cause significant damage to your kitchen and lead to costly repairs if not addressed promptly. To check for leaks, turn on the water supply and let the faucet run for a few minutes.
Check underneath the sink and around all connections with a flashlight or mirror for any signs of dripping or moisture.
If you notice any leaks, tighten the connections as needed until they are snug but not over-tightened. Over-tightening can cause damage to both plumbing components and seals.
After tightening all connections, run water again through each fixture in your kitchen (sink sprayer included) while checking underneath periodically during use.
Final Cleanup and Inspection

Use a damp cloth to wipe away any excess sealant or caulk around the edges of the sink. Check that all plumbing connections are tight and secure, and turn on your faucet to check for leaks.
Inspect your countertop area thoroughly to ensure there are no scratches or damage from removing the old sink. If necessary, touch up any imperfections with a matching laminate repair paste.
Take a step back and admire your newly transformed kitchen space! A fresh new undermount sink can make all the difference in updating an outdated kitchen look while also increasing functionality.
Reasons to Replace Kitchen Sink Undermount

Beyond aesthetics, there are several practical reasons why you may want to consider replacing your old sink. For example, if you have noticed leaks or damage around the edges of the sink, it may be time for a replacement.
If you find that your current sink is too small or shallow for your needs, upgrading to a larger model can make meal prep and clean-up much easier. If you are planning on selling your home in the near future and want to increase its value without breaking the bank on major renovations – updating fixtures like sinks is an easy way to do so!
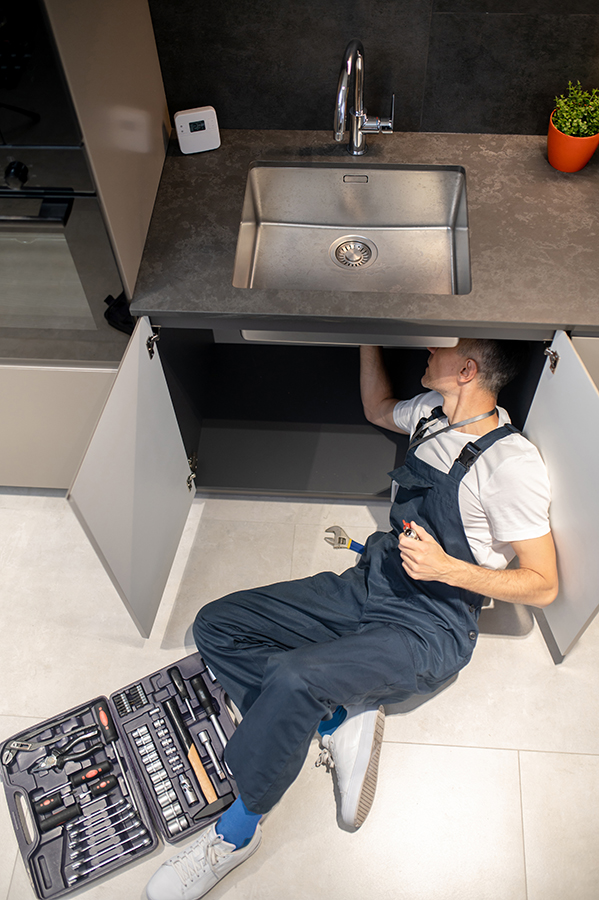
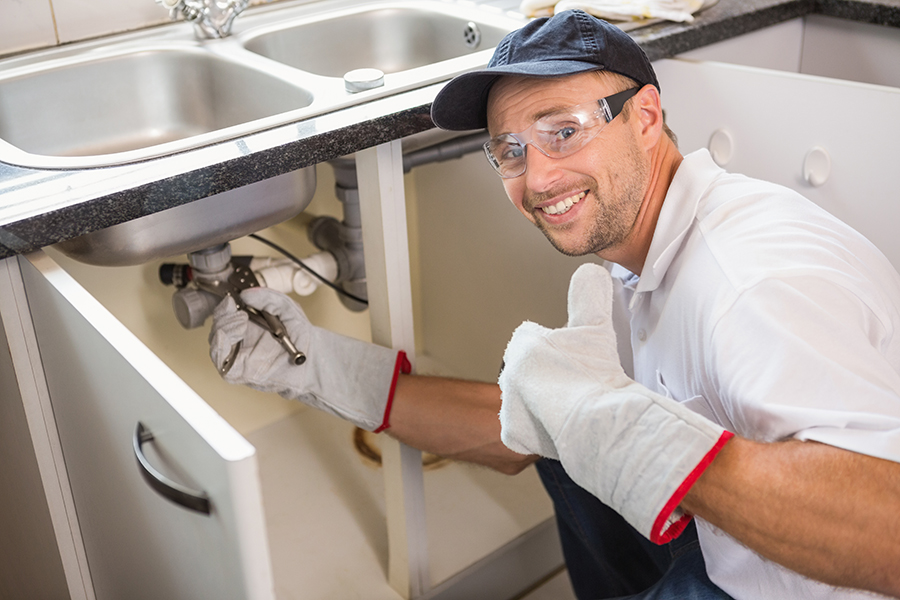
Professional Vs. DIY Sink Replacement
While DIY projects can be rewarding and cost-effective, they may not always be the best choice for everyone.
A professional plumber has experience with sink replacements and will have all of the necessary tools on hand. They can also quickly identify any potential issues that could arise during installation and address them before they become bigger problems.
However, hiring a pro comes at an additional cost that may not fit into your budget. If you are confident in your abilities as a DIYer and have some plumbing experience under your belt, then replacing an undermount kitchen sink yourself could save you money.
Ultimately, it’s up to each homeowner to decide which option is right for them based on their skill level, time constraints, budgetary concerns and personal preferences.
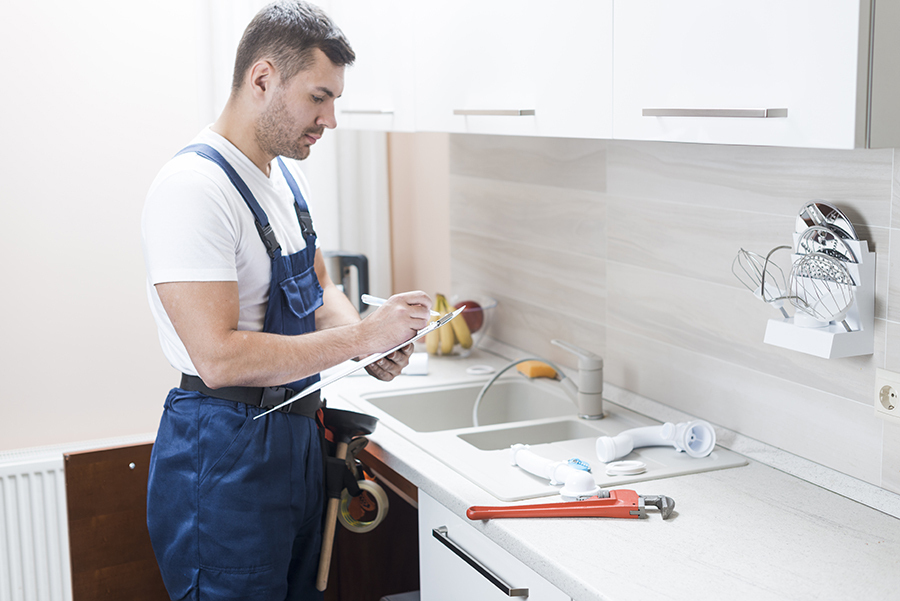
Time and Cost Estimates

The amount of time it takes to complete the job will depend on your level of experience with DIY projects and how much preparation work needs to be done beforehand. On average, you should set aside at least 4-6 hours for this task.
As for cost estimates, they vary depending on several factors such as the type of sink you choose, any additional plumbing or electrical work required during installation, and whether you decide to hire a professional or do it yourself. A basic undermount sink can cost anywhere from $100-$500 while more high-end options can run upwards of $1,000.
If hiring a professional plumber or contractor is not in your budget range then doing this project yourself may save some money but keep in mind that there are risks involved if not done correctly which could lead to further expenses down the line.
Troubleshooting Common Issues

Here are some common problems you may encounter and how to troubleshoot them:
1. Sink doesn’t fit: If your new sink doesn’t fit in the countertop opening, don’t panic! Double-check that you have measured correctly and that the sink is compatible with your countertop material.
You may need to sand down or file away small sections of the countertop until it fits.
2. Leaks: After installing your new undermount sink, check for leaks around all plumbing connections before using it regularly.
Tighten any loose connections or replace damaged parts as needed.
3. Uneven installation: If your new sink appears uneven after installation, use shims (thin pieces of wood) between the mounting hardware and underside of the counter to level it out.
4. Damaged countertops: During removal or installation, countertops can become scratched or chipped accidentally – especially if they’re made from delicate materials like granite or marble – but these blemishes can often be repaired by a professional stone restoration company.
Proper Sink Maintenance

Here are some tips for proper sink maintenance:
1. Clean regularly: Wipe down the sink after each use with a soft cloth or sponge and mild soap.
Avoid using abrasive cleaners that can scratch the surface.
2. Don’t let water sit: Standing water can cause stains and damage over time, so make sure to dry your sink thoroughly after each use.
3. Be mindful of what goes down the drain: Avoid pouring grease or oil down the drain as they can solidify in pipes causing clogs.
4. Use a strainer:</strong> Install a strainer in your drain to catch food scraps, hair, and other debris that could cause blockages.
5. Address leaks promptly: If you notice any leaks around your faucet or plumbing connections, address them immediately before they lead to bigger problems like mold growth or water damage.
By following these simple maintenance tips for your new undermount kitchen sink replacement project will remain looking great while functioning efficiently for years ahead!
FAQ
Can you replace an undermount sink without removing the countertop?
Yes, an undermount sink can be replaced without removing the countertop by disconnecting the plumbing and garbage disposal, removing the clips, and breaking the silicone adhesive bond before pulling the sink out.
How much does it cost to replace an undermount kitchen sink?
The cost to replace an undermount kitchen sink ranges from $170 to $2,000.
Can you replace a kitchen sink without replacing the countertop?
Yes, a kitchen sink can be replaced without replacing the countertop, but to prevent damage, professional help is recommended.
Is it possible to replace an undermount sink in granite?
Yes, it is possible to replace an undermount sink in granite; however, it puts the stone at risk of damage, which can be expensive to repair, but the process is less challenging with the proper tools.
What are the different types of undermount sinks that can be installed in a kitchen?
Different types of undermount sinks that can be installed in a kitchen include stainless steel, granite composite, fireclay, and cast iron sinks.
What are the common tools and materials required to replace an undermount kitchen sink?
Common tools and materials required to replace an undermount kitchen sink include a new sink, plumber’s putty, silicone sealant, wrench, pliers, screwdriver, and mounting clips.
How do you ensure proper sealing and support when installing a new undermount sink?
To ensure proper sealing and support when installing a new undermount sink, carefully apply a bead of silicone caulk around the sink’s rim, attach the sink to the countertop with clips, and provide additional support using brackets if needed.


