Last updated on
In this guide, you will learn how to restain your kitchen cabinets with ease, reviving their look and extending their lifespan.
Key takeaways:
- Choose a stain based on wood type and desired outcome.
- Remove hardware, doors, and drawers before starting.
- Clean surfaces thoroughly before applying stain.
- Apply stain with a natural-bristle brush or cloth.
- Apply a protective sealant to lock in color and protect wood.
What's Inside
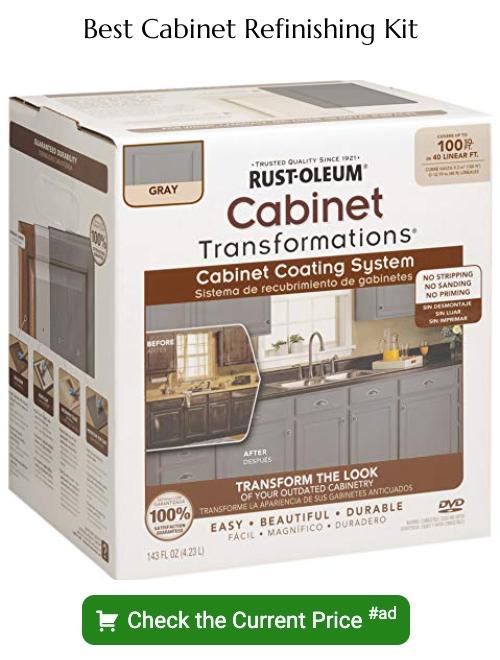
Choose a Stain
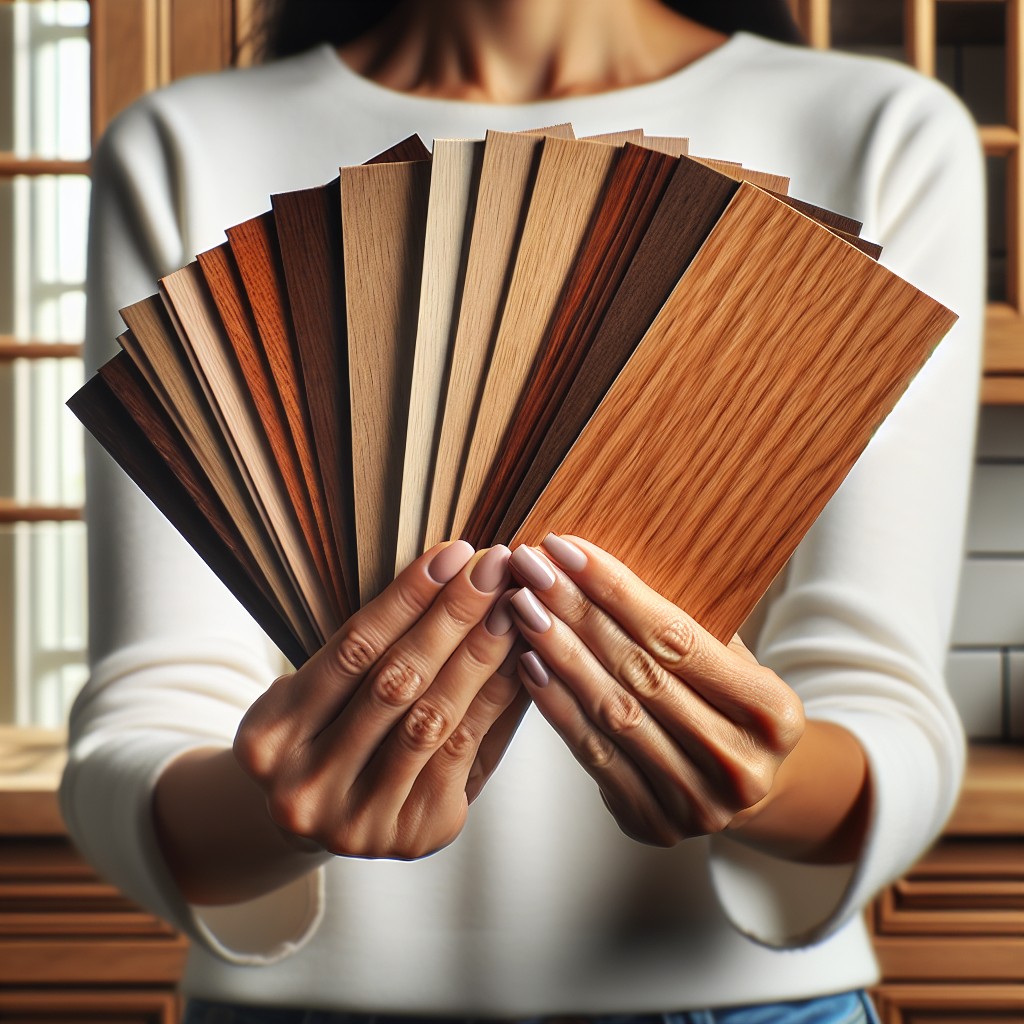
Selecting the perfect stain for your kitchen cabinets hinges on a few key factors. First, consider the type of wood. Cabinets made of dense woods like maple might require a pre-stain conditioner for an even finish, whereas porous woods like oak absorb stains more readily.
Next, factor in the desired aesthetical outcome. For a light refresh, a similar shade to the original might be best. However, if a dramatic makeover is on the agenda, going for a deeper, richer tone can entirely change the room’s vibe.
Oil-based stains are popular for their durability, while water-based options offer easier cleanup and a shorter drying time. Gel stains provide a thicker coverage, which could be beneficial for cabinets with lots of grooves and details.
Last but not least, always test your chosen stain on a small, inconspicuous area or a spare piece of similar wood to ensure satisfaction with the color and finish before committing to the entire set of cabinets.
Remove Hardware, Doors and Drawers
Before diving into the sanding or staining process, it’s essential to dismantle the cabinets carefully. This step is not just about making the staining process smoother, but also about protecting the cabinet hardware from damage and paint stains.
Begin by unscrewing the hinges from the cabinet frame to release the doors. Keep a screwdriver at hand – a powered one could speed things up considerably. Next, remove any knobs or pulls. It’s a smart move to place the screws, hinges, and knobs in labeled bags. This approach ensures that you won’t be playing a guessing game when reassembling everything.
Tackling the drawers, ease them out and put them aside. Should you notice any fixed shelves or decorative elements that could obstruct staining, consider removing those as well. Prepping like this opens up the working surfaces, giving you unfettered access to all areas, which is critical for an even, professional-looking stain job. Plus, it prevents any hardware from getting tarnished with stain or varnish, keeping the final look of your kitchen sleek and meticulous.
Clean Surfaces
Before diving into the transformative world of staining, ensuring that your kitchen cabinets are impeccably clean lays the groundwork for a smooth, flawless finish. Grime, grease, and other residues are common on kitchen surfaces and can impede the stain’s ability to evenly penetrate the wood.
To guarantee a receptive canvas for staining:
- Mix a solution of gentle degreaser and warm water. A simple dish soap can often do the trick without the need for harsh chemicals.
- With a soft cloth or sponge, thoroughly wipe down all surfaces. It’s crucial to get into crevices and detailed areas where dirt likes to hide.
- For stubborn spots, a soft scrub brush can gently dislodge any build-up.
- After scrubbing, a clean, damp cloth should follow-up to remove any leftover soap or residue.
- Allow the wood to fully dry, which may take several hours. Any moisture lingering on the surface can lead to an uneven application of stain and prolonged drying times.
Remember, patience during this pre-stain phase pays dividends in the final appearance of your updated kitchen cabinets.
Start Staining
Before diving in, test your chosen stain on a discreet area of the cabinet or a piece of scrap wood. This step ensures the color matches your expectations and reveals how the wood absorbs the stain. Once satisfied with the hue, begin the staining process.
Opt for a natural-bristle brush or a clean, lint-free cloth as your application tool; both allow for greater control and a smoother finish. Work in manageable sections and apply the stain with the grain, not against it. Doing so mimics the natural patterns in the wood, enhancing its beauty. If you want a darker finish, let the stain sit for a few minutes before wiping off the excess; for a lighter tone, wipe immediately.
Keep an eye on edges and corners, areas where too much stain might gather and cause an uneven finish. Consistency is key – maintain a steady pace and use even pressure to avoid blotches. Remember to leave each section to dry as recommended by the stain manufacturer before moving on to the next, to prevent smudges and preserve your hard work.
Apply a Final Protective Seal
Once your stain has completely dried, it’s crucial to lock in the color and protect the wood from wear and tear. A topcoat or sealant grants an additional layer of protection against kitchen spills, moisture, and daily use. Polyurethane, polyacrylic, and lacquer are popular options, each offering its own advantages in durability, sheen, and drying time.
Here’s how to apply your protective seal effectively:
- Selection: Choose a sealant suitable for your cabinet material and your kitchen’s conditions. For example, polyurethane is known for its durability, making it ideal for cabinets subject to frequent cleaning.
- Application: Use a clean brush or a lint-free cloth. Apply thin, even coats to avoid drips and runs. For intricate areas, a small craft brush can be instrumental in achieving a smooth finish.
- Drying Times: Respect the manufacturer’s recommended drying times between coats. Rushing this process could result in a tacky finish or sealant that doesn’t fully protect the stained surface.
- Sanding Between Coats: Lightly sand with a fine-grit sandpaper between coats to ensure a smooth, professional finish. Remove all dust with a tack cloth before applying the next layer of sealant.
- Final Coat: After the last coat, inspect your cabinets for any missed spots or potential improvements. If satisfied, allow the sealant to cure for several days before reattaching hardware and doors.
Remember, a thorough job here guarantees that your beautifully restained cabinets will stand the test of time and usage, keeping your kitchen looking fresh and vibrant.


