Last updated on
Learn the straightforward steps to effectively snake your kitchen drain and clear stubborn clogs.
Key takeaways:
- Slow drainage signals the need to use a plumbing snake
- Rotate the snake handle to navigate through the pipes
- Firmly yet gently crank the snake to break up the clog
- Flush the drain with hot water after snaking
- Prevent clogs with proper maintenance and sink strainers.
What's Inside
When to Use a Plumbing Snake
Choosing the right moment to wield a plumbing snake hinges on the severity and persistence of your kitchen drain clog. If you’ve tried hot water, baking soda and vinegar mixtures, or a plunger, and the water still pools like a stubborn puddle, it’s time to escalate your approach.
Slow drainage often signals obstruction that these milder methods can’t dislodge. Opt for a snake when the sink refuses to drain after multiple efforts or if there’s a recurrent clog that seems to laugh in the face of liquid drain cleaners. This tool is especially effective when soft, snarl-like blockages—like accumulated food scraps or grease—are suspected.
However, for solid obstructions or extensive issues beyond the trap, professional assistance may be your best bet. Remember, a properly used snake can be a sink’s best friend, restoring flow and function without the need for harsh chemicals or costly plumbing services.
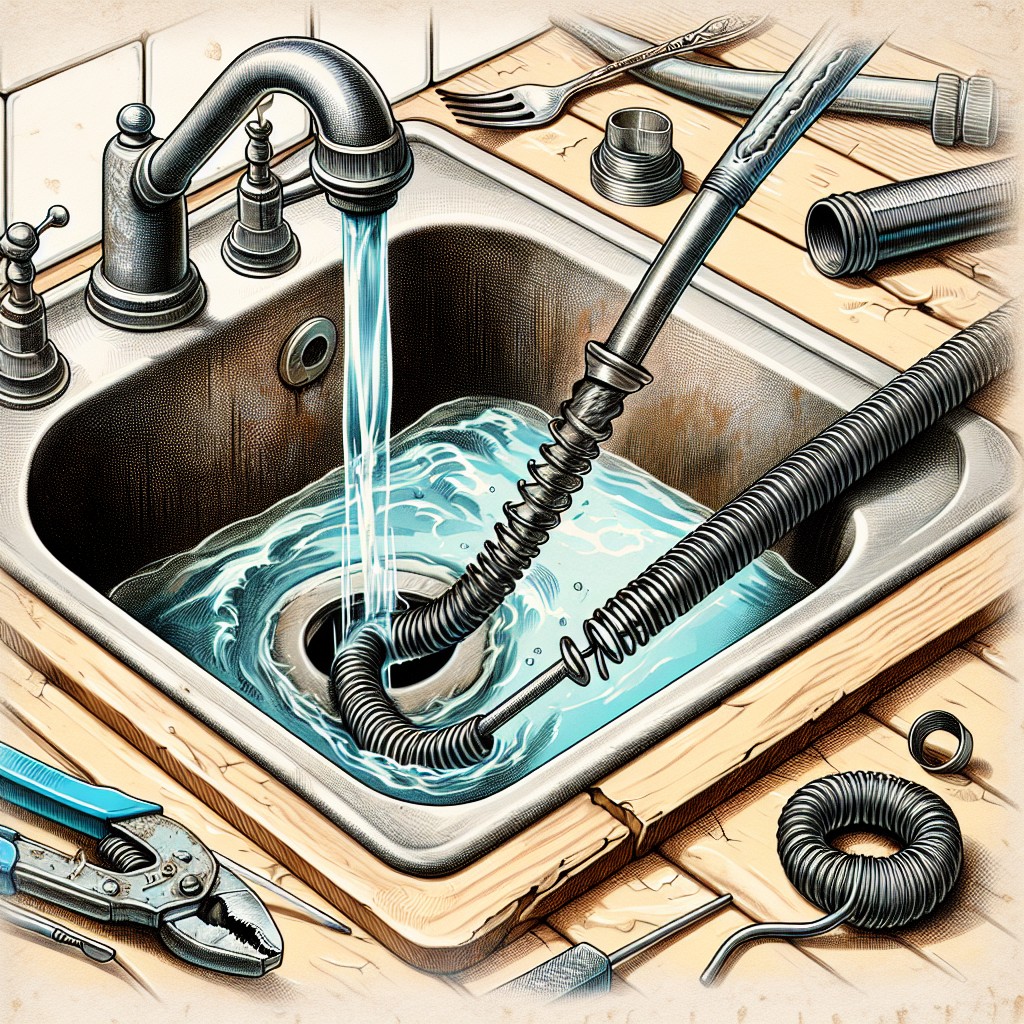
Insert the Snake
Begin by positioning the snake’s tip at the entrance of the drain. Slowly feed the cable into the pipe with a gentle yet firm push to avoid any forceful bending or kinks that can damage the plumber’s snake or your pipes.
If resistance is encountered, it might be a bend in the pipe; ease the cable more gently around the curve without forcing it.
As you insert the snake, rotate the handle in a clockwise motion; this rotation helps the tip to move more smoothly through the drain and can help to hook onto debris within the pipe.
The goal is to feel for blockages without causing any damage, so patience and a steady hand are key.
Continue to extend the snake until you feel significant resistance, signalling you’ve likely reached the clog.
Locate and Break Up the Clog
Once you’ve carefully fed the snake down the drain, you’ll need to navigate the auger through the twists and turns of the pipes until you feel resistance. That resistance is your signal that you’ve hit the clog. To effectively dislodge the blockage, firmly yet gently crank the snake handle. If the clog doesn’t yield immediately, patience is key—maneuver the snake back and forth to chew away at the buildup.
As the snake grinds against the clog, listen for a change in the resistance and the sound made by the auger. These subtle shifts often indicate that the clog is breaking apart. Keep a steady pace and avoid forceful thrusts that might damage the pipes.
Once the snake moves more freely and without resistance, you’ve likely disintegrated the clog. Before retracting the snake, rotate it a couple more times to catch any remnants clinging to the sides of the pipe. This helps ensure that when you pull the snake out, you bring as much of the clog with it as possible, leaving the drain clear and the pathway smooth.
Flush the Drain
After successfully navigating the snake through the obstruction, it’s crucial to ensure that the formerly clogged passage is now completely clear. Running hot water for several minutes serves as an essential step for flushing out any residual debris. This action further helps to break down leftover grease or soap that may have contributed to the clog.
Think of it as rinsing your dishes after scrubbing them clean; you’re washing away the remnants to prevent any future buildup. Additionally, testing with hot water checks the drain’s functionality, assuring that water flows freely without pooling or draining slowly – indicators that would suggest a partial blockage still exists.
If the water backs up, it might be necessary to repeat the snaking process. Persistence is key here. Otherwise, the full flow proves a job well done, and regular maintenance can now be resumed to keep the drain in top condition. Remember, immediate and thorough flushing is the final, critical step to a fully resolved kitchen drain issue.
How to Prevent Clogs
Regular maintenance is key to keeping your kitchen drain clear. For starters, refrain from disposing of grease down the sink as it solidifies upon cooling, causing blockages. Instead, let grease cool in a container and throw it in the trash.
Integrate a sink strainer into your cleaning routine to catch food particles and other debris. These simple mesh tools work wonders in preventing unwanted materials from entering your plumbing system.
Another effective practice is flushing your drain with hot water after dishwashing. This routine helps melt away any residual oils or substances that could adhere to your pipes.
For those with garbage disposals, always run cold water during and after use. The water flow helps food scraps move easily through the drain pipes.
Bi-monthly maintenance can include a natural clean-out with vinegar and baking soda. Pour half a cup of baking soda followed by half a cup of vinegar into the drain, let it fizz for a few minutes, then flush it down with boiling water. This natural concoction assists in breaking down organic matter that could spell trouble if left unchecked.
Mindful use and regular care go a long way in keeping your kitchen drain flowing smoothly and prevent the need for more serious plumbing interventions.


