Last updated on
Discover the simple steps to tighten your kitchen faucet base, ensuring a secure and leak-free fixture for everyday use.
Are you tired of that annoying wobbly kitchen faucet? Do you find yourself constantly tightening the base, only to have it come loose again after a few uses? Don’t worry, you’re not alone! A loose kitchen faucet can be frustrating and even lead to leaks or further damage if left unaddressed. But fear not, tightening the base of your kitchen faucet is an easy fix that can be done in just a few simple steps.
In this article, we’ll walk you through everything you need to know about how to tighten your kitchen faucet base and get your sink back in working order. So grab your tools and let’s get started!
Key takeaways:
- Identify faucet type: Ball, cartridge, ceramic disk, or compression.
- Check for wobbly faucet base and leaks.
- Gather necessary tools: Adjustable wrench, basin wrench, screwdriver, plumber’s tape.
- Turn off water supply and use a sink stopper.
- Remove handle or side body, tighten mounting nuts, and reassemble.
What's Inside
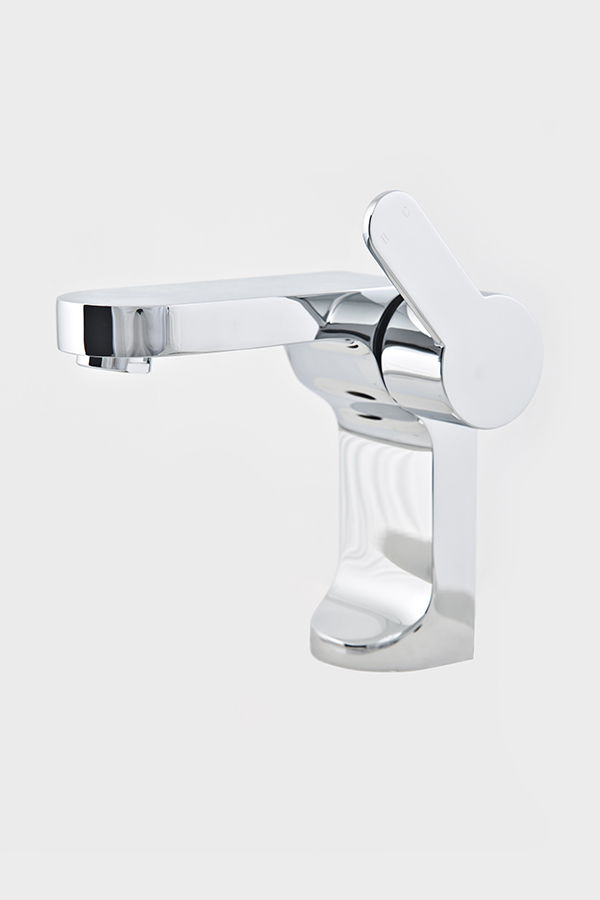
Identify Faucet Type
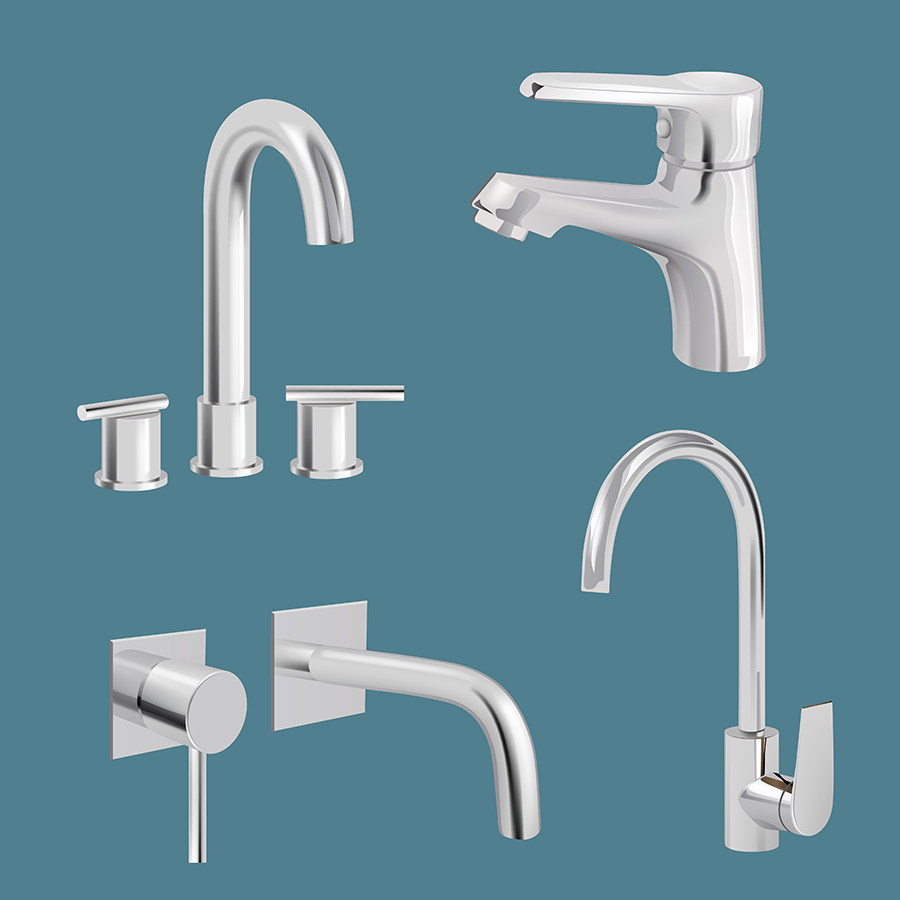
Before you can tighten your kitchen faucet base, it’s important to identify the type of faucet you have. There are four main types of kitchen faucets: ball, cartridge, ceramic disk and compression.
Each type has a different method for tightening the base.
To determine which type of faucet you have, start by examining the handle or handles. A single-handle faucet is likely either a ball or cartridge style while double-handled faucets may be any one of these four styles.
If your handle has a round cap with an “H” or “C” on it that pops off to reveal screws underneath then this is most likely a ball-style faucet. A cartridge-style will usually feature two separate handles that control hot and cold water flow independently.
A ceramic disc valve (CDV) uses two discs in place instead of washers found in other types; they’re less prone to leaks but more expensive than other options.
Compression valves are typically older models where each knob controls hot/cold water separately via screwing down onto rubber washers at their bases – if there’s no visible set screw holding them together then this could be what you’re dealing with.
Identifying a Loose Faucet Base
A wobbly faucet can be caused by a variety of issues, including worn-out mounting nuts or a damaged O-ring. To check if your faucet base is loose, simply grab onto the spout and give it a gentle wiggle.
If you notice any movement between the spout and the sink, then chances are that your faucet base needs tightening.
Another way to identify a loose kitchen faucet base is by checking for leaks around the fixture. Over time, even small movements can cause wear and tear on water lines or other components of your sink setup which may lead to leaks under the sink area.
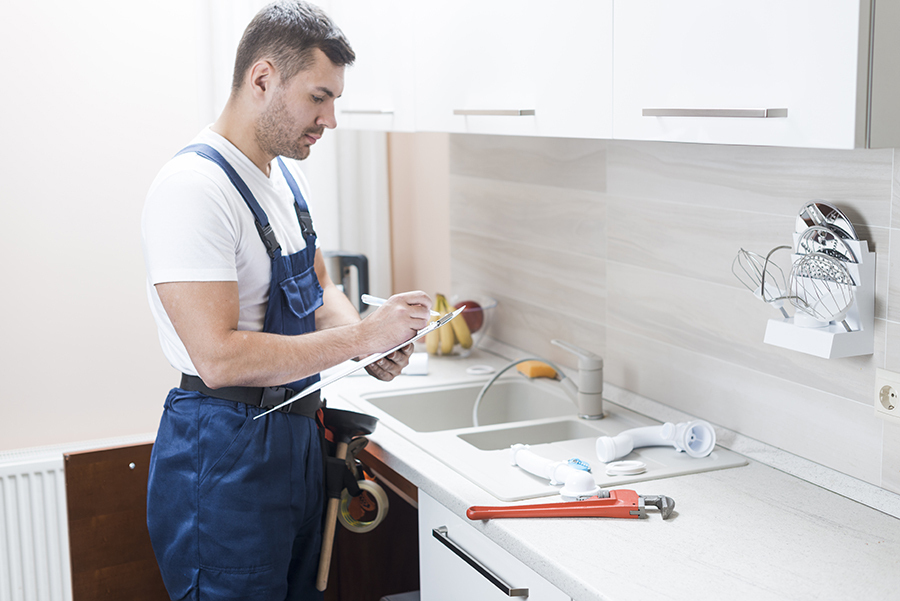
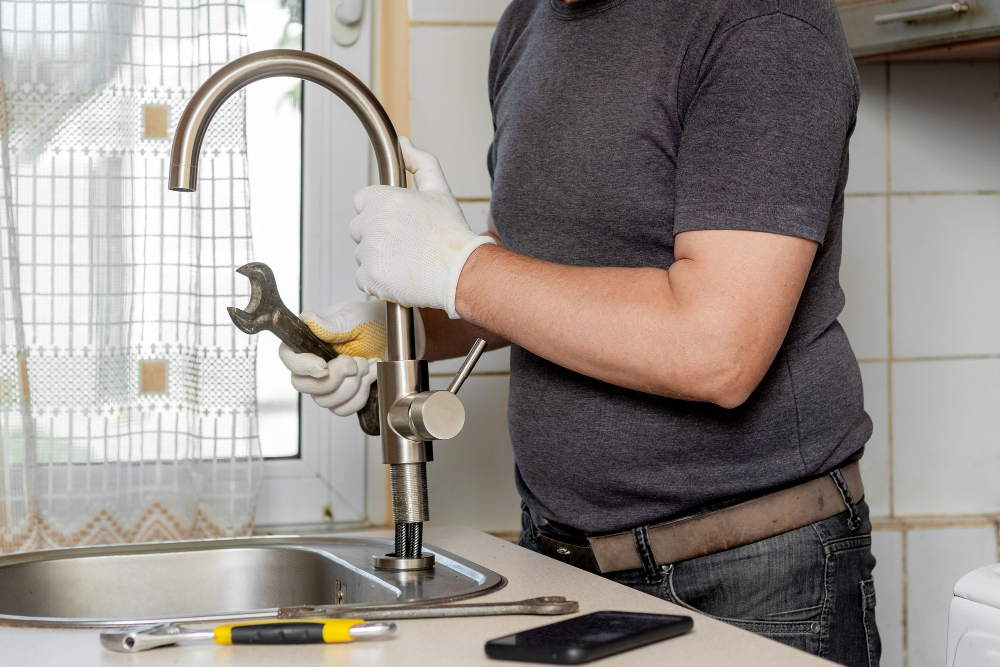
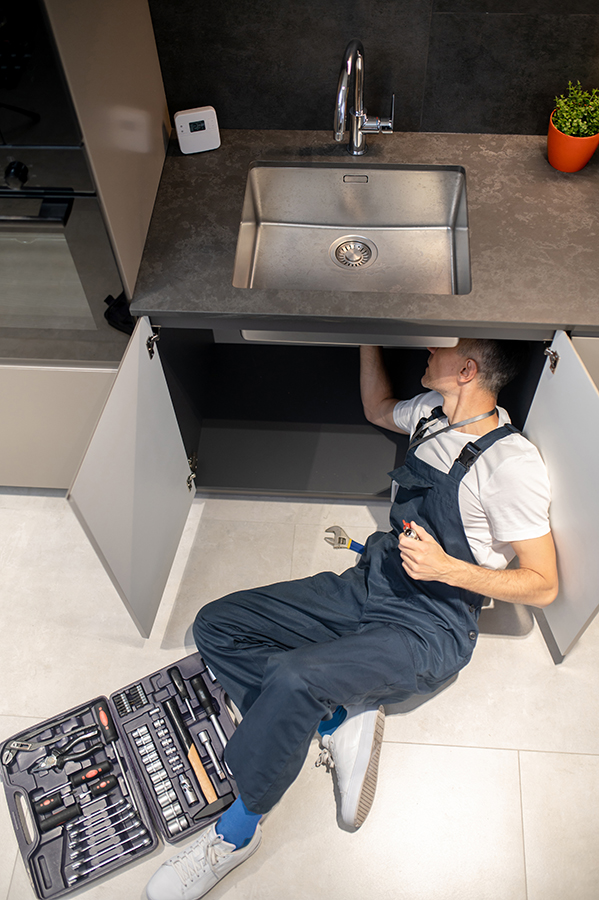
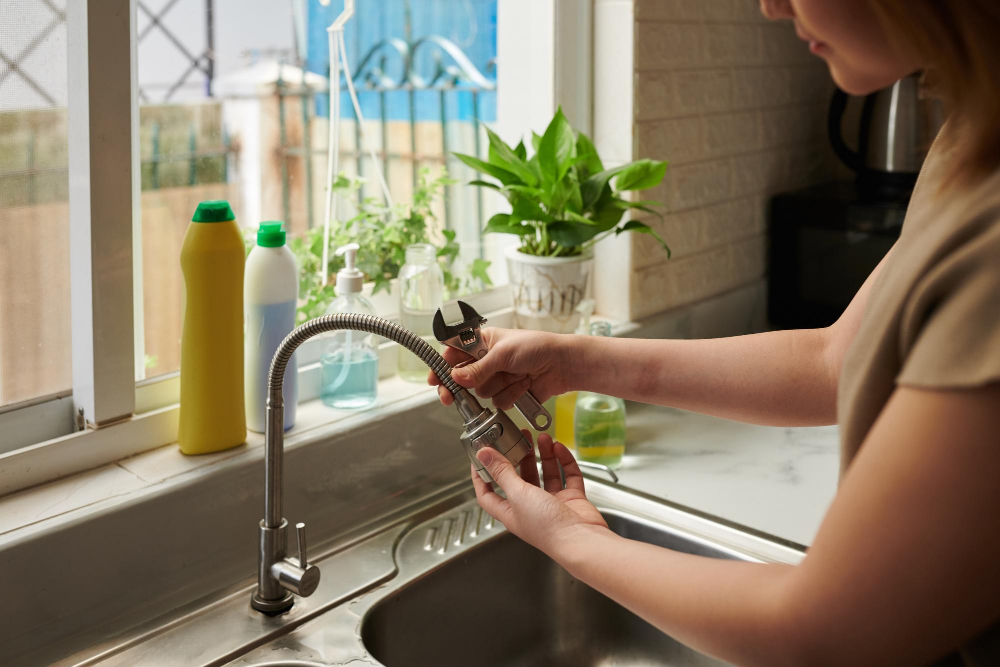
Gather Necessary Tools
You don’t want to be halfway through the process and realize that you’re missing a crucial tool! Here are some of the tools that you’ll need:.
- Adjustable wrench
- Basin wrench
- Screwdriver (flathead or Phillips)
- Plumber’s tape
Make sure that these tools are easily accessible before starting. It can also be helpful to have a towel or rag nearby in case of any water spills during disassembly.
Turn Off Water Supply

This will prevent any accidental leaks or water damage while you work on the fixture. Look for a valve under your sink that controls the flow of water to your faucet and turn it clockwise until it is fully closed.
If there isn’t a valve under your sink, locate and shut off the main water supply line in your home.
Once you’ve turned off the water supply, open up both hot and cold handles on your kitchen faucet to release any remaining pressure in the lines before proceeding with disassembly.
Using a Sink Stopper
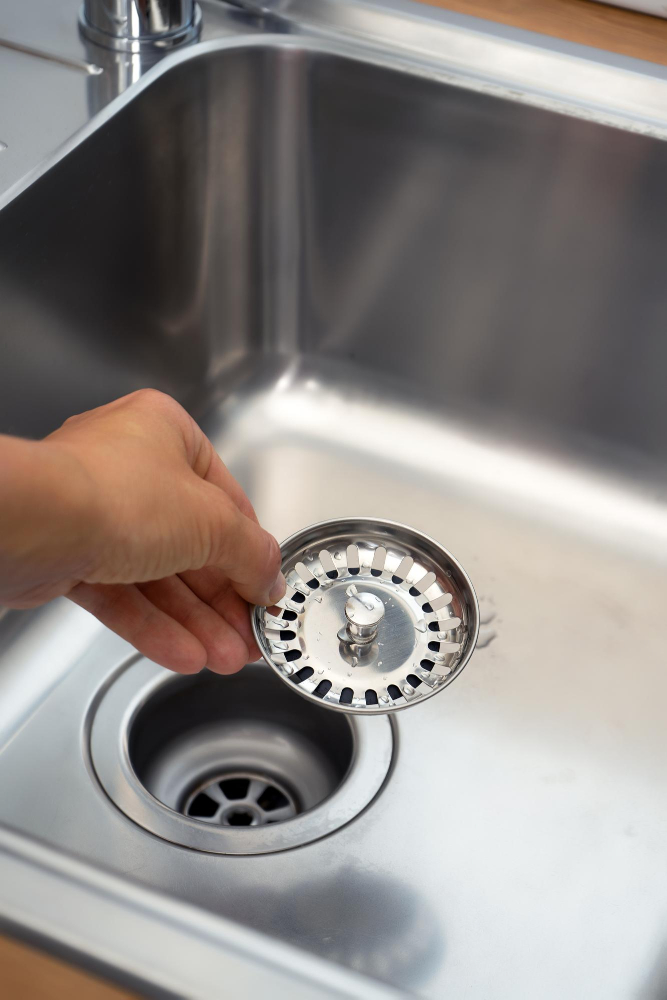
This will prevent any small parts or tools from falling down the drain and getting lost. To do this, simply insert a sink stopper into the drain opening and press down firmly until it creates a tight seal.
If you don’t have a sink stopper on hand, no worries! You can also use an old rag or towel to plug up the opening instead. Just be sure to stuff enough material into the drain so that nothing can slip through.
Opening Faucet Handles

This step is crucial in accessing the mounting nuts that hold your kitchen faucet base in place.
To begin, turn off both hot and cold water supply valves under your sink. Next, use a sink stopper or cover drain holes with tape to prevent any small parts from falling down into them.
Now it’s time to remove any decorative caps or covers on top of each handle using a flathead screwdriver. Once removed, locate the set screw underneath each cap and loosen them with an Allen wrench by turning counterclockwise until they are completely unscrewed.
With all screws removed from both handles, gently lift off each handle one at a time by pulling straight up until they come loose from their stems. If necessary for better access to mounting nuts beneath them you may also need to remove side bodies attached near handles as well.
Be sure not force anything during this process as some faucets may require additional steps such as removing retaining clips before lifting out handles or side bodies.
Remove Handle or Side Body

This step may vary depending on your specific faucet model, but generally involves removing a screw or set screw that holds everything in place.
To remove a handle, look for a small cap on top of it. Use a flathead screwdriver to gently pry off this cap and reveal the set screw underneath.
Loosen this with an Allen wrench and slide off the handle.
For faucets with side bodies instead of handles, locate any screws holding them in place (usually found under decorative caps) and use an appropriate tool to loosen them before sliding out the body.
Be sure to keep all parts organized as you go so that reassembly is easier later on.
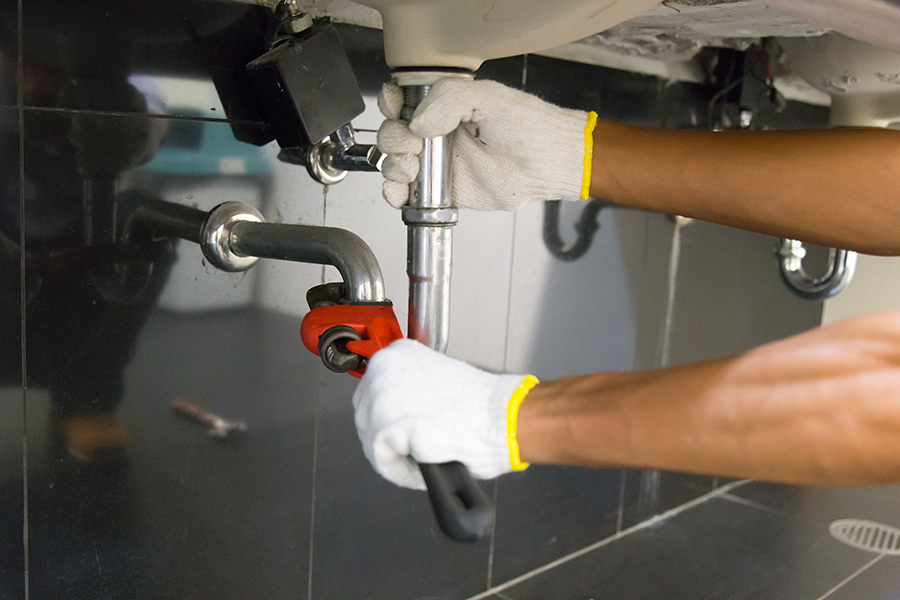
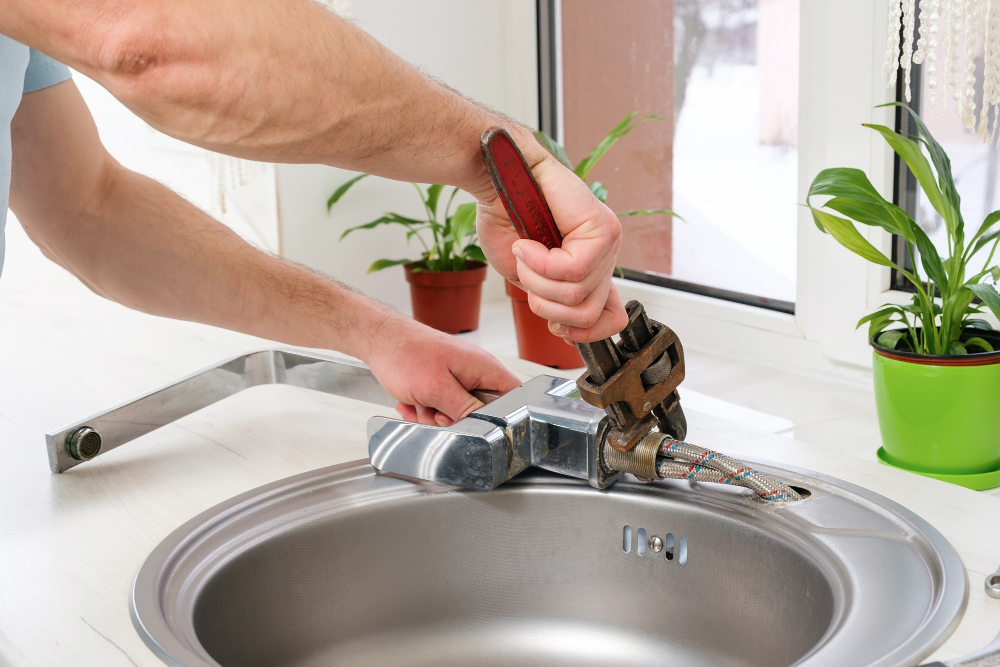
Removing Water Lines

This step is crucial in order to access and tighten the mounting nuts that secure your faucet base. Before proceeding, make sure you turn off both hot and cold water supply valves under your sink.
Next, use an adjustable wrench or pliers to loosen and disconnect each water line from its corresponding valve stem on the underside of your faucet. Be prepared for some residual water dripping out once these connections are loosened.
It’s important not to damage any part of these lines during this process as they will need reattachment later on. Once disconnected, set them aside safely so they don’t get tangled up with other parts while working on tightening the base.
Inspect Faucet Base
Look for any signs of damage or wear and tear that may be causing it to loosen over time. Check for cracks, corrosion, or other visible defects that could be contributing to the problem.
If you notice any issues with your faucet base during this inspection process, it’s important to address them before proceeding with tightening. Depending on the severity of the damage, you may need to replace certain parts of your faucet altogether.
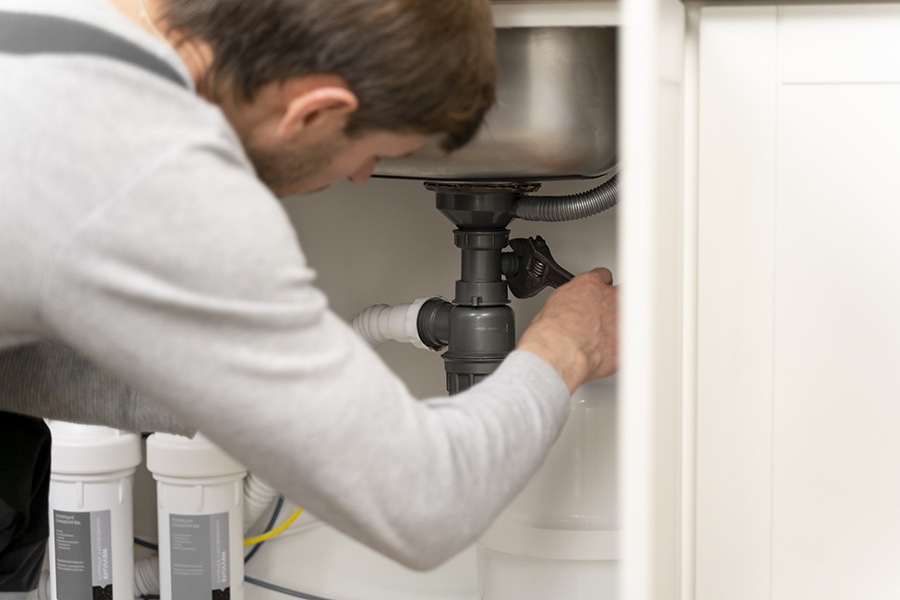
Locate Mounting Nuts

These are typically located at the base of your faucet and hold it securely in place. Depending on your specific model, there may be one or two mounting nuts that need tightening.
To locate these nuts, look for a large nut directly underneath where you removed the handle or side body. This is likely one of the mounting nuts that needs tightening.
If there is another nut nearby, this will also need to be tightened.
It’s important to note that some faucets may have additional hardware holding them in place such as screws or clips which should also be checked and tightened if necessary.
Tighten Mounting Nuts
Using a basin wrench or adjustable pliers, turn each nut clockwise until they are snug against the underside of the sink. Be careful not to overtighten as this can cause damage to your faucet and sink.
It’s important to note that some faucets may have additional mounting hardware such as screws or clips that need tightening as well. Referencing your manufacturer’s instructions will ensure you don’t miss any crucial steps in securing your faucet base.
After tightening all necessary hardware, give your faucet a gentle wiggle test and check for any remaining looseness. If everything feels secure, move on to reassembling the rest of your kitchen faucet components.
Tightening the Faucet Base
Turn the wrench clockwise until they are snug and secure. Be careful not to overtighten as this can cause damage or cracking in your faucet base.
After tightening the mounting nuts, reassemble any parts that were removed earlier such as handles or side bodies. Make sure everything is properly aligned before screwing them back into place.
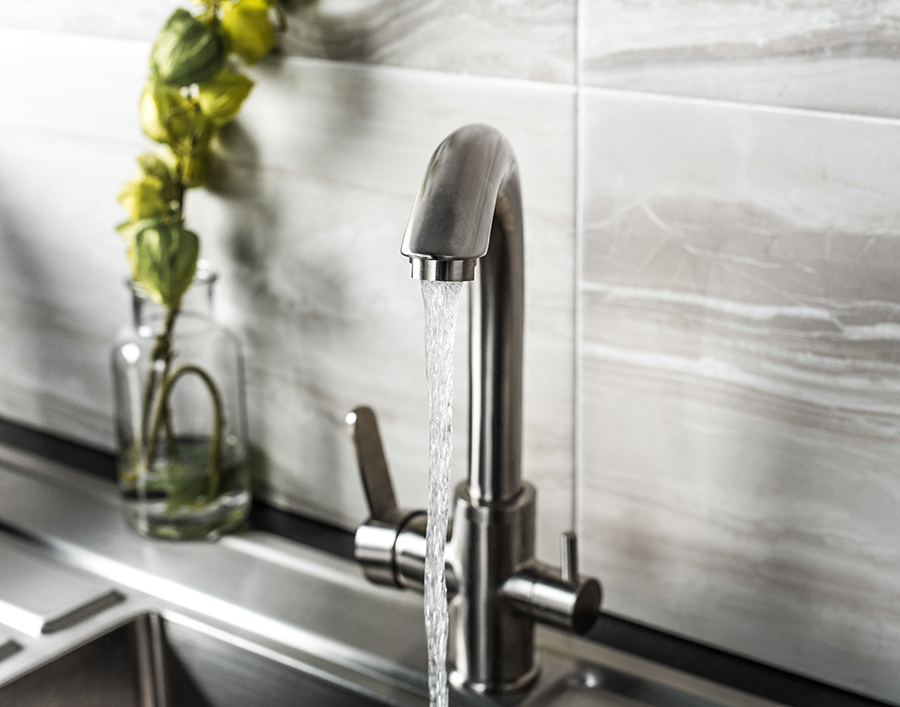
Next, turn on your water supply and check for leaks around the base of your faucet. If there are no leaks present, congratulations! You have successfully tightened your kitchen faucet base.
However, if you notice any leaks after tightening the mounting nuts it may be necessary to call a professional plumber for further assistance with repairing or replacing damaged components of your kitchen sink fixture.
Remember that routine maintenance is key in preventing loose faucets from occurring in future use.
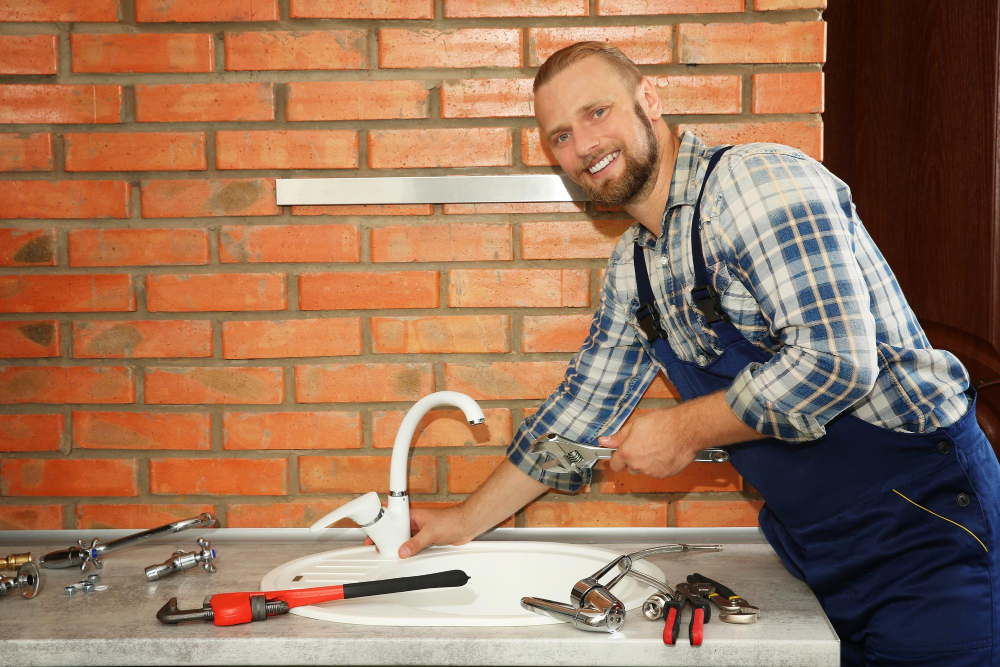
Reassemble Faucet
Start by replacing any washers or gaskets that were removed during disassembly. Then, carefully replace the handle or side body and tighten any screws or set screws as needed.
Next, reconnect the water lines and turn on your water supply to check for leaks. If everything looks good, turn off the water again and finish reassembling your faucet.
Give everything a quick wipe down with a clean cloth to remove any dirt or debris that may have accumulated during installation.
By following these simple steps for tightening your kitchen faucet base and properly reassembling it afterward, you can ensure a secure fixture that will provide years of reliable use in your home.
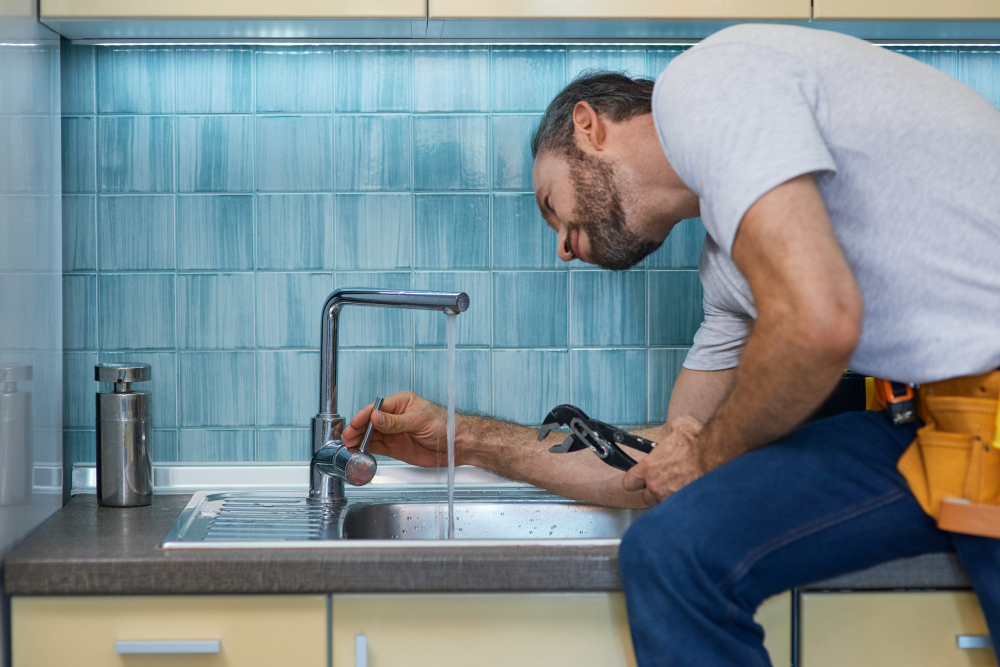
Check for Leaks
Turn on the water supply and let it run for a few minutes while inspecting all areas of your faucet, including the base, handles, and spout. If you notice any drips or leaks from these areas after tightening them up, then there may be an underlying issue that needs further attention.
If everything looks good with no signs of leakage or dripping water from your kitchen sink fixture after tightening its base properly – congratulations! You’ve successfully fixed a wobbly kitchen faucet by yourself without calling in professional help.
Checking Your Work
Turn on the water supply and let the water run for a few minutes to ensure there are no leaks or drips. If everything looks good, turn off the water supply again and give your faucet a final inspection.
Make sure that all parts are securely fastened in place, including handles or side bodies if you removed them during tightening. Check that there is no wobbling or movement of any kind when using the faucet handle.
If you notice any issues with leaking or looseness after checking your work, don’t hesitate to go back through these steps again until everything is secure.
Set Screw Adjustment
Over time, this screw can become loose and cause your faucet handle to wobble or even come off completely. To fix this issue, you’ll need to locate the set screw and tighten it using an Allen wrench.
To access the set screw on your kitchen faucet handle, look for a small hole or slot on its underside. Insert an appropriately sized Allen wrench into the hole or slot and turn it clockwise until snug.
Be careful not to overtighten as this could damage your fixture’s internal components. Once tightened properly, test out your newly secure handle by turning on both hot and cold water supplies before reassembling any removed parts.
Screw Under Decorative Cap

This screw is used to secure the handle to the faucet and can become loose over time, causing your faucet base to wobble. To access this screw, simply remove or pop off the decorative cap using a flathead screwdriver or pliers.
Once you’ve removed the cap, use an appropriately sized Allen wrench (also known as hex key) to tighten any screws that are visible underneath it. If there are no visible screws but your handle still feels loose after tightening other mounting nuts and bolts in previous steps outlined above – then it’s likely that this hidden set-screw needs adjustment too.
Remember not all faucets have these types of screws so if yours doesn’t don’t worry about it! Just continue with tightening up those mounting nuts until everything feels snug again.
Tightening a Faucet Handle
A loose handle can cause a wobbly faucet and make it difficult to turn on or off. Tightening a faucet handle is relatively easy, but first, you need to identify what type of handle your kitchen faucet has.
There are several types of handles that are commonly found in kitchens: single-handle faucets with a lever or knob-style handles; double-handle faucets with separate hot and cold water controls; pull-out sprayer faucets with one or two handles; touchless sensor-activated models.
Once you have identified the type of handle on your kitchen sink fixture, locate any set screws that hold it in place. For some models, there may be an adjustment screw under a decorative cap at the top of the lever/knob/handle which needs tightening using an Allen wrench (hex key).
For other types such as double-handled fixtures where each side has its own valve stem assembly beneath them – these will require removing both sides’ decorative caps before accessing their respective screws underneath them for tightening purposes.
Types of Kitchen Faucet Handles
The most common types include single-handle and double-handle faucets. Single-handle faucets have one lever that controls both the temperature and flow of water, while double-handled models have separate handles for hot and cold water.
Another type of faucet handle is the touchless or hands-free option. These use motion sensors to turn on and off with just a wave of your hand, making them ideal for busy cooks who need to wash their hands frequently during meal prep.
It’s important to consider which type of faucet handle will work best for your needs before making a purchase or attempting any repairs on an existing fixture. Knowing what kind you’re dealing with can also help when troubleshooting issues like leaks or loose bases.
No matter what type you choose, regular maintenance is key in keeping your kitchen faucet functioning properly over time.
Routine Maintenance Tips

Here are a few routine maintenance tips that can help extend the life of your kitchen faucet:.
1. Clean Your Faucet Regularly: Use a soft cloth or sponge and mild soap to clean the surface of your faucet regularly.
Avoid using abrasive cleaners or scrubbers, which can scratch the finish.
2. Check for Leaks: Keep an eye out for any signs of leaks around your sink area, including under the sink cabinet.
3. Tighten Loose Handles: If you notice any loose handles on your kitchen faucet, tighten them immediately before they become more difficult to fix.
4. Replace Worn Out Parts: Over time, parts like washers and O-rings may wear out and need replacing in order to prevent leaks from occurring.
Regular Kitchen Faucet Maintenance
One of the easiest ways to maintain your faucet is by regularly cleaning it. This can be done using a soft cloth and mild soap or vinegar solution.
Another important aspect of maintaining your kitchen faucet is checking for leaks or drips on a regular basis. Even small leaks can lead to bigger problems down the line, so catching them early can save you time and money in repairs.
It’s also recommended that you periodically inspect all parts of your kitchen sink, including the sprayer head and water lines, for any signs of wear or damage. If anything looks out-of-place or damaged, don’t hesitate to call in a professional plumber for assistance.
Knowing When to Call a Professional

If you’re not comfortable working with plumbing or have tried tightening the base and still experience leaks or wobbling, it’s time to seek help from an expert. If your faucet is old and showing signs of wear and tear beyond just a loose base, such as rusted parts or cracks in the fixture itself, it may be time for a replacement rather than attempting repairs.
Remember that while DIY projects can save money and provide satisfaction from completing them yourself; safety should always come first when dealing with plumbing issues.
Conclusion
By following the instructions outlined in this article, you can ensure that your faucet remains secure and leak-free for everyday use. Remember to always turn off the water supply before beginning any work on your plumbing fixtures, and gather all necessary tools beforehand to make the process as smooth as possible.
Regular maintenance of your kitchen faucet is also important to prevent future issues from arising. Be sure to check for leaks or loose parts periodically and tighten them as needed.
If you encounter any problems during this process or are unsure about how to proceed with repairs, it’s always best to call a professional plumber who can assist you further.
With these tips in mind, say goodbye to wobbly faucets and hello again! Enjoy using your newly tightened fixture with peace of mind knowing it will remain stable for years ahead!.
FAQ
How do you fix a loose faucet handle base?
To fix a loose faucet handle base, use a basin wrench (or socket wrench or pliers) to grip the nut and turn it clockwise until tight.
What steps should you take to secure a wobbly kitchen faucet base?
Answer: To secure a wobbly kitchen faucet base, you should turn off the water supply, loosen the mounting nuts, adjust the faucet, tighten the mounting nuts back, and then turn the water supply back on.
Which tools are essential for tightening a kitchen faucet base properly?
Essential tools for tightening a kitchen faucet base properly include adjustable wrench, basin wrench, and plumber’s tape.
How often should you check and maintain your kitchen faucet base to prevent it from becoming loose?
To prevent your kitchen faucet base from becoming loose, you should check and maintain it at least once every six months.


