Last updated on
Discover the essential steps to properly vent a kitchen sink under a window, ensuring optimal functionality and adherence to building codes.
Welcome to my latest blog post, where I’ll be sharing some tips on how to vent a kitchen sink under a window. As you know, having a kitchen sink under your window can be both practical and aesthetically pleasing.
However, it can also present some challenges when it comes to venting. So, if you’re renovating your kitchen or just looking to make some upgrades, this post is for you! I’ll walk you through the steps of properly venting your sink under the window while ensuring that your home stays safe and up-to-code.
So grab a cup of coffee and let’s get started!
Key takeaways:
- Proper ventilation ensures optimal functionality and prevents odors.
- Types of venting systems include AAVs, loop vents, island vents, and wet vents.
- Vent pipe installation requires planning, accurate measurements, and secure connections.
- Regular maintenance, inspection, and cleaning are necessary to prevent issues.
- Venting problems can lead to slow drainage, foul odors, and water backup.
What's Inside
Introduction to Venting
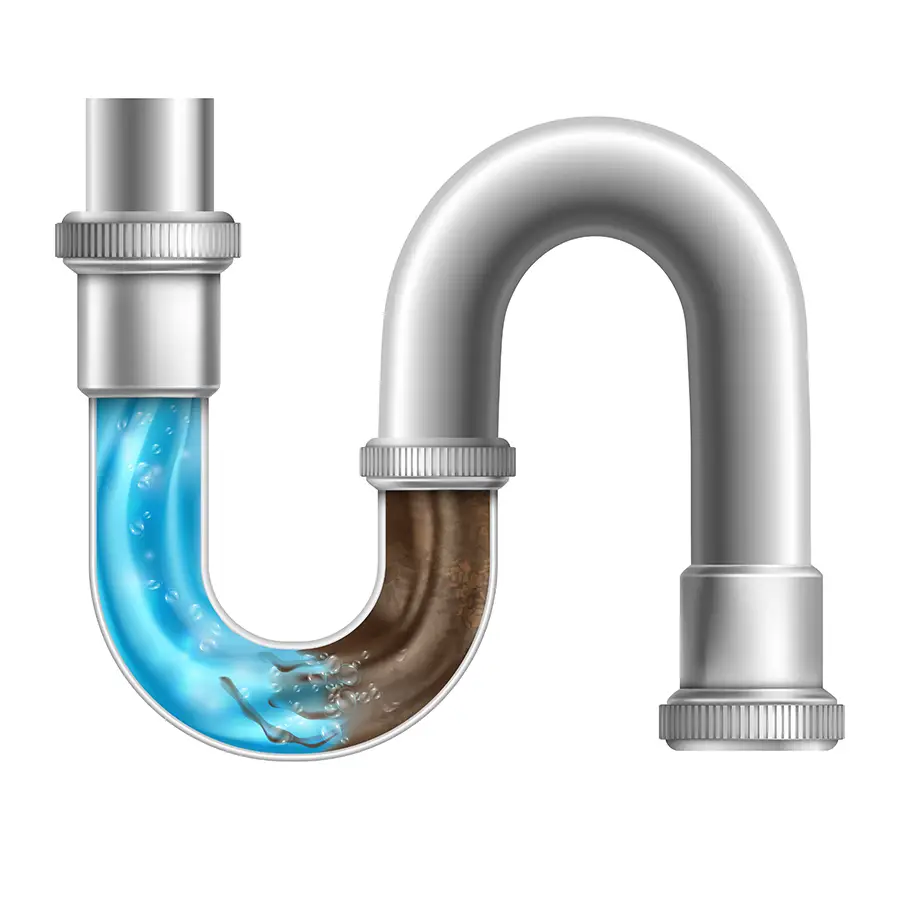
Before we dive into the specifics of venting a kitchen sink under a window, let’s first discuss what venting is and why it’s important. Ventilation is an essential aspect of any plumbing system as it helps to regulate air pressure and prevent sewer gases from entering your home.
Without proper ventilation, wastewater can’t flow freely through pipes, leading to clogs and backups.
In the case of a kitchen sink located under a window, proper ventilation becomes even more critical due to its unique placement. The location makes it challenging for air to circulate naturally in the drainage system without creating negative pressure that could cause water backup or slow draining.
Fortunately, there are several ways you can properly ventilate your kitchen sink while adhering to building codes.
Importance of Proper Ventilation

Without proper ventilation, your home can be at risk of harmful gases and unpleasant odors that can cause health problems for you and your family. Poor ventilation can lead to moisture buildup in the walls or ceiling, which could result in mold growth or structural damage over time.
By ensuring that your kitchen sink is properly vented under the window, you’ll not only improve air quality but also prevent any potential hazards from occurring. Properly ventilating will also help keep unpleasant smells out of your living space while maintaining optimal functionality for years to come.
Proper ventilation plays an essential role in keeping both you and your home safe while improving overall air quality.
Benefits of Properly Venting a Kitchen Sink
Firstly, it helps to prevent unpleasant odors from escaping into your home by directing them outside through the vent pipe. This is especially important if you have a garbage disposal unit installed in your sink as food waste can quickly create an unpleasant smell.
Secondly, proper ventilation also prevents harmful gases such as carbon monoxide from building up inside the house. Carbon monoxide is produced when fuels like gas or oil are burned and can be deadly if not properly ventilated.
Lastly, having adequate ventilation ensures that water flows smoothly down the drain without creating any gurgling sounds or slow drainage issues. Proper venting allows air to enter the plumbing system which balances pressure and keeps water flowing freely.
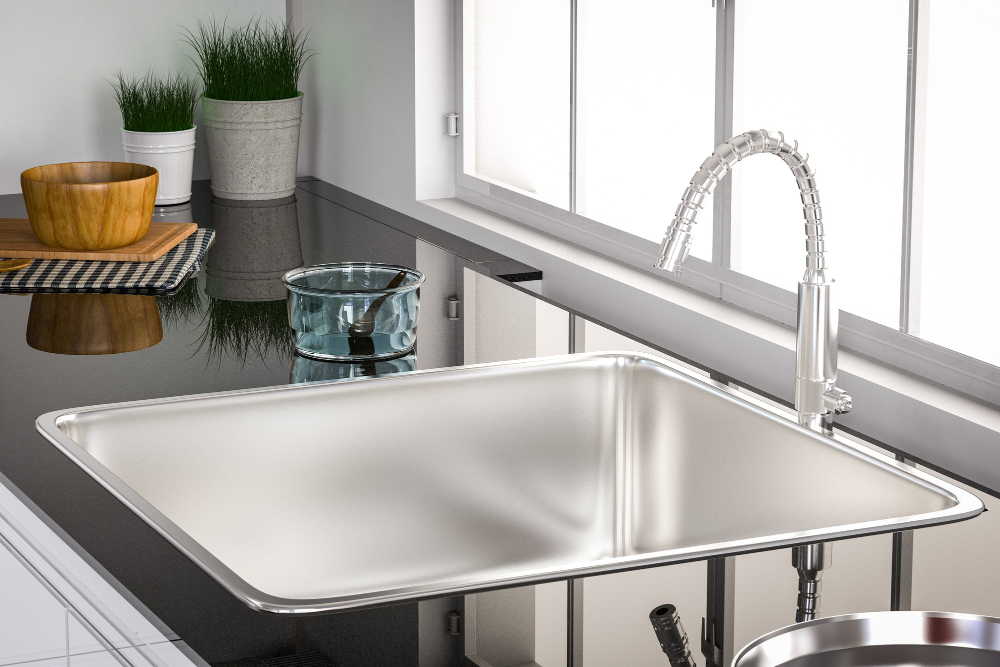
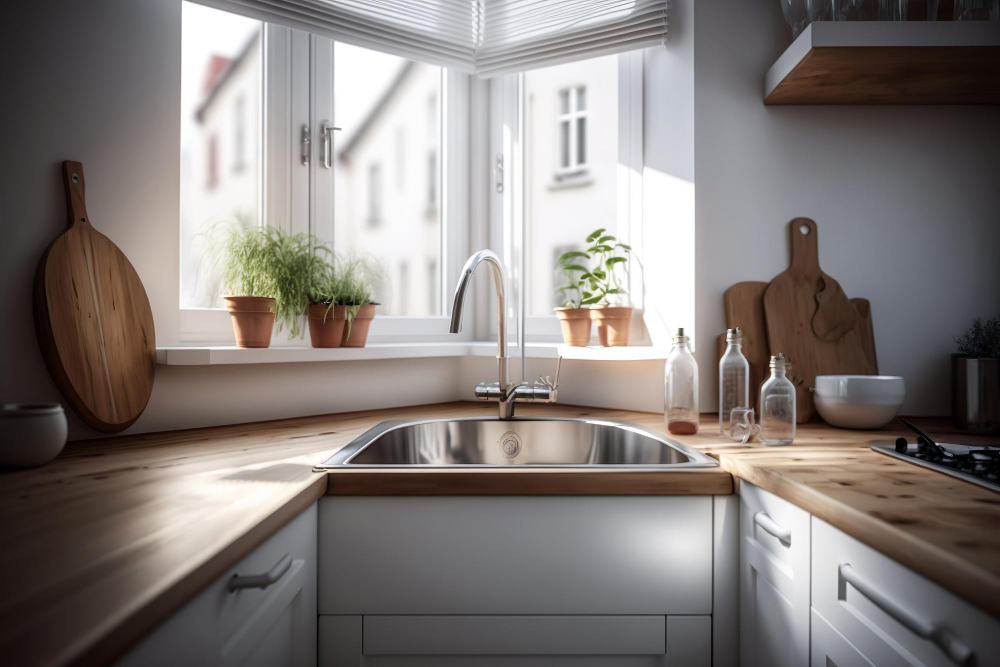
Window Placement Considerations
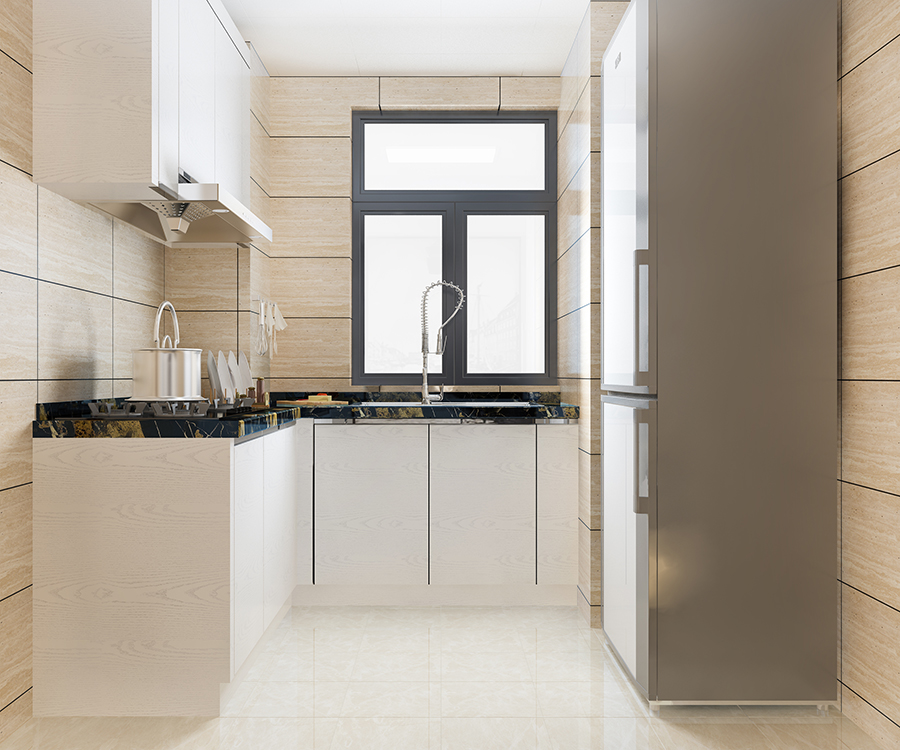
Ideally, you want your sink to be located directly beneath the window so that any steam or odors can easily escape outside. However, if your kitchen layout doesn’t allow for this configuration, there are still options available.
If your sink is not positioned directly below a window and you’re unable to relocate it due to plumbing constraints or other factors, consider installing an air admittance valve (AAV). An AAV allows air into the drain system while preventing sewer gases from escaping into your home.
This option may require additional planning and installation steps but can be effective in ensuring proper ventilation.
Another factor to consider when placing windows near sinks is privacy concerns. If you have neighbors close by or live on a busy street where passersby could see inside your home through uncovered windows above sinks – then privacy should also be taken into account when deciding on placement options.
Planning the Vent Placement

The location of your sink and its proximity to other plumbing fixtures will determine where you can place the vent. It’s important that you choose a spot that is both practical and aesthetically pleasing.
When planning for a new installation or renovation, consider how much space is available between the wall studs and whether there are any obstructions in this area such as electrical wiring or ductwork. You’ll also need to take into account any building codes or regulations regarding minimum distances from windows, doors, and other openings.
Another factor when planning for proper ventilation is determining which type of system best suits your needs based on local code requirements. Some areas may require an air admittance valve (AAV) while others may allow loop vents instead.
Types of Venting Systems
Each system has its own advantages and disadvantages, so it’s important to select the one that best suits your needs.
One type of venting system is an Air Admittance Valve (AAV). This valve allows air into the drain line when water flows out, preventing negative pressure from building up in the pipes.
AAVs are easy to install and require minimal maintenance but may not be legal in all areas.
Another option is loop venting. This method involves creating a loop with your drain pipe before connecting it to the main stack or branch line.
Loop vents work well for sinks located far away from other plumbing fixtures but require more space than other methods.
Island Venting is another popular choice for kitchens with islands or peninsulas where traditional vertical ventilation isn’t possible due to lack of access behind walls or cabinets. With this method, you run horizontal piping beneath floors until they connect with existing vertical stacks elsewhere in your home’s plumbing system.
Wet Ventilation combines both drainage and ventilation functions within one pipe by using larger diameter pipes that allow air circulation while also carrying wastewater away efficiently without clogging issues caused by smaller-diameter pipes used solely as vents.
Air Admittance Valve (AAV)
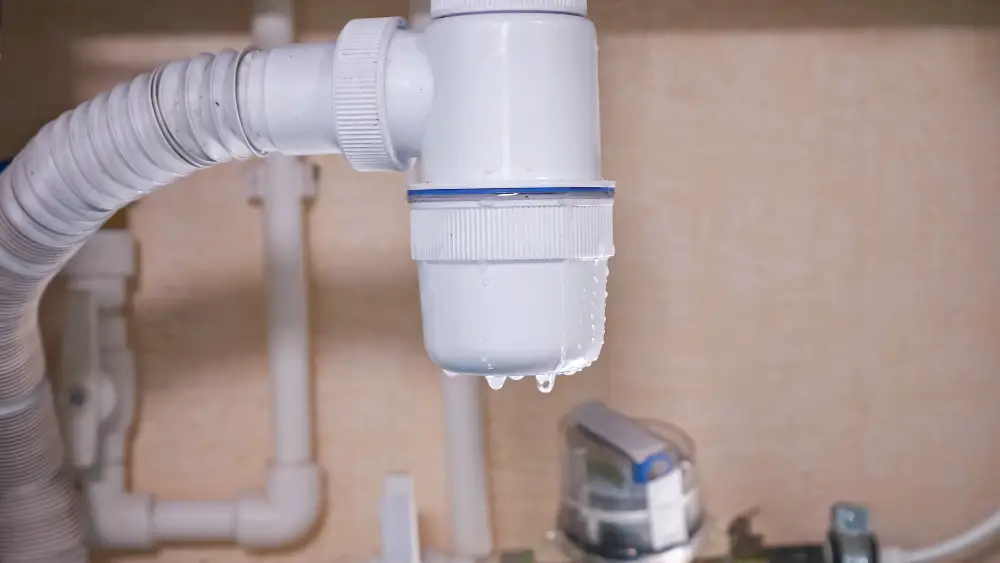
It’s an alternative to traditional venting systems and can be used in situations where installing a conventional vent pipe is not feasible or practical.
When it comes to venting a kitchen sink under the window, AAVs are often used as they provide an easy-to-install solution that doesn’t require extensive modifications to your home’s existing plumbing system. They’re also cost-effective compared with other types of vents.
However, before you decide on using an AAV for your kitchen sink ventilation needs, it’s essential first to check local building codes as some jurisdictions do not allow their use in certain applications. While AAVs are generally reliable devices when installed correctly by professionals or experienced DIYers following manufacturer instructions carefully; they may fail over time due to wear and tear or clogging caused by debris buildup inside them.
If you’re considering using Air Admittance Valves for your kitchen sink ventilation needs under the window area; make sure you consult with local authorities regarding code compliance requirements beforehand.
Loop Venting
This method involves creating a loop in the drain line that connects to the main stack, allowing air to flow freely through the system. Loop vents are typically used when there isn’t enough space between the sink and wall for traditional vertical piping.
When considering loop venting, it’s important to note that this method may not be legal in all areas or meet local building codes. It’s essential to check with your local plumbing inspector before proceeding with any installation.
If you’re unsure about which type of ventilation system is best suited for your kitchen sink under a window, consult with an experienced plumber who can help guide you through each step of the process while ensuring compliance with all relevant regulations and standards.
Properly ventilating your kitchen sink under a window will ensure optimal functionality while keeping your home safe from harmful gases and fumes.
Island Venting
This type of venting system allows the sink to be installed without having to run a separate vent pipe through the roof or wall. Instead, it uses an air admittance valve (AAV) that is installed under the sink and vents directly into the drain line.
One of the benefits of island venting is that it can save you time and money during installation since there’s no need for additional piping or cutting holes in your walls or roof. However, keep in mind that AAVs are not legal everywhere, so make sure to check with your local building codes before installing one.
Another thing to consider when using this type of system is ensuring proper drainage flow by avoiding sharp turns in pipes and keeping them as straight as possible. Regular maintenance checks should be performed on AAVs since they can become clogged over time which may lead to improper ventilation.
Wet Venting
This type of venting system allows for both drainage and ventilation to occur through one pipe. Wet vents are typically used in bathrooms, but they can also be used in kitchens where there are multiple fixtures that need to be connected.
When it comes to wet venting your kitchen sink under the window, you’ll need to ensure that you have enough space for the pipes and fittings required. You’ll also want to make sure that your plumbing system meets local building codes before proceeding with any installation.
One benefit of using wet vents is their simplicity; they require fewer pipes than other types of systems like loop or island vents. However, if not installed correctly or if too many fixtures are connected on one line, clogs can occur which may lead to backups and other issues down the road.
Wet venting can be an effective solution for properly ventilating your kitchen sink while adhering to building codes and regulations.
Selecting Vent Pipe Configuration
First and foremost, you’ll want to choose a configuration that is compatible with your home’s plumbing system. The most common types of venting systems include air admittance valves (AAVs), loop vents, island vents, and wet vents.
Air admittance valves are ideal for sinks located in areas where traditional venting isn’t possible due to space constraints or other limitations. Loop vents work well when the sink is located near an exterior wall or roofline but not directly under a window.
Island vents are used when the sink is situated on an island rather than against a wall.
Wet venting involves using one drain line as both the waste line and ventilation pipe for multiple fixtures in close proximity such as two sinks next each other sharing one drainpipe. Ultimately, choosing which type of system will depend on several factors including local building codes requirements, available space around your kitchen sink area among others.
Vent Pipe Dimensions
The size of the vent pipe will depend on the number of fixtures that are being served by it. In general, a 1 1/2-inch diameter vent can serve up to four fixture units (which includes sinks, toilets, and showers).
If you have more than four fixture units in your kitchen or bathroom area that require ventilation, then you’ll need a larger diameter pipe.
It’s important not to skimp on the size of your vent pipes as this can lead to problems with drainage and ventilation down the line. Make sure that all connections between pipes are tight and secure so air doesn’t escape from gaps or openings.
Properly sizing your vents is just one step in ensuring proper functionality for your sink under a window.
Vent Height Considerations
The purpose of the vent is to allow air into your plumbing system and prevent sewer gases from entering your home. If you don’t install your vents at the right height, they may not function properly.
The general rule for determining proper vent height is that it should be at least 6 inches above any opening within 10 feet horizontally. This includes windows, doors, and other openings in walls or roofs.
However, if you have a two-story house or live in an area with high winds or heavy snowfall, you may need to install taller vents to ensure proper ventilation. In these cases, consult with a professional plumber who can help determine what size and type of vents are best suited for your specific needs.
Legal Requirements and Codes

These regulations ensure the safety of your home’s plumbing system and prevent any potential hazards from occurring.
The International Plumbing Code (IPC) outlines specific guidelines for venting systems in residential buildings. According to the IPC, every fixture in your home that requires drainage must have an individual vent pipe connected to the main stack or branch vent.
Local building codes may have additional requirements for ventilation systems. It is essential to check with your local authorities before starting any work on your plumbing system.
Plumbing Vent Code Compliance
Plumbing codes are designed to protect the health and safety of homeowners by ensuring that all plumbing systems function properly and efficiently. Failure to comply with these codes can result in costly repairs, fines, or even legal action.
The International Residential Code (IRC) requires every building drain system must have at least one vent pipe installed for proper drainage. The code also specifies the minimum size of vents based on fixture units and distance from the main stack.
It’s essential to check with your local building department before starting any work on your plumbing system as they may have additional requirements specific to your area.
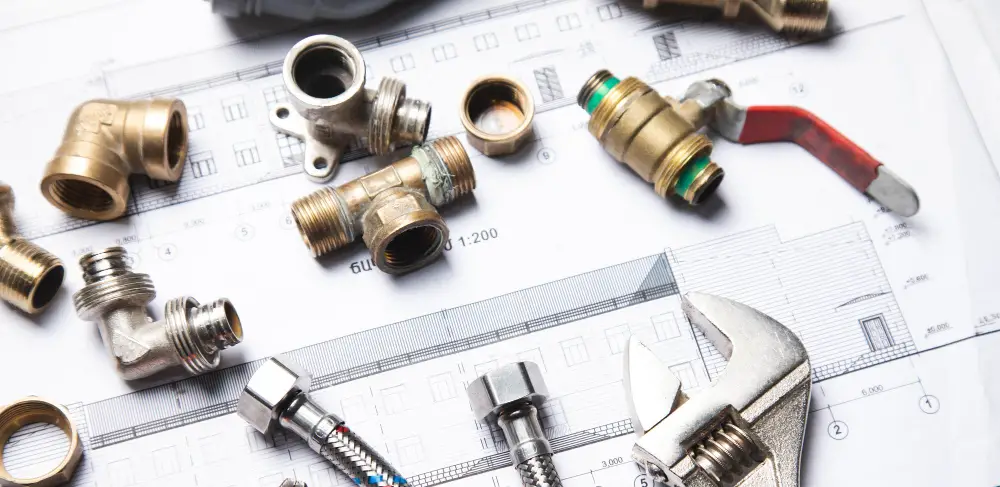
Tools and Materials Needed

Here are some essential items to have on hand:.
Tools:
- Power drill
- Hole saw attachment
- PVC pipe cutter or hacksaw
- Screwdriver set (flathead and Phillips)
- Adjustable wrench
Materials: – PVC pipes (1 ½ inch diameter) – Elbow fittings – Coupling fittings – Air admittance valve (AAV) – Pipe hangers/straps – Silicone sealant.
Having these tools and materials ready will make your job easier, faster, and more efficient. It is important to note that while some plumbing experience can be helpful when undertaking this task, it is not necessary if you follow instructions carefully.
Tools Required for Venting a Sink
Here are some of the essential tools required for venting a sink:.
1. Hacksaw: You’ll need a hacksaw to cut through PVC pipes.
2. Pipe Cutter: A pipe cutter is an alternative tool that can be used instead of a hacksaw.
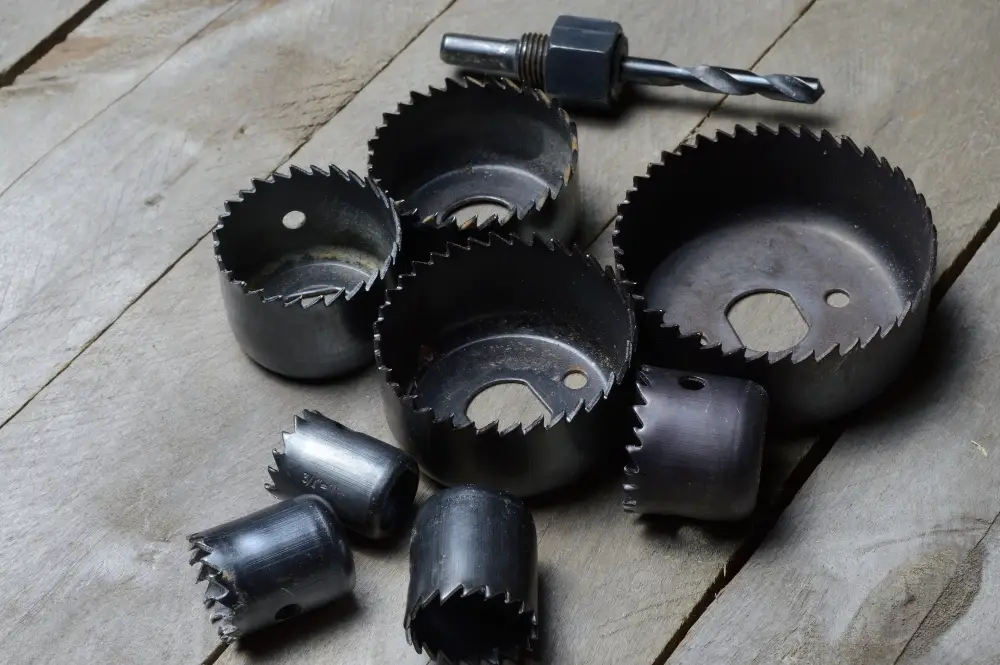
3. Drill and Hole Saw Bit: You’ll need these tools to create holes in walls or floors for running pipes.
4. Screwdriver Set: A set of screwdrivers will come in handy when attaching fittings and brackets.
- Measuring Tape and Leveler: These two items will help ensure that your installation is level, plumb, and properly aligned with other fixtures in your kitchen space.
- Pipe Wrenches: They are needed for tightening threaded connections between pipes
7. Teflon tape: It helps seal threaded connections between pipes.
Planning Vent Pipe Routes
This is a crucial step in ensuring proper ventilation and drainage. When planning the route, consider factors such as where your drain line is located and how far away it is from the stack or main vent line.
It’s important to keep in mind that there are specific codes and regulations regarding plumbing vents, so be sure to consult with a professional plumber or check local building codes before beginning any work.
When planning out your pipe routes, try to minimize bends and turns as much as possible. The more twists and turns in the pipe, the greater chance there is for clogs or blockages down the road.
Another consideration when planning out pipe routes is accessibility. You want to make sure that all parts of your plumbing system are easily accessible should repairs need to be made later on.
Careful planning of vent pipe routes can help ensure optimal functionality while also adhering to building codes.
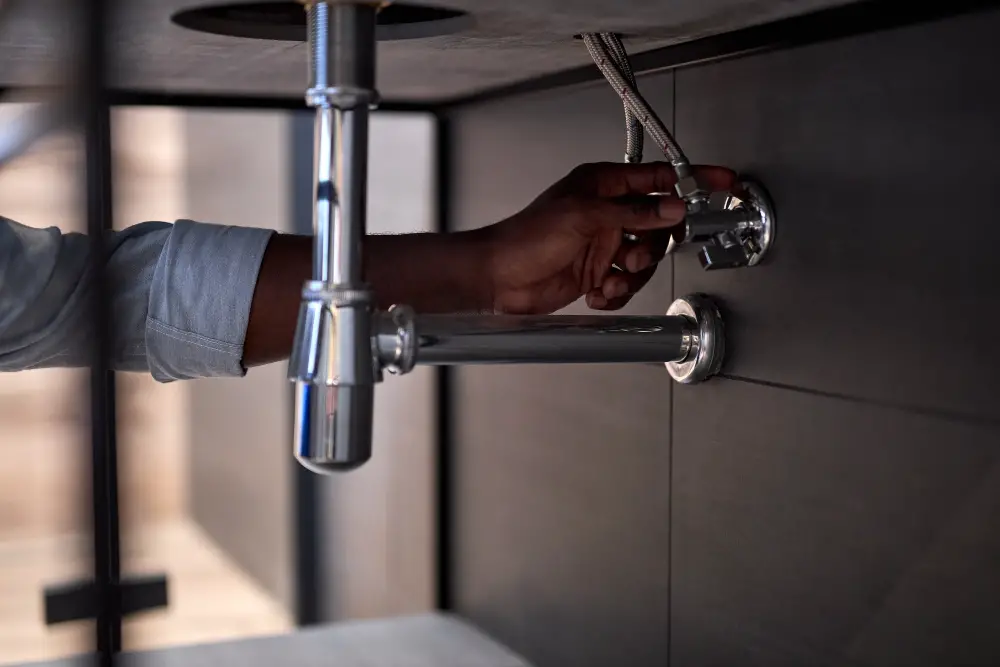
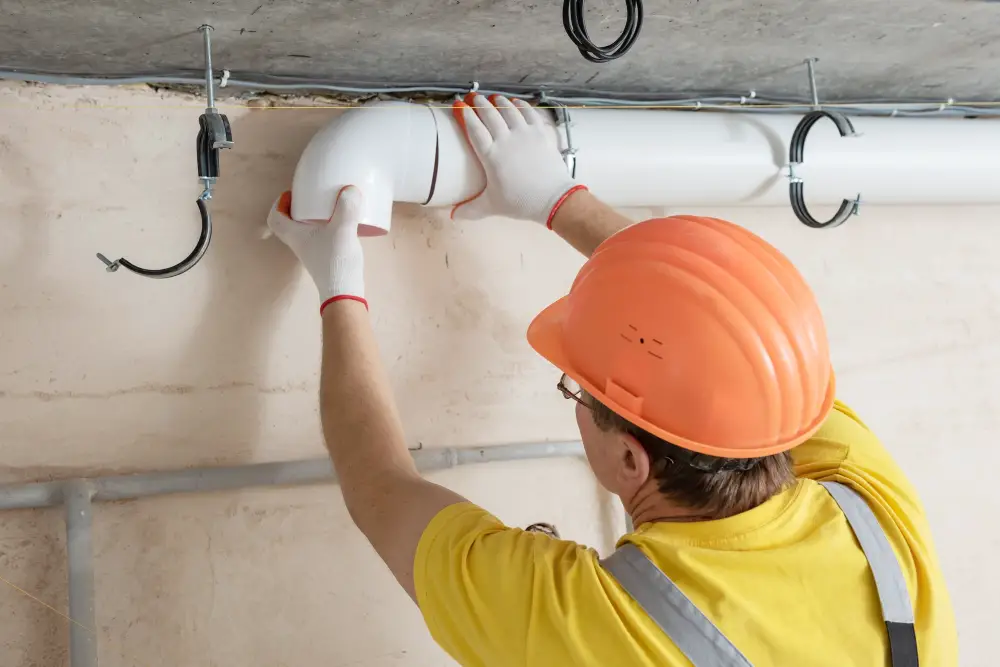
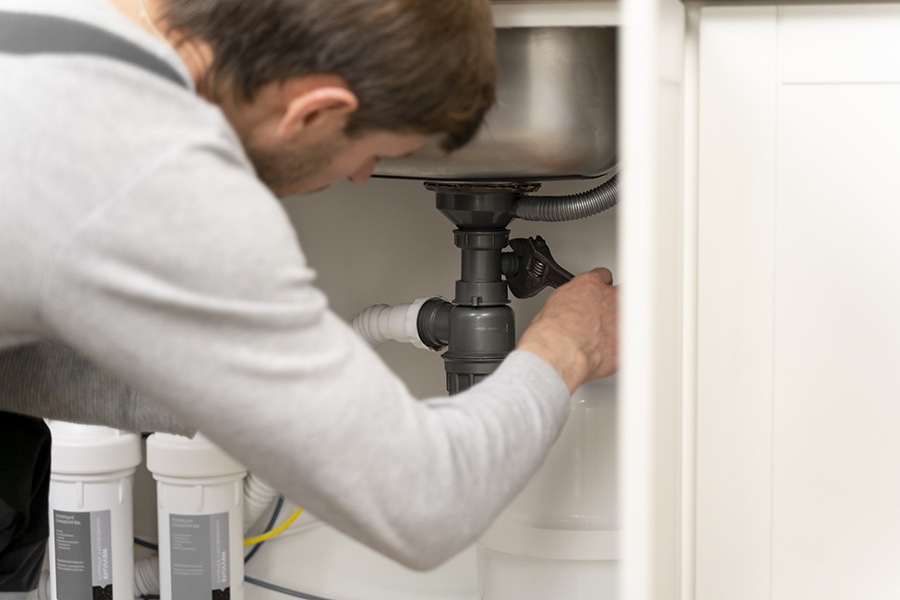
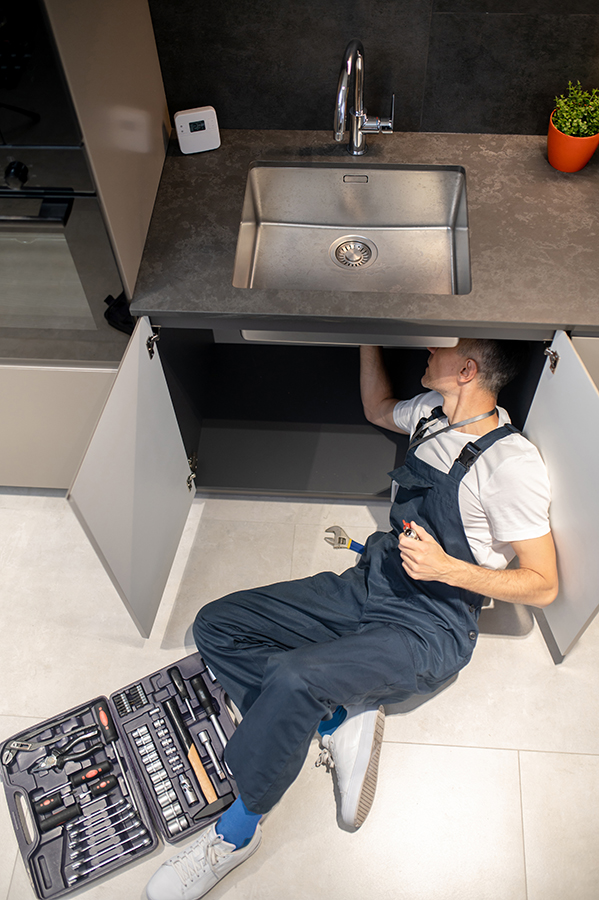
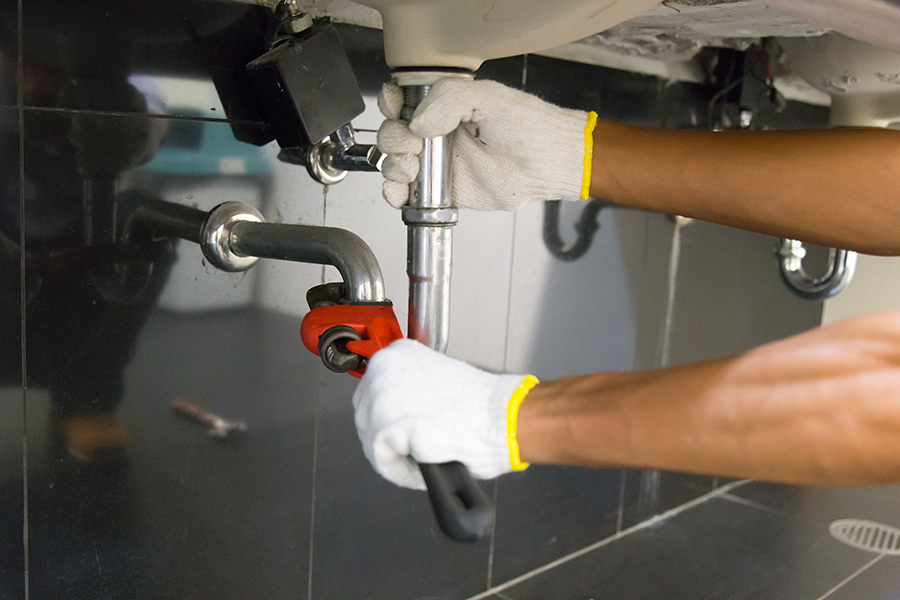
Installing Vent Pipes
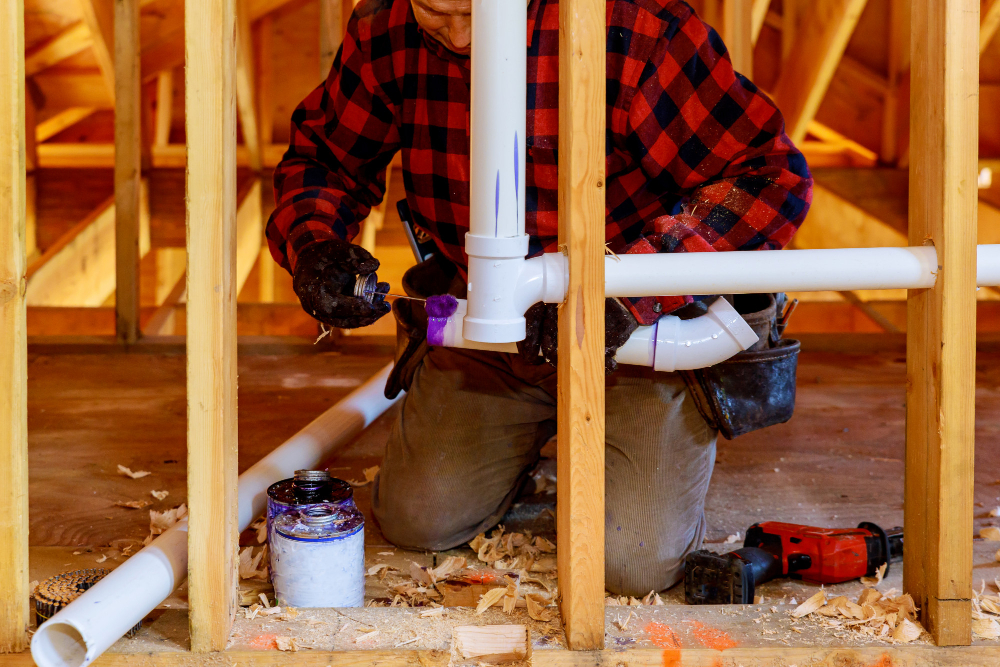
Before starting, make sure that all necessary tools and materials are on hand. You will need PVC pipes of appropriate dimensions, elbow fittings for corners and turns in the pipe path, a drill with hole saw attachment for creating an opening in your wall or window frame (if required), silicone sealant to fill gaps around openings where air can escape from inside your home into outside spaces.
Begin by attaching one end of a PVC pipe to the sink drain using an elbow fitting if needed. Then run this pipe up through any walls or floors until it reaches its final destination – typically either outside through a roof vent or up above ceiling level where it connects with other plumbing vents before exiting out onto rooftops.
When installing vertical sections of piping between floors or ceilings be sure they are secured properly so they don’t move around too much during use which could cause leaks over time due to wear-and-tear on joints caused by vibration from water flowing through them constantly.
Attach another elbow fitting at topmost point near exit location such as roofline then connect remaining length(s) back down towards ground level again using more elbows as needed until reaching desired height/location for termination point (e.g., rooftop).
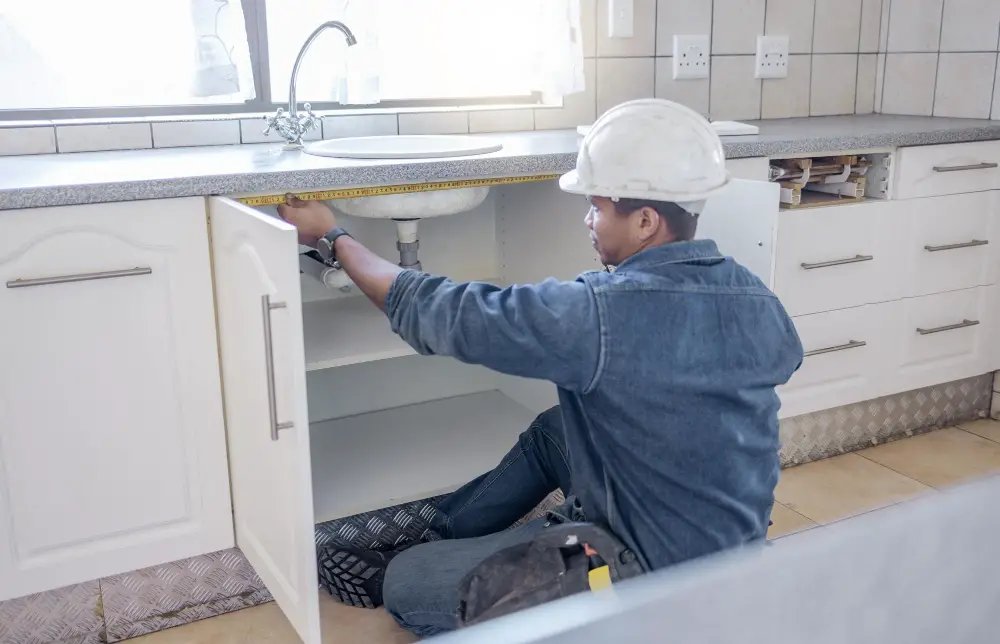
Attaching Pipe to Window Opening
This step is crucial as it ensures that your sink has proper ventilation and prevents any potential issues down the line.
To begin, measure and cut a piece of PVC pipe that will fit between your sink drain and where you plan on connecting it to an existing vent stack or creating a new one. Next, drill a hole in your window frame at least 1 inch larger than the diameter of your PVC pipe.
Insert one end of the PVC into this hole so that about half an inch sticks out from inside while ensuring there are no gaps around its edges. Then use silicone caulk or another sealant around both sides (inside/outside) before securing with screws through pre-drilled holes on either side for added stability.
Repeat this process for each additional section until all pipes are connected securely together using couplings or elbows if necessary depending on how many turns need making along their length.
Creating a Vent Pathway
This involves drilling a hole through your wall or window frame and installing elbow fittings to connect the vertical PVC pipes.
Before drilling any holes, make sure that you have measured and marked where your vent will be placed. It’s important to ensure that there are no electrical wires or plumbing lines in the way before proceeding with this step.
When creating a pathway for your sink vent, use an appropriate drill bit size based on the diameter of your PVC pipe. Be careful not to damage any surrounding materials during this process.
After drilling through both sides of the wall or window frame, insert an elbow fitting into each end of one section of PVC pipe and attach it securely using glue designed specifically for plastic piping systems.
Next, feed this section through one side of drilled hole until it protrudes out from other side by about 2 inches (5 cm).
Drilling a Hole for the Vent
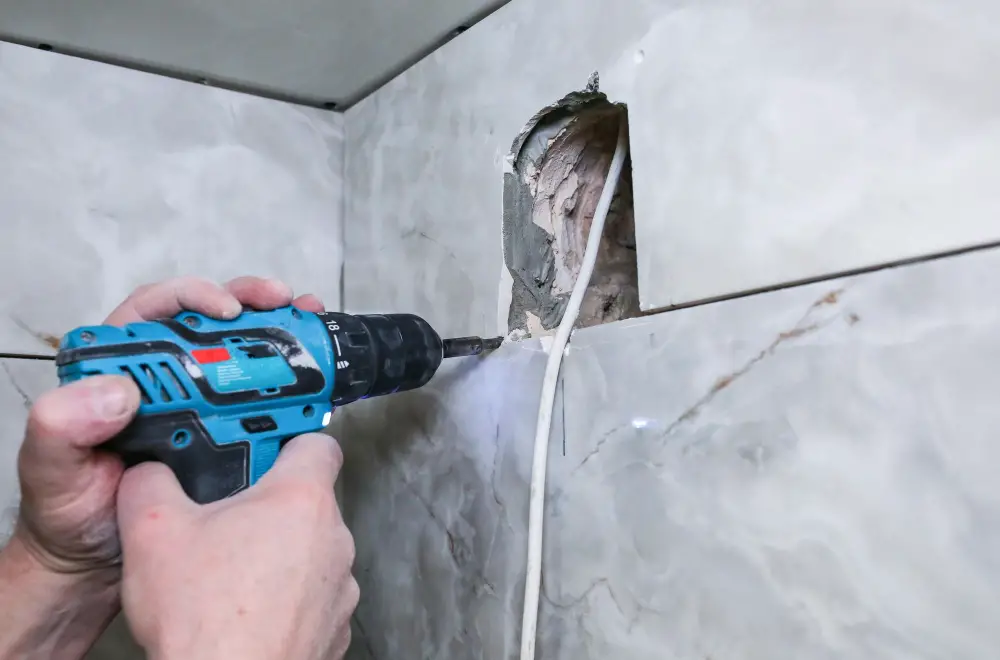
Before drilling, make sure that there are no electrical wires or plumbing pipes in the area where you plan to drill. You can use a stud finder or consult with an expert if necessary.
When drilling through walls, it is important to use appropriate tools such as a masonry bit for brick or concrete walls and spade bits for wood studs. The size of your hole will depend on the diameter of your chosen vent pipe.
To ensure accuracy when drilling holes in exterior walls under windows, measure twice before making any cuts! It’s also essential that you wear protective gear like safety glasses and gloves while working with power tools.
Once drilled correctly, insert your PVC piping into this opening until it reaches its final destination at either end (the sink drain line or stack). Make sure all connections are secure by using glue as needed so air doesn’t escape from gaps between joints which could cause problems down-the-line!
Installing Elbow Fittings
Elbow fittings are essential components that help redirect the flow of air and water in your plumbing system. They come in different angles, including 45 degrees and 90 degrees.
To install an elbow fitting, start by measuring the distance between two pipes where you want to connect them. Cut a piece of PVC pipe according to this measurement using a saw or cutter.
Next, apply PVC primer on both ends of the cut pipe and inside one end of each elbow fitting. Then apply PVC cement on all primed surfaces before joining them together firmly.
Make sure that all connections are tight enough so they won’t leak later on when water flows through them under pressure.
Repeat these steps for every turn or angle along your venting path until you reach your desired endpoint at either an existing stack vent or outside wall opening. Proper installation is crucial for ensuring optimal functionality and safety while adhering to building codes requirements regarding ventilation systems’ design standards.
Vertical PVC Vent Pipe Installation
This pipe will allow air to flow freely through your plumbing system and prevent any unpleasant odors from escaping into your home. To install this type of vent pipe, you’ll need to follow some specific steps.
Firstly, measure and cut the PVC piping according to your plan for routing it up through the wall cavity and out above roof level or connecting with an existing stack. Then attach elbow fittings as needed so that you can create 90-degree angles in order for pipes to fit together properly.
Next, insert each section of piping into its corresponding fitting until they are snugly connected together without any gaps or leaks present between them – use glue if necessary! Finally secure all joints using clamps or straps at regular intervals along their length before testing everything thoroughly by running water down drain lines while checking that no water backs up anywhere else in house due lack ventilation caused by improper installation techniques such as not having enough slope on horizontal runs which causes traps become dry over time leading sewer gas smells entering living spaces.
Connecting Vent Pipe to Stack Vent
The stack vent is a vertical pipe that extends through your roof and connects all of your home’s plumbing vents. It allows air into the system and prevents sewer gases from entering your home.
To connect the sink’s vent pipe to this main stack, you’ll need a sanitary tee fitting with a 2-inch inlet for connecting to the sink drain line and two 1-1/2 inch inlets for connecting both horizontal pipes: one coming from above (the new kitchen sink drain) and one going down (the existing drainage).
Firstly, cut out an opening on top of where you want to install this fitting using reciprocating saw or hole saw bit. Then insert its base into that opening so that its outlet faces upwards towards sky while other two inlets are facing horizontally.
Next step is attaching PVC pipes between these three openings – use primer & cement glue as per manufacturer instructions before sliding them together tightly until they form an air-tight seal around each joint.
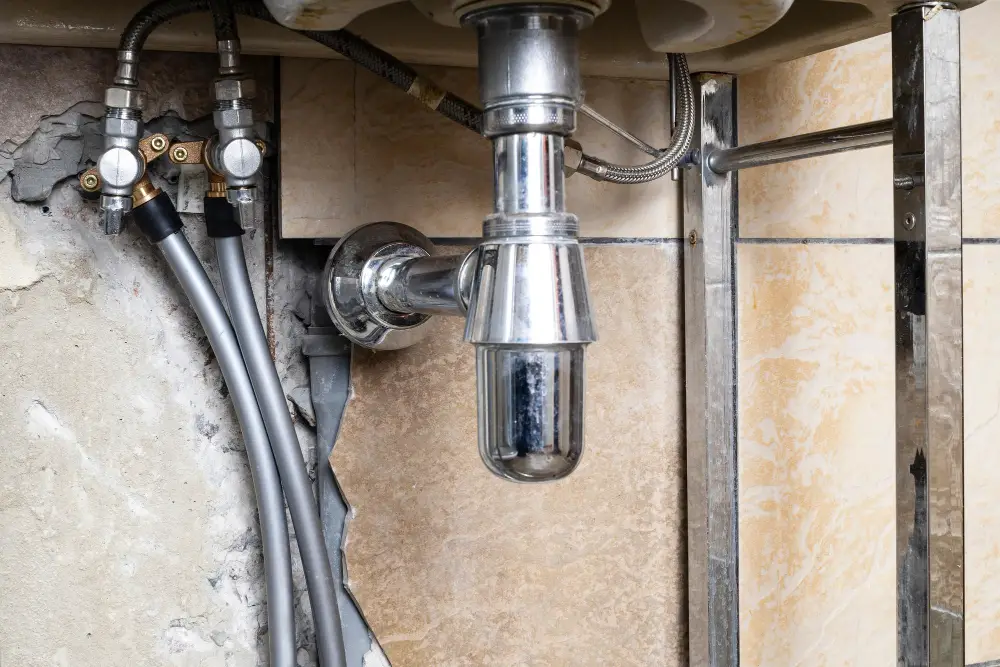
Connecting Vent to Drainage
The connection should be made as close as possible to where your sink drain connects with the main sewer line. This will ensure that any gases or odors are properly vented out of your home.
To make this connection, you’ll need a wye fitting and a short piece of PVC pipe. Cut the existing drainpipe and insert one end into each side of the wye fitting, making sure that they fit snugly together.
Next, attach another piece of PVC pipe onto one end of the wye fitting and run it up through your wall until it reaches outside. Make sure that there is no sagging in this section so water can flow freely without getting trapped inside.
Use plumber’s tape or silicone sealant around all connections for added security against leaks or air infiltration.
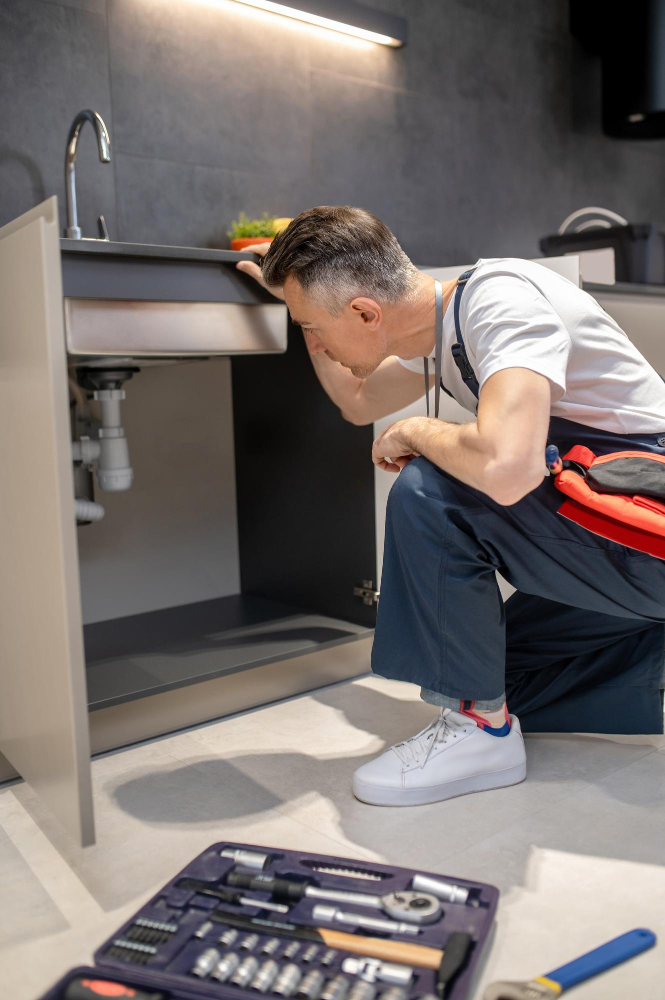
Ensuring Proper Drainage
Without proper drainage, water can accumulate in the pipes and cause blockages or even leaks. To ensure proper drainage, make sure that your drain is properly sized for your sink and that there are no obstructions in the pipes.
You should also check for any leaks around the drain area by running water through it and checking underneath for any signs of moisture or dripping. If you do notice a leak, tighten all connections until they are snug but not over-tightened.
Be sure to clean out any debris from your sink regularly to prevent clogs from forming in both the venting system and plumbing lines.
Sealing Gaps and Openings
This step is crucial because even small gaps can allow sewer gases to escape into your home, causing unpleasant odors and potential health hazards. To seal these openings, use a high-quality silicone caulk that is specifically designed for plumbing applications.
Apply the caulk generously around all pipe penetrations through walls or floors.
It’s also important to ensure that there are no leaks in your venting system by conducting a smoke test after installation. A smoke test involves introducing non-toxic smoke into the drainage system while blocking off all other outlets such as sinks and toilets with rags or towels.
If you see any smoke escaping from areas where it shouldn’t be coming out of (such as vents), then this indicates an issue with your ventilation system.
Ensuring Proper Vent Function
Proper ventilation helps prevent unpleasant odors and harmful gases from building up in your home. To ensure proper vent function, check for any blockages or obstructions in the vent pipe regularly.
One way to do this is by using a smoke test. A smoke test involves lighting a small amount of incense or cigar smoke near the sink drain while running water down it simultaneously.
If you see smoke coming out of the vent pipe outside, then your system is working correctly.
Another way to check if there’s an issue with your kitchen sink’s ventilation system is by listening for gurgling sounds when draining water from other fixtures like toilets and showers around your house; this could indicate that there’s not enough air flowing through vents causing negative pressure within plumbing lines leading back into sinks instead of going out through vents as intended.
Maintenance Tips
Here are some tips for maintaining your newly installed sink vent:.
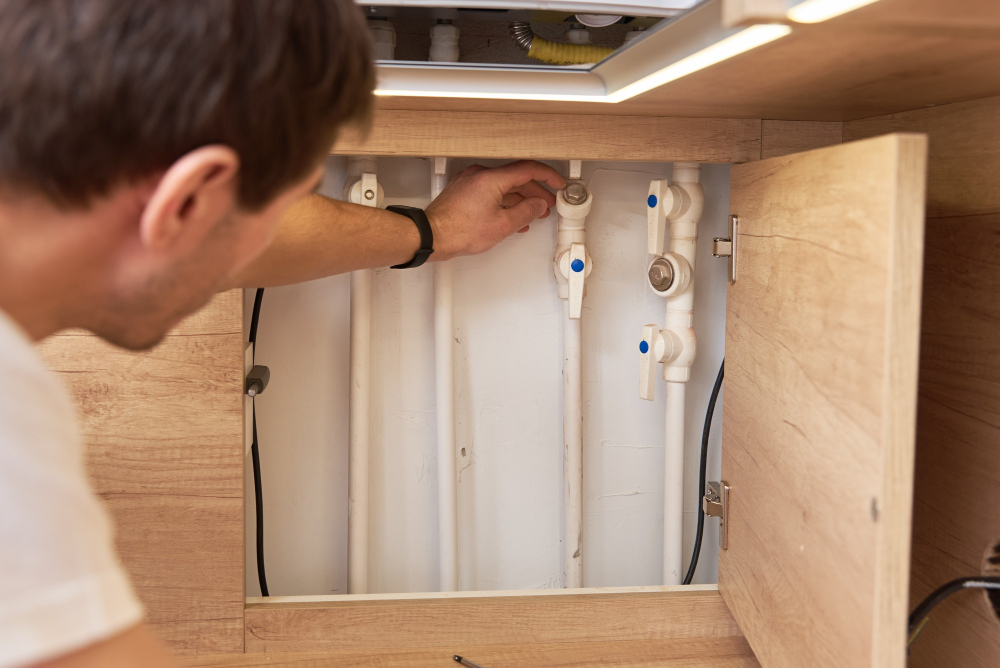
- Regularly inspect the vent pipe and make sure there are no blockages or obstructions.
- Keep an eye out for any leaks or damage in the pipes and address them immediately.
- Clean out any debris from around the air admittance valve (AAV) regularly.
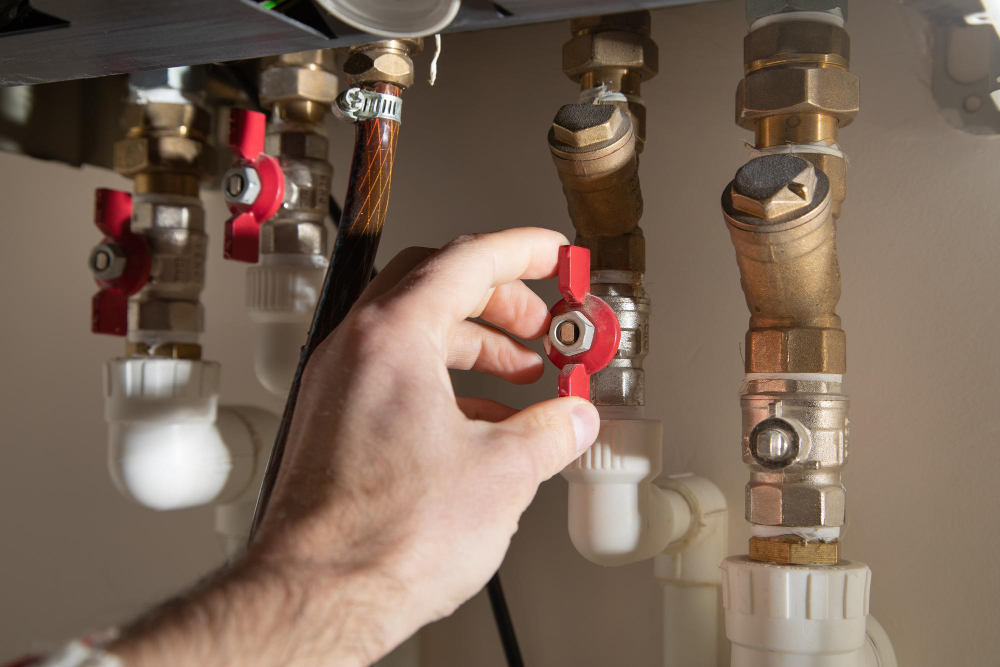
- Check that all connections between pipes are secure and tight.
Proper Kitchen Sink Vent Maintenance
Proper maintenance of your kitchen sink vent will ensure that it continues to work efficiently and effectively for years to come. Here are some tips on how to maintain your kitchen sink vent:
- Regularly clean the air admittance valve (AAV) or other types of vents.
- Check for any blockages in the pipes leading from the AAV or other types of vents.
- Inspect all connections and fittings regularly, looking out for leaks or damage.
- Ensure that there is no debris around the outside opening where air enters into a loop-vented system.
By following these simple steps, you can keep your kitchen sink ventilation system working at optimal levels while avoiding costly repairs down-the-line.
Troubleshooting Common Issues
Here are some common problems you may encounter and how to troubleshoot them:.
1. Slow Drainage: If your sink is draining slowly or not at all, it could be due to clogs in the drain or vent pipes.
Try using a plunger or drain snake to clear any blockages.
2. Gurgling Sounds: If you hear gurgling sounds coming from your sink when water drains, it’s likely that there’s an issue with the air admittance valve (AAV).
Check that the AAV is properly installed and functioning correctly.
3. Foul Odors: Unpleasant smells emanating from your kitchen sink could indicate an issue with ventilation or drainage systems.
Ensure that all pipes are properly sealed and free of debris.
4. Water Backup: Water backing up into other fixtures such as toilets can be caused by improper venting of plumbing systems in general rather than just specific issues related to sinks under windows.
Troubleshooting Venting Problems

There are a few common problems that can arise and some simple solutions to fix them.
One of the most frequent issues is when water backs up into the sink after draining. This could be due to a clogged drain or an improperly installed vent pipe.
In this case, try using a plunger or snake to clear any blockages in the drain line.
Another problem is when there’s an unpleasant odor coming from your sink drains. This could indicate that there’s not enough ventilation in your plumbing system, causing sewer gases to build up and escape through the sinks’ P-traps (the U-shaped pipes under each fixture).
To solve this issue, check if all vents are open and unobstructed by debris such as leaves or bird nests.
Lastly, if you hear gurgling sounds coming from your drains while running water down them – it may mean air isn’t flowing freely through their respective vents; thus creating suction within pipes leading back towards fixtures like toilets/showers etc., which causes those noises! If this happens frequently then consider installing additional vents for better airflow throughout plumbing systems!.
Identifying Sink Vent Issues
One of the most common problems with sink vents is clogging. When debris and other materials accumulate in the vent pipe, they can cause blockages that prevent proper airflow and drainage.
Another issue you might encounter is leaks around the base of the window or along the vent pipe itself. These leaks could indicate a problem with installation or damage to one of your pipes.
If you notice slow draining water from your sink or gurgling sounds coming from within it, these are also signs that there may be a problem with ventilation. In some cases, improper ventilation could even lead to unpleasant odors emanating from your drain.
Catching Venting Issues Early

This is especially true when it comes to venting a kitchen sink under a window. If you notice any strange smells or gurgling sounds coming from your sink drain, this could be an indication of improper ventilation.
Another sign that something may be wrong with your vent system is if water drains slowly from the sink or backs up into the dishwasher. These are all signs that there may be an obstruction in the vent pipe or that it was not installed correctly.
If you suspect there might be an issue with your kitchen sink’s ventilation system, don’t wait until things get worse before taking action! Catching these problems early can save you time and money in repairs down the line.
Addressing Venting Concerns
Ignoring these problems can lead to unpleasant odors, slow drainage, and even health hazards due to the buildup of harmful gases like methane.
One common issue is a clogged or obstructed vent pipe. This can happen when debris such as food particles or grease accumulate in the pipe over time.
To fix this problem, you’ll need to clear out any blockages using a plumbing snake or other specialized tools.
Another concern is improper installation of the vent system itself. If not installed correctly according to code requirements and manufacturer instructions, your sink may not be properly ventilated which could cause water backup into other fixtures in your home.
In some cases where there are multiple sinks draining into one stack vent line (vertical drainpipe), air pressure imbalances may occur leading updrafts that push sewer gas back through traps under sinks causing foul smells inside homes. To avoid these issues altogether it’s best practice for homeowners who have little experience with plumbing systems should consult professionals before attempting any DIY projects involving ventilation systems.
Venting a Kitchen Sink: FAQ
That’s why I’ve compiled some frequently asked questions to help you better understand the process.
Q: Why is proper ventilation important for my kitchen sink? A: Proper ventilation helps prevent unpleasant odors from entering your home and ensures that harmful gases are safely removed from your plumbing system.
Q: What type of venting system should I use for my kitchen sink? A: The type of venting system you choose will depend on various factors such as the location of your sink, local building codes, and personal preference. Some common types include air admittance valves (AAVs), loop vents, island vents, and wet vents.
Q: Do I need to hire a professional plumber to install my kitchen sink vent? A: While it’s possible to install a kitchen sink vent yourself if you have experience with plumbing work or DIY projects; it’s always best to consult with an experienced plumber who can ensure that everything is installed correctly according to local codes.
Conclusion
Proper ventilation ensures that your home stays safe and up-to-code while also providing optimal functionality for your sink. By following the steps outlined in this article, you can successfully vent your kitchen sink under the window without any issues.
Remember to consider factors such as window placement and legal requirements when planning your venting system. Selecting the right type of vent pipe configuration and ensuring proper drainage are crucial for maintaining optimal function.
By regularly maintaining and troubleshooting common issues with your ventilation system, you can ensure that it continues to work efficiently over time.
I hope this guide has been helpful in assisting you with properly ventilating a kitchen sink under a window!.
FAQ
Does a kitchen sink need to be vented through the roof?
Yes, a kitchen sink needs to be vented to ensure proper functioning of the plumbing system by maintaining balance in pressure between fixtures and the drainage system.
What happens if a sink doesn’t have a vent?
If a sink doesn’t have a vent, negative pressure can suck water out of the drain trap, allowing sewer gases to enter the home and affecting proper drain flow.
How does a cheater vent work?
A cheater vent works by opening up and allowing air into the system only when the drains are in use and requiring air, and closing the flap to prevent sewer gases from escaping into the house when air is not needed.
Can a kitchen sink vent be installed using a wall vent instead of going through the roof?
Yes, a kitchen sink vent can be installed using a wall vent instead of going through the roof.
What are the potential issues caused by improper venting of a kitchen sink?
Potential issues caused by improper venting of a kitchen sink include slow drainage, gurgling noises, foul odors, and increased risk of clogs and sewer gas exposure.
Are there alternative venting solutions for a kitchen sink in situations where traditional venting methods are not feasible?
Alternative venting solutions for a kitchen sink, when traditional methods are not feasible, include air admittance valves and loop vents.


