Last updated on
Discover practical tips and innovative ideas for a successful IKEA kitchen remodel, including customization options to maximize functionality and style.
Key takeaways:
- Find Your Kitchen Style: Reflect your personal taste and lifestyle.
- Measure Your Kitchen: Accurate measurements are essential for success.
- Plan Your Kitchen With IKEA Tools: Use the Home Planner and explore IKEA Kitchen Services.
- Understand IKEA’s Kitchen Warranties: Know the duration, coverage, and claims process.
- Install Your Kitchen: Follow instructions and take your time for a smooth assembly.
What's Inside
Find Your Kitchen Style
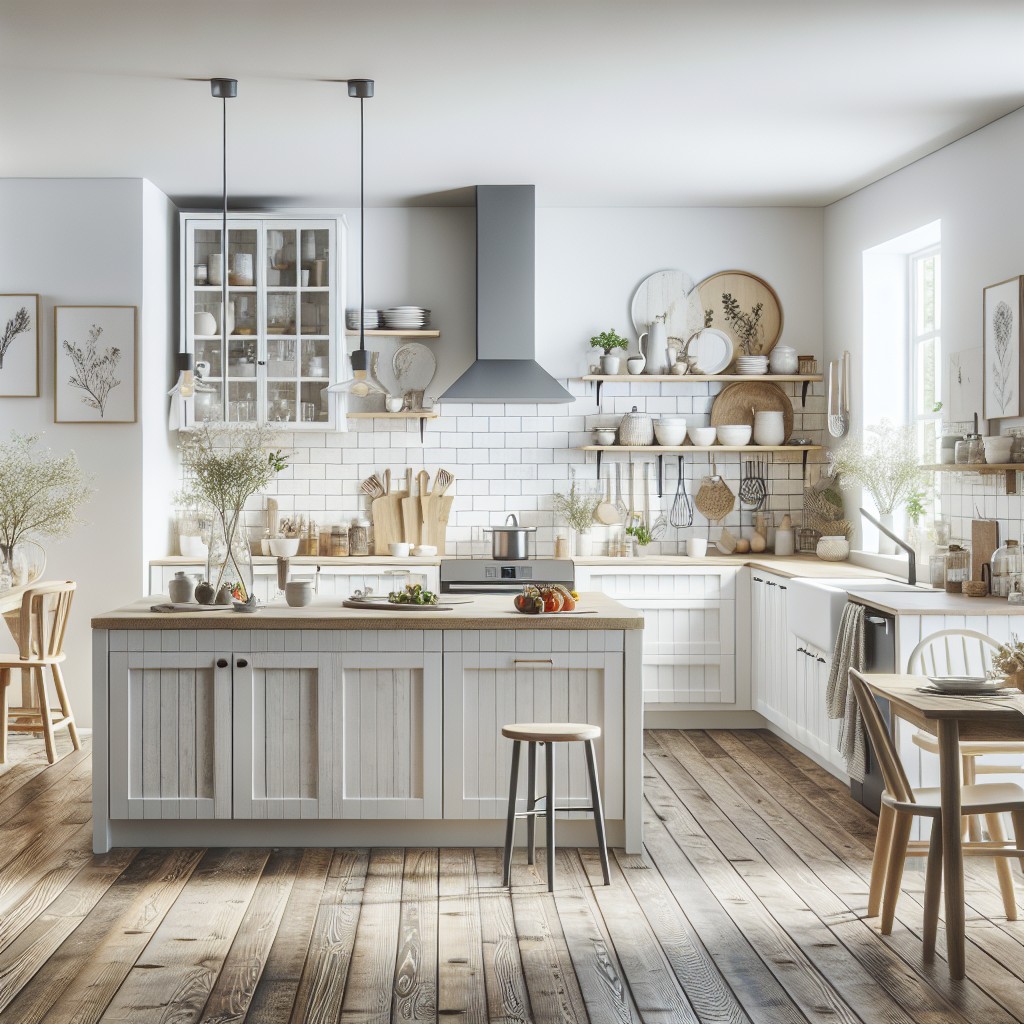
Selecting a kitchen style is a reflection of your personal tastes and lifestyle. It sets the tone for the most used space in your home. Whether you gravitate towards the sleek and modern, with minimalistic lines and glossy finishes, or prefer the warmth and coziness of a traditional farmhouse look, with wood accents and open shelving, there’s a design for every preference.
Consider the Scandinavian simplicity that embodies IKEA’s design philosophy: functional, clean, and uncluttered spaces. However, don’t be constrained; mix elements to create an eclectic vibe. A rustic table can complement high-gloss cabinets, striking a balance between old and new. Texture plays a vital role too. Smooth surfaces can be paired with rough, tactile ones for a dynamic, sensory experience.
Color, undoubtedly, influences the atmosphere of a room. Choose a palette that resonates with your character. Soothing neutrals or bold splashes? Both can be executed to stunning effect. Lighting also dramatically affects the mood. Opt for bright, energy-efficient options that can be dimmed to transition from daytime practicality to evening ambiance.
Lastly, function should guide your decision. An open plan might suit those who entertain often, while a galley layout could be perfect for space-saving efficiency. Take time to envision your daily routine in the space to ensure it meets your practical needs.
In a nutshell, forge a connection with your chosen theme, it’s a canvas expressing who you are, and remember, the best style is the one that makes you feel right at home.
Measure Your Kitchen
Accurate measurements are the foundation for a successful kitchen remodel. Begin by sketching a rough outline of your kitchen space. Note down the locations of doors, windows, and existing utility connections, such as water and gas lines. Measure the height and width of every wall, and be mindful of any irregularities or unique features of your space that could affect cabinetry and appliance placement.
When measuring, use a reliable tape measure and record dimensions in both inches and centimeters to align with IKEA’s metric-based system. Double-check measurements to ensure accuracy, particularly the distance between corners and the dimensions of larger elements like islands or peninsulas.
Remember to account for the depth and height of your appliances, as these can impact the space available for your cabinets and countertops. If you’re purchasing new appliances, have their dimensions on hand before finalizing your kitchen plan.
Lastly, consider the workflow and movement within your kitchen. Ensure you allow ample space for doors and drawers to open without obstructions, maintaining a functional and efficient layout.
Plan Your Kitchen With IKEA Tools
Embarking on a journey to create the ideal kitchen space, the pivotal tool in any DIY designer’s arsenal is the IKEA Home Planner. A free, user-friendly software that transforms your measurements into a 3D model, the planner allows you to drag and drop cabinets, appliances, and furnishings into place. You can experiment with different layouts, styles, and color schemes at the click of a button, visualizing your kitchen in real-time.
Apart from the digital planning, IKEA offers downloadable buying guides. These resources are treasure troves of information, detailing product dimensions, styles, and care instructions. They’re essential for making informed decisions without the pressure of immediate purchases.
Furthermore, consider the IKEA Kitchen Services. Multiple service tiers cater to various needs and budgets, from simple consultations to full-fledged professional installation. While these services are optional, they’re worth exploring, especially if visualizing and implementing the details becomes overwhelming.
Lastly, pay attention to IKEA’s comprehensive functional organizers. Drawer dividers, cabinet inserts, and waste sorting solutions are small additions that could have a significant impact on the functionality of your kitchen. Weaving these details into your plan early on ensures a harmonious and efficient kitchen layout.
Understand IKEA’s Kitchen Warranties
Diving into the particulars of IKEA’s kitchen warranties can provide peace of mind during your remodeling project. Here’s what you need to know:
- Duration: IKEA’s warranty on kitchen cabinetry is notably generous, lasting 25 years. This reflects the brand’s confidence in product endurance and customer satisfaction.
- Coverage: The warranty generally covers defects in materials and workmanship. It includes elements like door and drawer fronts, interior shelving, and cover panels.
- Exclusions: It’s important to note what’s not covered. Regular wear and tear, deliberate damage, and issues arising from improper installation are not included. Additionally, appliances and countertops have separate warranties with varied terms.
Claims Process: In the event of a problem, save your purchase receipt. It’s required when making a warranty claim. IKEA’s customer service will guide you through the steps to address any issues.
Understanding these points ensures you embark on your kitchen remodel informed about the support and security backing your investment.
Install Your Kitchen
Diving into the installation process can be both exciting and challenging. Whether you’re a DIY enthusiast or planning to hire professionals, here are some tips to ensure the assembly of your IKEA kitchen goes smoothly:
- Review the Instructions: Every IKEA cabinet, drawer, and appliance comes with a manual. Familiarize yourself with them before starting. Lay out all pieces and hardware for a quick inventory.
- Tools for the Job: Equip yourself with the necessary tools, which typically include a hammer, screwdrivers, a level, a measuring tape, and possibly a drill.
- Assemble Cabinets First: Build the cabinet frames according to the manual. Avoid attaching doors and hardware until the frames are securely mounted to the wall.
- Mounting Wall Cabinets: Use a stud finder to locate studs for a secure fit. Remember, the wall units must line up perfectly and be level as they’ll set the tone for the base cabinets and countertops.
- Installing Base Cabinets: Again, level and alignment are key. Shim underneath base cabinets as needed to get them perfectly level before securing them in place.
- Fine-Tune with Adjustments: Once everything is mounted, adjust doors and drawers for perfect alignment. Minor tweaks can make a significant difference in the overall look.
- Countertop Placement: Follow the specific instructions for your countertop material, whether you’re working with laminate, wood, or stone. Some countertops may require professional installation, especially stone, which is heavy and needs a precise fit.
- Final Touches: Attach kick plates, cover panels, and hardware. These finishes may seem small, but they complete the kitchen’s look.
- Safety Check: Go through every installed piece to ensure it’s fastened correctly and safely. This step is crucial to prevent any accidents post-installation.
- Make it Work for You: Customize the inside of your cabinets with IKEA’s range of organizers to maximize functionality.
Remember, patience and precision will be your best allies throughout this process. Taking your time to get things right at each step will lead to a more professional and satisfying final result.


