Last updated on
Learn how to install crown molding on your cabinets to add a touch of elegance to your kitchen with this step-by-step guide.
Installing crown molding on cabinets can feel like tackling an Olympic event without the gold medal, but fear not! With the right tools and materials, a bit of patience, and our detailed guide, you’ll crown those cabinets like a pro. From precise measurements to nailing cleats and cutting corners—both inside and out—we’ve got you covered. Ready to fill nail holes and add that perfect paint finish? Let’s do this!
Key takeaways:
- Miter saw and nail gun are essential tools.
- Choose crown molding that complements your cabinets.
- Measure accurately and purchase extra material.
- Precisely cut inside and outside corners for perfect fit.
- Use nailing cleats for easy molding installation.
What's Inside
Tools Required
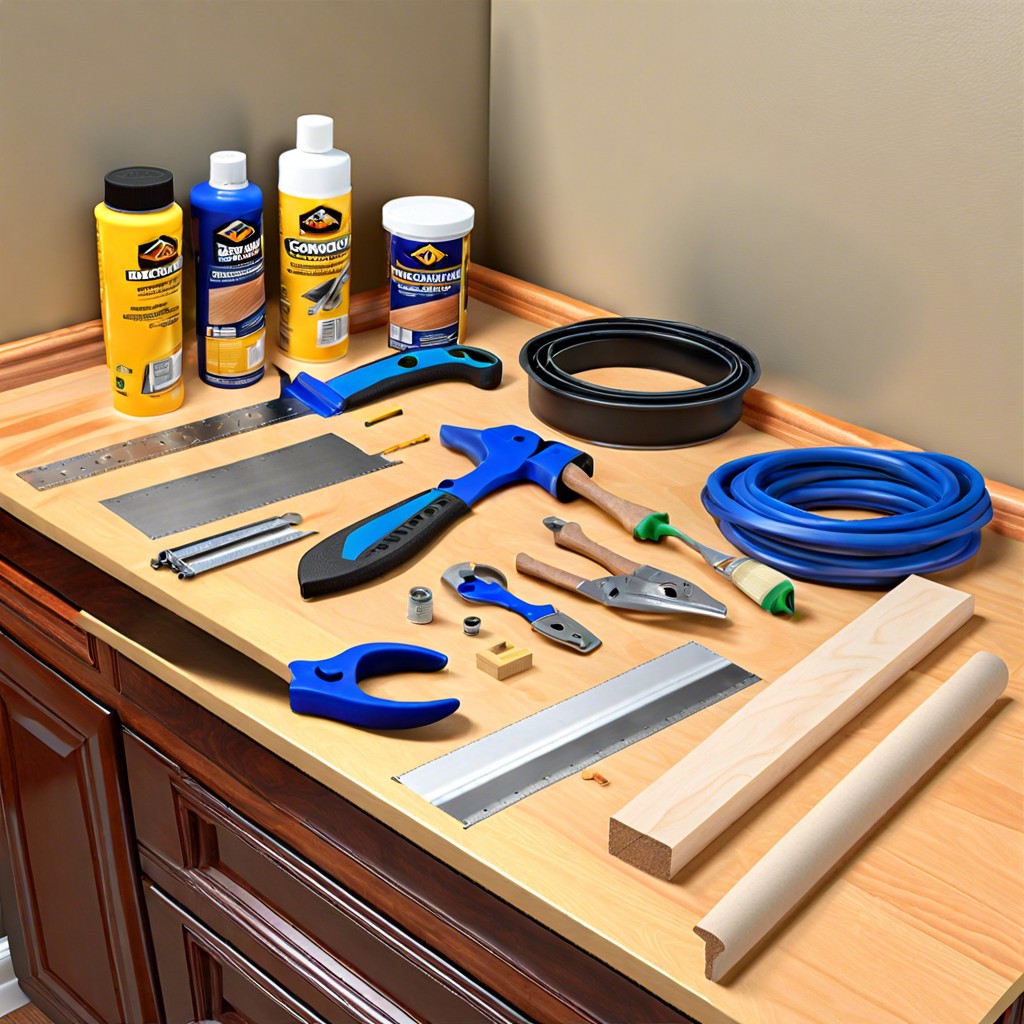
No need to haul out a truckload of tools for this project. You’ll just need a few reliable friends from your toolbox. First, grab a miter saw. Trust me, it’ll make those precise angled cuts feel like a breeze. For the steady and secure fastening, a nail gun is your best buddy. If no nail gun is in sight, a trusty hammer and some finish nails will do the trick.
A tape measure is a must to ensure your lengths are accurate. Don’t forget a level; because nobody likes crooked crown molding. For that ultra-clean finish, a sanding block will smooth out those edges perfectly.
Last but not least, keep some wood glue handy, just in case you need a little extra stickiness. And, of course, safety first: don’t forget your goggles to protect those peepers! Simple yet effective – that’s the name of the game here.
Materials Required
Grab your shopping list and a sturdy cart because you’ll need a handful of materials to get this job rolling. First off, you’ll obviously need crown molding. Make sure to choose a style and width that complements your kitchen cabinets—don’t pick something that’s going to make them look like they’re wearing an ill-fitting hat.
A few long strips of nailing cleats come next. These will help secure the molding snugly to the cabinets. If you’re feeling posh, might as well pick up some wood filler for those inevitable nail holes and minor imperfections.
Next on the list is a bundle of finishing nails (the kind you can easily sink in and fill over). Oh, and don’t forget your favorite paint or stain to give that molding a splendid finish. A good brush or sponge should round off your materials list.
Trust me, having all this on hand will save you from extra trips to the store—and nobody likes doing the hardware-store shuffle mid-project.
Measure and Purchase
Alright, let’s get those measurements spot on!
First off, grab your trusty measuring tape—it’s about to become your best friend. Measure the lengths of all the cabinet tops where you’ll install the crown molding. Note these numbers down, because winging it isn’t an option (unless you want a quirky, uneven look).
When shopping for crown molding, buy a little extra length. Mistakes happen, and having some wiggle room is essential. Plus, you don’t want to be the person making three trips to the home improvement store. Determine the style that complements your cabinets and your kitchen’s overall theme. There are countless designs, ranging from simple to intricate—choose what speaks to you.
Now, don’t forget the angles. Crown molding often comes with pre-cut angles, but if not, it’s time to sharpen those geometry skills. Most cabinet corners are 45 degrees, but double check just in case your kitchen has its own eccentricities.
Remember, precision here makes the whole job smoother and your kitchen looking like a million bucks.
Cutting Inside Corners
When tackling those pesky inside corners, it’s all about precision. Grab your trusty miter saw and set it to a 45-degree angle. This will get you that perfect cut.
Always cut a bit longer than you think you’ll need. You can always trim down, but you can’t add wood back. Measure twice, cut once, and save yourself a headache.
Test fit your pieces before nailing. Make sure they nestle perfectly together. If they don’t, make tiny adjustments and test again.
A coping saw is your buddy for those little touch-ups. Use it to finely shape one piece to snugly fit against the other.
Remember, the walls aren’t always square. Be prepared to finesse the cuts to match your unique space. It’s all in the details.
Cutting Outside Corners
Outside corners can be tricky, but with a little patience and the right technique, you’ll nail it. Here are some key points:
First, set your miter saw to a 45-degree angle. This will create the proper cut for outside corners, giving your crown molding that crisp, polished look.
Flip the molding upside down and cut to make sure your short point is on the bottom. It might feel weird at first, but trust me, you’ll get used to it.
Before making the actual cuts, double-check your angles against the cabinet to prevent wasting materials. Measure twice, cut once – it’s the carpenter’s mantra for a reason.
If your initial angle is slightly off, don’t worry. Small gaps can be filled later with wood filler or caulk.
Take it slow. Rushing cuts can result in mistakes that are hard to fix. Patience pays off in the long run and will save you from the dreaded re-cut.
Remember, practice makes perfect. If you’re new to this, using a piece of scrap wood to practice can save your actual crown molding from unnecessary damage.
Add A Nailing Cleat
A nailing cleat makes attaching crown molding so much easier. It provides extra support and a solid surface for nailing.
Consider these points:
First, select a piece of wood that matches the width of your cabinet tops. Pine strips often work best.
Cut the wood to fit along the length of your cabinets. Accuracy here can save you headaches later.
Secure the cleat right at the top edge of the cabinet with wood screws. This keeps it sturdy while you attach the crown molding.
Remember, the cleat should be flush against the front face of your cabinets. This flush fit is crucial for a seamless look.
Now your cabinets are all set to receive the crown molding. Simply having this cleat in place can vastly improve the process, like turning a wrestling match into a nice waltz. Happy woodworking!
Pre-Assemble Nailing Cleat And Crown Molding
You’re about to become a crown molding superhero. Let’s talk pre-assembly.
Grab your nailing cleat and your crown molding. Think of it as a puzzle with only two pieces, even I can manage that!
- Align the molding to the cleat, ensuring the two fit snugly together. It’s like a mini practice run for the big show.
- Use wood glue for added strength. Yes, it’s sticky, but it’s also your best friend right now.
- Secure them together with finish nails. Space these out evenly. Think of the nails as friendly little warriors keeping everything in order.
- Use clamps to hold the assembly until the glue dries. Picture a hug that lasts until morning—secure and tight!
Feeling like a DIY wizard yet?
Nailing To The Face Frame
Use 1.5-inch finishing nails for this task. They’re your best friend in ensuring the molding stays put. Start at one end of the cabinet and work your way to the other. Keep that nail gun steady and your aim true.
Before you start nailing, double-check the alignment. You don’t want any unsightly gaps or unevenness. No one wants a lopsided crown molding that looks like it’s had too much to drink.
Angle your nails so they go into the thicker parts of the cabinet frame. This provides better grip and avoids splitting the wood.
And, brace yourself! Sometimes a hammer tap is necessary to set things just right. But don’t Hulk-smash it; gentle love taps do the trick.
After securing the molding, lightly run your fingers along the edges to ensure it’s flush with the frame. If you feel any protrusions, a little more nail action might be required. Just don’t go overboard, or you might invite a woodpecker’s wrath.
Fill Nail Holes And Paint
Now that your crown molding is securely in place, it’s time to make it look pristine.
First, grab some wood filler. Apply it to the nail holes using a putty knife. Make sure to press it in firmly. Let it dry. Sand it smooth with fine-grit sandpaper. Feel the surface to ensure it’s flush with the molding.
Next up, painting. Choose a high-quality paint that matches your cabinets. Start with a primer if necessary to ensure a clean finish. Use a small, angled brush for precision.
Apply the paint in thin coats to avoid drips. Let it dry completely between coats. Patience is key here.
Lastly, take a step back and admire your work. You’ve turned basic cabinets into custom pieces. Simple, right? Now go impress your friends with your newfound carpentry skills.
Read More
 Is World Central Kitchen a Good Charity for Your Donation
 How to Prevent Cuts in the Kitchen: Your Hands Will Thank You
 15 Creative Ways on How to Display Cutting Boards
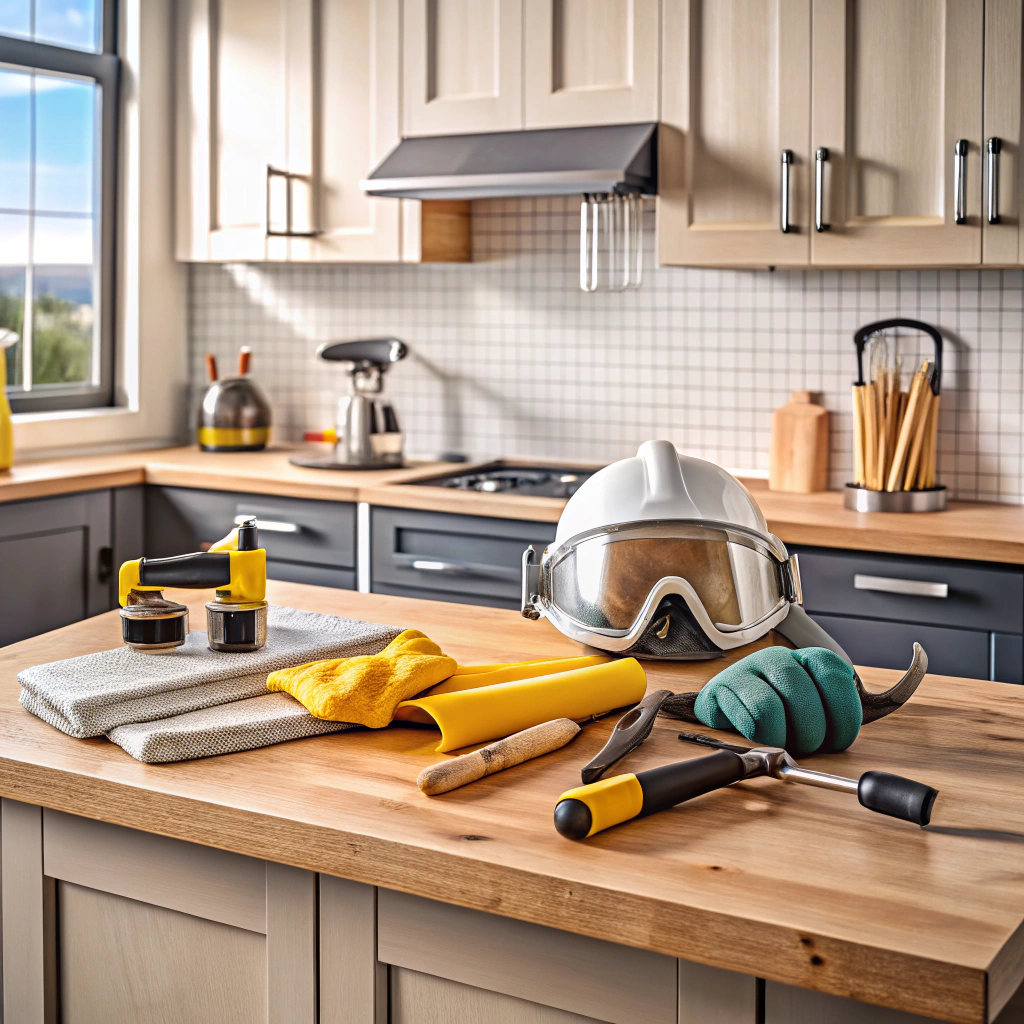 How to Remove Kitchen Countertop: A Step-by-Step Guide to Revamp Your Space
 How Much Does It Cost to Rent a Commercial Kitchen: A Guide to Budget-Friendly Cooking Spaces