Last updated on
Learn how to tighten a loose Moen kitchen faucet handle quickly and effectively with simple tools and steps.
Key takeaways:
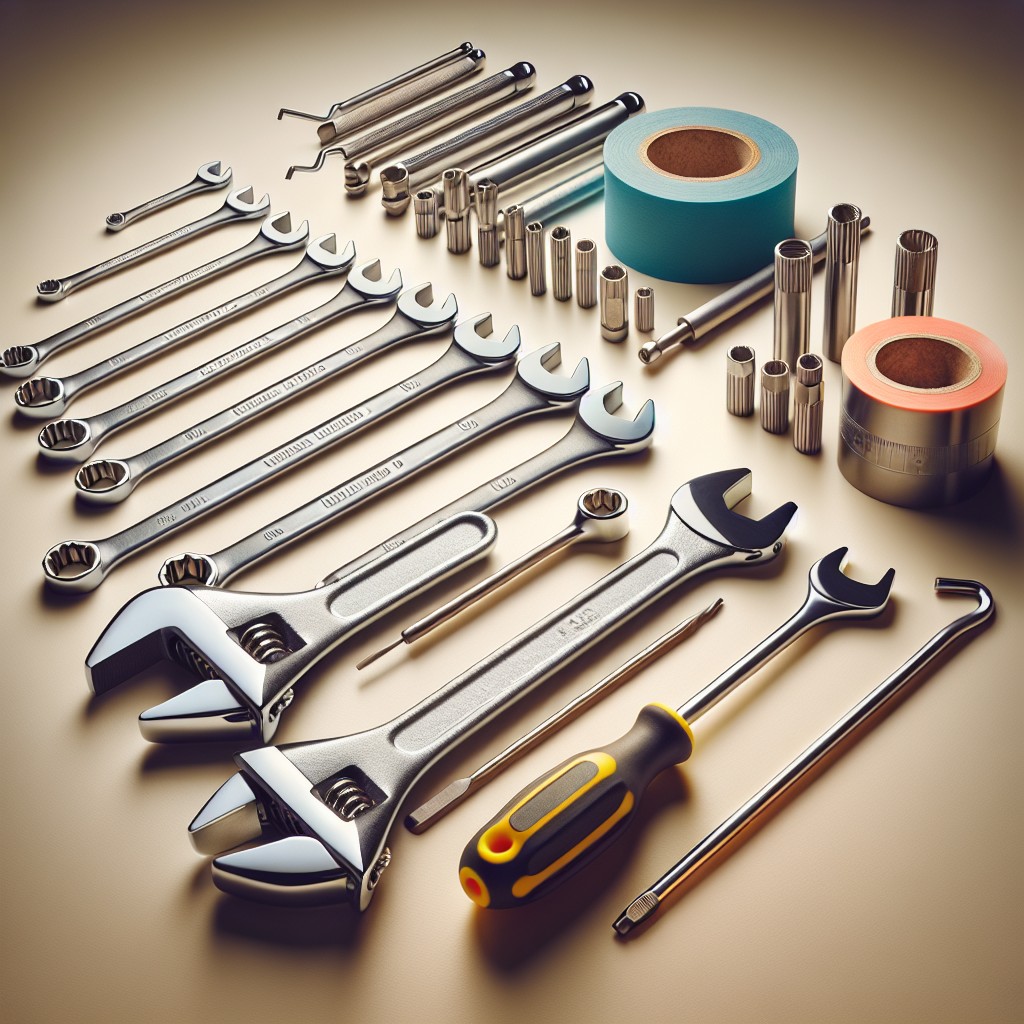
- Have the right tools: Allen wrenches, screwdriver, pliers, towels, flashlight.
- Identify your Moen faucet type: single-handle, two-handle, pull-out/pull-down.
- Tighten set screw: locate, insert Allen wrench, turn gently, test.
- Check for other problems: corrosion, damaged O-rings, loose mounting hardware.
- Maintain regularly: inspect, clean, lubricate, use with care.
What's Inside
Tools and Materials Needed
Before tackling a loose kitchen faucet handle, ensure you have the right tools on hand. Typically, you’ll need:
- Allen wrenches or hex keys: These are crucial for tightening set screws on the faucet handle. The size may vary, so a set of Allen wrenches is helpful.
- Screwdriver: Some Moen faucets use screws with heads that require a flathead or Phillips-head screwdriver.
- Channel-lock pliers or an adjustable wrench: If the issue is with a nut beneath the sink, these will allow you to grip and turn it.
- Towels or rags: Keep these nearby to wipe any water spills or to cushion your tools against the finish of the faucet, protecting it from scratches.
- Flashlight: Essential for better visibility under the sink.
- Penetrating oil (optional): If dealing with a stubborn screw or fixture, a drop of this can ease the process.
Equip yourself with these items and you’ll be ready to secure that wobbly handle with confidence.
Identifying the Type of Moen Kitchen Faucet
Before you can effectively tighten a loose handle, pinpointing your Moen kitchen faucet model is crucial. Doing so ensures you understand the specific mechanism and parts involved.
- Single-handle faucets typically have a lever or knob that controls both temperature and flow and often feature a set screw at the handle’s base.
- Two-handle models will have separate levers for hot and cold water, which may have different screws to secure the handles.
- Pull-out or pull-down faucets merge the convenience of a spray head with a standard faucet and can have a different internal structure, adjusting the handle approach.
Examine any visible branding or model numbers on the faucet. Oftentimes, these details are subtly etched onto the body of the faucet, providing a direct link to the specific product line.
Look for design distinctions such as the shape of the handle, the presence of a side sprayer, or decorative elements, which can be indicative of the model series.
Use Moen’s website or customer support line. Moen provides resources to help you match your faucet to pictures, simplifying identification and leading you to the correct instructional guides.
Understanding your specific Moen kitchen faucet type illuminates the pathway to a secure and functional handle, tailored to your faucet’s unique design.
Tightening the Set Screw
For those with lever-style handles, it’s often a loose set screw causing wobble. Luckily, this is a simple fix:
- 1. Locate the set screw, typically found under the lever.
- 2. Insert an appropriately sized Allen wrench into the screw.
- 3. Turn the wrench clockwise, but be gentle. Over-tightening can cause damage.
- 4. Test the handle’s firmness after each turn.
Remember, the trick is not to rush. Incremental adjustments are better than one overly forceful turn. If resistance is felt, stop tightening to avoid stripping the screw.
Checking for Additional Problems
Once the set screw has been tightened, it’s wise to inspect for other potential issues that might be causing the faucet handle to loosen. Look for signs of wear or corrosion on the handle itself and the cartridge inside, which can happen over time with frequent use. Corrosion, in particular, can affect the handle’s grip on the cartridge, leading to a loose feel.
Examine the O-rings and seals as they can become brittle or cracked, which could contribute to a less stable handle. If these components are damaged, replacing them can restore the faucet’s functionality and prevent water leakage.
Lastly, check if the mounting hardware that secures the faucet to the sink is secure. A loose base can cause the entire faucet, including the handle, to wobble. Tightening this hardware ensures that the faucet remains stable, which, in turn, helps keep the handle firmly in place. Regular checks and maintenance can avert these common problems and extend the life of your kitchen faucet.
Maintenance Tips to Prevent Future Issues
Regularly inspecting your faucet for signs of wear or loose components can preempt many common issues. A once-a-month check can save you a great deal of hassle.
Frequent cleaning isn’t just about aesthetics—it also helps in identifying any potential points of failure early. When cleaning, be gentle with the handle and avoid harsh chemicals that can damage the faucet’s finish or its internal components.
Lubricating moving parts annually with a silicone-based lubricant can keep the handle’s action smooth and prevent the grinding that might loosen it over time.
Using your faucet with care is another preventive measure. Forceful turning or pulling can hasten the loosening of the handle. Encourage gentle use, and it will extend the lifespan of the components.
If your faucet handle includes a set screw, periodically checking and tightening it with an Allen wrench ensures it remains secure and can prevent loosening from regular operation.
Lastly, understand the water parameters in your area. Hard water can lead to mineral buildup within the faucet assembly. If you have hard water, consider installing a water softener or regularly descaling the faucet to keep everything functioning optimally.


