Last updated on
Learn how to revamp your kitchen with a fresh, new look by painting your Formica countertops using simple, step-by-step instructions.
Key takeaways:
- Use high-quality materials for a professional finish.
- Choose the right paint for a durable countertop.
- Prioritize safety with proper ventilation and protective gear.
- Gather specific tools and materials for a smooth transformation.
- Equip yourself with quality brushes and rollers for a professional finish.
What's Inside
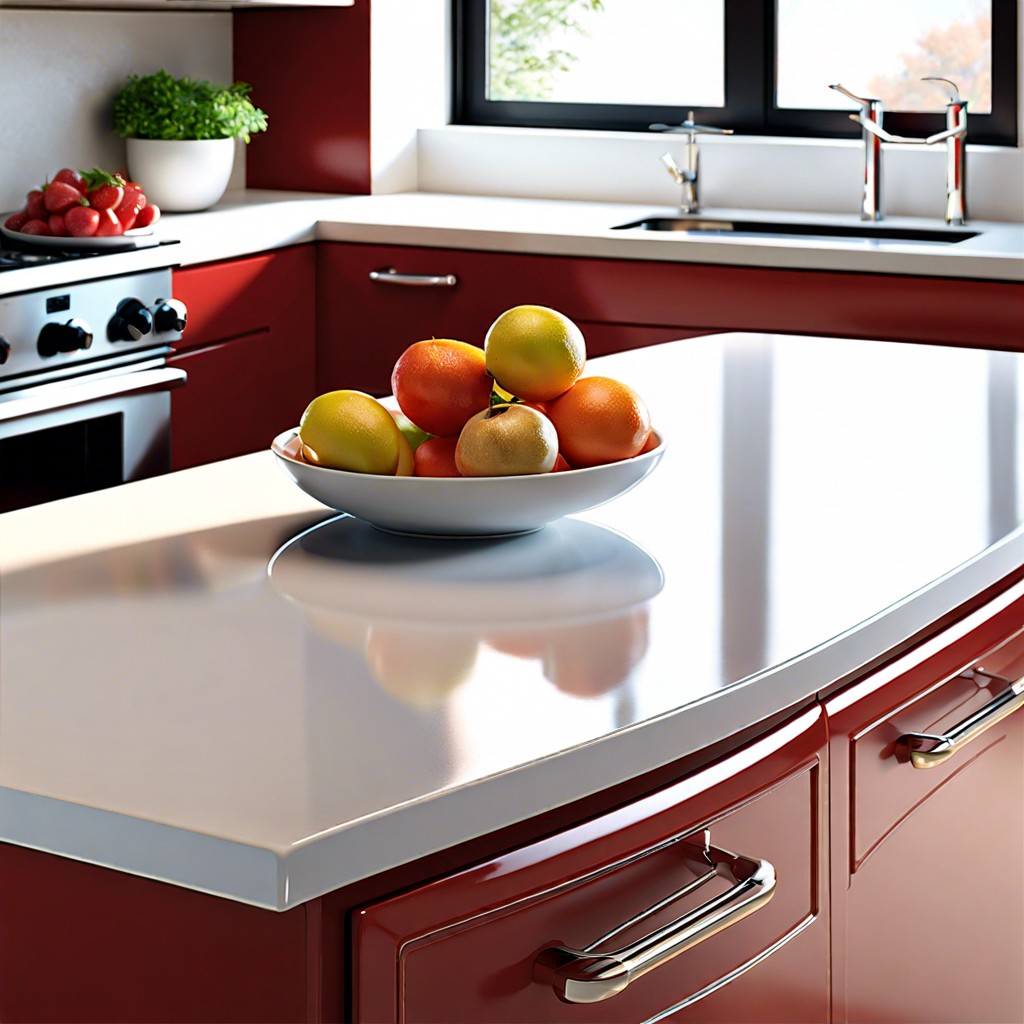
Materials to Use for Painting Formica
When approaching a Formica countertop project, quality materials are key to ensure longevity and a professional finish. Start with a high-adhesion primer specifically designed for laminate and glossy surfaces; this creates a receptive base for the paint to adhere properly. For the paint itself, opt for an acrylic or latex-based paint that promises durability. Gloss or semi-gloss finishes not only make cleaning easier but also resist moisture—a plus in kitchen environments. In instances where a more sophisticated or particular finish is desired, countertop paint kits are available that mimic the look of granite or other stone surfaces. Remember, the quality of the materials directly impacts the end result, so invest in good products for a countertop that looks fabulous and withstands daily wear and tear.
Paint
Selecting the right kind of paint is crucial for the success and durability of your countertop project. Epoxy-based paints are especially well-suited for Formica because of their durability and ability to adhere to laminates. When using this type, it’s essential to mix a two-part epoxy paint, which will provide a hard, durable surface.
Acrylic paint, combined with a bonding primer, can be an alternative if carefully applied. Primer aids in the adhesion of the paint to the Formica, setting the stage for a lasting finish.
For those favoring a bit more luster, enamel paint is another option that produces a hard, glossy finish, though it requires a steady hand and patience during the application process to avoid streaks and brush marks.
Remember to factor in the cure time for the paint you choose. Some may require a week or more to fully harden, during which the countertops should not be used. This time investment is essential for a long-lasting finish, so plan accordingly to avoid any premature wear and tear.
Safety Considerations
Before diving into your countertop transformation project, prioritize your safety. A well-ventilated workspace is crucial when dealing with paint fumes. Open windows or use a fan to ensure proper airflow. Personal protective gear such as gloves and safety goggles will shield your skin and eyes from paint and primer. Additionally, long-sleeved clothing can prevent irritation from sanding debris.
When sanding Formica, fine particles can become airborne. A dust mask or respirator is essential to avoid inhaling these. It’s also wise to cover any nearby surfaces to protect them from dust and paint splatters.
Reading labels can’t be overlooked. Paints and primers may come with specific safety instructions or warnings, so make sure to follow them closely. This not only ensures a safe experience but also guarantees the best results for your project. Store all materials safely, out of reach of children and pets.
Remember, staying informed about the products you use, maintaining a clean workspace, and proper equipment handling are the pillars of a safe and successful DIY project.
What You’ll Need
Embarking on the journey to transform a Formica countertop requires a collection of specific tools and materials to ensure a smooth and lasting finish. First and foremost, a high-quality primer is essential as it creates a receptive base for the paint to adhere to. Look for a primer designed for laminate surfaces.
You’ll also need paint that’s suitable for countertops. Acrylic or latex paints work well, but for a more durable finish, epoxy-based formulations are superior. They’re designed to withstand the wear and tear that countertops typically endure.
In addition to your paint and primer, you’ll want to have a good quality angled brush and a foam roller on hand. The angled brush will help you get into the corners and edges with precision, while the foam roller is perfect for achieving a smooth, brushstroke-free surface on the flat areas.
Sanding is a critical step in the preparation process, so include a fine-grit sandpaper in your toolkit. It will rough up the surface just enough to help the primer bond better.
Once the painting is done, you’ll need to seal your work. A water-based polyurethane sealer will protect your newly painted surface from scratches, stains, and water damage without yellowing over time.
Lastly, remember the cleaning supplies. A degreaser and quality cleaner will ensure that no oils or dirt interfere with the paint’s ability to bond with the Formica surface.
With these key supplies in hand, you’re well-equipped to start your countertop transformation journey!
Equipment / Tools
Before diving into the transformative process of painting your Formica countertops, gathering the right equipment and tools is essential. Starting with a high-quality primer that’s specifically formulated for laminate surfaces will ensure that your paint adheres properly and lasts longer. You’ll also need a paint that’s both durable and formulated for the wear and tear of countertops. A semi-gloss or gloss finish is often recommended due to its ability to withstand cleaning and resist staining.
One of the most critical steps is to have a fine-grit sandpaper or sanding block. This allows you to rough up the Formica surface, which is crucial for the primer and paint to stick effectively. Don’t skimp on this part; a poorly sanded surface can lead to peeling or chipping paint down the line.
Quality paintbrushes and a foam roller are your allies in achieving that smooth, professional finish. The brush is perfect for getting into corners and edges, while the roller covers the flat areas quickly and leaves a smooth finish without brush strokes.
A clean working space can’t be overstated, so make sure you have painter’s tape to protect the walls and surfaces not being painted. Drop cloths or old newspapers should also be on hand to catch any drips and spills. Finally, don’t forget the safety gear: gloves to protect your hands, goggles for your eyes, and a mask to avoid inhaling any sanding dust or paint fumes.
A checklist of these items not only prepares you but also sets the stage for a seamless painting experience. With the right tools at your disposal, the project is set for success from the very start.


