Last updated on
This how-to guide will provide you with practical steps to redo your kitchen cabinets, from choosing materials to the final touches, ensuring a fresh and updated look without the need for professional help.
Key takeaways:
- Assess the state of your cabinets before proceeding.
- Choose the right paint and primer for durability and finish.
- Follow a step-by-step guide for repainting cabinets.
- Consider replacing cabinet doors for a new look.
- Plan budget-friendly updates like hardware and lighting.
What's Inside
Assess the Current State of Your Cabinets
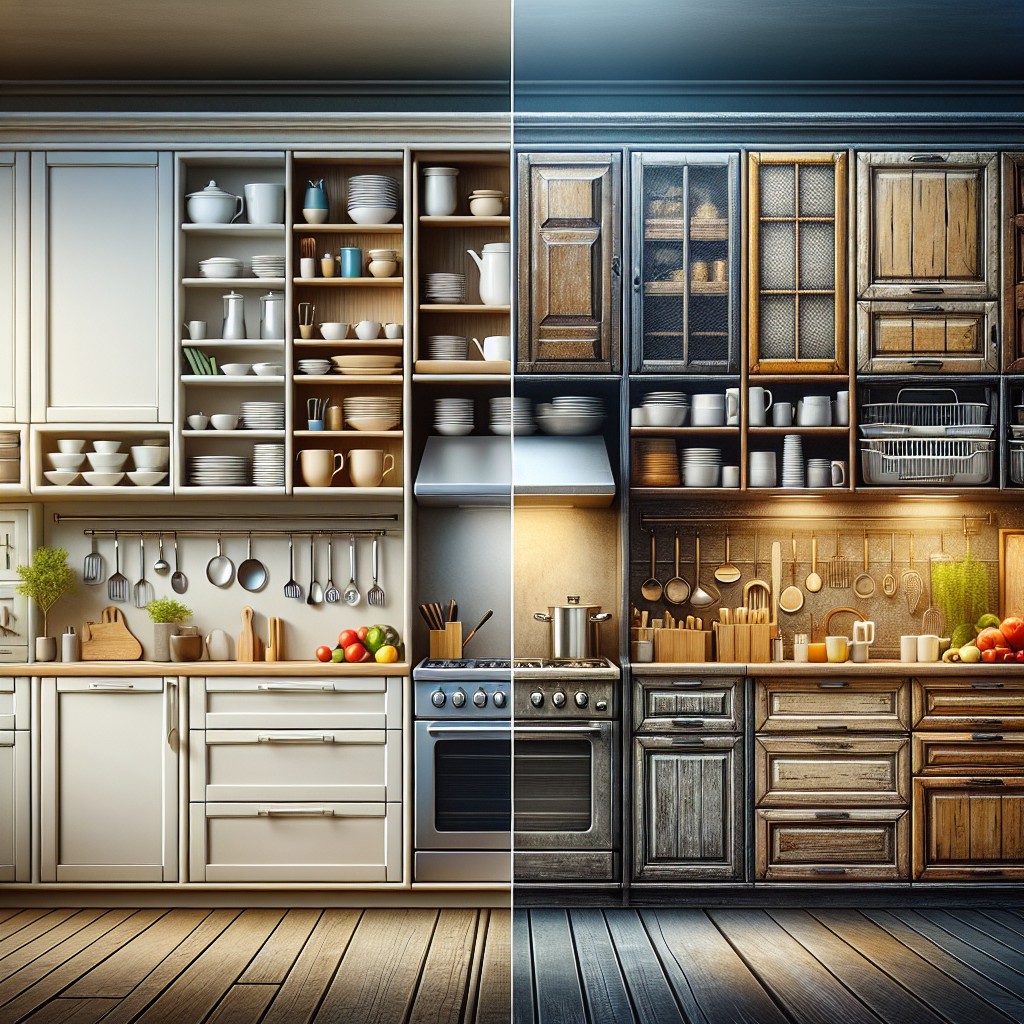
Evaluating your cabinetry involves a keen eye and a practical mindset. Check for structural integrity first. Are the cabinet boxes solid, or do they show signs of water damage and warping? If they’re sound, it’s a good indicator that refinishing could be a successful route.
Next, inspect the doors and drawers. Do they close properly or are the hinges loose? Sometimes, simple adjustments or a hardware replacement can make them function like new. Look closely at the surface finish. Deep scratches, discoloration, and peeling veneer are red flags that might require more than a fresh coat of paint.
Lastly, consider the layout. Does it work for you? If the flow of your space is off, no amount of refinishing will solve the problem, and it might be time to think about reconfiguring the layout. Remember, the goal is not just aesthetics but functionality that suits your everyday life.
Choose the Right Paint for Kitchen Cabinets
Selecting the ideal paint is critical for durability and the desired finish on your kitchen cabinets. A semi-gloss or gloss finish is preferable due to its ease of cleaning and resistance to moisture, key factors in a kitchen environment.
Oil-based paints, although durable and with a smooth finish, have a longer drying time and release more fumes. On the flip side, water-based latex paints are less odorous, dry faster, and have improved in quality, offering a strong finish suited for cabinetry.
When it comes to primer, opt for one that blocks stains and is tailored for wood surfaces; this will ensure that your paint adheres properly and the grain doesn’t bleed through.
In terms of color, lighter shades can make a space feel larger and are timeless, while darker hues can add drama and depth but may show more wear over time.
Always remember to consider the current color scheme of your kitchen and the level of natural light when choosing your paint color. This will ensure a harmonious design that enhances the overall aesthetic and feel of the space.
Step-by-Step Guide to Repainting Cabinets
Begin with a thorough cabinet cleaning, as residue and grease might hinder paint adhesion. Use a trisodium phosphate (TSP) solution to ensure a clean surface that’s ready for priming.
Remove cabinet doors and hardware. Labeling each piece with painter’s tape can save you from a hardware mix-up during reassembly.
Sanding is crucial; it roughs up the surface, allowing primer to adhere better. A medium to fine-grit sandpaper should get the job done. Afterward, remove dust with a tack cloth or a damp rag.
Apply a high-quality primer suitable for the type of surface you’re dealing with. Oil-based primers work well for most cabinet types, offering durability and a smooth finish.
Once the primer is dry, lightly sand again to eliminate any brush strokes or drips. Remember, a smooth base equals a smoother finish.
Now, it’s time to paint. Apply thin coats of your chosen cabinet paint. Typically, a semi-gloss or satin finish is preferred for durability and ease of cleaning. Two coats should suffice for full coverage, but additional coats may be necessary for darker colors.
Allow sufficient drying time between coats. Patience during this stage ensures a professional-looking finish.
Once the paint is completely dry, carefully reattach the hardware and doors. Enjoy the transformation and the fresh, updated look of your revitalized kitchen cabinets.
Options for Replacing Cabinet Doors
When it comes to infusing new life into your kitchen, swapping out the cabinet doors can be a game-changer. This approach allows you to alter the style of your kitchen drastically without the expense and hassle of a complete cabinetry overhaul.
There are a variety of replacement options that cater to different preferences and budgets:
- Ready-to-Assemble (RTA) Doors: These are a cost-effective solution that come in standard sizes and finishes. They’re ideal for those comfortable with DIY projects since they require assembly and installation.
- Custom Doors: If you have non-standard cabinet sizes or desire a unique look, custom doors are the way to go. This option lets you tailor everything from wood species to panel and frame designs.
- Glass-Fronted Doors: For those wanting to display fine china or add a sense of depth to their kitchen, glass-fronted doors are stunning. They can be etched, frosted, or clear depending on your taste and privacy needs.
- Thermofoil Doors: These are made from a durable, maintenance-free material that comes in various colors and patterns, mimicking the look of painted wood.
- Eco-Friendly Options: Consider doors made from sustainable materials like bamboo or recycled wood to reduce your environmental footprint.
- Hardware: Don’t forget, new knobs and pulls are the finishing touch that can complement your new cabinet doors and tie the look together.
Choosing the right door replacement can significantly alter the ambience of your kitchen without breaking the bank. Consider the durability, maintenance, and style that will best suit your kitchen’s daily demands and aesthetic.
Planning for High-Impact Updates On a Budget
Budget-friendly updates can significantly enhance the look of your kitchen cabinets without draining your wallet. Here are some cost-effective strategies:
- Update Hardware: Swapping out old handles and knobs for new, stylish ones creates a fresh look.
- Add Crown Molding: Installing crown molding at the top of your cabinets gives a custom, upscale appearance.
- Use Contact Paper: Affordable and versatile, contact paper comes in various patterns, mimicking expensive materials.
- Install Under-Cabinet Lighting: LED strips or puck lights illuminate workspaces and add ambiance without a heavy price tag.
- Incorporate Open Shelving: Remove some cabinet doors entirely for an open-concept feel, displaying select dishware as decor.
Remember, even minor updates can dramatically refresh your space when done thoughtfully.


