Last updated on
Learn how to replace a fluorescent light fixture effortlessly and brighten up your space today!
Ever felt your fluorescent light fixture is like that one stubborn friend who just won’t keep up? Perhaps a light shows its age with flickering Morse code or “It’s not you, it’s me” buzz sounds. But fear not! Replacing a fluorescent fixture might sound like a daunting task, but it’s as easy as flipping a switch— literally. Ready your toolkit and zero in on the know-how you need. By the end of this guide, you’ll laugh in the face of bad lighting and transform your space, ensuring not even a light bulb moment is missed. Let’s flip the script on an old luminosity love story and get glowing!
Key takeaways:
- Gather tools: ladder, goggles, voltage tester.
- Turn off power supply for safety.
- Remove old fixture and disconnect wiring.
- Install new fixture and connect wiring.
- Dispose of old fixture responsibly and consider recycling.
What's Inside
Gather Necessary Tools and Materials
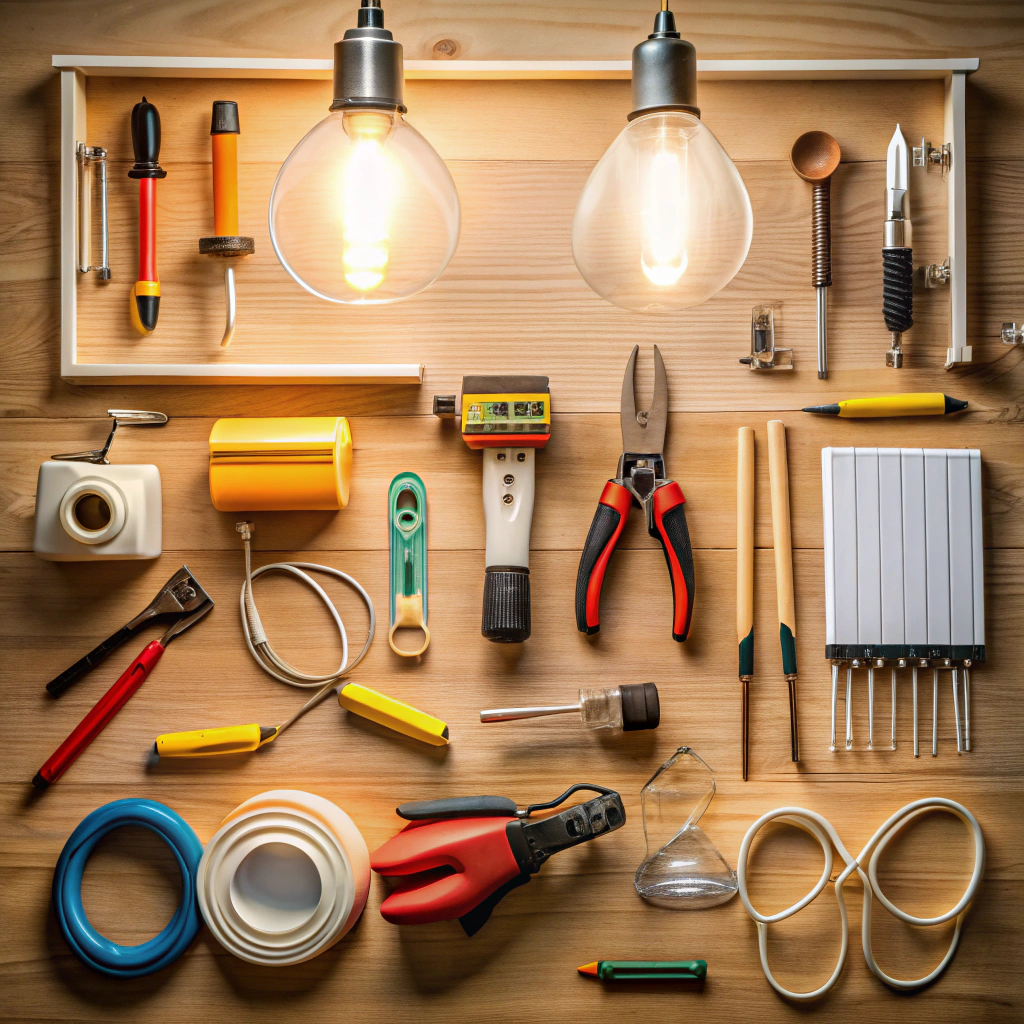
Get ready for a toolkit showdown! Your glowing friend on the ceiling has outstayed its welcome. Your mission, should you choose to accept it, involves some handy companions:
Start with a good ladder. Without it, you’ll end up like a cat stuck in a tree, but less cute. Safety goggles are a must. Protect those precious eyeballs from dust battles.
A voltage tester is your peacekeeper here. It ensures your work won’t be electrifying in the wrong way. Screwdriver? Both flathead and Phillips. They’re the true party starters in the tool world.
Finally, have a wire stripper for making those fresh connections, and maybe a snack. Okay, the snack isn’t necessary, but it helps if you’re in it for the long haul. Batteries recharged? Tools in hand? Excellent, onward to light-filled glory!
Turn Off Power Supply
Because no one enjoys unplanned hair-raising experiences, cutting off the power is crucial. Here’s how to do it like a pro:
Head to the circuit breaker and flick off the switch that controls the light fixture. If unsure, switch off the main power to be extra safe—it’s better to be over-cautious than to get an electrifying surprise!
Remember to tell your family or roommates. Nobody wants to be the villain of unexpected darkness.
Use a voltage tester on the fixture to ensure it’s really, truly off. It’s like double-checking there’s no milk in the cereal bowl before adding OJ.
Turning off the power isn’t adventurous, but it keeps your day much brighter. Figuratively, of course!
Remove Cover and Fluorescent Tubes
Okay, here comes the fun part: carefully removing the cover and those pesky fluorescent tubes. Here’s how to do it smoothly:
Brace yourself for some ceiling gymnastics. Reach up and gently push up or slide the cover to remove it. Think of it like pushing off a sunroof—only less glamorous.
Maintain eye contact with those tubes. Give them a gentle twist until they release from their sockets. It’s all about the twist, like doing the cha-cha but with way less chance of embarrassing yourself at a wedding.
Set the tubes aside somewhere safe. We want no tube tragedies. Plus, if you want to use them again, you’ll want them intact.
Remember to wear protective gloves if you’re feeling fancy. Safety first; chic second. Plus, you’ll look like you know what you’re doing, which is half the battle won.
Disconnect Old Fixture Wiring
Now that things are humming along smoothly (except for the power, that should be off!), let’s get to the heart of the matter: the wiring.
Safety glasses on, time to get detached from those wires. Remember, wires can be a bit like a tangled spaghetti mess. Take photos. Those snapshots will help you remember which noodle goes where when you connect the new fixture.
First, locate the wire connectors, those plastic caps might be all that’s standing between you and an electrical tantrum. Carefully unscrew them. Gently separate the wires, making sure you remember which is which. You’re looking for black (hot), white (neutral), and occasionally a green or bare one (ground). Think of them as the colorful characters in this little electrical drama.
Feel like an electrical detective yet? You’re doing great. Just ensure everything’s separated safely and out of the way. Wires hanging limp? Perfect! This means you’re ready to tackle the next exciting stage of this illuminating adventure.
Remove the Old Fixture
First, grab a sturdy step ladder and position it securely under the fixture. Don’t test your trapeze skills here, folks. Safety first.
Next, use a screwdriver to remove screws or fasteners holding the fixture in place. Keep an eye on the deck to catch any screws falling faster than your motivation on a Monday morning.
Once unscrewed, gently lower the fixture. It’s not the place to practice your weightlifting. Hold it steady. Fixtures have a mind of their own and may attempt a dramatic crash to the floor if given half the chance.
Finally, set the old fixture aside. It’s not art, but you might find a place in the garage where it can retire in peace. Or just get ready to drop it at the recycling center – give Mother Earth a little break from the chaos.
Install the New Fixture Mount
Consider this the part where your muscles get their moment to shine.
First, check if the new fixture mount aligns with the existing holes from the old fixture. If it’s a perfect matchup, congratulations! If not, it’s time to drill new holes.
Be sure the mount is level; avoid creating modern art on your ceiling unless that’s your design choice.
Secure the mount with the provided screws. Tighten them just enough—like turning a key on a treasure chest, not forcing a stubborn jar lid.
Double-check the fixture is firmly anchored. You don’t want it popping off like a champagne cork. And, voilà, you’re all set for the next step in your lighting adventure.
Connect Wiring to New Fixture
Safety first, folks, let’s not get zapped!
– Check the wiring configuration on the new fixture. Most fixtures have color-coded wires; black for the live wire, white for neutral, and green or bare for grounding. Someone clearly loved playing with their crayons.
– Match the black wires from the fixture and ceiling and connect them using a wire nut. Give it a gentle tug. If it holds, you’ve done it right. If not, you might have a future as a magician.
– Repeat the process for the white neutral wires. Remember, these guys just want to get together and hang out.
– Connect the green or bare wire to its buddy in the ceiling or secure it to the metal box with an appropriate screw. The ground wire just wants to feel included in this wiring party.
Double-check everything before moving on. You wouldn’t want your light show to end before it begins.
Secure the New Light Fixture
Time to put that new fixture in its place, literally and figuratively.
First, ensure the mounting bracket installed earlier is snug. Nobody likes a wobbly light, except maybe your cat.
Next, align the fixture with the bracket. It should fit like a glove, but without the pesky lost-forever sock drama. Use screws to secure the fixture firmly. You don’t want it to pull a Houdini during a dinner party.
Finally, double-check that everything is tight and secure. If you need a step stool, now’s the time to channel your inner mountain goat. A gentle tug will confirm that your fixture isn’t planning an impromptu floor meet-and-greet when you’re not looking.
And voila, it’s as secure as that secret cookie stash no one knows about—except now everyone will admire this glow-up.
Restore Power and Test the Light
Flip the circuit breaker back on and say a little prayer to the electricity spirits. You’re ready for the moment of truth. Fingers crossed, toggle the light switch.
If nothing happens, don’t panic. Check if you crossed any wires—literally. A loose wire can be sneakier than a cat burglar.
See light? You’re practically a wizard now. Bask in the glow of your success.
But, if your new fixture holds a dramatic blackout instead of a grand illumination, look for any blown fuses, too.
Test the fixture in both “fashionably dim” and “daylight is my best light” modes (if applicable).
And remember, flicking the switch on and off repeatedly is neither a stress test nor a good stress reliever.
Dispose of Old Fixture Responsibly
Out with the old and in with the… landfill? Not so fast! Let’s give Mother Earth a little break and dispose of that fluorescent fixture responsibly. After all, we’re not Neanderthals with a lightbulb problem.
Check your local waste disposal guidelines. They can be as unique as your Aunt Edna’s casserole recipe. Many areas have specific procedures for light fixtures.
Consider recycling. Many parts, especially the metal ones, can be recycled. Check with the nearest recycling center for specifics.
Donate if possible. If the fixture is still in working condition, it might just find a loving home via a charity or secondhand store. Your trash could be someone else’s treasure.
Don’t forget about hazardous materials. Fluorescent tubes contain small amounts of mercury, so don’t just toss them in the trash. Handle them with care, and hand them over to specialized disposal programs.
Proper disposal isn’t just responsible; it’s your badge of honor as both a handy DIYer and an eco-warrior! Let’s keep the planet and our homes bright without dimming the future.
Read More
 How Many Recessed Lights in Kitchen: Bright Ideas for Perfect Illumination
 Lumens Per Square Foot: Transform Your Space with Perfect Lighting
 How to Change a Light Fixture: Transform Your Space
 15 Matching Chandelier and Pendant Lights Ideas: A Step-by-Step Guide
 15 Beautiful Ceiling Fan Ideas for Innovative Home Designs