Last updated on
Discover the ideal spray paint type for your kitchen cabinets, ensuring a flawless and long-lasting finish in this comprehensive guide.
Have you been looking to give your kitchen cabinets a fresh new look without breaking the bank? One of the easiest and most cost-effective ways to do so is by using spray paint. However, not all spray paints are created equal, and using the wrong kind can lead to disastrous results.
That’s why in this article, we’ll be discussing what kind of spray paint is best for kitchen cabinets and how to properly apply it for a flawless finish. Say goodbye to outdated cabinets and hello to a stunning new look!
What's Inside
Types of Spray Paint for Cabinets
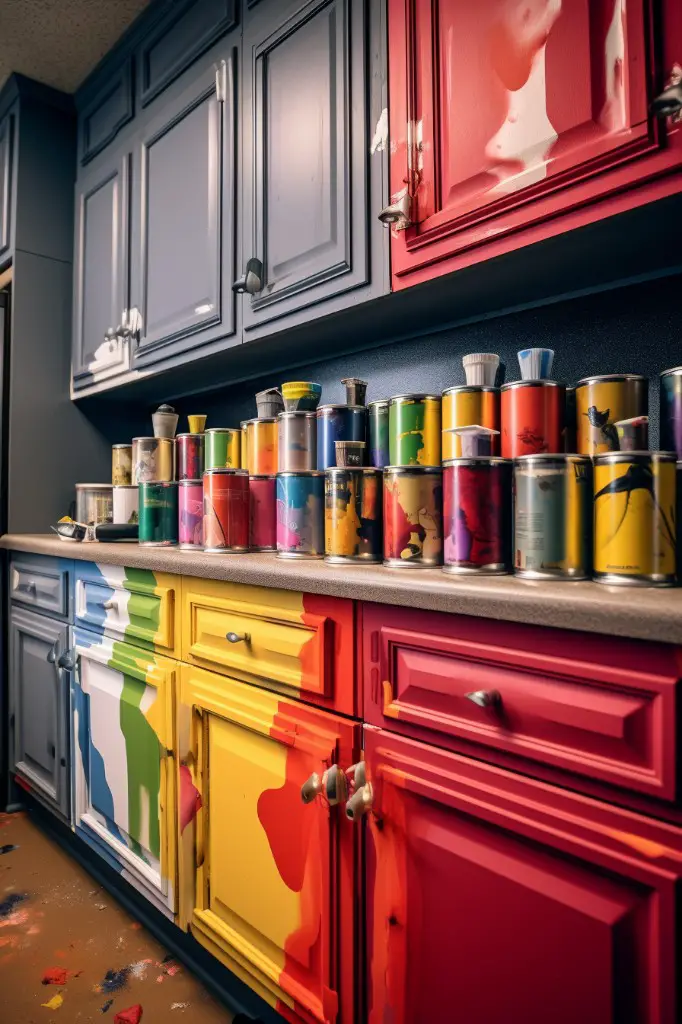
When it comes to spray painting kitchen cabinets, there are two main types of spray paint: oil-based and water-based. Oil-based paints have been around for a long time and are known for their durability, but they can be difficult to work with due to their strong odor and longer drying times.
Water-based paints, on the other hand, have become increasingly popular in recent years because they dry faster than oil-based paints and emit fewer fumes.
Another factor to consider when choosing a type of spray paint is the finish you want. Spray paint finishes range from matte or flat (no shine) all the way up to high gloss (very shiny).
The finish you choose will depend on your personal preference as well as the style of your kitchen.
Choosing the Right Spray Paint
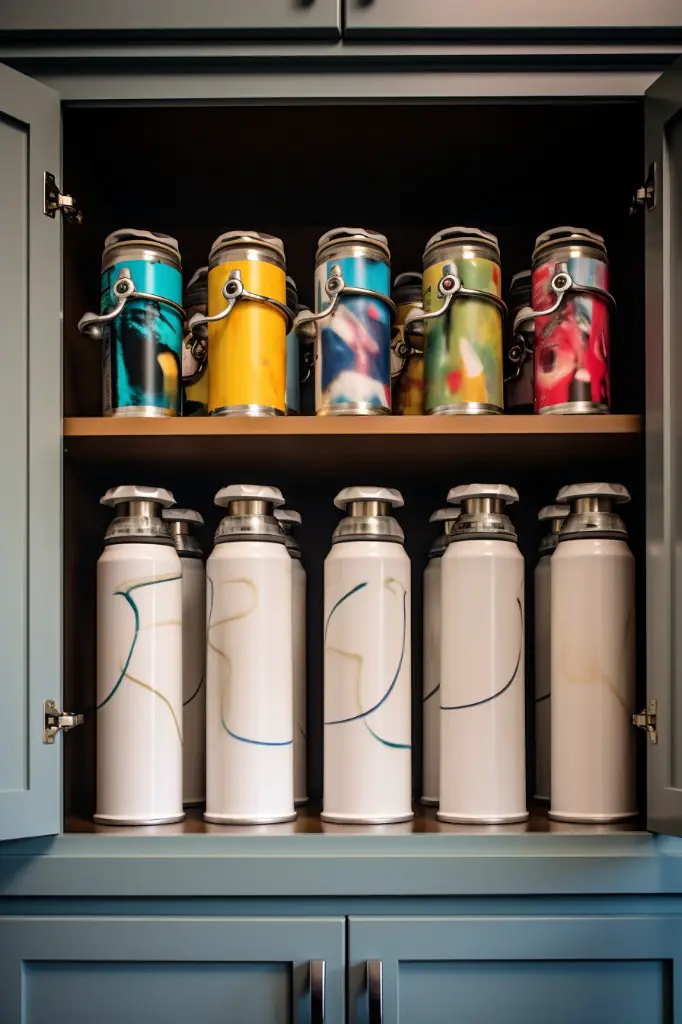
With so many options available, it can be overwhelming to decide which one is best suited for your project. When selecting a spray paint, consider the following factors:
1. Type of Paint: There are two main types of spray paints – oil-based and water-based (also known as latex).
Oil-based paints provide better adhesion and durability but require more ventilation during application due to their strong odor and longer drying time. Water-based paints dry faster, have less odor, and are easier to clean up.
2. Finish: Spray paints come in various finishes such as matte, satin or gloss; each provides different levels of shine or sheen on surfaces.
3. Color Options: Choose from an array of colors that complement your kitchen’s color scheme while also considering how they will look with other elements like countertops or backsplashes.
4. Brand Quality: Opting for high-quality brands ensures that you get excellent coverage without having any issues with chipping or peeling over time.
Kitchen Cabinet Surface Materials
Different materials require different types of paint and preparation methods for optimal results. For instance, if your cabinets are made of wood, you’ll need a primer that can seal the grain and prevent tannin bleed-through.
On the other hand, metal or laminate surfaces may require sanding to create a rough texture that allows paint adhesion.
It’s also crucial to note that some cabinet finishes may not be suitable for spray painting at all. Cabinets with vinyl wrap or thermofoil finishes are prone to peeling when exposed to heat from spraying equipment.
Prepping Your Kitchen Cabinets
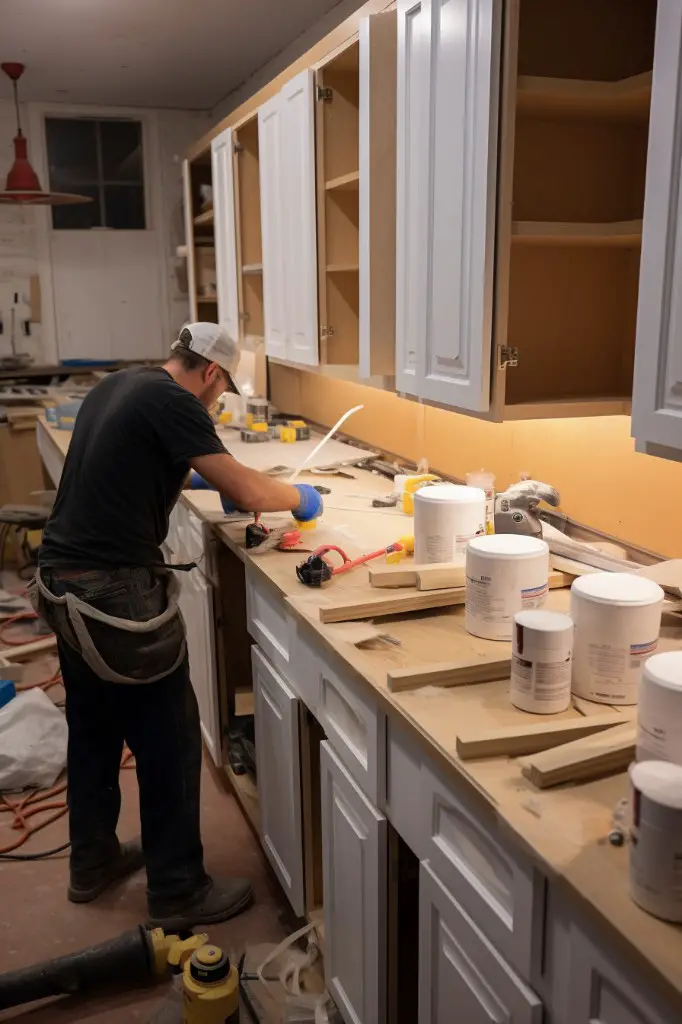
This step is crucial in ensuring that the paint adheres well and lasts for a long time. The first thing you need to do is remove all cabinet doors, drawers, and hardware such as knobs or handles.
Place them on a flat surface where they won’t be disturbed during the painting process.
Next, clean your cabinets thoroughly with warm soapy water or a degreaser solution to remove any dirt or grime buildup that may have accumulated over time. Be sure to rinse off all soap residue and let the surfaces dry completely before proceeding.
After cleaning your cabinets, inspect them for any damages such as cracks or dents that need repair before painting. Fill these areas with wood filler using a putty knife then sand down until smooth once dried.
Use painter’s tape around edges of walls adjacent to cabinetry if necessary (to avoid overspray) and cover countertops/floors with drop cloths/old newspapers/plastic sheets/etc., protecting from accidental spills/drips/stains while spraying paint onto cabinet surfaces.
Cleaning and Degreasing Cabinets
Over time, grease and grime can accumulate on the surface of your cabinets, making it difficult for paint to adhere properly. To ensure a smooth finish that lasts longer, start by removing all cabinet doors and hardware.
Next, use a gentle cleaner or degreaser to remove any dirt or oil buildup from the surfaces of your cabinets. You can make an effective cleaning solution at home using warm water mixed with dish soap or vinegar.
Apply the cleaning solution with a soft cloth or sponge in circular motions until all visible dirt is removed. Be sure not to scrub too hard as this may damage the surface of your cabinet material.
Once you’ve cleaned each cabinet thoroughly, rinse them off with clean water and allow them ample time to dry completely before proceeding further.
Repairing and Priming Cabinets
Repairing damaged areas such as cracks, dents or holes is crucial for a smooth finish. Use wood filler to fill in any gaps and sand down the area until it’s even with the rest of the cabinet surface.
Once all repairs are complete, apply a primer coat on your cabinets before spraying them with paint. Priming helps create an even base that will allow for better adhesion of paint while also covering up stains or discoloration on old cabinets.
When choosing a primer, look for one that is specifically designed for use on kitchen cabinetry surfaces. A high-quality bonding primer will help ensure excellent adhesion between your cabinet material and topcoat paint while also providing extra durability against wear-and-tear over time.
Sanding Cabinets for Smoothness
Sanding helps remove any bumps or roughness on the surface of the cabinet and creates a better bond between the paint and wood. Start by using 120-grit sandpaper to remove any existing finishes or coatings from your cabinets.
Then, switch to 220-grit sandpaper for a smoother finish.
Make sure you’re wearing protective gear such as gloves, goggles, and masks while sanding as it can create dust particles that are harmful when inhaled. Use long strokes with even pressure while holding the sander flat against each surface of your cabinet doors.
Afterward, wipe down all surfaces with a tack cloth or damp rag to remove any remaining dust particles before applying primer or paint.
Necessary Equipment and Tools
Here are some of the necessary items you’ll need:
1. Spray Paint: Choose a high-quality paint that is specifically designed for cabinets.
2. Masking Tape: Use masking tape to cover areas that should not be painted, such as hinges or handles.
3. Drop Cloths: Protect your floors and countertops with drop cloths or old sheets.
4. Sandpaper: You’ll need sandpaper in various grits (120-220) for smoothing out surfaces before painting.
5. Tack Cloth: A tack cloth will help remove any dust particles from sanded surfaces before painting them.
6. Respirator Mask/Gloves/Eye Protection/Protective Clothing – Safety first! Wear protective gear when working with spray paint to avoid inhaling fumes or getting paint on your skin/clothes/eyes/hair/nails/etcetera!
Spray Paint Techniques
Before you begin, it’s essential to understand some basic spray paint techniques that will help ensure a smooth and even finish.
Firstly, always shake the can well before use. This helps mix any settled pigment or other materials in the can with the solvent for an even consistency.
Next, hold your arm out straight from your body and keep a distance of 6-8 inches between yourself and the cabinet surface while spraying. Move in long sweeping motions across each section of cabinetry until fully covered but avoid overspraying as this may lead to drips or unevenness on surfaces.
It is also important not to apply too much pressure when spraying as this could cause runs or sags on vertical surfaces like doors or drawers fronts which are more prone than horizontal ones such as countertops where gravity works against them instead!
Spraying Techniques for Best Results
To achieve a professional-looking finish, there are some techniques you should keep in mind.
Firstly, always hold the can at least 6-8 inches away from the surface of your cabinet. This will ensure an even coat without any drips or runs.
Secondly, use long sweeping motions when spraying instead of short bursts. Start at one end of the cabinet and move across to avoid uneven coverage.
Thirdly, overlap each pass slightly with previous ones to create a smooth finish without any gaps or lines between coats.
Lastly, make sure not to overspray as this can lead to pooling and dripping on vertical surfaces like doors or drawers. Instead of trying too hard for full coverage in one go; apply multiple thin layers until desired results are achieved.
Applying Multiple Coats of Paint
Applying multiple coats of paint is essential for achieving a smooth and even finish. However, it’s important not to rush the process by applying too many coats at once or using thick layers of paint.
Start with a light coat of spray paint on each cabinet surface, holding the can about 8-10 inches away from the surface. Allow this first coat to dry completely before moving onto subsequent layers.
For best results, aim for three thin coats rather than one or two thick ones. This will ensure that each layer dries evenly without any drips or runs in between applications.
Remember also to lightly sand between each coat with fine-grit sandpaper (220 grit) before applying another layer of spray paint. This helps remove any imperfections and creates an ideal surface for adhesion.
Painting Cabinet Edges and Frames
These areas can make a significant impact on the overall appearance of your cabinets. To ensure that your kitchen looks polished and professional after spray painting, it’s essential to pay attention to these details.
To paint cabinet edges and frames effectively, start by using painter’s tape or masking tape around the perimeter of each area you want to paint. This will help prevent overspray onto other surfaces while ensuring clean lines.
Next, use a steady hand with even pressure when spraying along the edges and frames. It may be helpful to practice on a scrap piece of wood before starting on your actual cabinets.
Be sure not to oversaturate any one area with too much paint as this can lead to drips or runs in the finish. Instead, apply thin coats evenly across all surfaces for best results.
Detailing Drawers and Insets
These areas can be tricky to paint without getting drips or uneven coverage, but with a little patience and attention to detail, you can achieve a professional-looking finish.
To start detailing drawers and insets, use painter’s tape or masking tape around the edges of each area. This will help prevent overspray onto other parts of the cabinet.
Next, spray in short bursts from side-to-side across each drawer front or inset panel until they are evenly coated.
For small details like handles or knobs that cannot be removed easily for painting separately; cover them with painter’s tape before starting work so that they don’t get painted over accidentally.
Touching Up Runs and Errors
Don’t worry; these can be easily fixed without having to redo the entire project. To touch up any imperfections, start by lightly sanding down the affected area using fine-grit sandpaper until it’s smooth and even.
Then, use a small brush or foam roller to apply another coat of paint over the sanded spot and blend it into surrounding areas for an even finish. Be sure to let each layer dry completely before applying additional coats if necessary.
Remember that prevention is always better than cure when painting kitchen cabinets! Take your time during application and follow all instructions carefully for best results.
Ventilation and Safety Tips
The fumes from the paint can be harmful if inhaled for an extended period of time, so it’s essential to work in a well-ventilated area. Open windows and doors or use fans to circulate fresh air throughout the room.
Wearing protective gear such as gloves, goggles, and a respirator mask is highly recommended. These items will protect your skin from chemicals that may cause irritation or burns while also preventing you from inhaling any toxic fumes.
It’s also important to keep children and pets away from the workspace during this process since they could accidentally ingest paint chips or breathe in harmful particles.
Reassembling Kitchen Cabinets
This is a crucial step in the process as it ensures that everything fits together perfectly and looks seamless. Begin by carefully removing all masking tape and plastic sheeting from the surrounding areas of your cabinets.
Then, start putting back all hardware such as hinges, handles or knobs that were removed before spraying.
Make sure to take extra care when handling freshly painted surfaces so as not to scratch or damage them during reassembly. If any parts are damaged beyond repair during this stage, replace them with new ones before proceeding further.
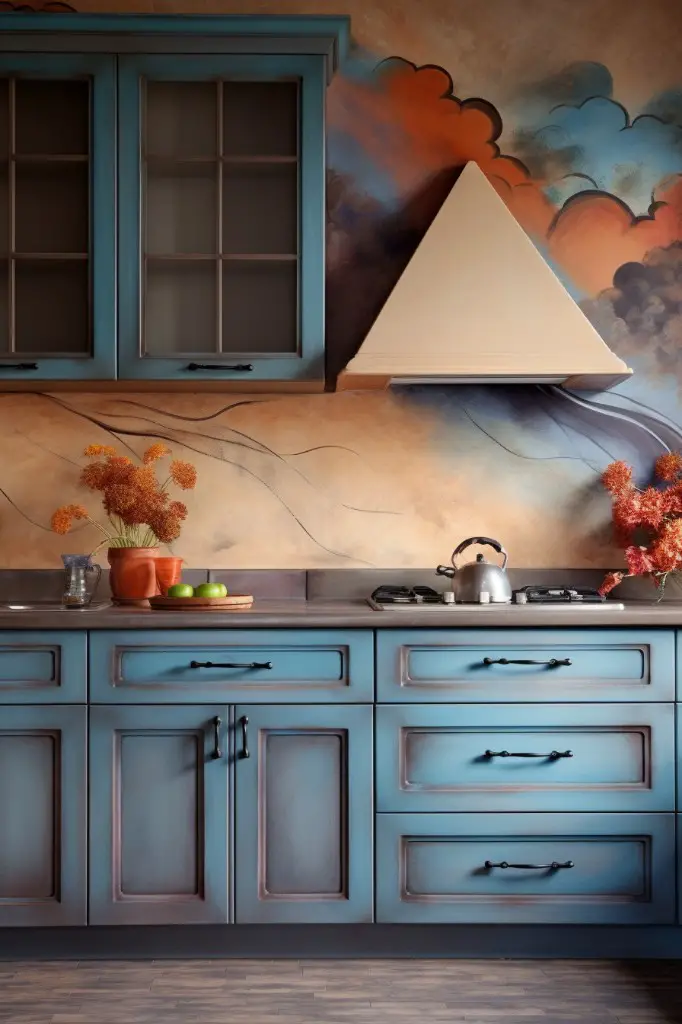
Benefits of Spray Painting Cabinets
Firstly, it is an affordable way to give your kitchen a fresh new look without having to replace the entire cabinetry. Secondly, spray painting allows you to achieve a smooth and even finish that is difficult to replicate with traditional brush painting methods.
Thirdly, spray paint dries quickly and can be applied in multiple coats for added durability and longevity.
Another benefit of using spray paint on cabinets is its versatility when it comes to color options. You can choose from various shades of white or opt for bold colors like navy blue or forest green – the possibilities are endless! if you’re looking for something more unique than solid colors, there are also metallic finishes available that add an extra touch of elegance.
Spray Painting Vs Brush Painting
While both techniques can achieve a beautiful finish, they have their pros and cons.
Spray Painting:
- Provides a smooth and even finish
- Requires less time than brush painting
- Can be messy if not done correctly
- Requires proper ventilation for safety
Brush Painting:
- Allows for more control over the paint application
- Is easier to touch up mistakes
- Does not require as much equipment or setup time
- Takes longer than spray-painting
Ultimately, the decision between spray-painting or brush-painting your kitchen cabinets will depend on personal preference, budget constraints, and available resources.
Best Spray Paint Brands
The best spray paint brands for cabinets are those that offer a durable finish and come in a wide range of colors. Some popular options include Rust-Oleum, Krylon, and Valspar.
Rust-Oleum’s Cabinet Transformations line offers an all-in-one kit that includes everything you need to transform your kitchen cabinets quickly and easily. Their paints are known for their durability and resistance to chipping or peeling.
Krylon’s Dual Superbond Paint + Primer is another excellent option for cabinet painting projects. This brand boasts superior adhesion properties on surfaces such as wood, metal, plastic or ceramic.
Valspar also has a great reputation when it comes to spray paints with its Cabinet Enamel Spray Paint being one of the most popular choices among homeowners due to its smooth application process resulting in an even finish without brush marks.
Maintenance and Longevity
Regular cleaning with a mild detergent and soft cloth is recommended, as harsh chemicals can damage the paint finish. Avoid using abrasive sponges or scrubbers that could scratch the surface of your newly painted cabinets.
In addition to regular cleaning, it’s also essential to be mindful of any potential wear and tear on your cabinets over time. For example, if you have young children who tend to slam cabinet doors shut or frequently use certain drawers more than others, these areas may require touch-ups sooner than other parts of the cabinetry.
Fortunately, maintaining spray-painted kitchen cabinets is relatively easy compared with other types of finishes like wood stain or lacquer. With proper care and attention paid towards preventing scratches and dings from everyday use in high-traffic areas such as kitchens – they should last for many years without needing significant repairs or repainting.
By following these simple maintenance tips after completing a successful DIY project painting your kitchen cupboards – you’ll enjoy beautiful-looking cabinetry for years into the future!
FAQ
Can you use spray paint to paint kitchen cabinets?
Yes, spray paint can be used to paint kitchen cabinets for a smooth and professional-looking finish, although it requires time and practice to master the technique.
Can you use Rustoleum spray paint on cabinets?
Yes, you can use Rustoleum spray paint on cabinets to give them a fresh and trendy look by following a few easy steps in a well-ventilated area.
What is the best paint to spray on wood cabinets?
The best paint to spray on wood cabinets is oil paint, as it is the hardest, most durable option and provides a long-lasting finish.
Is it better to paint or spray paint kitchen cabinets?
It is better to spray paint kitchen cabinets because it provides the highest quality result and the lowest cost, allowing for primer application and multiple thin finish coats with various colors and materials.
How do you properly prepare kitchen cabinets for spray painting?
To properly prepare kitchen cabinets for spray painting, remove hardware, clean surfaces, sand, and apply a primer in an even coating.
What are the advantages and disadvantages of using enamel spray paint on kitchen cabinets?
Advantages and disadvantages of using enamel spray paint on kitchen cabinets include easy application and a smooth finish, but may also involve the risk of drips and potential uneven coverage.
Are there any specific techniques for achieving a professional finish when spray painting wooden cabinets?
To achieve a professional finish when spray painting wooden cabinets, use proper surface preparation, thin coats, and multiple passes with appropriate drying time between coats.


