Last updated on
Your cabinets are sticky after painting due to not allowing ample time for the paint to dry completely or using a low-quality, non-drying paint.
Experiencing the frustration of sticky cabinets after a fresh coat of paint can feel like a decorating setback, but rest assured, it’s a common issue with a fix. Often, the culprits behind this tacky predicament are excessive paint layers, unfavorable drying conditions like high humidity and low temperatures, or using paint of subpar quality.
The solution lies in understanding the right techniques—from the crucial role of primer to ensuring ideal painting conditions that foster a quicker drying time. This article sheds light on these sticky scenarios and guides you through practical steps to achieve a smoother, enduring finish for your painted cabinets.
Follow along to transform that stickiness into sleekness.
Key takeaways:
- Excessive paint layers prolong drying and lead to stickiness.
- High humidity and low temperatures slow down the drying process.
- Use good-quality paint for a smoother, non-sticky finish.
- Increase airflow and control climate to help paint dry faster.
- Primer is crucial for proper paint adhesion and to prevent stickiness.
What's Inside
Several Reasons Why Paint Is Still Sticky and Won’t Dry

When you’ve freshly painted your cabinets, the expectation is that they would eventually dry into a smooth finish. If the paint remains sticky, it could be due to improper preparation or environmental factors. For example, surfaces that are not adequately cleaned can retain oils and residues that prevent the paint from adhering correctly. Additionally, if you’re painting in an area with high humidity, the excess moisture in the air can make it difficult for the paint to set. Conversely, painting in temperatures that are too cold can also prolong drying times.
Another common reason is applying the paint too thickly. Thick layers take longer to dry and may remain tacky well beyond the typical drying time. Also, the quality of paint plays a significant role; less expensive or low-quality paints may contain fewer drying agents, which leads to slower curing times. Finally, the type of paint can dictate how it dries. For instance, oil-based paints typically have longer drying periods than their water-based or latex counterparts, as they cure rather than simply dry.
How Does Humidity Affect Paint Dry Time?
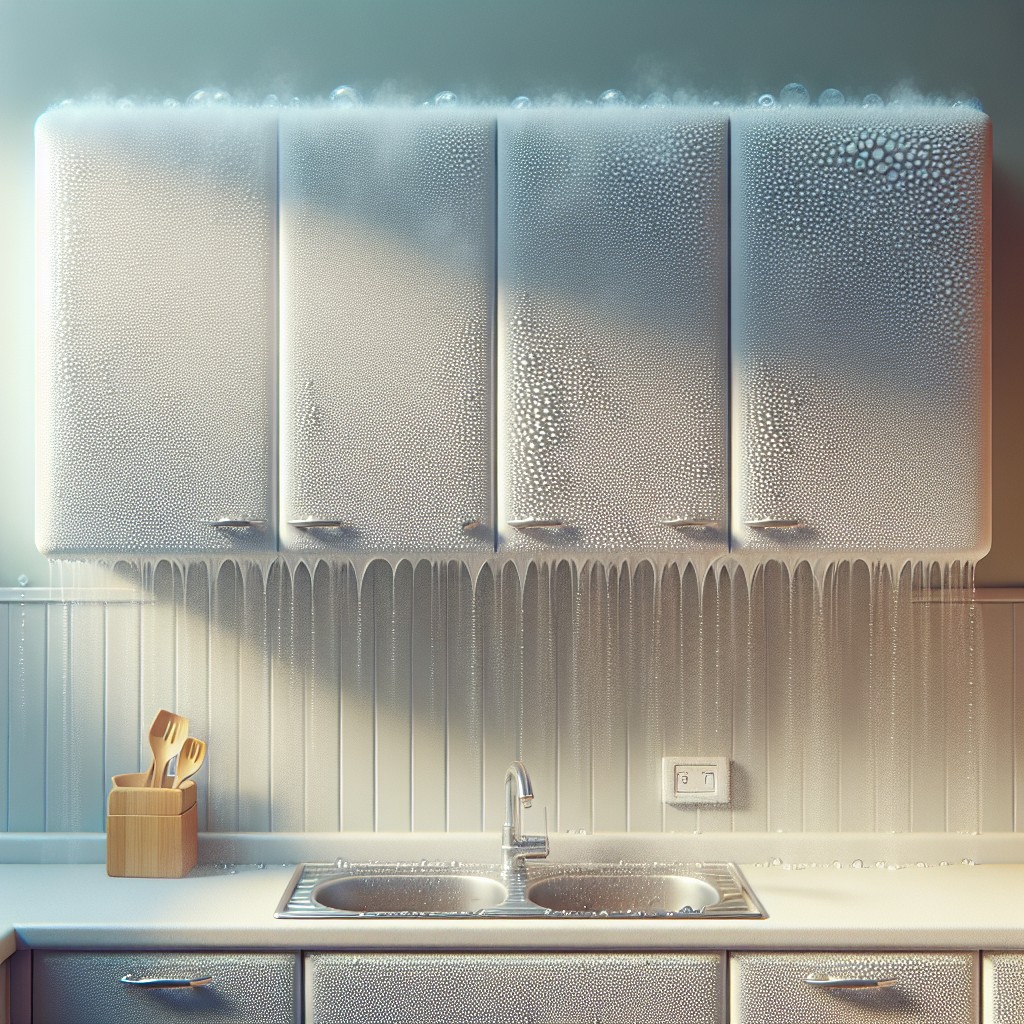
High humidity levels can slow down the drying process of paint significantly. Here’s why:
- Moisture in the air: Paint needs to release moisture into the air as it dries. If the air is already saturated with moisture due to high humidity, the paint can’t off-gas effectively. This bottleneck results in extended drying times.
- Water-based paints: Latex or acrylic paints, which are water-based, absorb ambient moisture, delaying the evaporation process critical to the drying and hardening of the paint.
- Reduced adhesion: Humidity can also interfere with the paint’s ability to adhere properly to the cabinet surface, leading to a sticky or tacky feel even after prolonged drying times.
To mitigate humidity’s effects:
- Paint on low humidity days: Aim for a relative humidity level between 40-50% when painting indoors.
- Use a dehumidifier: Reducing indoor moisture can help accelerate the drying process.
- Keep airflow consistent: Use fans and maintain a comfortable indoor temperature to promote even drying.
Understanding the relationship between humidity and drying time ensures that your freshly painted cabinets cure correctly, avoiding a sticky finish.
The Effects of Temperature On Paint Dry Time
Ideal painting conditions typically range between 50-85 degrees Fahrenheit with low humidity levels. Temperatures outside of this sweet spot can cause paint to dry too quickly or too slowly. Cold environments slow down the drying process, as the chemical reactions that occur during drying are less active in cooler temperatures. Consequently, paint remains tacky for extended periods and may even appear to ‘weep’ as the solvents slowly rise to the surface.
Conversely, excessive heat can speed up drying too much, causing the surface layer of paint to dry before the underlying layers. This ‘skin’ traps solvents beneath it, resulting in a finish that feels dry to the touch while remaining sticky beneath. Such conditions can lead to cracks or wrinkles in your paint job later on.
Maintaining a controlled environment is key – avoid painting on extremely hot or cold days, and make use of fans or heaters to regulate the temperature as needed. Remember, the goal is consistent temperatures to achieve a smooth, durable finish.
The Impact of Having Too Many Coats of Paint
Excessive layers of paint create a thick coating that can prolong the drying time, leading to a sticky texture. This significant build-up prevents the earlier layers from properly drying because the outermost layer dries first, sealing in the wet paint below. Moreover, heavy paint layers can lead to prolonged off-gassing of volatile organic compounds (VOCs), a process that should ideally conclude before the paint fully sets.
For optimal results, adhere to the manufacturer’s recommendation for the number of coats, typically one primer layer followed by one or two topcoats. If a third coat is necessary, allow ample time for each layer to dry thoroughly before adding another. This approach ensures even curing and avoids the undesirable tackiness of an overpainted surface.
Importance of Using Good-Quality Paint
Selecting premium paint pays dividends in the long run. High-quality options often come with additives that enhance durability while providing a smoother finish that’s less prone to stickiness.
These paints generally have better pigments, giving you rich colors and better coverage with fewer coats. This translates to less waiting between coats and reduced risk of tackiness.
Also, premium paints contain binders that aid in forming a sturdy, cohesive surface, resilient to the touch once fully cured. Investing in good-quality paint also mitigates the need for frequent touch-ups, saving time and resources over time.
When it comes to kitchen cabinets, the resistance to moisture and daily wear and tear that a high-grade paint offers is crucial for a lasting finish.
Ways to Help Sticky and Tacky Paint Dry Faster
To expedite the drying process:
- Increase airflow: Open windows and use fans to circulate air around the painted cabinets.
- Control the climate: Aim for a room temperature between 70-75 degrees Fahrenheit and reduce humidity by using a dehumidifier.
- Apply thin coats: Thinner layers of paint dry more quickly than one thick layer. If adding multiple coats, allow each to dry thoroughly before the next.
- Use a hairdryer or heat gun: On a low setting, gently apply heat to the tacky surface to assist in drying. Keep the tool moving to avoid overheating any one spot.
- Expose to sunlight: If possible, allow sunlight to reach the painted areas. The warmth and light can help speed up the drying process.
Remember to handle these methods with care to prevent uneven drying or paint damage.
Use Oil Based Paint for Non-Sticky Finish
Oil-based paints are renowned for their durability and smooth finish. Unlike water-based options, they take longer to dry, which allows for a more even application and less risk of stickiness.
Here’s what you need to keep in mind when using oil-based paints:
- 1. Surface Prep is Key: Ensure your cabinets are clean, dry, and free from any grease before you start. Sanding the surface can also help the paint adhere better.
- 2. Ventilation Matters: While oil-based paints have strong fumes, proper ventilation will aid in the drying process and mitigate potential health risks.
- 3. Apply Thin Coats: Thicker coats take longer to dry and can remain tacky. Aim for multiple thin coats for a hard, non-sticky finish.
- 4. Patience is Essential: Allow plenty of drying time between coats. Rushing this process can result in a finish that feels sticky to the touch.
- 5. Quality Counts: Invest in a high-quality paint for a smoother, more professional-looking finish that’s less likely to be sticky.
Role of Primer in Preventing Paint From Becoming Sticky
Applying primer before painting is akin to laying a solid foundation for your cabinets. It serves multiple purposes, such as providing a uniform surface for the topcoat, ensuring better adhesion, and thus reducing the chances of the paint staying tacky. When the paint adheres smoothly, it’s less likely to remain sticky after drying.
Here’s how primer works to your advantage:
- Seals the Surface: Primer seals porous materials, like wood, preventing paint from seeping in and causing prolonged drying times.
- Blocks Stains: It prevents stains and wood tannins from bleeding through, which can also cause stickiness.
- Increases Durability: An even, primed surface allows the paint to bond correctly, resulting in a more durable finish.
Choose the right type of primer for the material of your cabinets, such as an oil-based primer for wood, to ensure optimal results. Give the primer adequate time to dry before applying your topcoat, and you’ll be rewarded with smooth, non-sticky cabinets.
How to Prepare Surfaces to Prevent Tacky Paint
Ensuring a clean, smooth base is crucial before you open that paint can. Start by wiping down your cabinets with a degreaser to remove kitchen grime.
Next, sand the surfaces lightly with fine-grit sandpaper; this step is key for both adhesion and smoothness. Any holes or dents should be filled with wood filler and sanded flush once dry.
Tack cloth works wonders for picking up residual dust. Lastly, don’t skip the primer. It creates a sealed layer that paint can adhere to effectively, preventing stickiness.
Remember, thorough preparation is the foundation for a flawless, non-tacky finish.
Common Mistakes in Painting Cabinets and How to Avoid Them
Expecting paint to cover all imperfections or the inherent wood grain leads to disappointment. Always repair and sand the surface beforehand for a smooth finish.
Skipping preparation, like cleaning and degreasing, often results in paint not adhering properly, leaving a sticky residue. Thoroughly prep your cabinets before painting.
Ignoring the curing process can be tempting, especially in a room like the kitchen that’s used daily. Allow ample time for the paint to fully cure, which might take several days to a week.
Using the wrong type of paint or tools will affect the finish. Choose a paint specifically formulated for cabinets and apply with the right brushes or rollers for a professional look.
Applying paint too thick creates tackiness. Multiple thin coats are preferable, allowing each layer to dry completely before adding the next.
Choosing unsuitable sealers or skipping the sealing process entirely can lead to tacky cabinets. Opt for a recommended sealer and apply according to the manufacturer’s instructions for durable, non-sticky results.
Expecting Paint to Cover Defects or Wood Grain
Paint alone isn’t a miracle fix for cabinet imperfections. Before picking up the brush, take time to fill any dents, scratches, or holes with wood filler, followed by sanding the surface until smooth. Grain filler can be used on open-grained woods, like oak, to provide a smoother finish upon painting. Sanding also allows the paint to adhere better, creating a more even coverage. Without this prep work, blemishes can telegraph through the paint, resulting in a less than desirable finish. Remember, the smoother the base, the better the paint will look.
Painting Over a Broken Surface
Addressing surface imperfections is crucial before painting cabinets. Paint cannot hide cracks, chips, or peeling layers; it accentuates them instead. To ensure a smooth finish:
- 1. Sand down any rough edges or raised areas until the surface feels even to the touch.
- 2. Fill in nicks or gouges with wood filler, then sand again after it dries.
- 3. Remove old, flaking paint with a scraper to prevent the new coat from peeling.
- 4. Clean the surface thoroughly to remove dust and debris that could get trapped under the paint.
By prepping diligently, you create a strong foundation for the new paint, ensuring it adheres properly and looks flawless.
Skipping the Prep
Before diving into your painting project, remember that preparation is crucial for a non-sticky outcome. Failing to thoroughly clean the cabinet surfaces can leave behind grease and dirt, which hinders proper paint adhesion. Sanding is equally essential; it not only helps smooth out imperfections but also provides a better grip for the new paint layer. Without these vital steps, you risk your fresh paint remaining tacky due to poor attachment to the cabinet surface. Always invest time in these preparatory tasks to ensure a sleek and durable finish.
Ignoring the Curing Process
Understanding the difference between drying and curing is essential for a successful cabinet paint job. Drying typically refers to the point when the paint is no longer wet to the touch, but curing is a longer process where the paint reaches its maximum hardness and durability.
- Allow sufficient curing time: It can sometimes take up to 30 days for oil-based paints to fully cure and a week for latex paints. Rushing to reassemble or use the cabinets before this time can lead to sticky surfaces or damage to the finish.
- Avoid premature heavy use: While the paint might feel dry within hours, placing heavy objects on or using the cabinets can lead to imprints and tackiness.
- Maintain environmental conditions: Keep the room at a consistent temperature and humidity level to support the curing process.
- Be patient: Even if the paint feels dry to the touch, it may still be susceptible to damage if not fully cured. Refrain from cleaning or scrubbing the surface during this time.
Adhering to the curing time recommended by the paint manufacturer ensures a durable, long-lasting finish that will not become sticky or tacky with use.
Using the Wrong Paint or Painting Tools
Selecting the appropriate paint type for cabinets is crucial. Oil-based paints typically yield a smoother, more durable finish that’s less prone to stickiness compared to latex paints, which can remain tacky if not properly cured. Always check the label for the recommended uses and surfaces.
It’s equally important to use the right painting tools. A high-quality brush or foam roller designed for cabinet paint application can make all the difference. Avoid low-quality brushes that may leave bristles or streaks in the paint, leading to an uneven finish that could potentially remain tacky. A smooth, lint-free finish is key for a professional result that dries properly.
Applying Paint Too Thick
When tackling the task of painting cabinets, it can be tempting to lay it on thick with the hopes of reducing the number of coats needed. However, this approach often backfires:
- Thick layers prolong drying times, as the surface may seem dry while underneath it’s still wet, resulting in a sticky feel.
- Excessive paint can lead to drips and sags that ruin the finished look.
- Thick applications can take weeks to fully cure, during which they are vulnerable to dents and fingerprints.
To ensure a smooth and tack-free finish:
- Apply multiple thin coats, allowing sufficient dry time between each layer.
- Use a high-quality angled brush or foam roller to spread the paint evenly and with control.
- If you’re unsure of thickness, it’s better to err on the side of too thin than too thick – you can always add another coat if coverage is insufficient.
Using Wrong Sealers
Selecting the appropriate sealer is as crucial as choosing the right paint. A mismatch between paint and sealer can lead to a sticky surface that doesn’t fully cure.
For example, using a polyurethane sealer over water-based paint can prolong drying times due to incompatibilities in their formulations. Additionally, applying sealer too thickly can obstruct the underlying paint’s ability to dry properly.
It’s essential to check that both paint and sealer are compatible and to use thin, even coats of sealer. Consult the manufacturer’s recommendations for pairing products to ensure a smooth, non-sticky finish. Remember, patience during the drying process is key, along with the right product combination.
How to Fix Sticky Paint On Cabinets
If you’re faced with the challenge of tacky paint, take these steps to correct the issue:
1. Assess Dry Time: Double-check the recommended drying times on your paint can. If you haven’t allowed sufficient time, wait a bit longer before taking further action.
2. Increase Airflow: Improve the airflow in your space using fans or by keeping windows open to enhance circulation and facilitate drying.
3. Adjust Humidity and Temperature: Use a dehumidifier if the air is moist and consider using a heater or air conditioning to maintain an optimal painting environment (between 70-75°F with low humidity).
4. Sand Down Sticky Spots: For areas that remain tacky, lightly sand the surface smooth once it’s dry to the touch. Clean off any dust before retouching the paint.
5. Apply a Thin Retouch: If sanding reveals the base surface, apply a thin coat of paint to retouch. Remember that less is more to avoid adding too much moisture to the surface again.
6. Utilize a Tack Cloth: After sanding, wipe down the cabinets with a tack cloth to remove any remaining residue that could prevent proper drying.
Implement these solutions with patience and precision to resolve the stickiness issue and achieve a smooth, durable finish on your freshly painted cabinets.
How to Ensure Proper Ventilation When Painting
Maintaining adequate airflow is essential for quick and even paint drying. Open windows and doors in the room where you’re working to create a cross breeze. Use fans to circulate air but position them so they don’t blow directly on the wet surfaces, which can cause uneven drying.
If painting in an area with no windows, set up a fan to exhaust fumes outside and another to bring fresh air in. Remember to keep safety in mind by ensuring electrical cords are away from wet surfaces and securing loose items that might be affected by the airflow.
The Role of Primer in Painting Cabinets
Primer serves as a crucial base layer, ensuring your paint adheres properly to cabinet surfaces. It acts to seal porous materials like wood, creating a smooth, even surface that helps prevent paint from sinking in and becoming tacky.
Moreover, primer helps to block stains and wood tannins from bleeding through, which could otherwise impact the finish over time. For a durable and long-lasting finish, applying a primer should be a non-negotiable step in your painting process.
Always allow the primer to fully dry according to the manufacturer’s instructions before applying paint. This not only helps in achieving a better bond but also contributes to a more uniform appearance of the topcoat.
Choosing the right type of primer is also key, with options available for different cabinet materials including wood, laminate, and metal.
FAQ
How do you fix sticky painted cabinets?
To fix sticky painted cabinets, apply vinegar with a soft sponge on the sticky film, and for areas with extensive grime, integrate a mixture of water and baking soda, and scrub it on using a sponge, ensuring to thoroughly rinse either method after use to prevent additional buildup.
Will tacky paint eventually dry?
Yes, tacky paint will eventually dry, and the process can be expedited by storing the painted item in a warm, dry room and then wet sanding it for a smooth finish after about a week.
How do you get sticky residue off painted cabinets?
To remove sticky residue off painted cabinets, create a mixture of 1 cup of water, 1 teaspoon of white toothpaste, and 2 tablespoons of baking soda, then scrub the cabinets with a sponge dipped in this mixture, and rinse with a damp cloth until all residue is gone.
Why is my wood sticky after painting?
Your wood might be sticky after painting due to surfactant leaching, a phenomenon caused by poor drying conditions which lead to the slow drying of paint and eventual surfacing of surfactants in concentrated amounts, leaving sticky residues.
What could be the potential reasons for paint not drying properly on cabinets?
The potential reasons for paint not drying properly on cabinets could be improper preparation of the surface, use of low quality paint, painting in a humid environment or an interruption in the drying process.
How does the type of paint affect the stickiness on painted cabinets?
The type of paint used directly influences stickiness on painted cabinets, as oil-based paints usually provide a harder, less sticky finish than latex or acrylic paints.
Can temperature and humidity levels impact the drying process of painted cabinets?
Yes, temperature and humidity levels can significantly impact the drying process of painted cabinets, with high humidity and low temperatures slowing down drying times.
Read More
 How to Choose Kitchen Cabinets: Your Ultimate Buying Guide
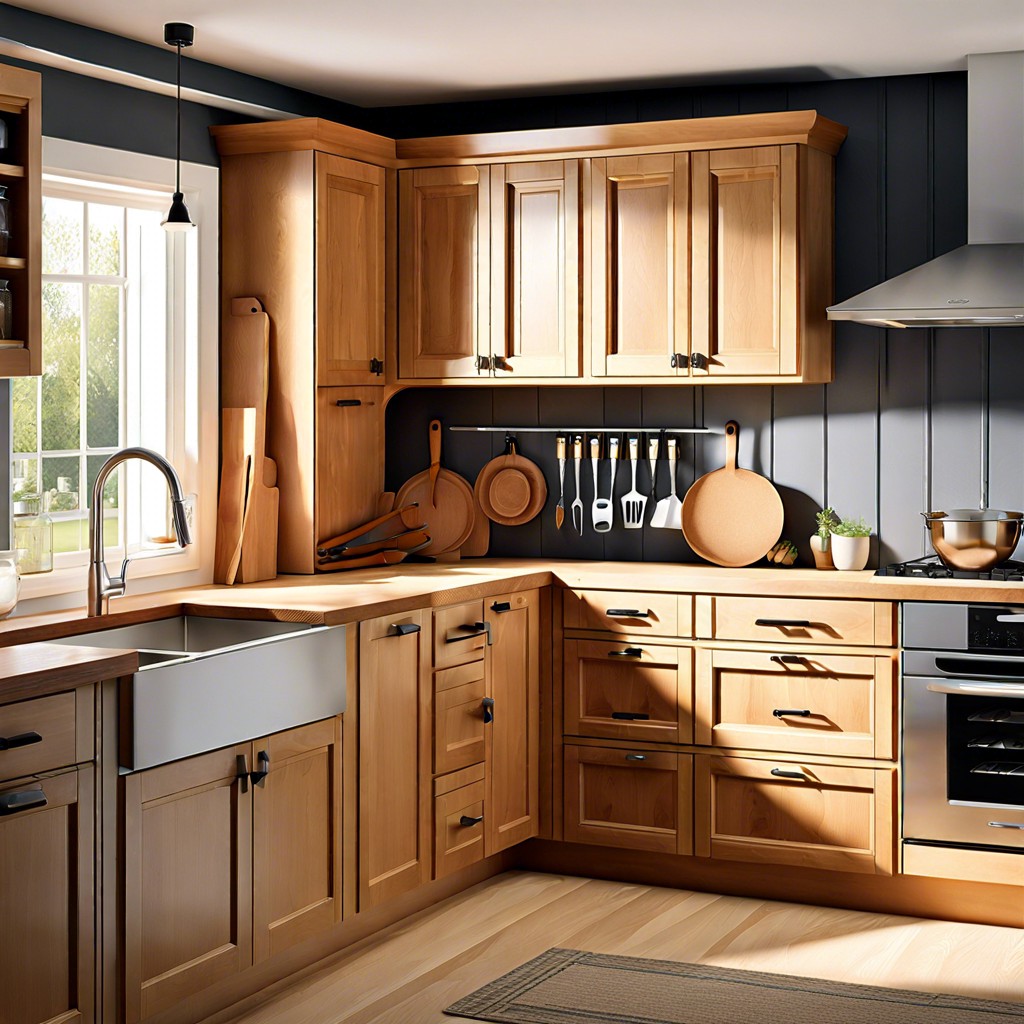 Staining Cabinets: A Step-by-Step Guide to a Fresh Look
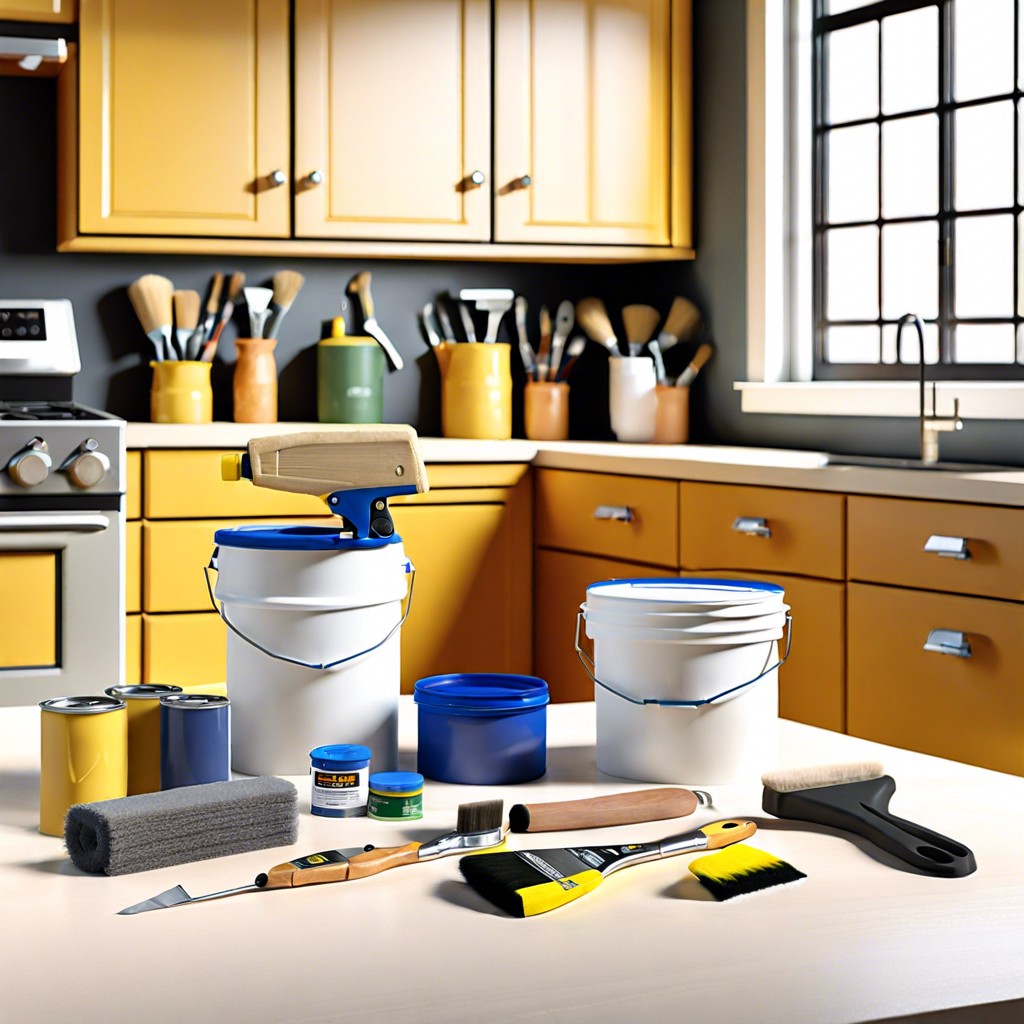 How Long Does It Take to Paint Kitchen Cabinets: A Time-Saving Guide
 Cost to Refinish Cabinets: A Cheaper Revival
 How to Install Upper Cabinets: Tips for a Perfect Kitchen Makeover