Last updated on
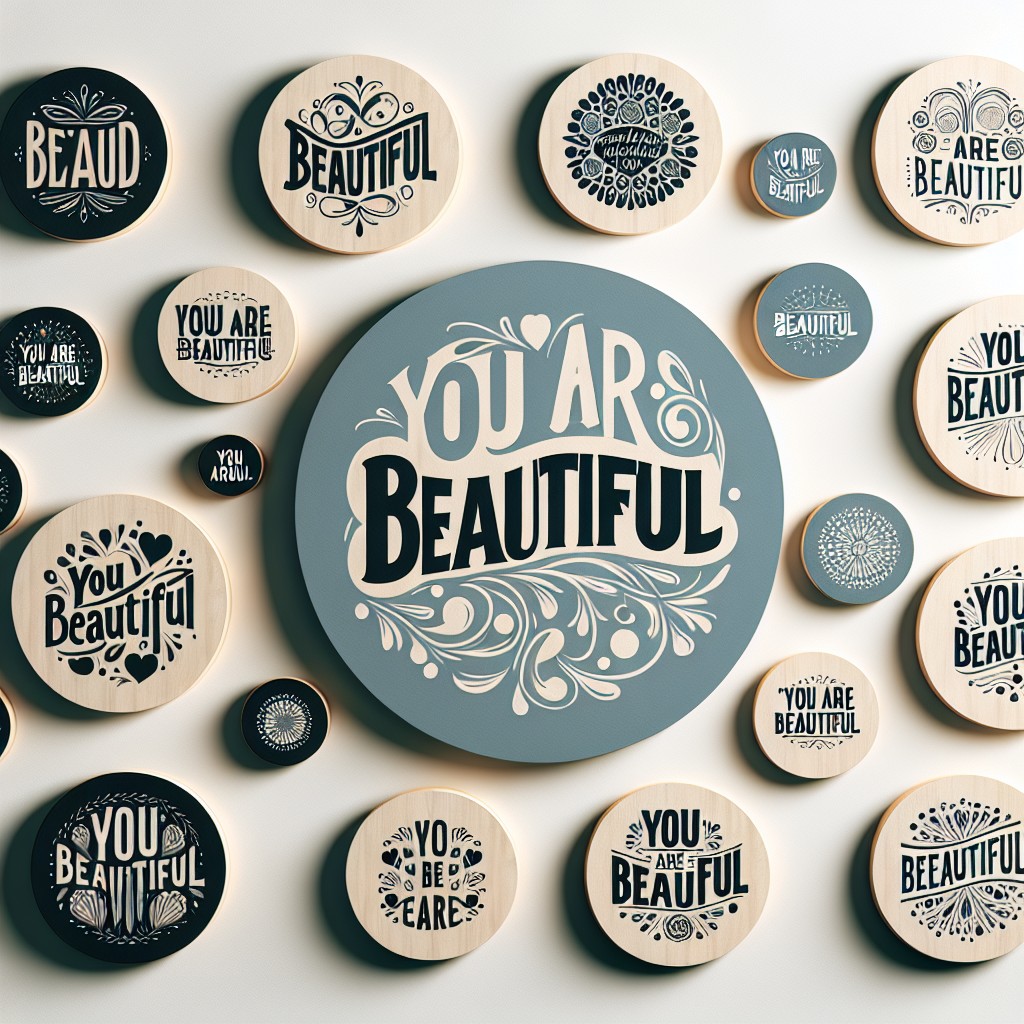
Transforming your walls becomes a joyous endeavor as you explore our curated collection of ‘You Are Beautiful’ wall art ideas, because they capture the essence of beauty and positivity, enriching every space with charm and inspiration.
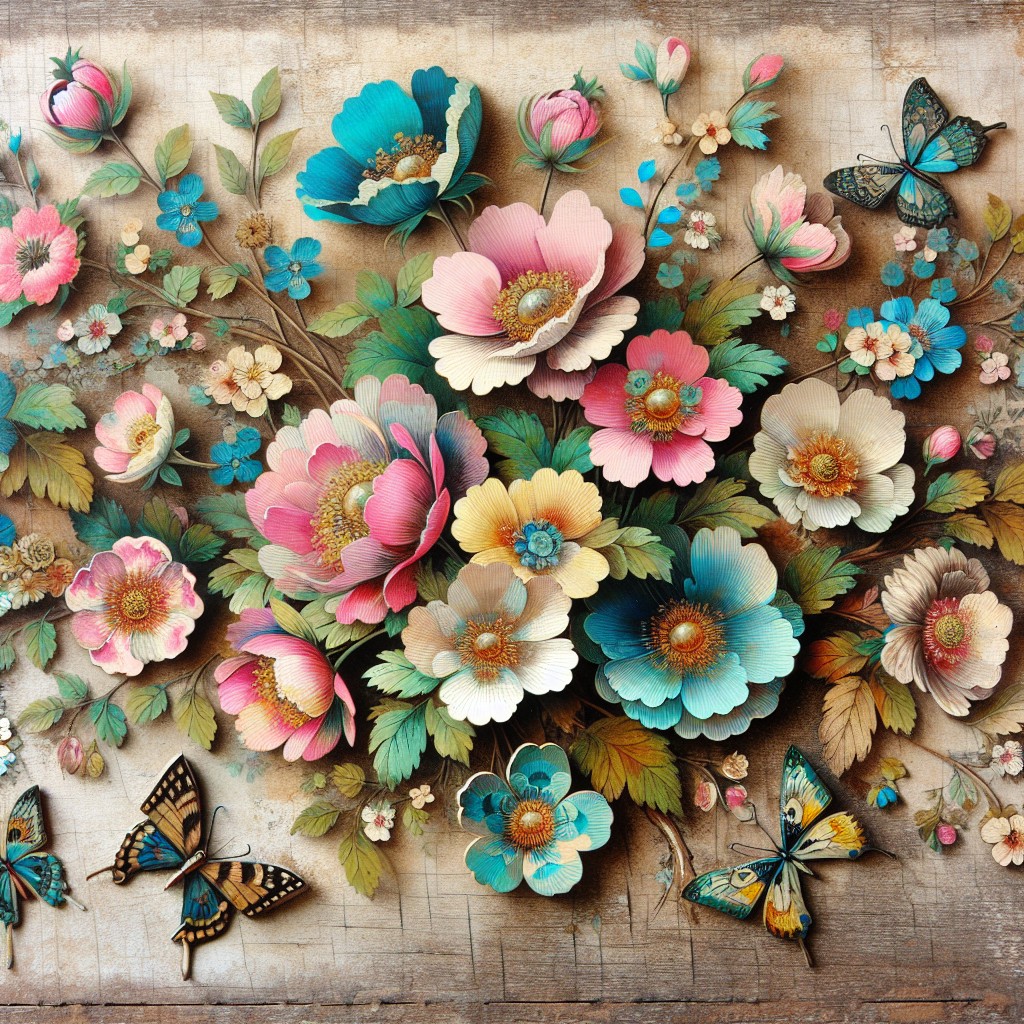
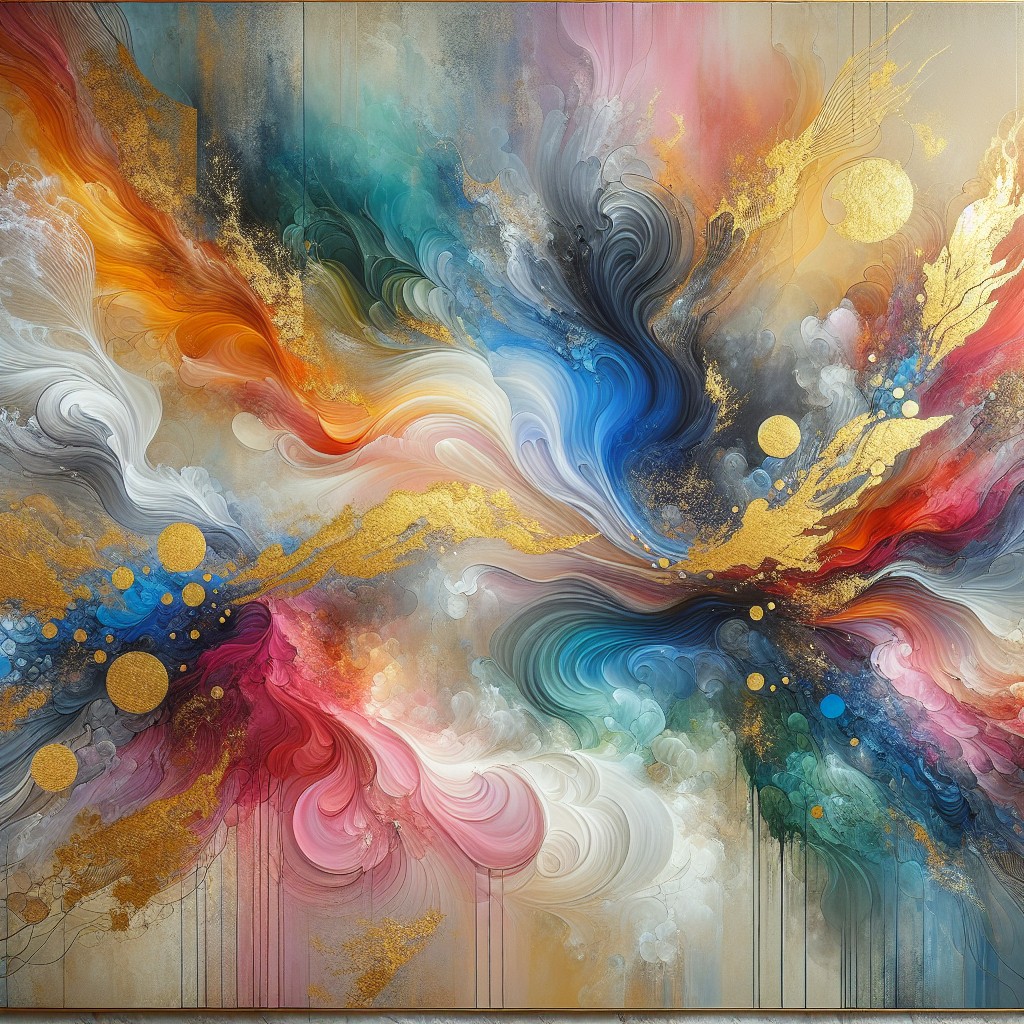
These are my unique design concepts made using design tools. I hope you find them inspiring!
Sprucing up your walls with affirmations of beauty can give a positivity-infused twist to your home décor. Tailoring this concept to manifest its full potential is nothing short of an art.
While the internet abounds with a multitude of known ideas, this article endeavours to shed light on some fresh, unique takes on “you are beautiful” wall art.
Alongside, we’ll review and share resources to the crème de la crème of existing ideas, but our true objective is to bring unprecedented concepts to the table to make your walls echo the beauty you embody.
So, buckle up and let’s embark on this journey towards crafting a space that mirrors your grandeur.
What's Inside
Find Unique Frames
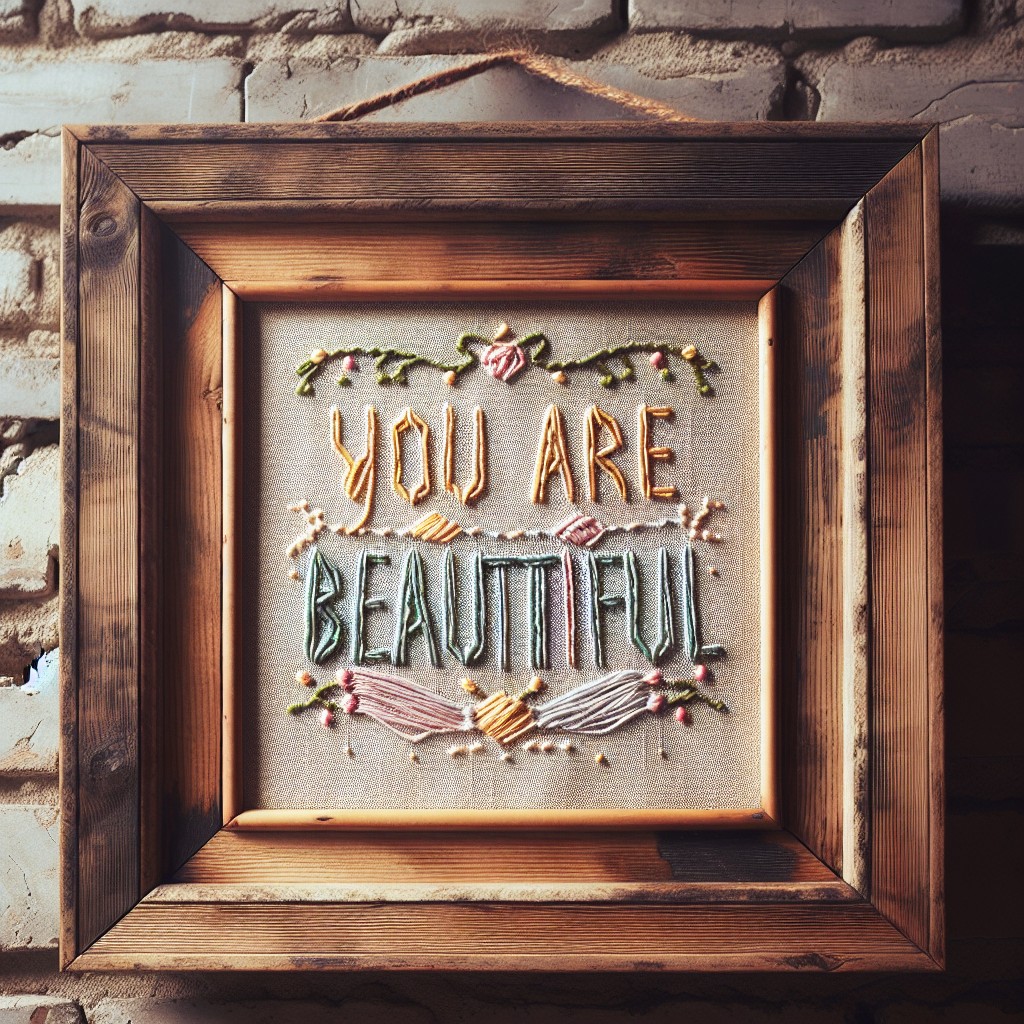
Discovering an assortment of unique frames allows you to add personal flair to your wall art. Think about mixing and matching different styles, sizes, and colors to produce a dynamic aesthetic.
You can explore thrift stores, antique shops, or online marketplaces to source vintage frames with intricate detailing. Remember, if a frame has an interesting shape but lacks the color you want, a bit of paint can easily transform it.
To add depth, consider multi-layering frames or using shadow boxes. You can also rotate the orientation of certain frames to disrupt uniformity and stimulate visual appeal. Even empty frames, placed intentionally, can become art in their own right.
Go Monochrome
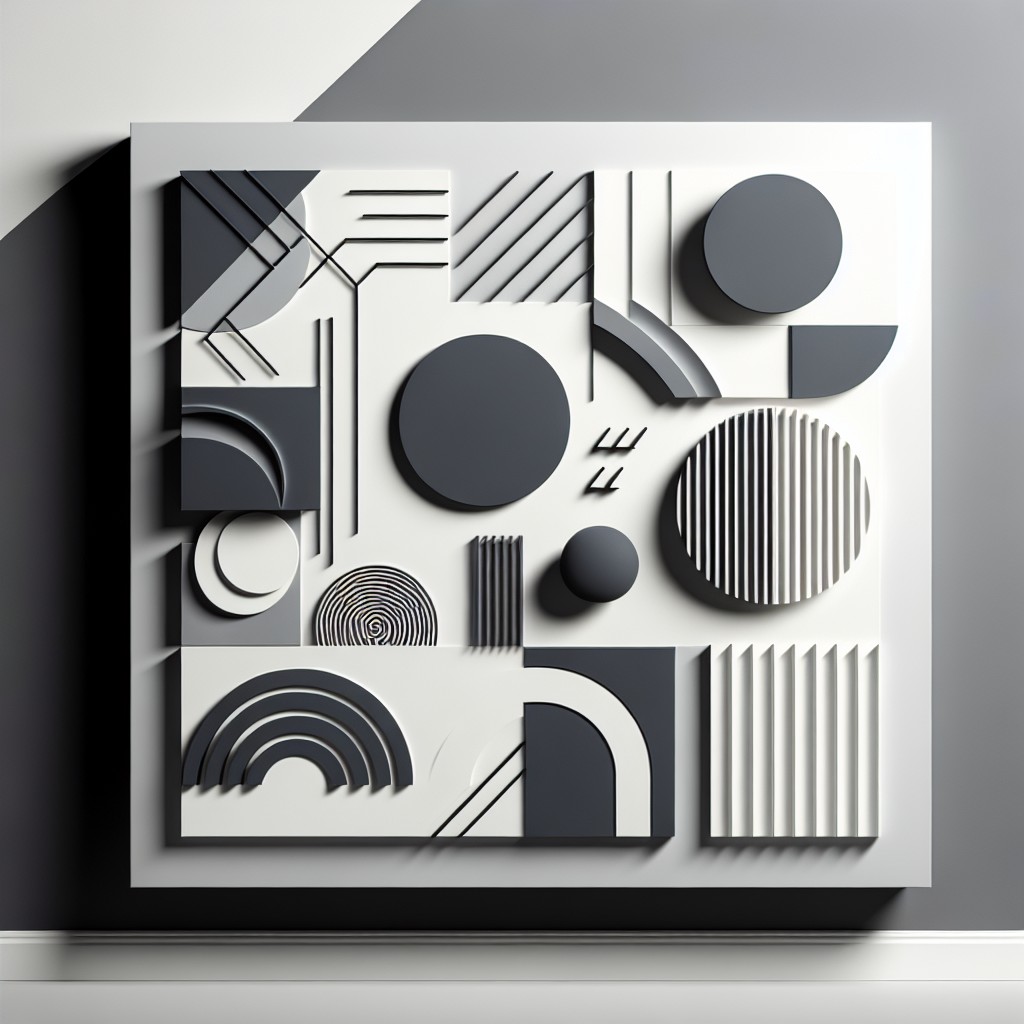
Venturing into a singular color palette for wall art can create both a sleek, modern atmosphere and a calming uniformity. Shades of gray, white or black bring about a minimalist style that speaks volumes. The monochromatic scheme isn’t confined only to neutrals, though; the tone-on-tone approach works with any color, popping vibrantly against either a matching or contrasting wall.
Choosing prints, paintings, or photos within a specific hue brings a harmonious flow to the space, subtly weaving together different elements. Depending on the gradations, a mood can be set: lighter tints brighten and uplift, while darker tones offer depth and sophistication.
Additionally, monochromatic wall art can underscore a room’s existing color story, reinforcing design choices. It is best executed by keeping texture in mind. Use an array of materials, from glossy prints to matte-finished fabrics, and even sculptural metalwork, to insert interest and dimension. By keeping everything within one color family, yet utilizing different textures and shades, the art arrangement will be engaging – not monotonous.
Lastly, remember – balance is key. The art pieces should complement each other, not compete for attention. Usually, odd numbers (like three or five pieces) seem more visually appealing. Clever spacing aids in making the arrangement look deliberate and well-designed. The ultimate goal is achieving unity that intrigines and captivates.
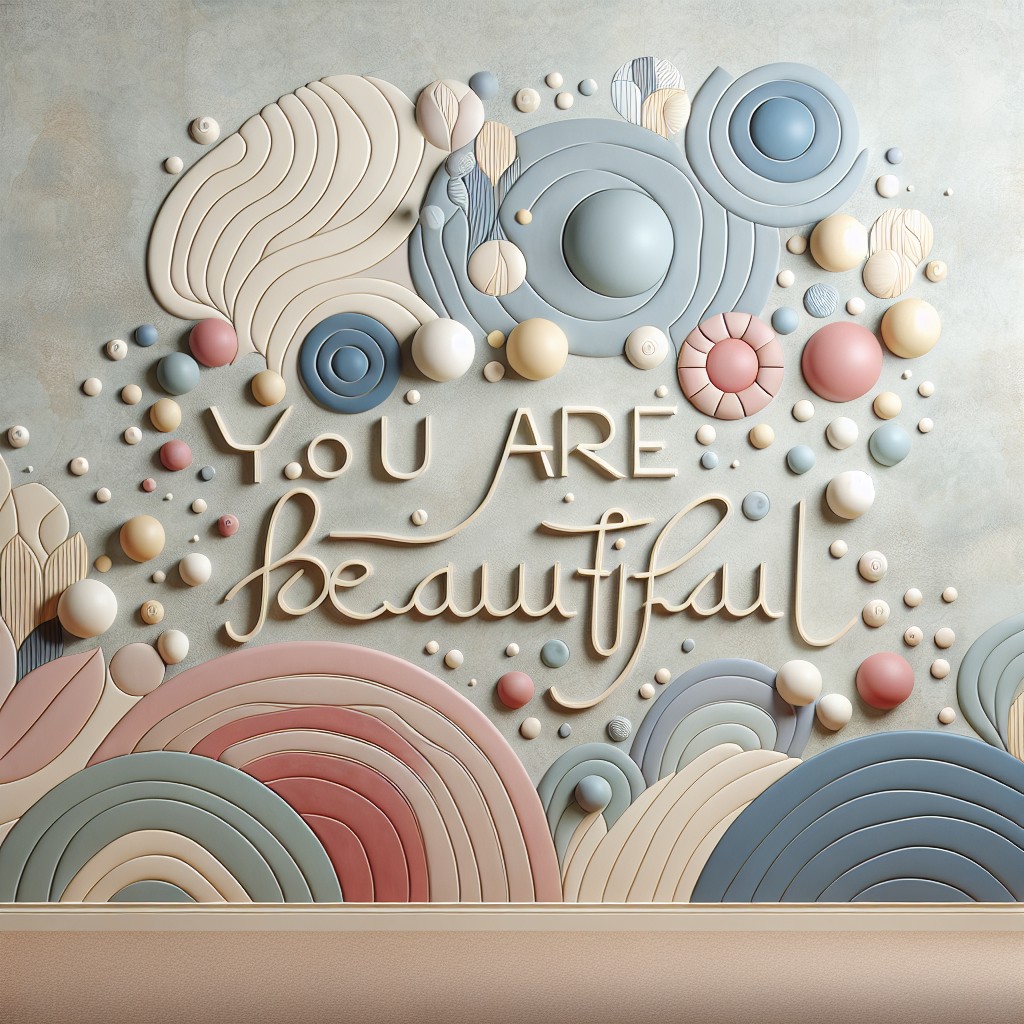
Experiment With Wall Textures
Feeling creative? Let’s get right into it!
The beauty of wall textures is their transformative ability. Depending on the look you want, there are a plethora of techniques to choose from. Want a rustic, earthy vibe? Opt for a stucco finish. If subtlety is more your style, a simple lime wash can add that perfect hint of dimension. But it doesn’t stop there! Here are some clever ideas you can explore and enjoy.
1. Sponge Painting: Using a sponge instead of a brush can result in unique patterns and beautiful depth of color, making your wall a piece of art itself!
2. Drywall Mud: By manipulating drywall mud, you can create a variety of textured designs. Just be sure to choose a pattern that complements your room’s décor.
3. Wood Paneling: Fast becoming a trend, wood walls provide an interesting texture while giving your space a warm, cozy feel. The choice between reclaimed, distressed, or polished wood could be a game-changer.
4. Textured Wallpaper: It’s not just about how it looks–it’s about how it feels! Textured wallpaper adds both visual and tactile variety to your walls.
5. Faux finishes: Often mistaken for wallpaper, faux paint allows for a wide range of texture options from marble to wood, adding sophisticated elegance to any room.
Try these techniques, and don’t be afraid to mix and match. Remember, the magic lies in your creativity! And just like that, your ordinary wall might end up being the conversation starter at your next house party!
DIY Wall Art
Engaging in a do-it-yourself project can bring a personal touch to wall art. Not only is it a cost-effective way to decorate your home, it can also become a fun weekend activity.
To start, decide on the medium you’re most comfortable with, such as painting, drawing, or collage. Keep it simple and fun. An abstract piece can be as compelling as a detailed work. You could also consider repurposing items. Old maps, concert tickets, or pressed flowers can be transformed into a unique piece.
Next, select the right size of canvas or material. Think about the wall space where you plan to hang your artwork. Your piece could be a tiny, delicate accent or a large, eye-catching centerpiece.
Craft stores typically offer a variety of affordable materials. Alternatively, consider upcycling items you already have. For example, use leftover paints to design a striking abstract piece.
Lastly, don’t be afraid to experiment. The whole idea of DIY is that it’s a personal expression, a reflection of you. If it doesn’t turn out the way you want, remember it’s easy to start over.
Turn Scarves Into Wall Art

Start by selecting scarves with stunning, aesthetic patterns. For best results, use silk or cotton scarves. Ensure the chosen colors complement your existing decor style.
Next, get some frames. Simple, sleek ones let the scarf’s design shine through. If possible, get frames larger than the scarves to create a border effect.
To frame, iron your scarves to rid them of creases and evenly spread over the back of the frame. Secure it using tape, ensuring that the design is centered and the orientation is as desired. Once it’s framed, it’s ready to hang.
Don’t shy away from grouping several framed scarf arts together. This can create an attractive gallery wall and bring your space to life. It’s chic, inexpensive, and allows a touch of personality to shine through your decor.
Stencil Art

Let’s dive straight into the how-tos. Choose a design that fits your style and wall space. Selecting a reusable plastic stencil ensures durability and ease of use. Consider the corners and edges of your wall; smaller stencils work best for these tricky areas.
Before starting, protect the surrounding area with newspaper or a drop cloth. Secure the stencil to the wall using painter’s tape. Apply paint with a stencil brush or roller, using a small amount to avoid seepage underneath the stencil. Remember, it’s advisable to test your technique on a piece of cardboard first.
You have the freedom to get creative with color combinations. A monochrome scheme can create depth and sophistication, while contrasting colors can add a vibrant punch. Allow each color to completely dry before applying the next. This will prevent colors from blending and maintain the sharpness of the design.
Keeping it simple is the key with stencil art. There’s a thin line between tastefully intricate and overly busy. So, soothing designs generally work best, especially for larger walls.
Wall-wide patterns can look amazing, but don’t shy away from using stencils to create a feature element or an accent corner. Embellishing just part of a wall can result in a striking visual impact. Truly, the ways to experiment are countless!
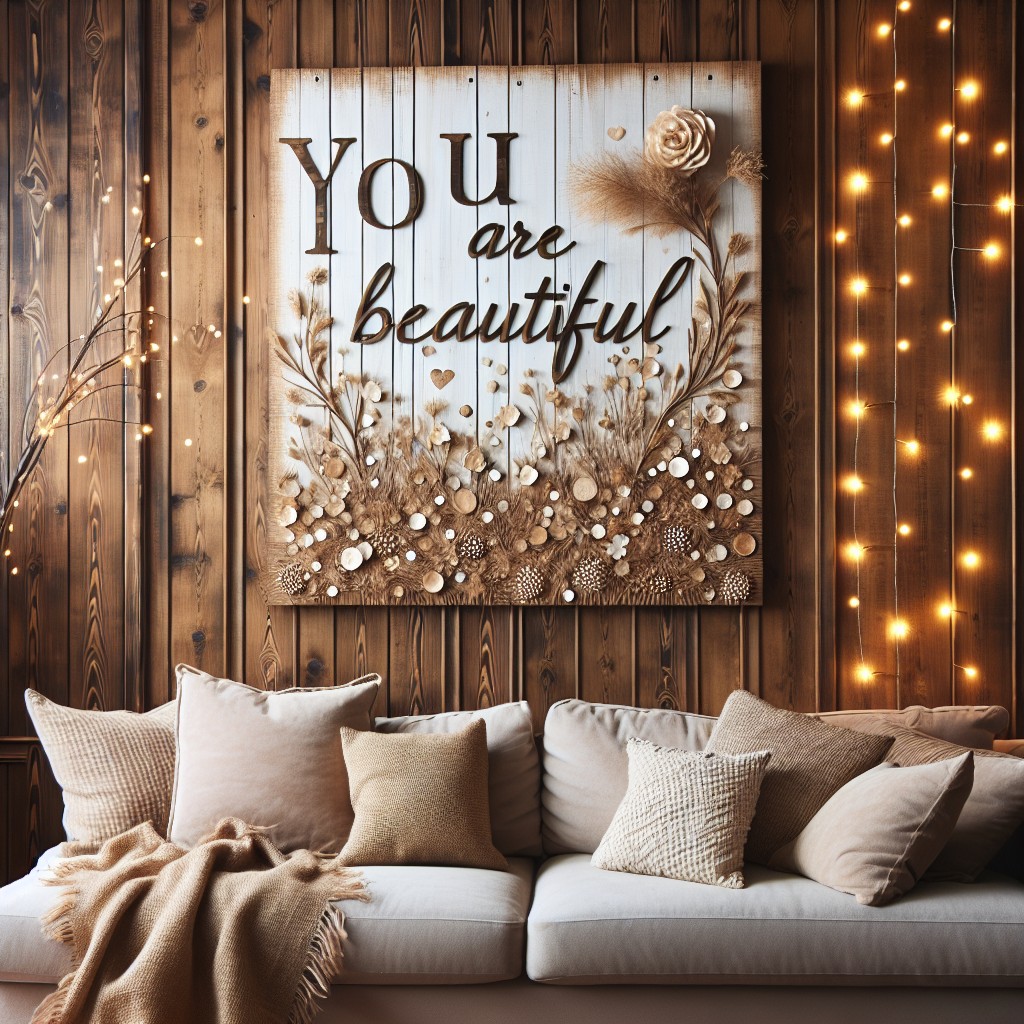
Paint a Mural
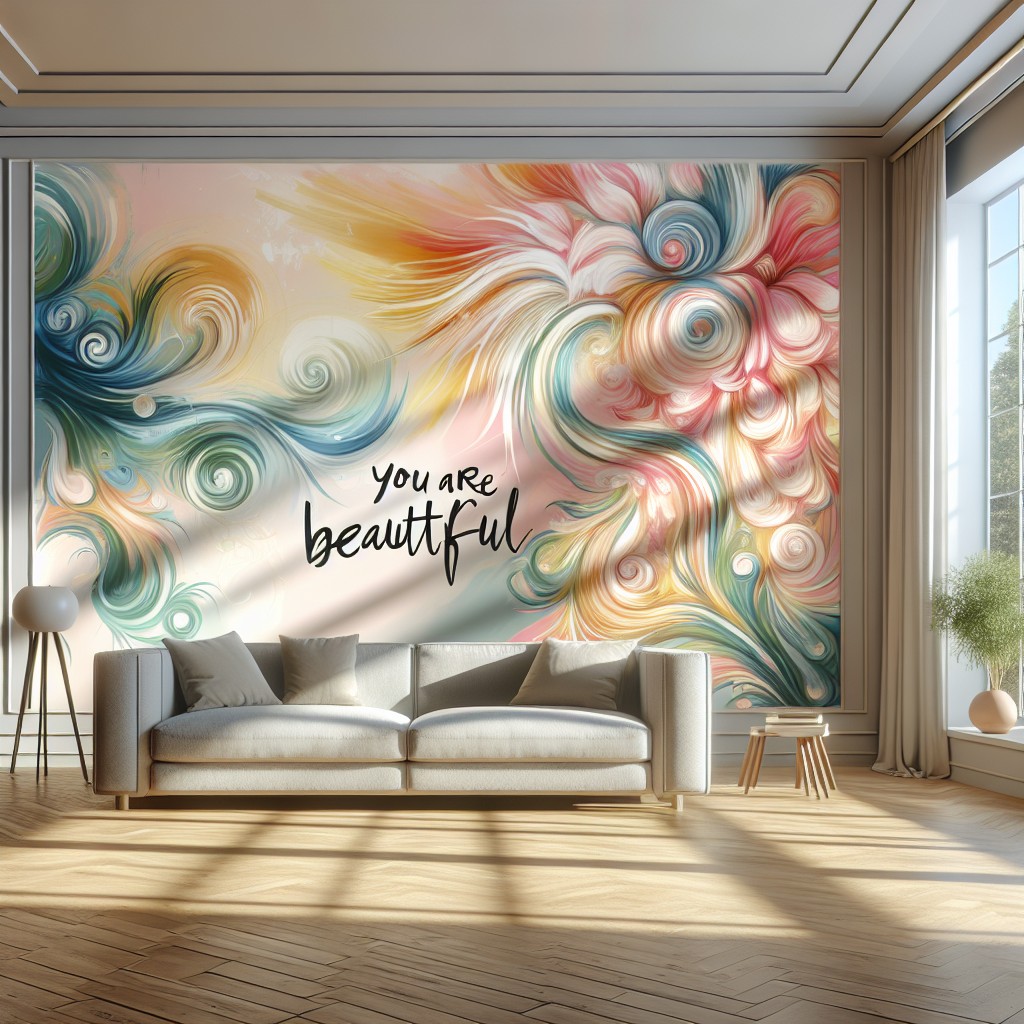
Giving a personal touch to your space, painting a mural can be a visually striking choice. It allows you to inject your personality, interests, or maybe even a favorite quote directly onto your wall. For a successful outcome, follow these steps:
1. Start by selecting a theme for your mural – this can be anything from a scenic landscape to an abstract design.
2. Sketch your design on paper first to get an idea of the layout, features and scale.
3. Using a light pencil, sketch the design on your wall. Start from the center and work your way outwards.
4. Choose the right paint for your mural. Acrylic paints are a popular choice for their durability and wide range of colors.
5. For complex designs, consider using a projector to project the image onto the wall for more accuracy.
6. Start painting, filling in your largest areas first, then moving towards the smaller, detailed sections.
7. Once dry, you can outline your design with a darker shade to make it pop.
Remember, patience is key. Take your time, and enjoy this creative process to transform your wall into a personal masterpiece.
Display Vintage Posters
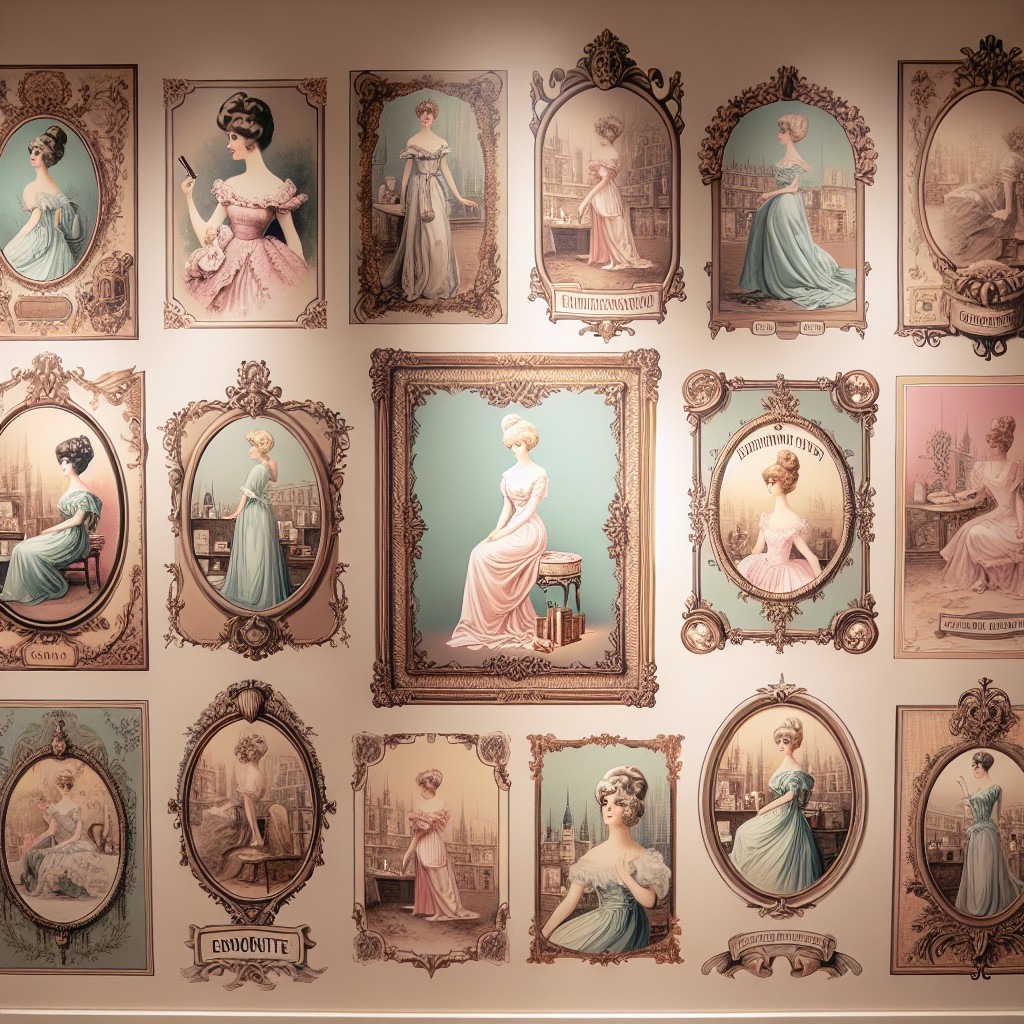
Embracing nostalgia always has its charm. Whether it’s an old concert ticket, a classic movie poster or a retro advertisement, vintage posters can give your home a unique personality and tell your story in a way no other decorative piece can. They work exceptionally well in living rooms, home offices, and bedrooms, especially when framed in a way that matches your space’s decor style.
If they’re relatively large, feel free to use them as your wall’s main event. If they’re on the smaller side, group them together for an eye-catching display. Choose frames that enhance their vintage feel, or opt for something more modern to create an exciting contrast.
Remember to keep them out of direct sunlight to avoid fading. Adjust the lighting of your room to spotlight these pieces. And most importantly, hang them at eye level for the best viewing experience.
Exhibit Kids’ Artwork
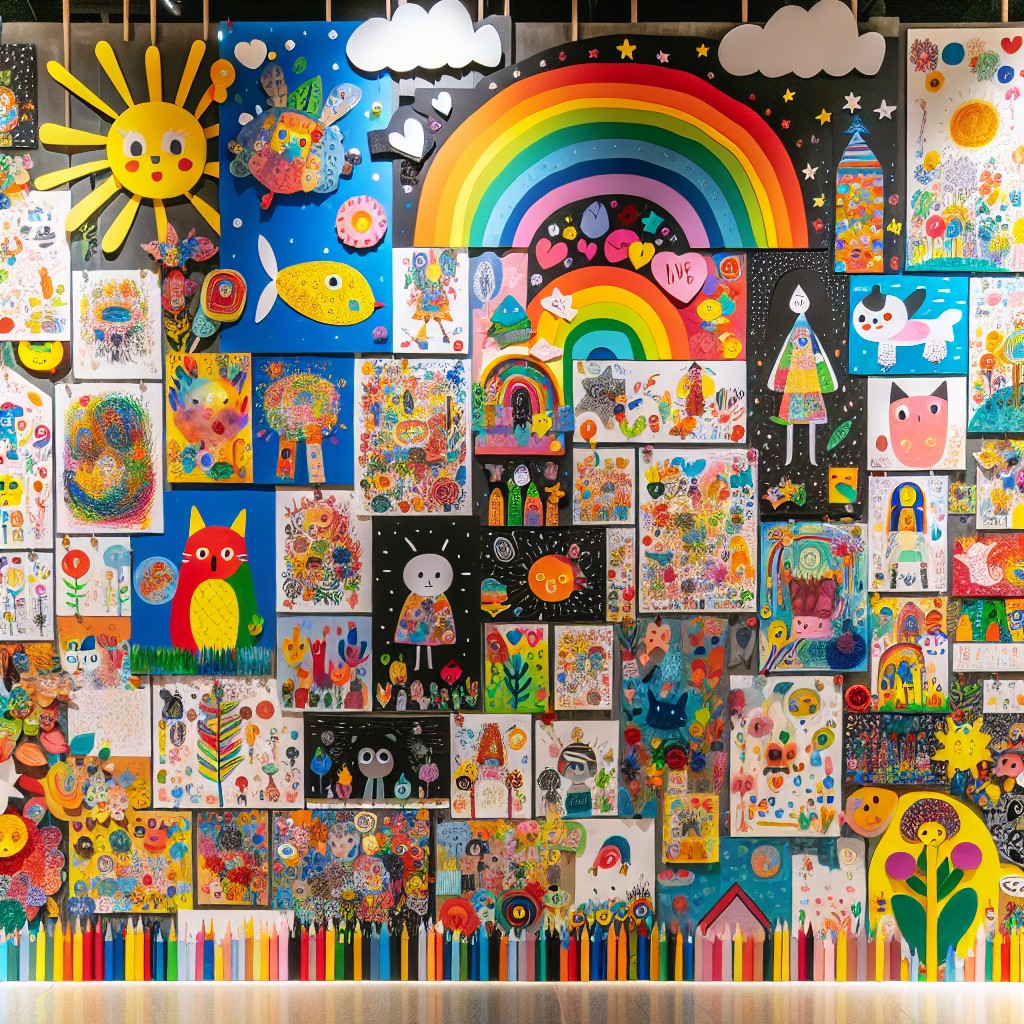
Incorporating your child’s creative output into your home decor not only adds a personal touch, but also encourages their artistic endeavours. Choosing the pieces that resonate with your aesthetic and the rest of the decor is the first step. One good practice is to switch out these pieces over time, keeping the display dynamic and reflecting your kid’s artistic progression.
Presenting the artwork in professional-looking frames can elevate their perceived value to gallery level. Depending on the color scheme of your room, you can opt for minimalist black or white frames, or go for brighter, more colorful ones. Consider mounting larger works directly onto the wall, mimicking the effect of a wall mural.
To link different pieces together, you can use a common element, such as a color, theme, type of material or matching frames. Arranging pieces in a grid or using the salon style hang can add visual interest to your display.
Another creative idea is showcasing 3D art projects like clay sculptures or paper maché creations on floating shelves.
Remember, this is an opportunity to celebrate your child’s creativity, individuality, and let their personality shine, while also adding a whimsical, bespoke touch to your home decor.
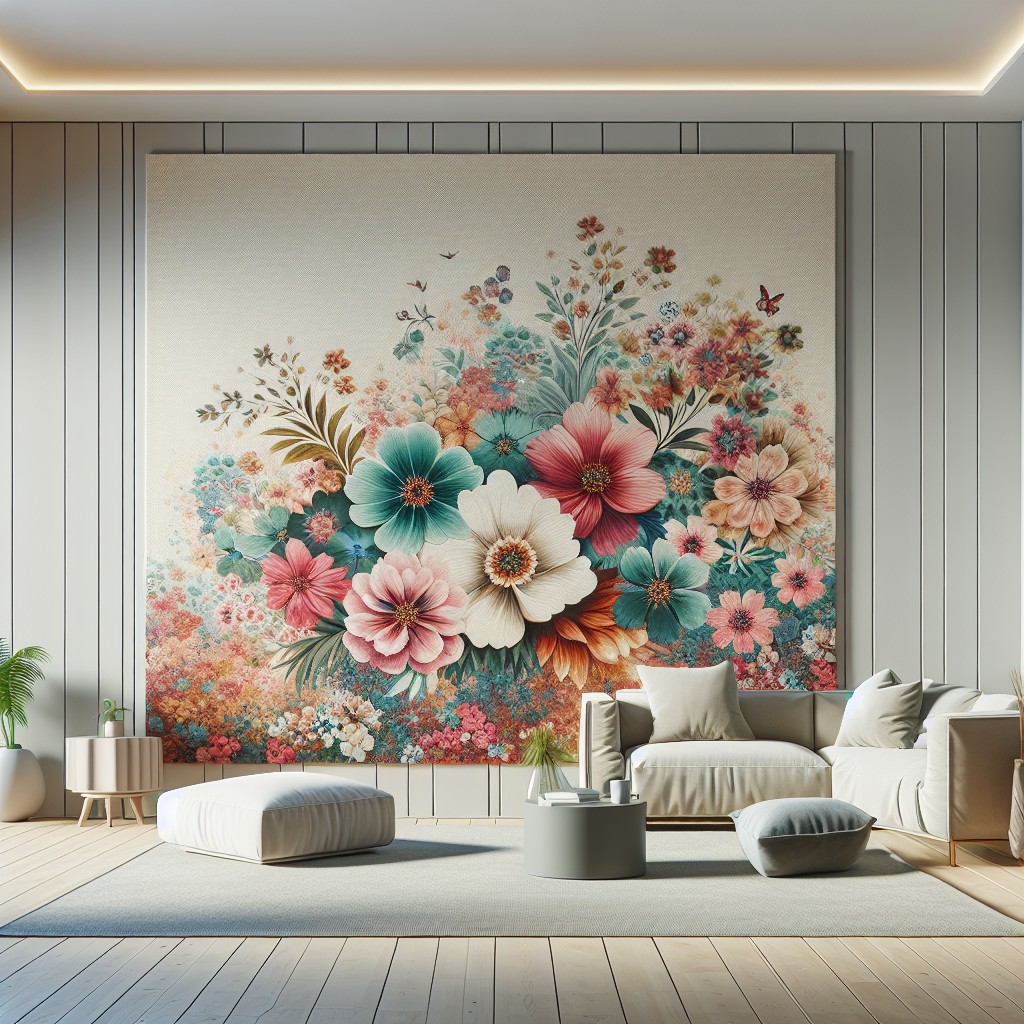
Play With Scale
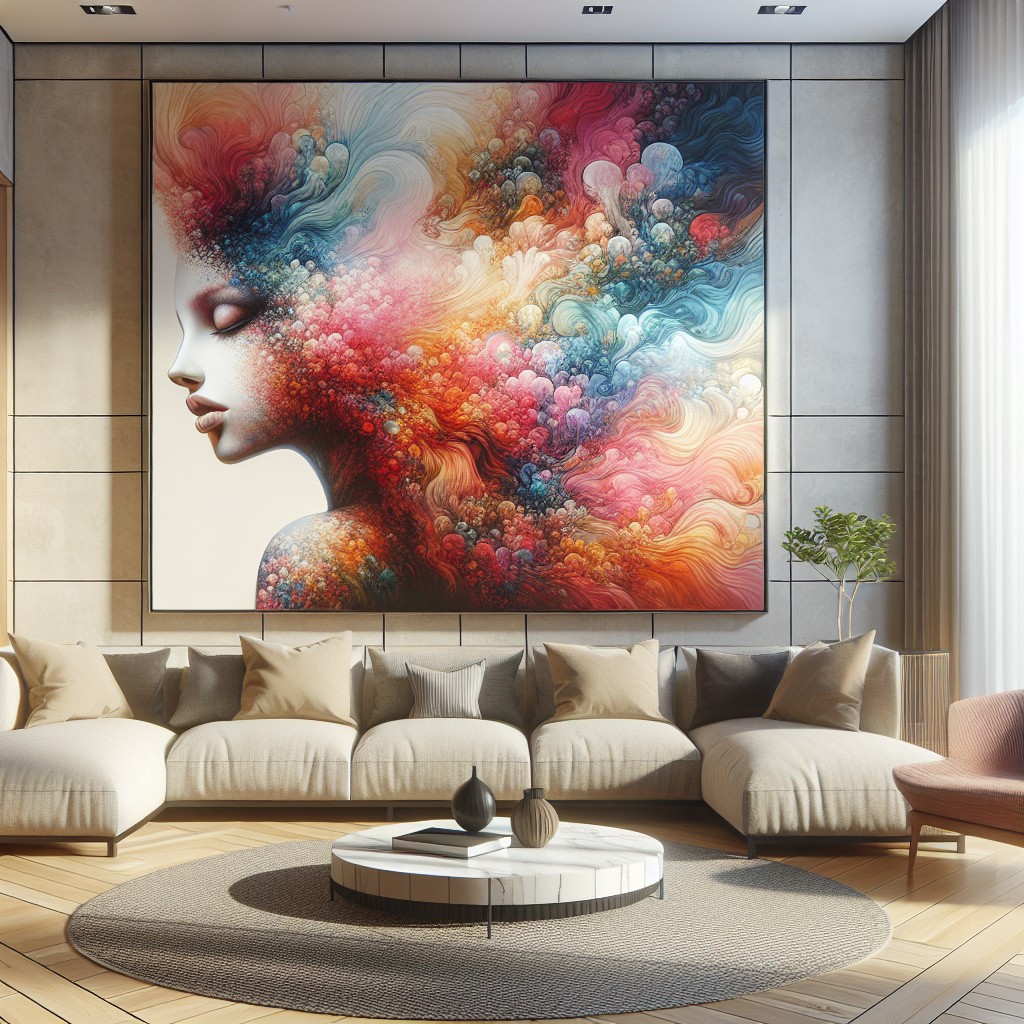
In creating an impactful design, playing with the scale can add interest and depth to your space.
1. Choose Large Pieces for Small Walls: This counter-intuitive choice can make a space feel larger and provides a bold, striking focal point.
2. Mix and Match: Combine large artworks with smaller ones to create a dynamic, interesting look. This gives a certain sense of continuity and keeps the eye moving.
3. Anchor It: Make sure your oversized art has something to anchor it. This can be a piece of furniture like a console or a sofa.
4. Be Mindful of Balance: If you opt for a large piece on one wall, consider going minimal on the opposite wall to maintain harmony in the room.
Remember, too large is always better than too small when it comes to wall art. Don’t be afraid to make a statement and use your art to create a stunning visual impact!
Art Gallery Wall
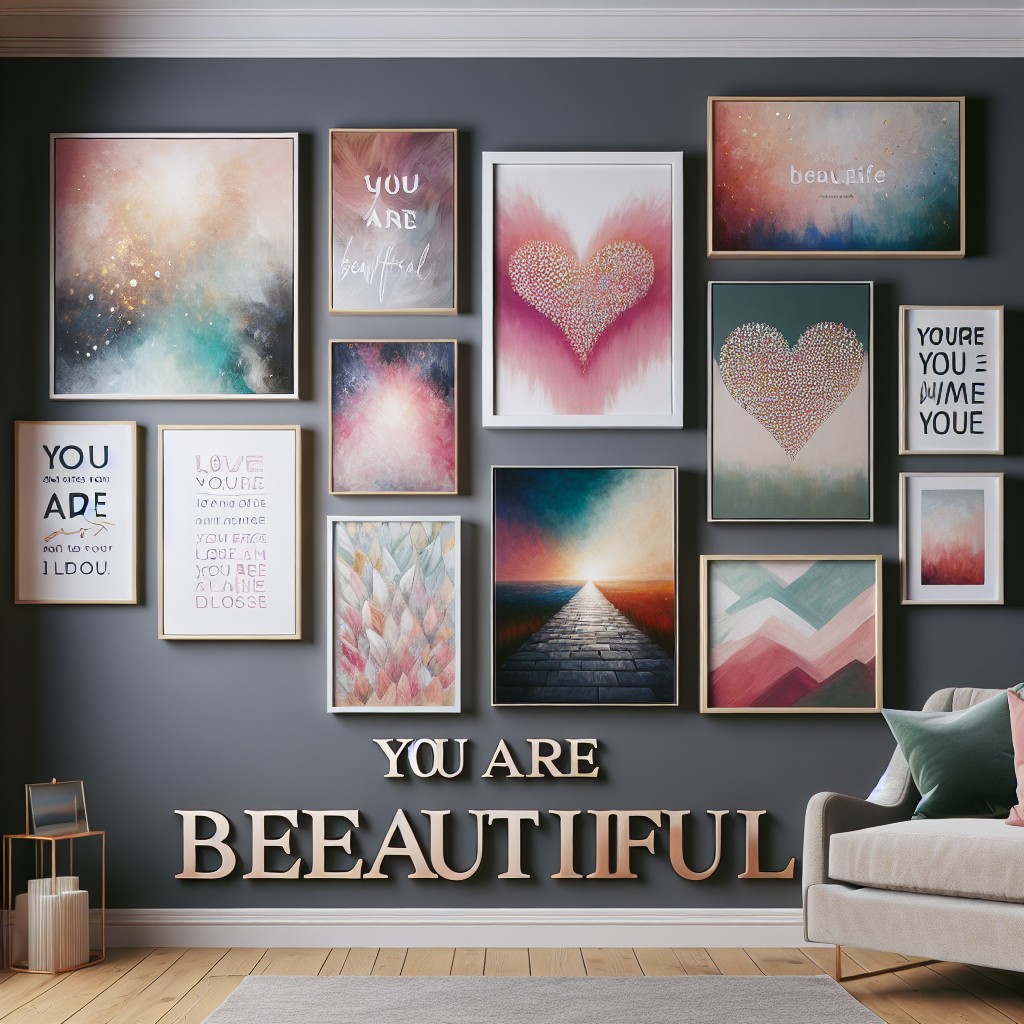
An Art Gallery Wall is a wonderful way to showcase a personal collection. Here are some key points to keep in mind for a captivating display:
1. Diverse Frames: Mixing different styles and sizes of frames can elevate the overall look.
2. Layout: Starting from the center and working your way outward maintains balance. Use paper templates to envision your design before making any holes.
3. Theme: Art doesn’t need to match perfectly, but sticking to a theme (colors, subject, style) ensures cohesiveness.
4. Spacing: Maintain uniform spacing between each frame. Usually, 2-3 inches is optimal.
5. Height: Placing the center of your arrangement at eye level gives the best viewing experience.
Remember, transforming your wall into a personalized art gallery is not only about hanging beautiful art pieces, it’s an expression of your style and personality.
Story Collages
Creating a story collage allows you to turn cherished photos, favorite quotes, and memorable souvenirs into an expressive work of art. The collage tells a story and brings you back in time, igniting a feeling of nostalgia.
Pick photos that hold special memories in your heart – these could range from your childhood snaps to your graduation day images, vacation pictures, or even beloved pet portraits. Arrange these pictures on a simple wooden or metallic frame, maintaining a theme if possible.
You can also incorporate other elements like tickets from your favorite concert, handwritten letters, postcards, or any keepsakes. The mix of items adds personal layers to this decor idea, giving you a unique result every time.
Choose a neutral wall to display your story collage, which will serve as a backdrop that doesn’t overpower the intricate details on display. And remember – this artwork is dynamic! You can always rearrange and switch out elements as your story continues to evolve.
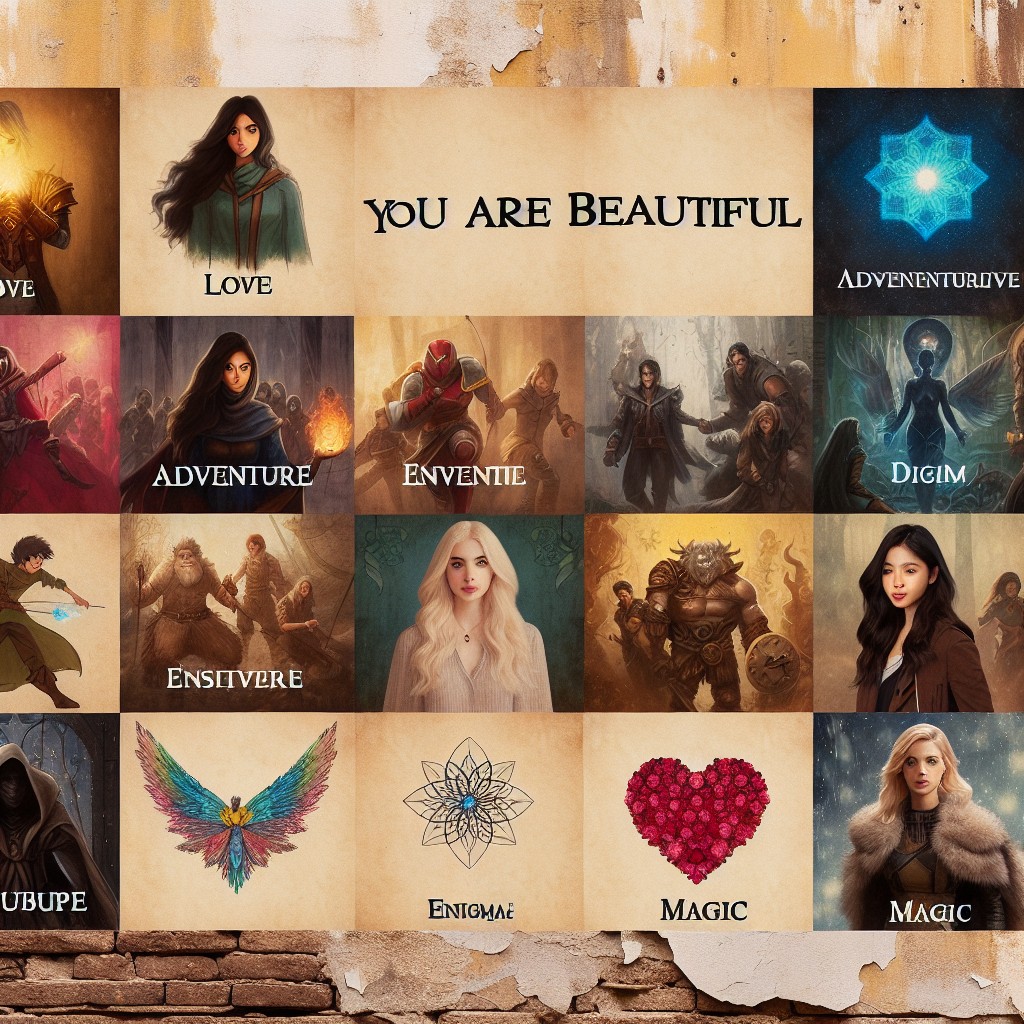
Eclectic Wall Art
Eclectic art engages diversity and personal taste in a delightful mix. Here’s how to achieve this:
1. Mix different styles: Combine traditional with modern, or fine art pieces with folk art. It’s all about striking balance.
2. Include all types of mediums: Mix oil paintings with sketches or watercolor. Integrate 3D objects such as masks, traditional hats, or even musical instruments for depth.
3. Be brave with colors and shapes: An eclectic wall can handle a wealth of different colors and shapes. It gives you freedom to express yourself – brights, pastel, earth tones, you name it!
4. Use sunlight: Natural light can accentuate details and colors – so if you can, make sure your art wall gets plenty of it.
5. Mind the arrangement: Even in an eclectic mix, there should be a subtle order to prevent chaos and strengthen aesthetic appeal.
Remember, the trick is not to restrain oneself to a particular style, but curate a diverse collection of art that represents personal taste. Harness the beauty and dynamism of eclecticism to create a wall that turns heads and starts conversations.
Repurpose Old Calendars As Art
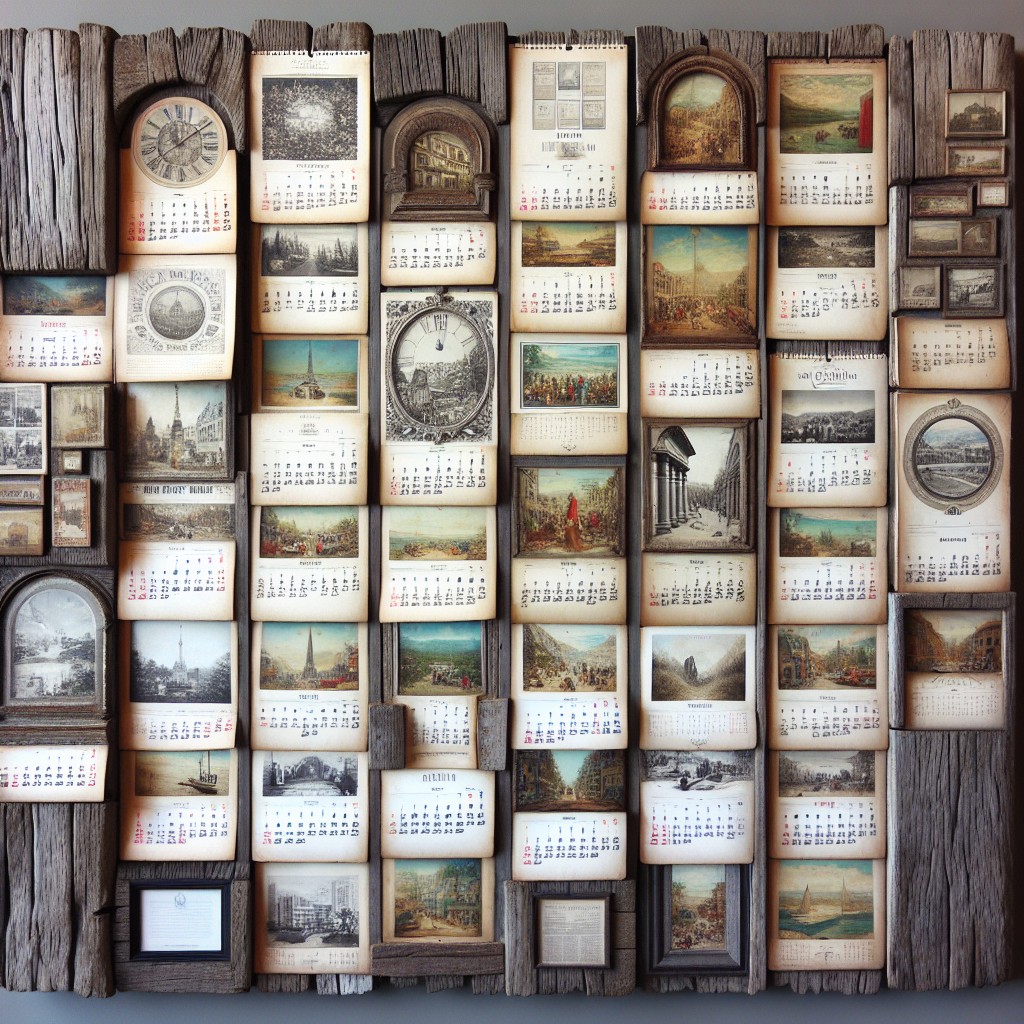
Cherished images from past calendars can suddenly find new life as vibrantly captivating wall art. Dive straight in by choosing your favorites, ones that define your style and resonate with your space’s overall theme.
Then, secure these selected prints in frames that complement their colors and format. Mix and match frame styles for added charm and dimension! For the more adventurous decorator, an alternative could be to firmly paste these images on canvas or wood for a mixed media approach.
Don’t forget – you can always crop images or strategically arrange them to create a panorama or collage design, offering depth and character to your walls. Consider pairing your calendar art with ambient lighting to spotlight its unique appeal.
Bear in mind, the key here is to creatively use what’s already at your disposal, converting essentially discarded items into aesthetically pleasing art tailored to you.
Decoupage Wall Art
Decoupage, borrowing its technique from the French term découper, meaning to cut out, is a crafty way to personalize wall art. It involves pasting cut-outs from magazines, colored paper, or fabric onto an item and covering it with several coats of varnish or lacquer. You can use this technique to upcycle old photographs, postcards or even pieces of wallpaper.
Here’s a simple route to DIY decoupage wall art:
- Choose an object to which you will apply your cut-outs. This could be anything from a piece of thrifted furniture to a picture frame, even directly onto the wall itself.
- Decide on a theme. Would a floral motif fit the room, or perhaps a collection of recipes in the kitchen?
- Collect the necessary print-outs or cut-outs following your theme. The complexity is up to you—fewer pieces for a simple, minimalist effect, or numerous ones for something more dynamic.
- Apply an adhesive or decoupage medium to the object, place your cut-outs, and then apply another coat over them.
- Sand between coats for a smooth finish.
Creating decoupage wall art is a statement, allowing unique personal touches to the design aesthetic of any space while showcasing pieces dear to you.
Canvas Wall Art
Often a popular choice, canvas art gives an aura of authenticity similar to original paintings on canvas. It’s lightweight and easy to hang but still provides a sophisticated, gallery-inspired vibe.
You can opt for abstract pieces for a modern look or landscape scenes for a more classical touch. Three-dimensional canvas art creates added depth and interest. Mixed media canvases combine paint, fabric, and other materials for a unique look.
Apart from choosing designs, you also have the option to personalize your wall decor. Custom pieces, such as family photographs converted into canvas prints, give your home a personal touch while doubling as a canvas masterpiece.
Paper Quilling Wall Art
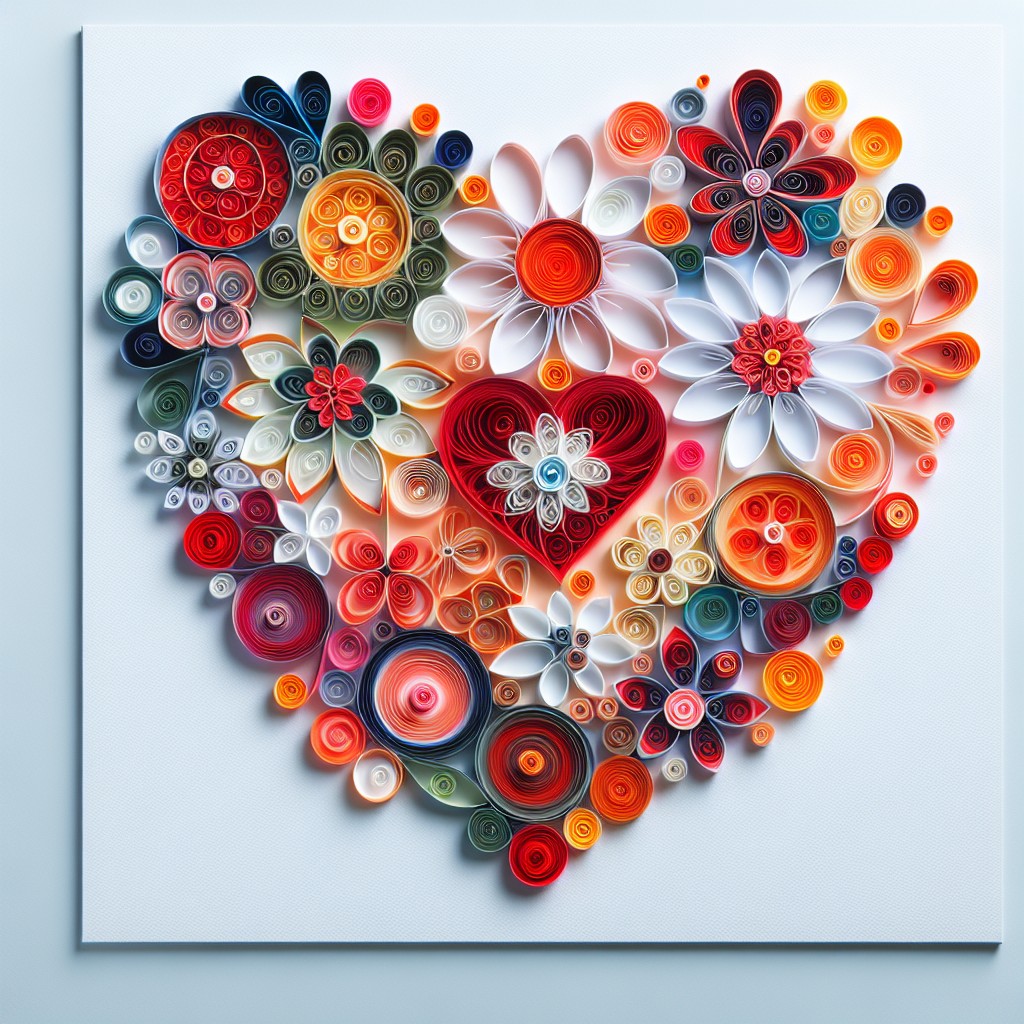
One standout technique in paper quilling art involves rolling, shaping, and gluing paper to create intricate designs. Presenting a striking blend of creativity and precision, this art form can beautify any wall.
To craft your quilled masterpiece, start with thin strips of paper. Choose colors that complement the room’s design. Tools like a quilling needle or slotted tool will help you roll the paper into tight circles or other shapes.
Create a design on a piece of paper first, then fill in each area with your quilled shapes. Remember, it’s essential to keep a fine-tune balance between color and texture. Consider employing a variety of shapes and sizes for a more dynamic piece.
Lastly, mount your quilled artwork on a sturdy surface like a framed canvas for the best result. Clear varnish can also be used to secure the artwork and enhance its longevity.
Put Up Wall Sconces
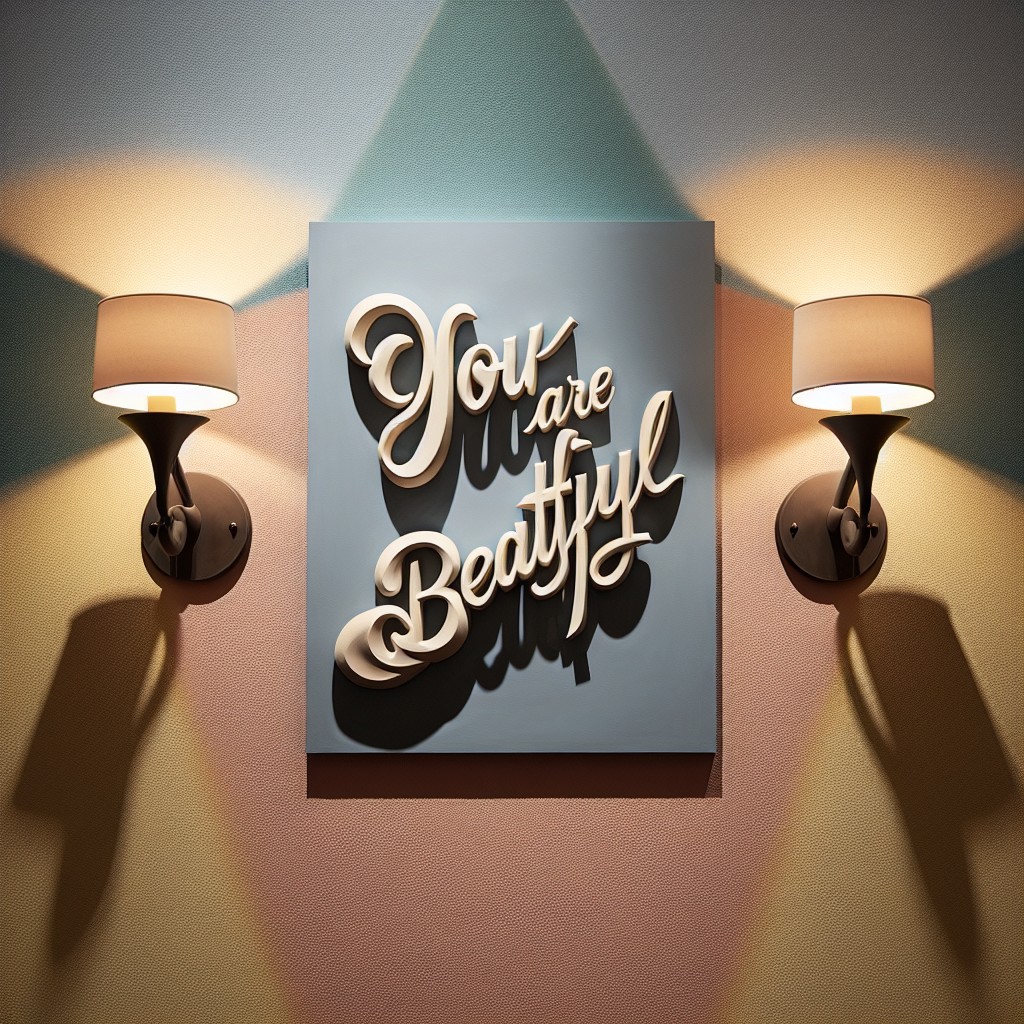
Wall sconces impart an air of elegance and coziness to any space. They are both a source of light and a piece of room decor. Putting them up is both practical and beautiful, illuminating areas and acting as a wall art in darker corners. Let’s see some nifty ideas.
1. Frame It: Add a sconce on either side of a piece of wall art, a mirror, a picture frame, or any focal point you wish to emphasise.
2. Enhance Shelves: Use wall sconces above or below floating shelves to highlight displayed items, augmenting their aesthetics.
3. Single Sconce: For narrow spaces or minimalistic decor, a single sconce could work magic, creating a calm, cozy ambiance.
4. Corner Sconces: Sconces on corners could create an overall warmth and amplify a room’s spaciousness.
5. Blade Wall Sconce: Opt for these in modern interiors. The sleek design adds to the aesthetic, promoting a contemporary feel.
Remember to match the sconces with your interior design style – vintage, modern, industrial, rustic, etc.
Consider the ambiance, the decor typical of your space, and your personal preference when choosing the perfect sconces. With the right selection, these can indeed be a beautiful piece of wall art.
Create Fabric Wall Art
Laying out fabric wall art can be as simple as choosing eye-catching prints or textiles that resonate with your preferred aesthetic. It could be a tapestry, a beautiful rug, or even a cherished, old scarf. The options are limitless.
Consider these approaches:
- Stretching fabric over a canvas: When done well, fabric-covered canvases can mimic the look of high valued art at a fraction of the cost.
- Fabric Panel Wall Art: You can create drama by grouping together multiple fabric panels.
- Embroidery Hoop Art: For a touch of whimsy, try framing small fabric scraps in embroidery hoops of various sizes.
Always ensure that your fabric is hung securely, especially if it’s heavy or valuable. Good lighting is also essential to showcase the intricate patterns and weave structures of the fabric.
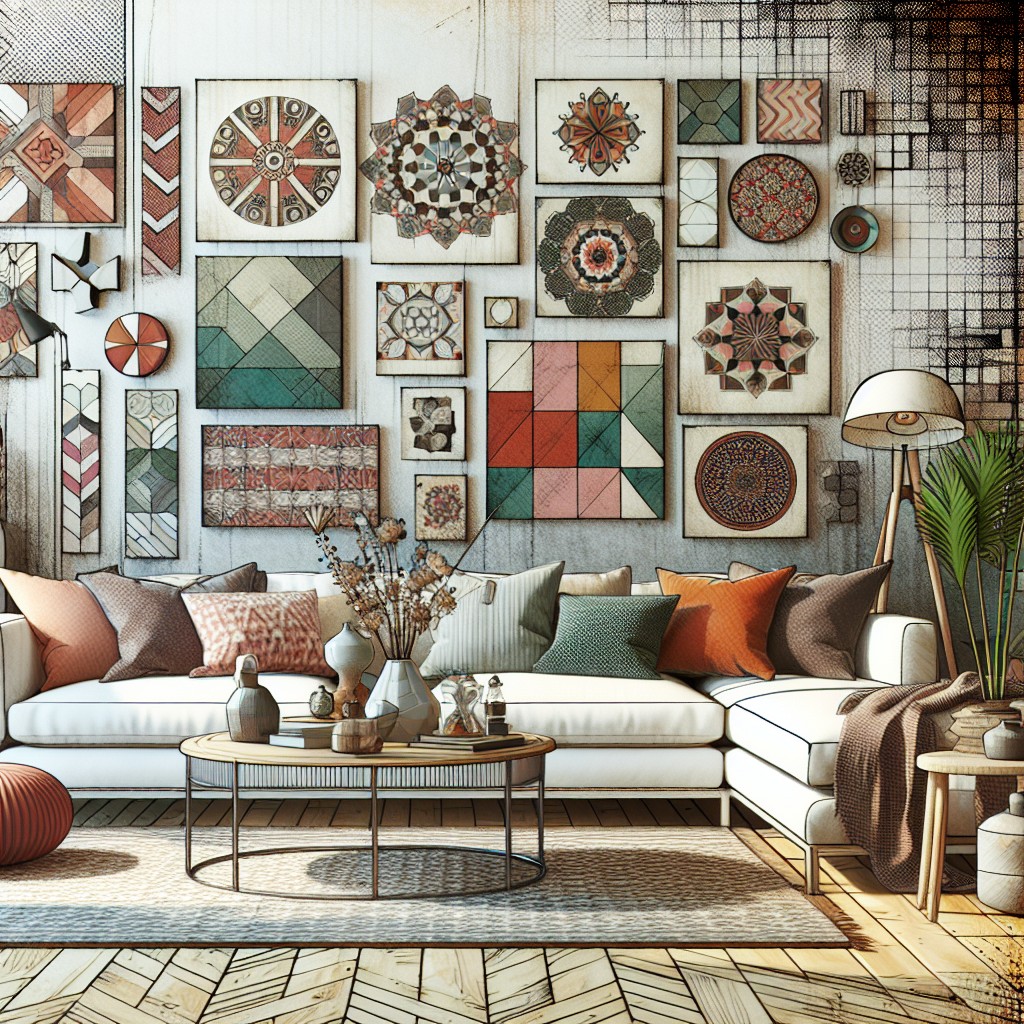
Curate a Wall Art Platter Display
Start by selecting unique platters that align with your visual aesthetic. They could be antique treasures discovered at a flea market, or modern pieces featuring eye-catching designs. Mixing and matching different styles can lead to an appealing eclectic display.
Here’s how to create your platter wall art:
- Arrange Before Hanging: Lay your platters out on the floor in various arrangements before settling on the final design. You could go for symmetrical arrangements or an abstract pattern – it’s your call!
- Spacing is Key: Maintain a uniform gap between each platter for a clean, organized look. Remember, though, there’s room for flexibility if you’re going for a more haphazard style.
- Secure Your Platters: For hanging, use disc hangers for invisible, sturdy support. Simply wet the discs, press them onto your platters, then let them dry.
This dynamic display will offer flexibility – you can change it out on a whim for seasonal variations or as your style evolves. It’s a piece of living art. Enjoy this fun and functional way of displaying your favourite platters.
Ideas Elsewhere
- https://www.elephantstock.com/collections/beauty-wall-art
- https://bigwalldecor.com/
- https://www.housebeautiful.com/design-inspiration/g2262/gallery-wall-inspiration/
Read More
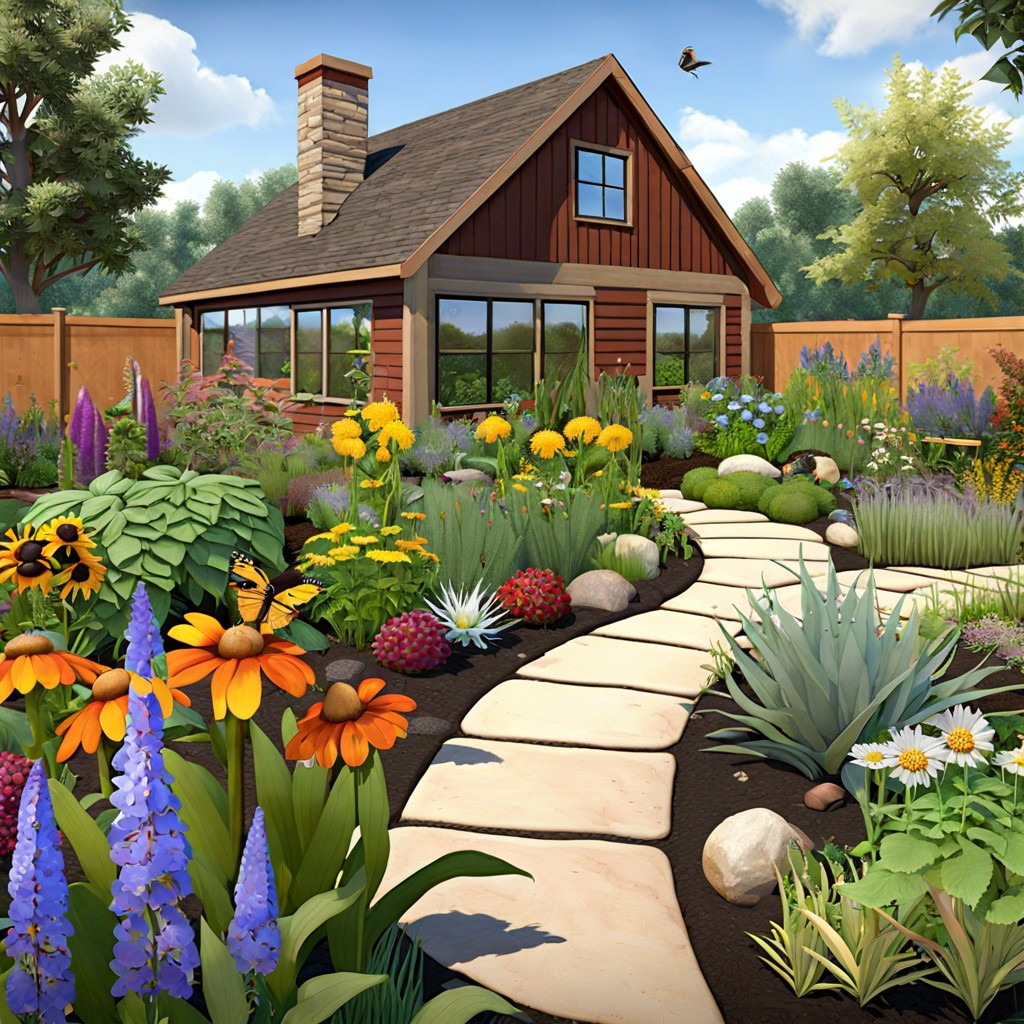 15 Kitchen Garden Ideas for a Fresh and Fun Home Cooking Experience
 Kitchen Table Poly: Understanding Non-Hierarchical Relationships
 What Color Paint Goes with Brown Granite: Matching Tips for Your Home Décor
 Watch Cutthroat Kitchen Online Free: A Basic Guide to Free Streaming Platforms
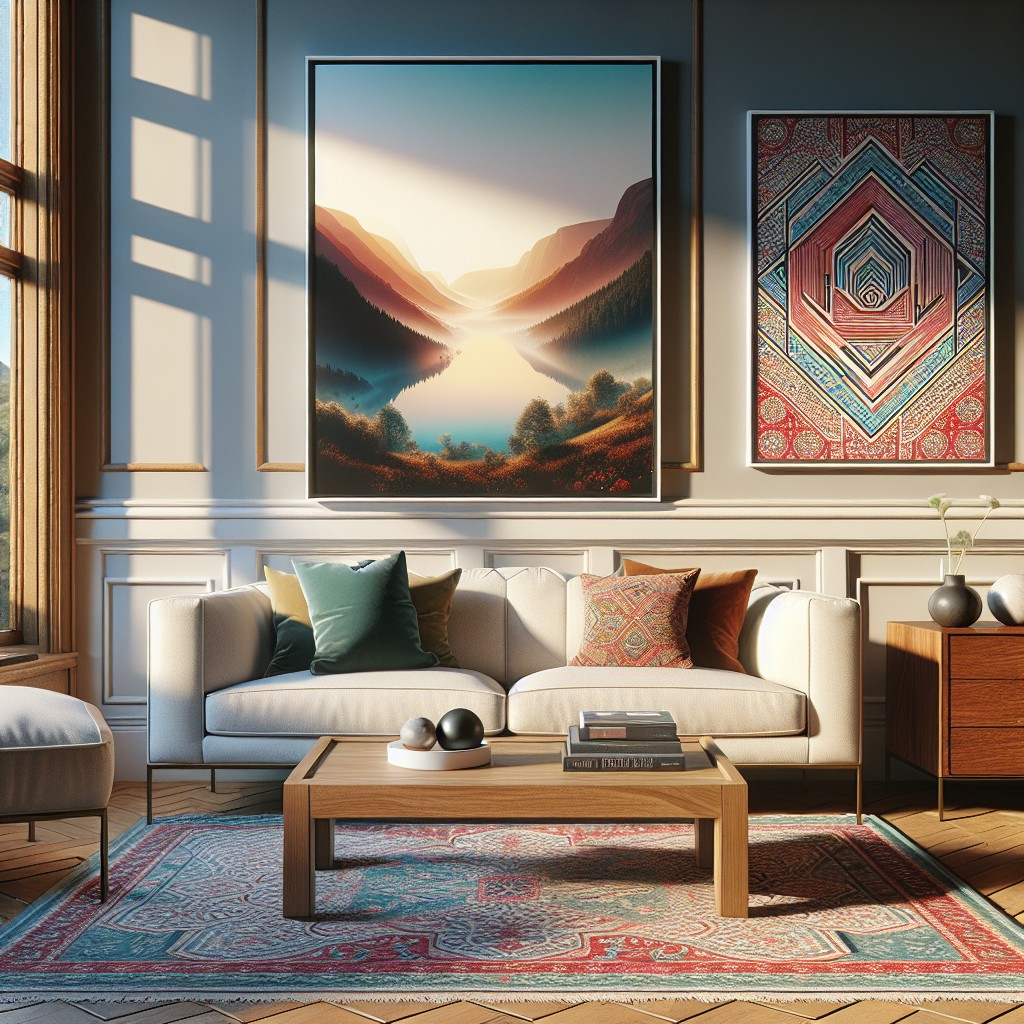 8×12 Prints Size: Understanding and Utilizing in Interior Design