Last updated on
Learn how to give your kitchen a facelift by adding trim to your cabinet doors for an updated look.
Key takeaways:
- Thorough planning and measuring are crucial for adding trim to cabinet doors.
- Choose the right material and style of trim to complement your cabinets.
- Use the proper tools and adhesives for a successful installation.
- Precision is key when measuring and cutting the trim.
- Finish off the project with caulk and paint for a polished look.
What's Inside
Planning and Materials
Kicking things off with the right foot starts with thorough planning. You’ll want to measure your cabinet doors to determine how much trim you’ll need. Keep in mind that it’s wise to buy a little extra to account for any mistakes or miscalculations.
Selecting the right material for your trim is like picking the right accessory for an outfit—it can make or break the look. Hardwoods like oak or maple are durable and offer a classic appearance, but if you’re pinching pennies, MDF (medium-density fiberboard) can be a cost-effective alternative that still looks sharp.
Remember, the trim style should complement your cabinet’s design. For example, a sleek, simple trim may suit modern cabinets, while ornate trim could be perfect for a more traditional aesthetic.
Tools are the unsung heroes of any DIY project. On your belt for this task should be a reliable saw, a nail gun or hammer, adhesive, and a tape measure—precision’s best friend in the world of home improvement.
Lastly, let’s talk adhesives and fasteners. Wood glue can firmly bond trim to the door, but for an extra hold that’ll stand the test of time (and the odd slammed door), finishing nails or a pneumatic nailer can be your best allies.
By keeping these points in check, you’re setting the stage for a transformation that’s sure to spruce up the heart of your home. Crack a smile—you’re one step closer to those dreamy cabinets!
Measuring and Cutting the Trim
Precision is the name of the game when sizing up your trim. Think of it like trimming your own bangs – a little off here or there, and you’ll notice it every time you walk in the room. Arm yourself with a trusty tape measure and jot down the dimensions of each cabinet door on a notepad. Keep in mind, exactness matters; a hair too short and you’ll have gaps that even caulk can’t hide.
Grab that saw and channel your inner craftsman. Whether you’re using a miter saw for those crisp angled cuts or a straightforward hand saw, it’s all about controlled movements. Measure twice, cut once. It’s a saying as old as time, but it’s stuck around because it’s solid advice. Mark your trim where it needs to be cut, then steady your hand and slice. A clamp or vice can be a real ally here, keeping your trim from dancing around.
Here’s a pro tip: Cut slightly longer than necessary. You can always trim it down sliver by sliver to get a snappy fit. Too much zeal with the saw, and you’re lumber shopping again.
Remember, straight cuts for a modern look; miter at 45 degrees for traditional. And if you end up with a piece that’s more Picasso than precise, don’t sweat it. Consider it character building for your cabinets – and hey, there’s always the next cut to nail.
Installing the Trim On Cabinet Doors
Once your trim is ready, installation is like piecing together a puzzle tailored just for your cabinet doors. Start by applying wood glue to the back of the first piece of trim. Position it carefully, aligning it with your previously drawn guide marks. A steady hand is key here—crooked trim is a no-go.
For secure attachment, nail the trim into place. Lightweight trim might kiss the cabinet door with just brad nails, while thicker pieces could require finishing nails. Keep that nail gun straight; you want those nails to go in like a hot knife through butter, not like a frenzied woodpecker.
Clamps can be lifesavers if your trim plays hard to get and decides not to stick. Think of them as a buddy system for your trim, holding it tight until the glue sets its grip. Remember, patience is a virtue here, so give the glue enough time to bond before you move on.
If the corners of your trim have decided to act like stubborn teenagers and refuse to meet nicely, some light sanding can persuade them to cooperate. A gentle touch can turn those rebellious edges into a seamless corner, worthy of a secret handshake.
Lastly, step back and admire each piece once it’s up. Minor adjustments now can save major headaches later. If a piece isn’t sitting just right, coax it into place before the glue dries. Trust your eye; if it looks off, it probably is.
Caulk and Paint
With the trim snugly in place, you’ll want to reach for caulk—this is your ticket to a seamless finish. By filling the gaps where the trim meets the cabinet door, you ensure a polished look. Apply a thin bead of paintable caulk and smooth it with a damp finger or caulking tool. This small step makes a giant leap in the professional appearance of your project.
Once the caulk dries, painting can commence. Opt for a high-quality brush or foam roller for those smooth, stroke-free finishes. Your color choice can either match your cabinets for a cohesive look or contrast for a pop of personality. Apply at least two coats for durability, allowing ample drying time between each layer. Remember, a gentle hand yields the finest finish, so resist the rush and savor the transformation unfolding before you.
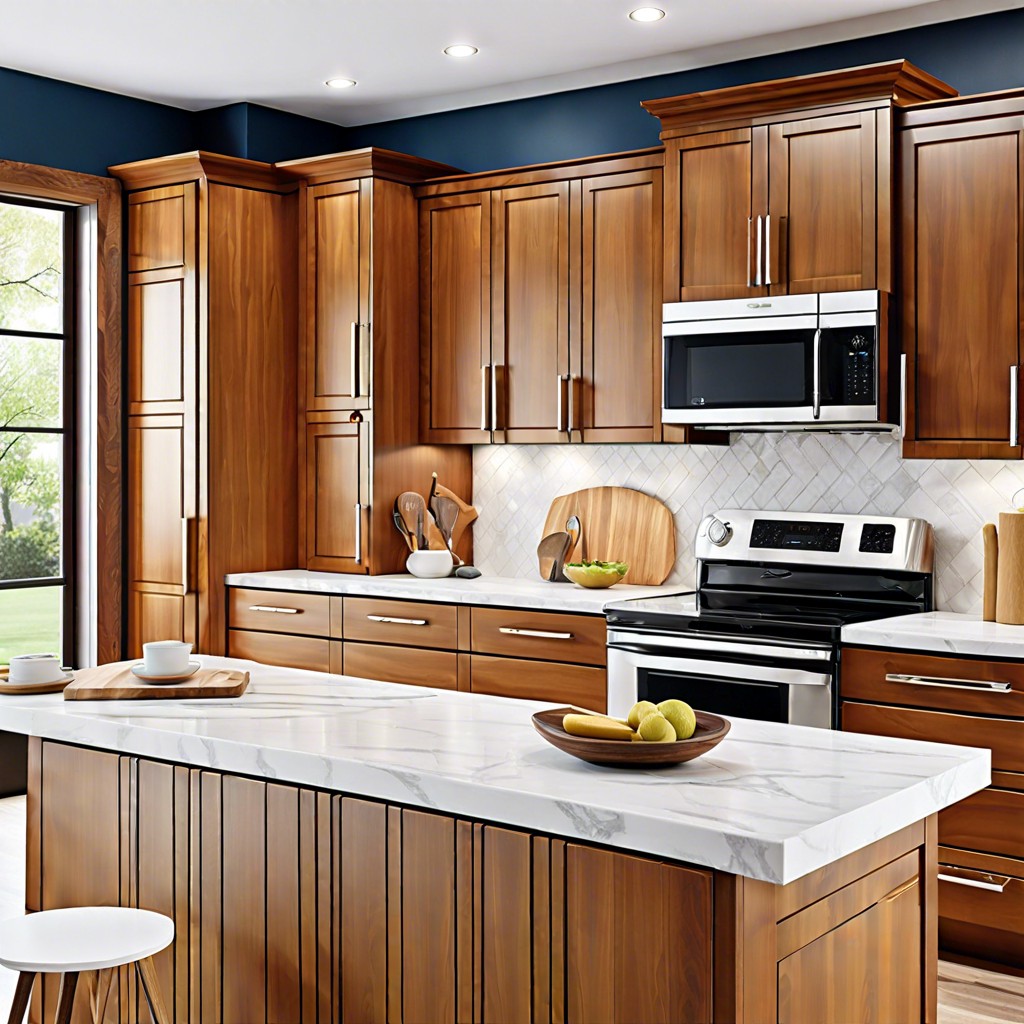
Before and After
The transformation of cabinets with trim is akin to slipping on a tailored suit: the end result is a sleek, polished look that elevates an entire space. Imagine your plain cabinet doors as blank canvases; adding trim is the stroke of color that brings the picture to life. This final flourish can define the style of your kitchen from contemporary chic to classic elegance.
Peek into your refreshed kitchen and note the details. Trim can deceive the eye, creating an impression of depth and texture where there was none. Compare the doors post-makeover and celebrate the sophistication. What once was flat and forgettable now stands out with panache. That delight in detail, the craftsmanship on display—the fruits of your labor shine in the nuances of shadow and light playing along the edges of your cabinets.
Keep a photographic record: snapshots of the ‘before’ state, a mid-project gallery, and the triumphant ‘after’ reveal. Sharing these moments can spur others to embark on their own DIY adventures, proof that with a little effort, a kitchen can be transformed.


