Last updated on
Discover the pros and cons of painting both sides of your kitchen cabinet doors to achieve a stunning and long-lasting result in your home makeover project.
Have you ever wondered if you should paint both sides of your kitchen cabinet doors? It’s a common question among DIY home decorators, and the answer may surprise you. While some argue that painting both sides is necessary for a polished look, others believe it’s an unnecessary step that can actually cause problems down the line.
So which side are you on? Let’s dive into the debate and explore the pros and cons of painting both sides of your kitchen cabinet doors!
What's Inside
Pros and Cons of Painting Both Sides of Kitchen Cabinet Doors
When it comes to painting kitchen cabinet doors, there are pros and cons to painting both sides. On the one hand, painting both sides can provide a more polished look and ensure that the door is fully protected from moisture and wear.
However, on the other hand, it can also add extra time and effort to your project while potentially causing issues with warping or sticking if not done correctly.
One of the main benefits of painting both sides of your kitchen cabinet doors is that it provides an added layer of protection against moisture damage. This is especially important in areas like kitchens where humidity levels tend to be higher than in other parts of the home.
By sealing all surfaces with paint you will prevent any potential for wood expansion or contraction due to changes in temperature.
Necessary Tools and Materials
This will ensure that you have everything on hand to complete the project efficiently and effectively. Here are some of the essential items you’ll need:
- Screwdriver or drill
- Sandpaper (medium grit)
- Tack cloth or microfiber cloth
- Painter’s tape
- Drop cloths or plastic sheeting
- Primer (if needed)
- Paintbrushes (angled brush for corners, small brush for edges)
- Foam roller
- Paint tray
- Cabinet paint in your desired color
Having these tools and materials ready before starting will save time during the process.
Preparing Cabinet Doors for Painting

This step is crucial for achieving a smooth and long-lasting finish that will withstand daily wear and tear. The first thing you need to do is remove the cabinet doors from their hinges using a screwdriver or drill.
Place them on a flat surface covered with drop cloths or newspapers to protect your floors from paint drips.
Next, clean the surfaces of the cabinet doors thoroughly using warm water and soap or degreaser solution if there are any grease stains present. Rinse off all cleaning agents with clean water and let dry completely before proceeding.
If there are any dents, scratches, or holes in the wood surface of your cabinets’ door frames, use wood filler putty to fill these imperfections before sanding down rough spots until they’re smooth enough for painting.
Lightly sand all surfaces of each door frame with fine-grit sandpaper (220 grit) until they feel slightly roughened up but not too much as this can cause unevenness in paint application later on during painting process.
Choosing the Right Paint for Cabinet Doors
Not all paints are created equal, and using the wrong one can lead to chipping, peeling or fading over time.
Firstly, consider whether you want a water-based or oil-based paint. Water-based paints dry faster and have less odor than oil-based ones but may not be as durable in high-traffic areas like kitchens.
Oil-based paints take longer to dry but offer better adhesion and durability.
Next is choosing between satin finish (low luster), semi-gloss (medium shine) or gloss finish (high shine). Satin finishes are great for hiding imperfections while still providing some sheen; semi-gloss offers more durability against moisture and stains; gloss finishes provide maximum protection against wear-and-tear but show every flaw on your cabinets’ surface.
Lastly, make sure you select a quality brand of paint specifically designed for cabinets with good coverage ability so that fewer coats will be needed which saves both time and money in the long run.
Painting Techniques for Different Cabinet Door Materials
For example, if you have wooden cabinet doors, you’ll need to sand them down before applying any paint or primer. This step ensures that the surface is smooth and free from any imperfections that could affect how well your paint adheres.
On the other hand, if your cabinets are made of laminate or MDF (medium-density fiberboard), they require a different approach. These materials don’t absorb paint as easily as wood does and can be prone to chipping or peeling over time.
To prevent this from happening, it’s essential to use a high-quality bonding primer specifically designed for non-porous surfaces.
Another factor to consider when painting different types of cabinet doors is whether they have raised panels or flat surfaces. Raised panel cabinets require more attention during painting because their intricate design can make it challenging for brushes and rollers to reach all areas evenly.
In contrast, flat-panel cabinets are easier since there aren’t many curves involved in their design; however, these types may still need multiple coats depending on how dark you want your final color scheme.
Tips for Painting Cabinet Door Edges and Corners
With a few tips and tricks, you can achieve a flawless finish that will make your kitchen cabinets look brand new.
Firstly, use painter’s tape to protect any adjacent surfaces from accidental paint splatters. Next, start by painting the edges of the cabinet door first before moving on to the flat surface.
This way you won’t accidentally smudge or smear wet paint onto an already painted area.
For corners and tight spaces where brushes cannot reach easily, consider using a small foam roller or even an angled brush for precision application. Be sure not to overload your brush or roller with too much paint as this could lead to drips and uneven coverage.
Lastly, take your time when painting around hardware such as hinges or knobs – remove them if possible for easier access – so that every inch of the door is covered evenly without leaving any unpainted spots behind.
Drying and Curing Time
Drying time refers to the amount of time it takes for the paint on the surface of your cabinet doors to become touch-dry. Curing time, on the other hand, is how long it takes for the paint film underneath that surface layer to fully harden and adhere.
The drying and curing times will depend on several factors such as humidity levels in your area, temperature conditions during painting process among others. Generally speaking though most paints take around 24 hours or more (depending upon manufacturer instructions)to dry completely while curing can take up anywhere from a few days up until a week or two depending upon environmental factors like humidity levels etc.
Adding Protective Coating
A clear coat of polyurethane or varnish can help protect the paint from scratches, stains, and fading caused by exposure to sunlight. It also adds a glossy finish that enhances the overall look of your cabinets.
Before applying any protective coating, make sure that the paint on your cabinet doors has fully dried and cured according to its manufacturer’s instructions. Then use a high-quality brush or sprayer to apply an even layer of polyurethane or varnish over the entire surface area of each door.
Allow ample time for drying between coats as recommended by the product label before adding another layer. Typically it takes around 24 hours for each coat to dry completely depending on humidity levels in your area.
Once you have applied all necessary layers, let them cure for at least 48 hours before reattaching them back onto their hinges.
Reattaching Cabinet Doors
This step is crucial for achieving a polished look in your kitchen makeover project. Before you begin, make sure that the paint has fully cured according to the manufacturer’s instructions.
To reattach the cabinet doors, start by positioning each door back onto its hinge and securing it with screws. Use a level tool to ensure that each door is straight and aligned properly with adjacent cabinets or drawers.
If any adjustments need to be made, loosen or tighten the screws on either side of the hinges until everything lines up perfectly. Once all of your cabinet doors are securely attached and levelled correctly, stand back and admire your newly painted kitchen cabinets!
Maintenance and Care of Painted Cabinet Doors
One of the most important things you can do is regularly clean your cabinets with a soft cloth or sponge and mild soap. Avoid using abrasive cleaners or scrubbers that could scratch the surface of the paint.
If you notice any chips or scratches in the paint, touch them up as soon as possible with a small brush and matching paint color. This will prevent further damage from occurring.
It’s also essential to avoid exposing your painted cabinet doors to extreme temperatures, humidity levels, or direct sunlight over extended periods since these factors can cause fading, cracking, peeling off of paints on surfaces.
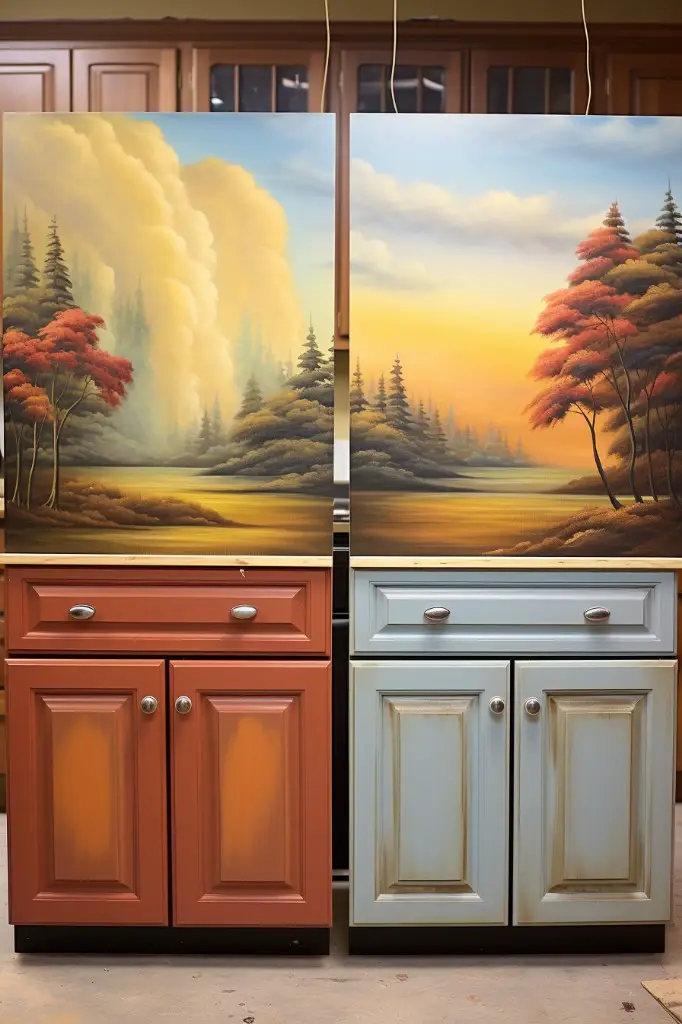
Transforming Your Kitchen With Painted Cabinet Doors
It’s an affordable way to update the space without having to replace all of your cabinets, which can be costly and time-consuming. By painting both sides of the cabinet doors, you’ll create a cohesive look that will tie together all aspects of your kitchen design.
One great thing about painting cabinet doors is that you have endless color options available. You can choose from classic white or black for a timeless look, or go bold with bright colors like red or blue for a more modern vibe.
If you’re feeling creative, consider adding patterns or designs on some of the door fronts for added interest.
Another benefit is that painted cabinets are easier to clean than stained ones because they don’t show dirt as easily. This makes them ideal for busy kitchens where spills and messes are common occurrences.
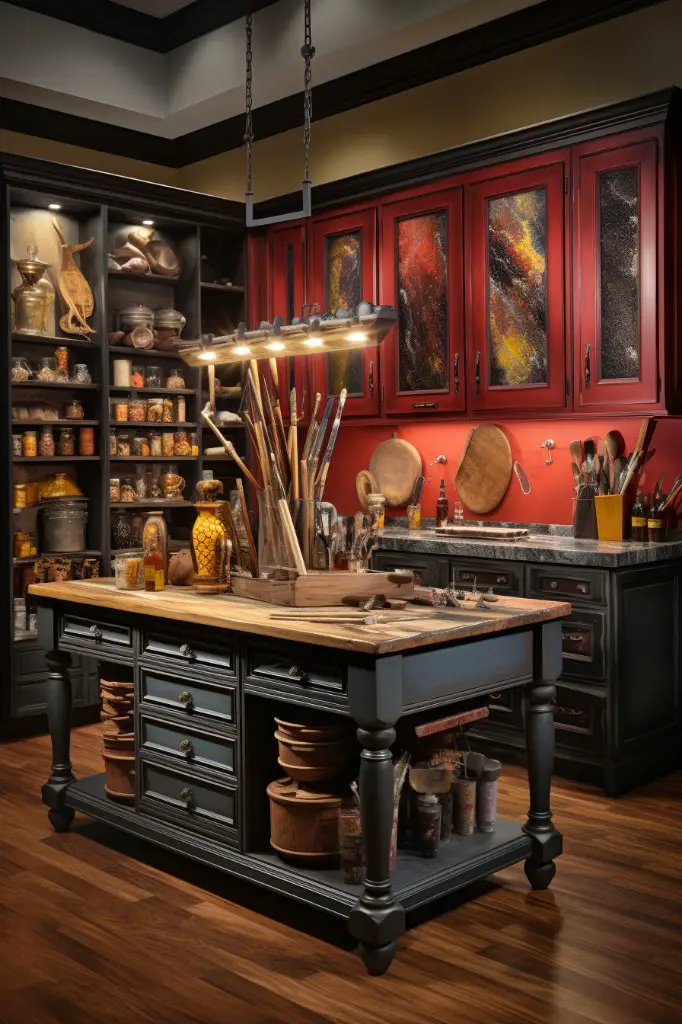
Customizing Your Kitchen Cabinet Door Colors
Whether you prefer a classic white or a bold pop of color, there are endless possibilities for customizing your kitchen cabinets.
Before selecting a paint color, consider the overall look and feel of your kitchen. Do you want to create a cohesive design with matching colors or add contrast with complementary hues? Take into account other elements in the room such as countertops, backsplash tiles, flooring, and appliances.
If you’re unsure about which colors will work best in your space or need inspiration for unique combinations, browse through interior design magazines or online resources like Pinterest. You can also consult with professional painters who have experience working on similar projects.
Remember that choosing the right paint finish is just as important as selecting the right hue. A glossy finish will reflect more light and make surfaces appear brighter while matte finishes offer a more subtle effect but are easier to maintain over time.
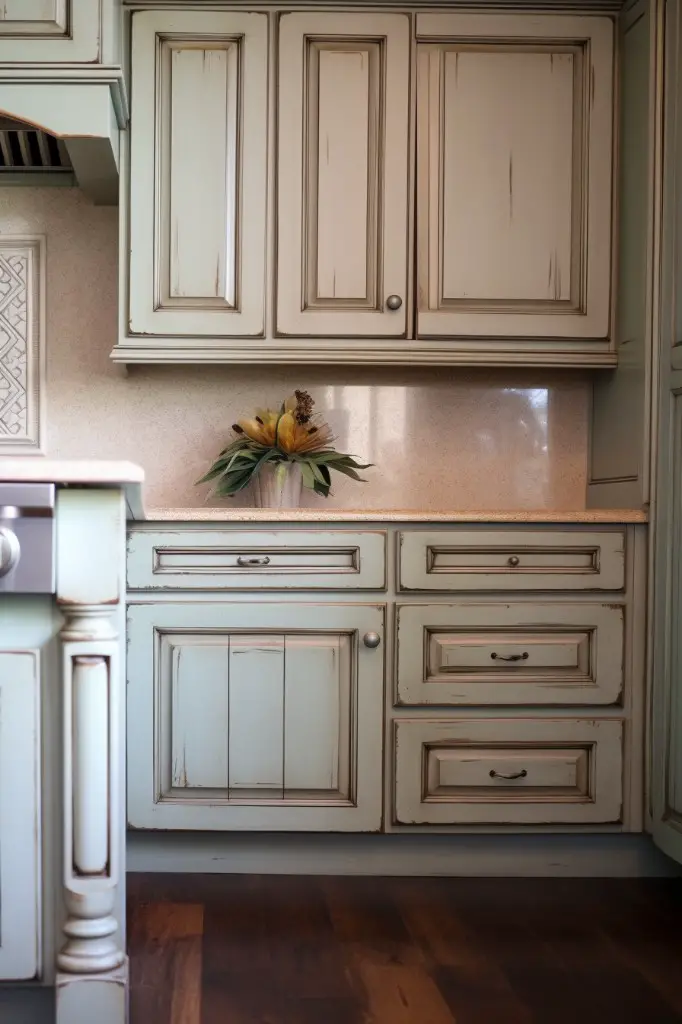
Durability and Longevity of Painted Cabinet Doors
After all, you don’t want to invest time and money into a project that will only last for a short period of time. The good news is that with proper preparation, the right materials, and careful application techniques, painted cabinet doors can be incredibly durable.
One important factor in ensuring the longevity of your painted cabinets is choosing high-quality paint specifically designed for cabinetry. Look for paints labeled as “cabinet grade” or “furniture grade,” which typically contain higher levels of resin than standard wall paint.
This added resin creates a harder finish that resists chipping and peeling over time.
Another way to increase the durability of your painted cabinets is by adding a protective topcoat after painting them. A clear coat or wax can help seal in the color while also providing an extra layer of protection against scratches and wear.
Regular maintenance such as cleaning with mild soap and water can help extend the life span of your newly-painted kitchen cabinets even further.
Common Mistakes and How to Avoid Them
One of the most significant errors is not properly preparing the surface before painting. Skipping this step can lead to peeling, chipping, or uneven paint application.
Another mistake is using low-quality paint or tools. Cheap brushes and rollers may leave streaks or bristles on the surface of your cabinets while inferior paints may not adhere well to surfaces leading to premature wear and tear.
Failing to allow enough drying time between coats can cause smudging and unevenness in color distribution. It’s essential always read manufacturer instructions for recommended drying times before applying another coat.
Lastly, neglecting proper ventilation during painting could result in fumes buildup which poses health risks such as headaches nausea among others.
FAQ
Do you paint front and back of cabinet doors?
Yes, it is essential to paint both the front and back of cabinet doors for a proper and complete finish.
Do you paint the inside of cabinet doors?
Painting the inside of cabinet doors is a personal choice, often done for open or glass window cabinets or to add a pop of color to the kitchen.
What type of paint is best for kitchen cabinet doors on both sides?
The best type of paint for kitchen cabinet doors on both sides is semi-gloss or gloss-finish acrylic latex paint.
How can I properly prepare cabinet doors for painting both sides?
To properly prepare cabinet doors for painting both sides, first remove the hardware, clean the surfaces thoroughly, sand them for smoothness, and apply a primer, ensuring each side dries before flipping.
Is it necessary to remove cabinet doors before painting both sides?
Yes, it is necessary to remove cabinet doors before painting both sides to ensure an even and professional-looking finish.


